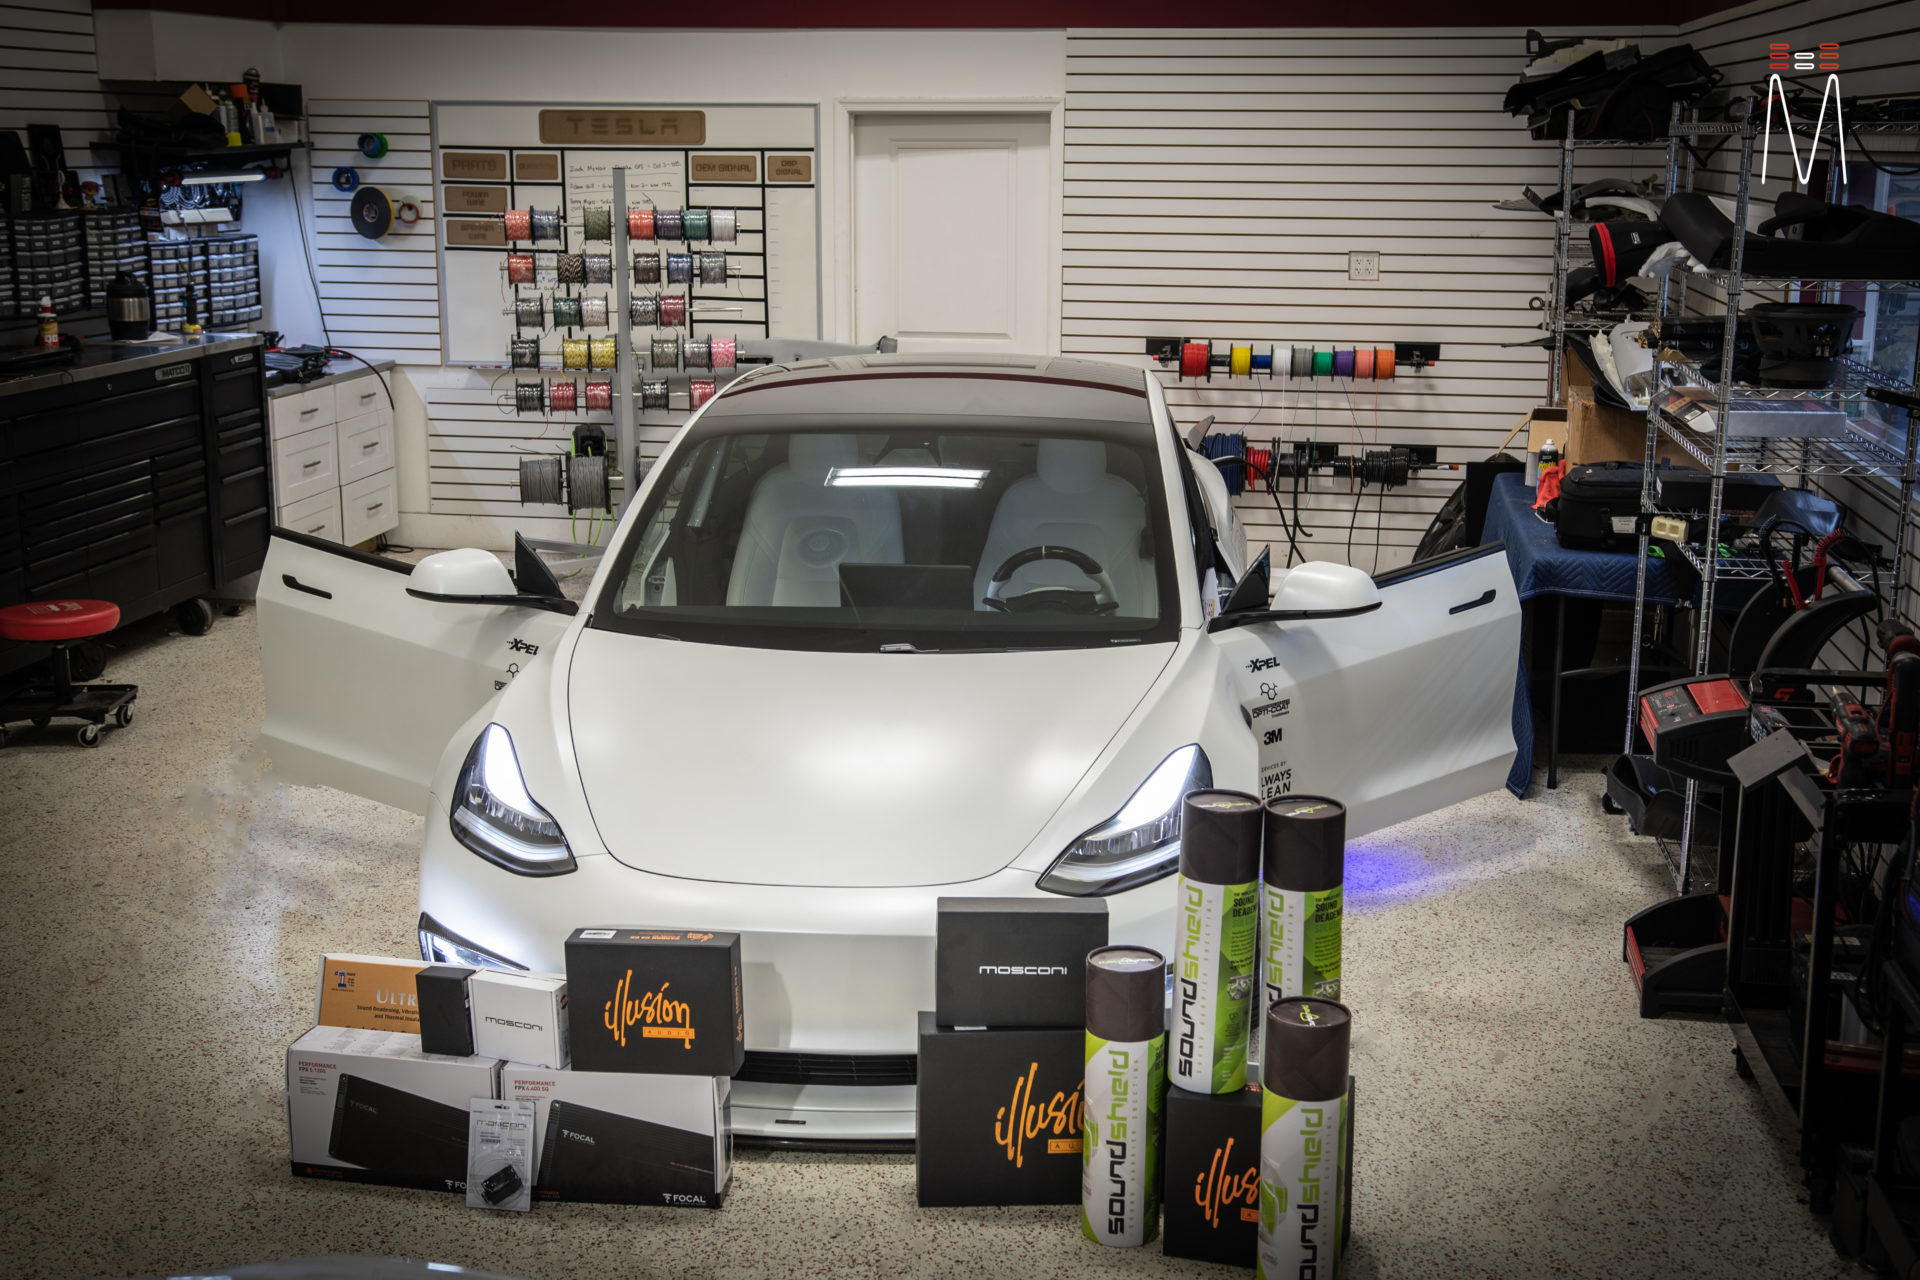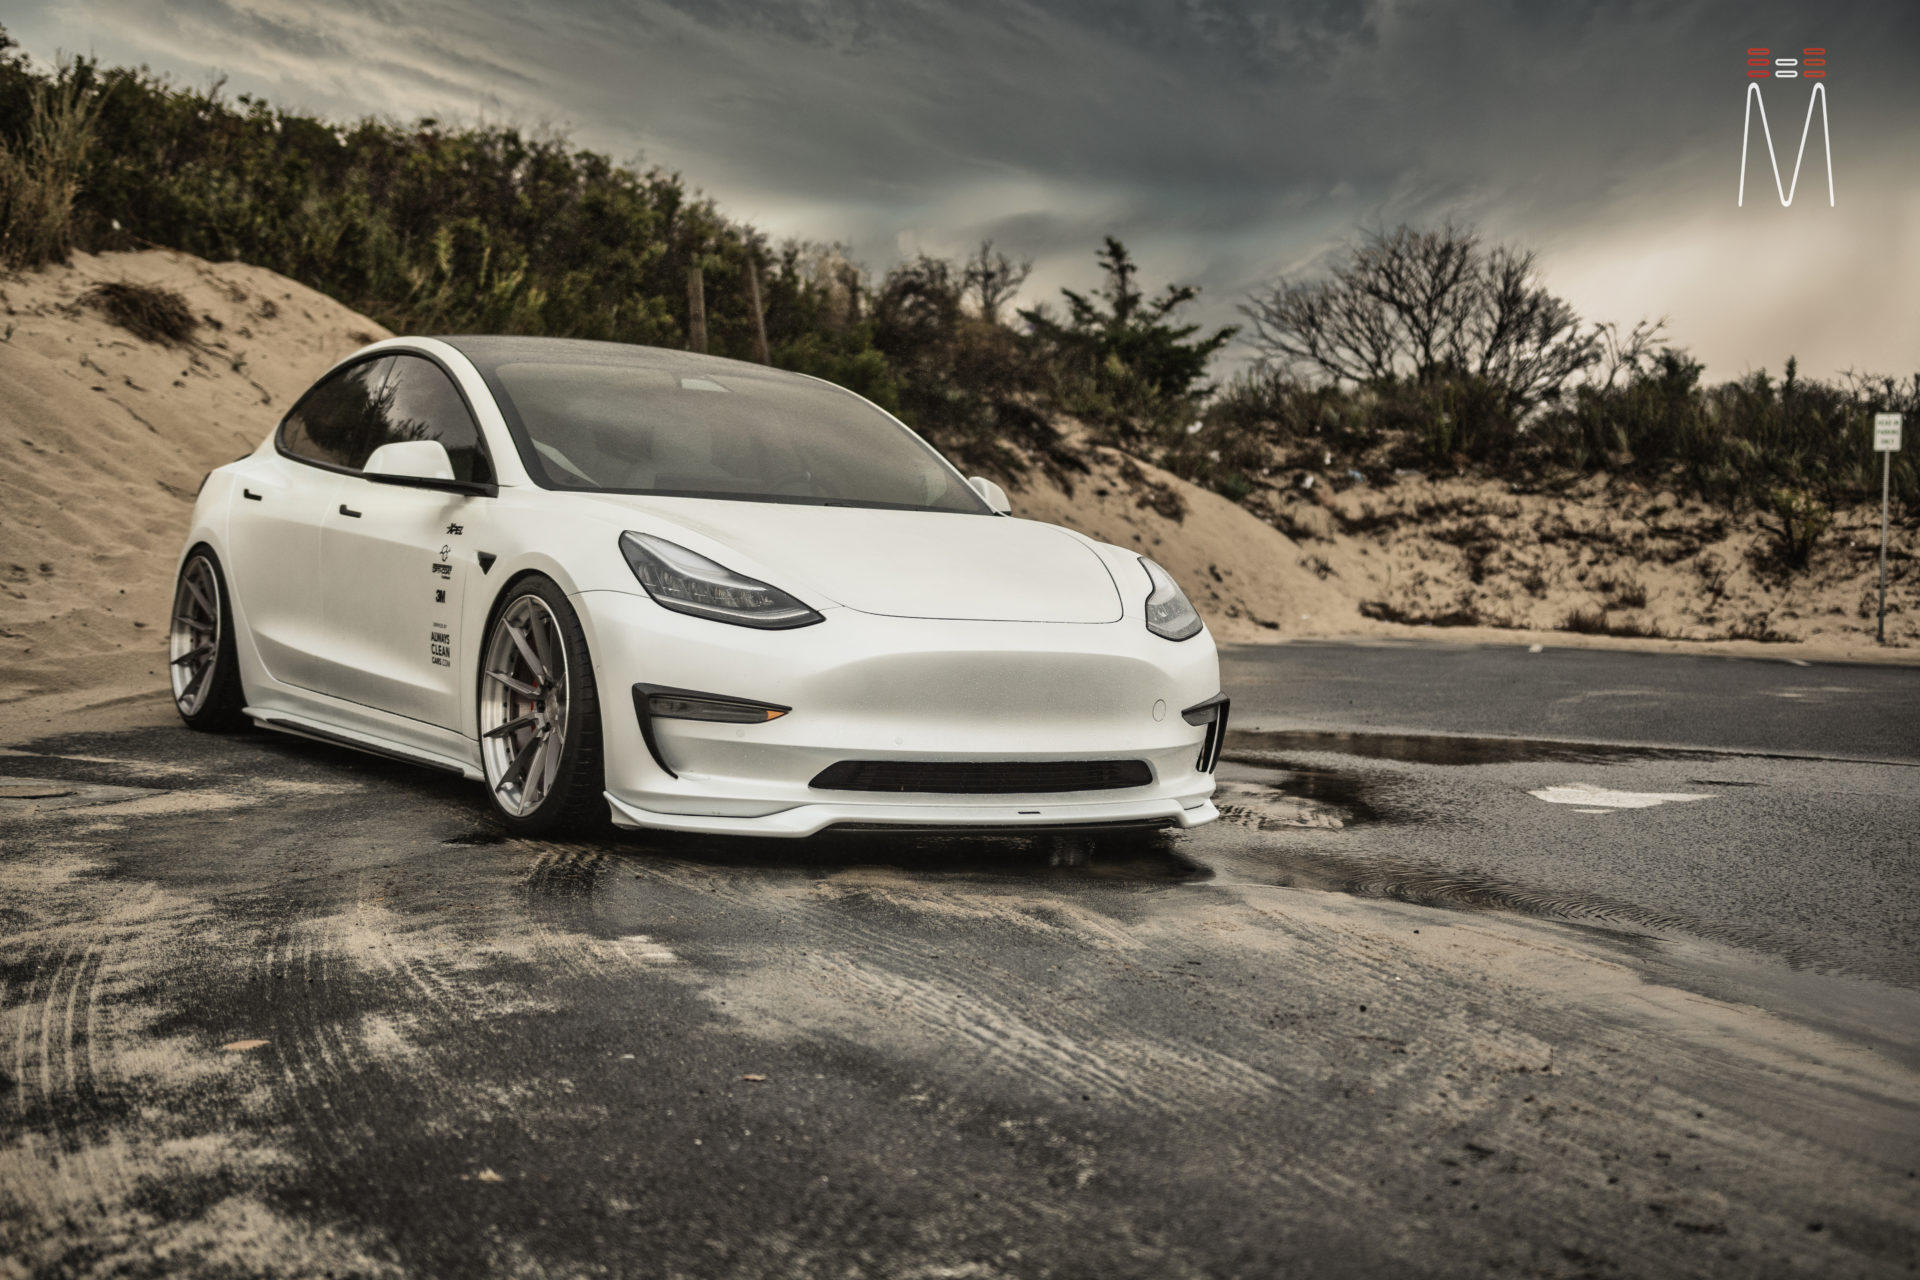
Conversion 1
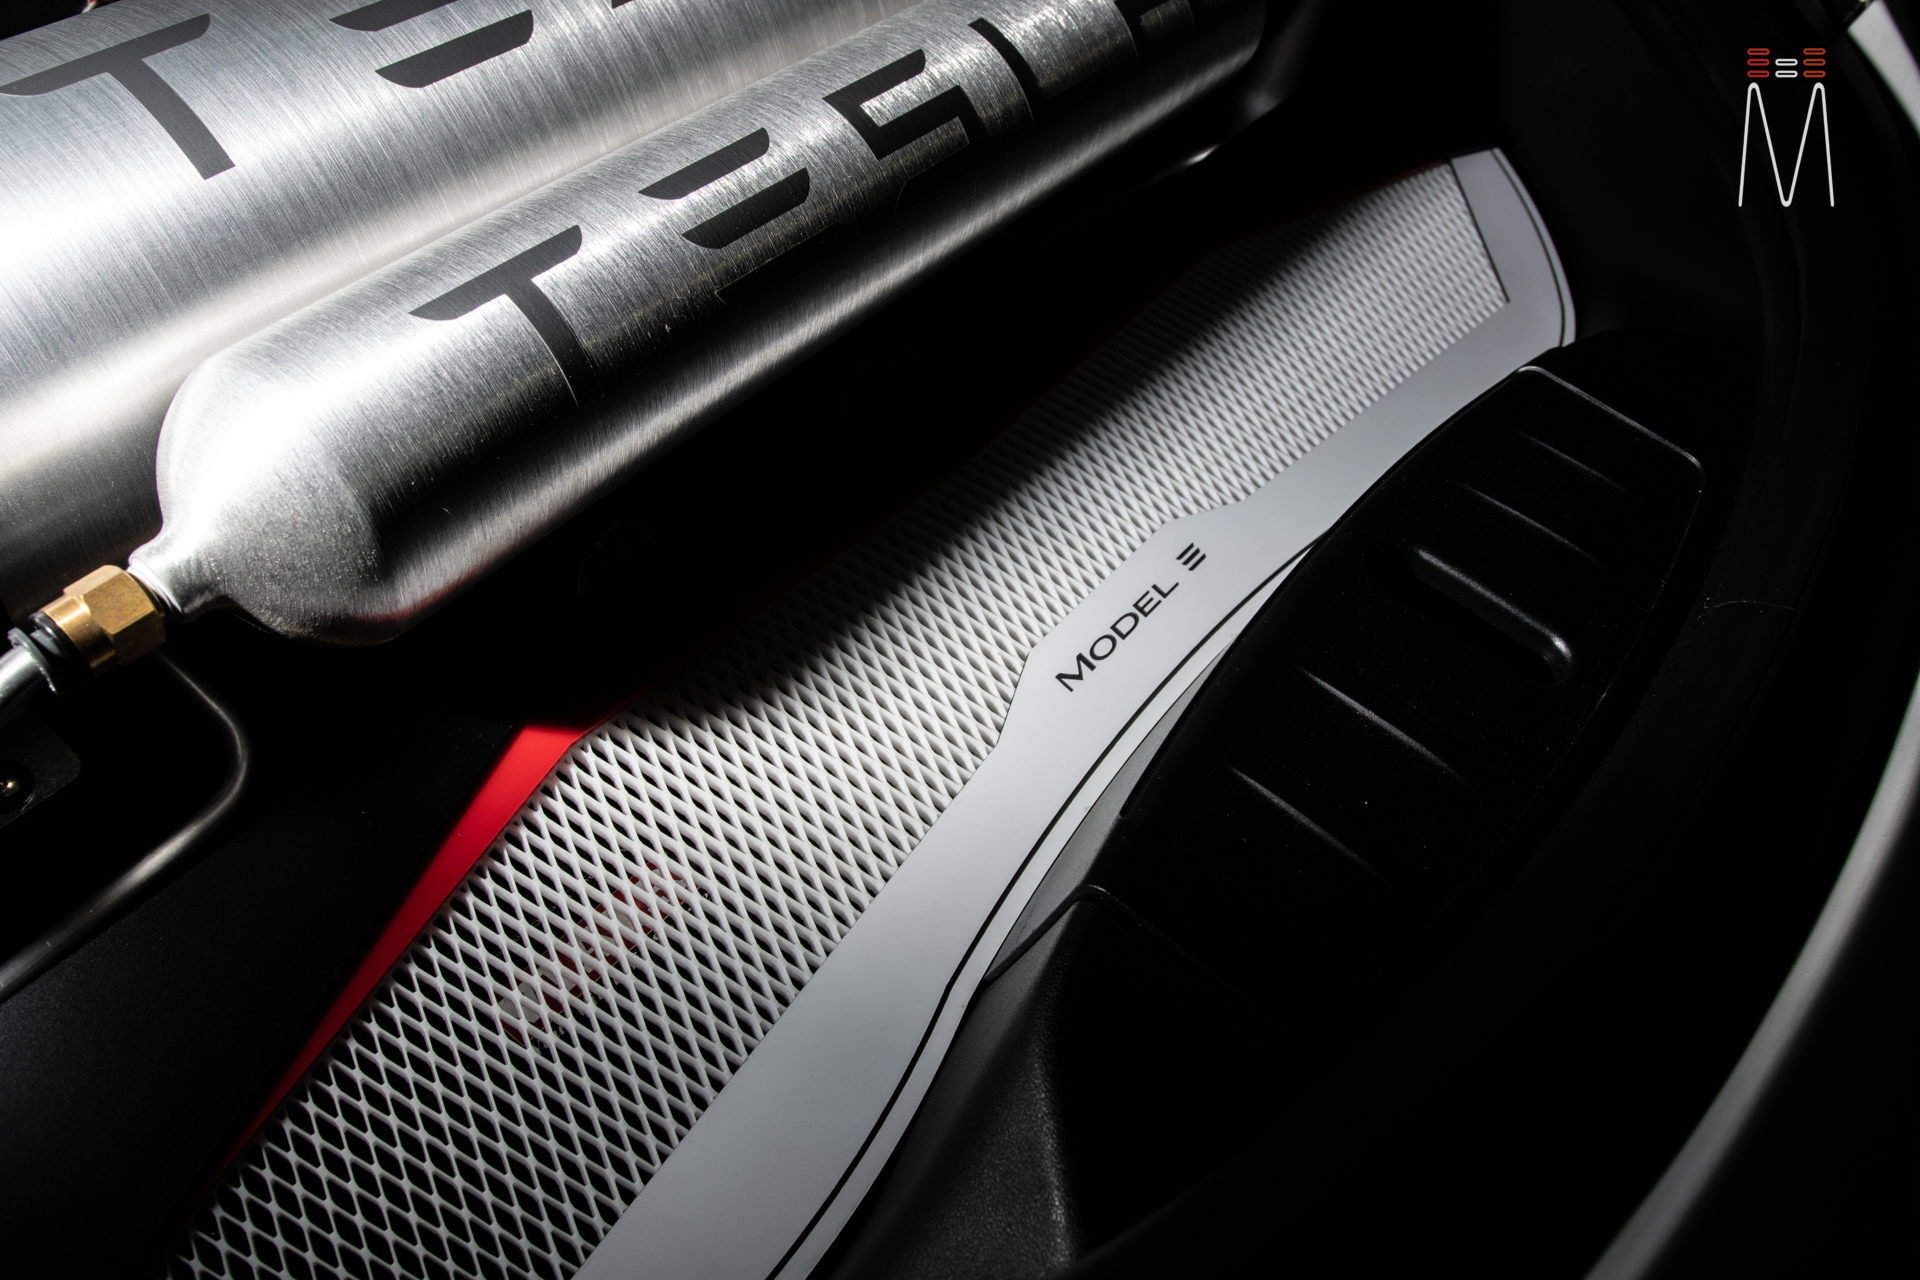
I always love when a car comes in and we have the opportunity to make it a bit flashy. This Model 3 is an active show car. The audio system we would complete, would finish off the build. With every installation we do, practicality still remains at the forefront of the design. We do not want to give up any function of the vehicle. We still had to have enough space for a stroller to fit in the trunk with all of our gear. We were allowed to use the space under the rear floor for an amp rack. So we got to work with coming up with a design that remains practical while drawing in attention at a car show.
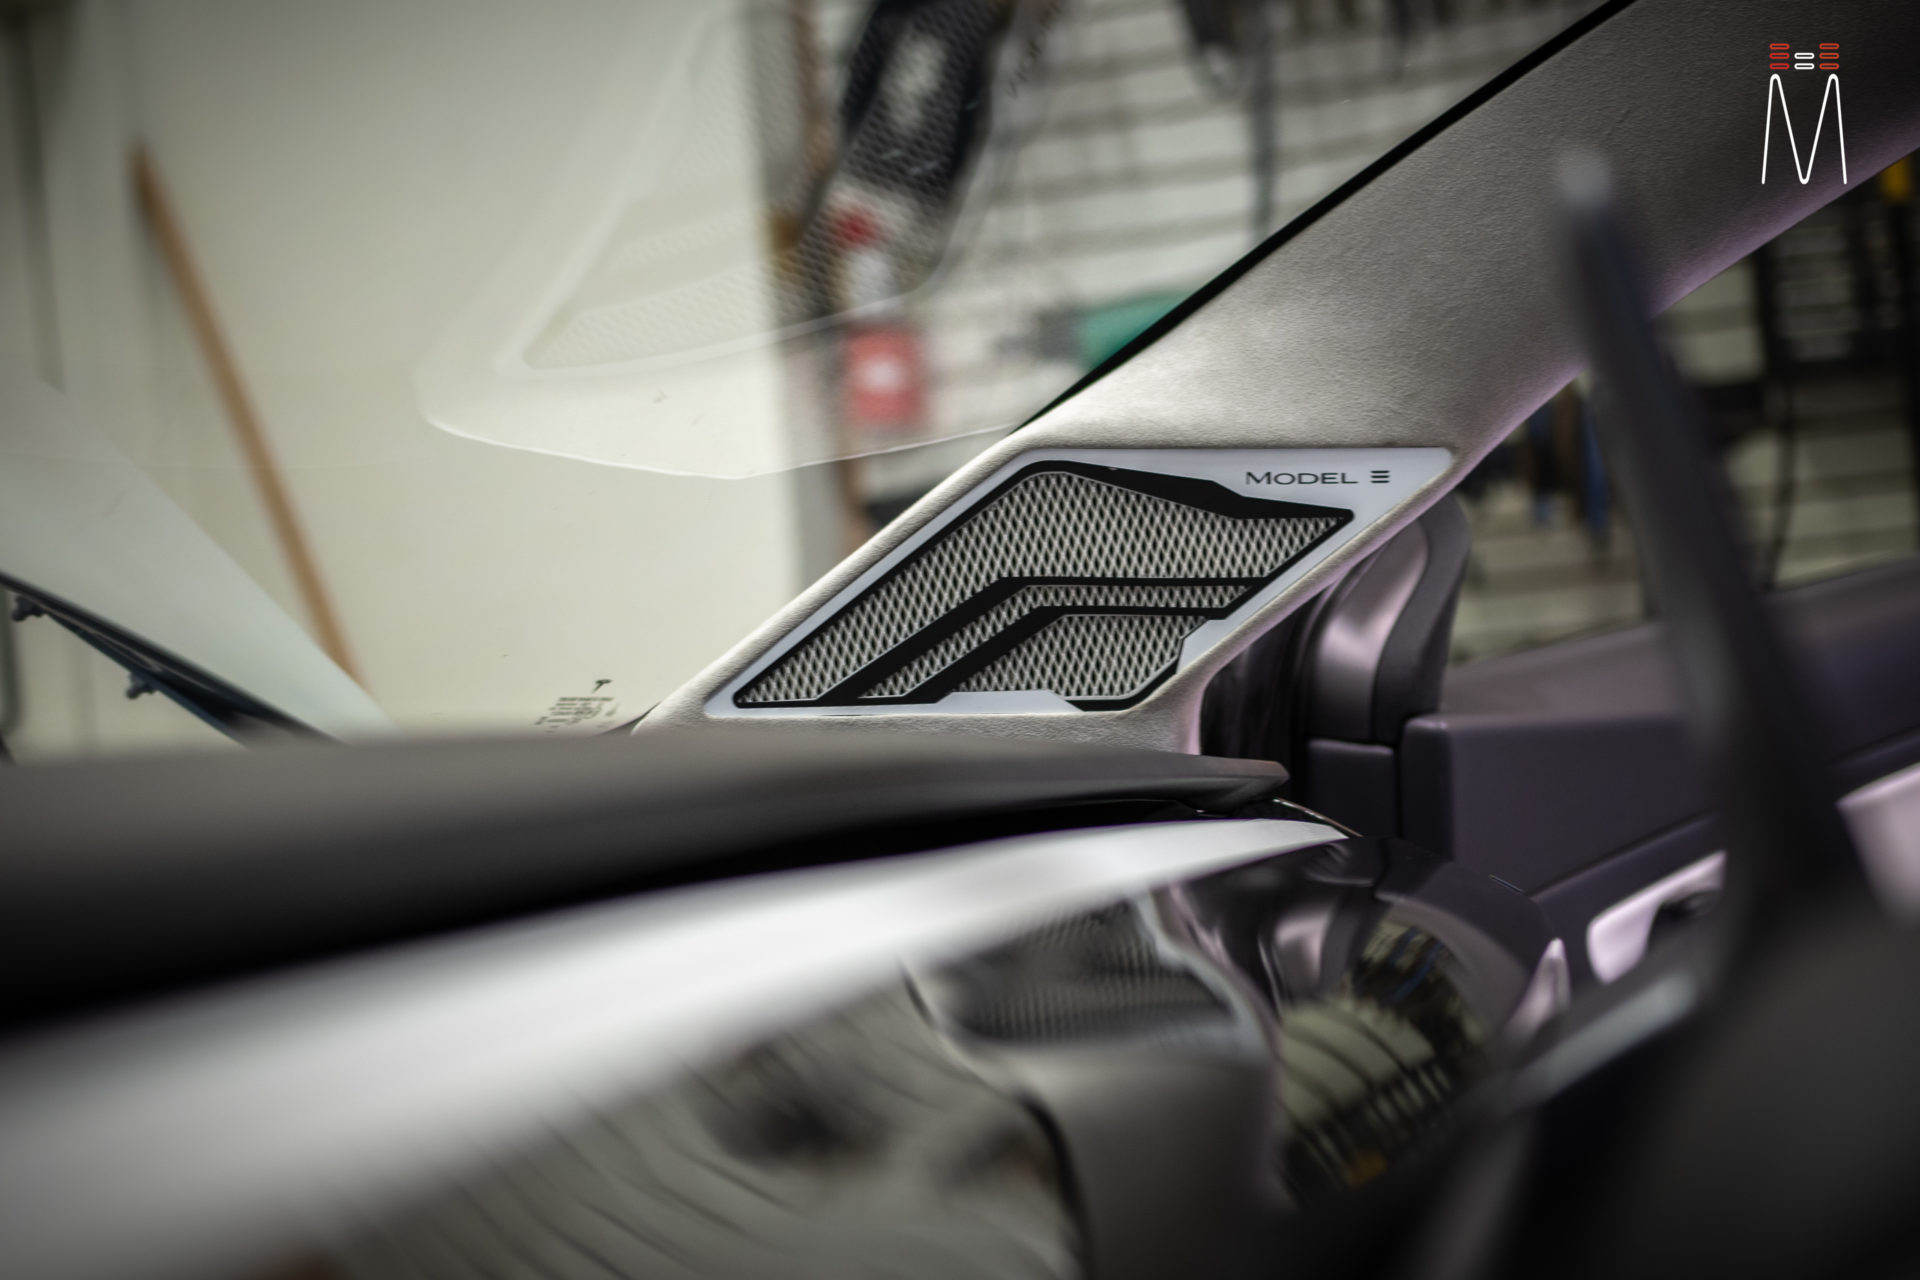
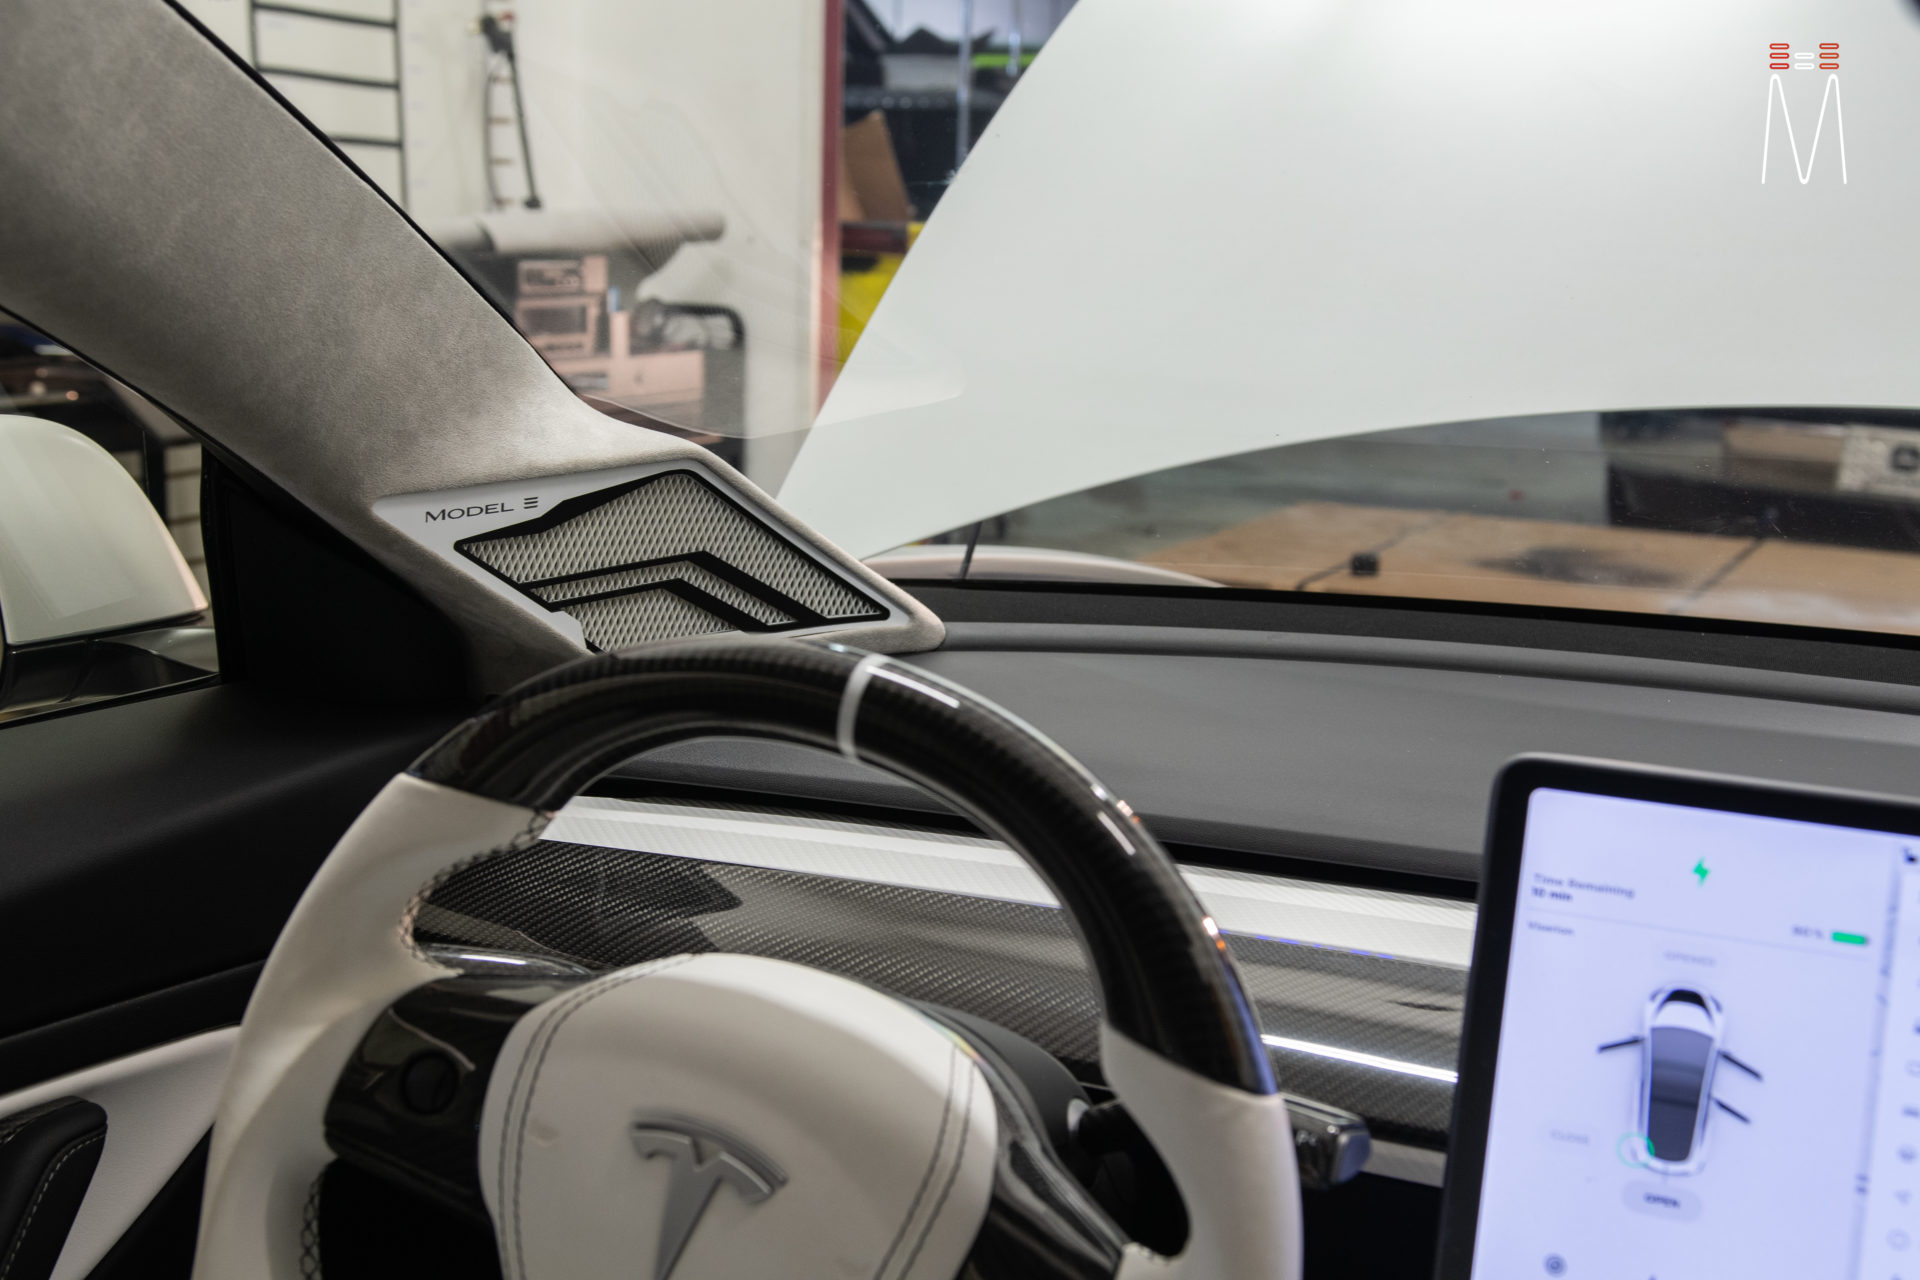
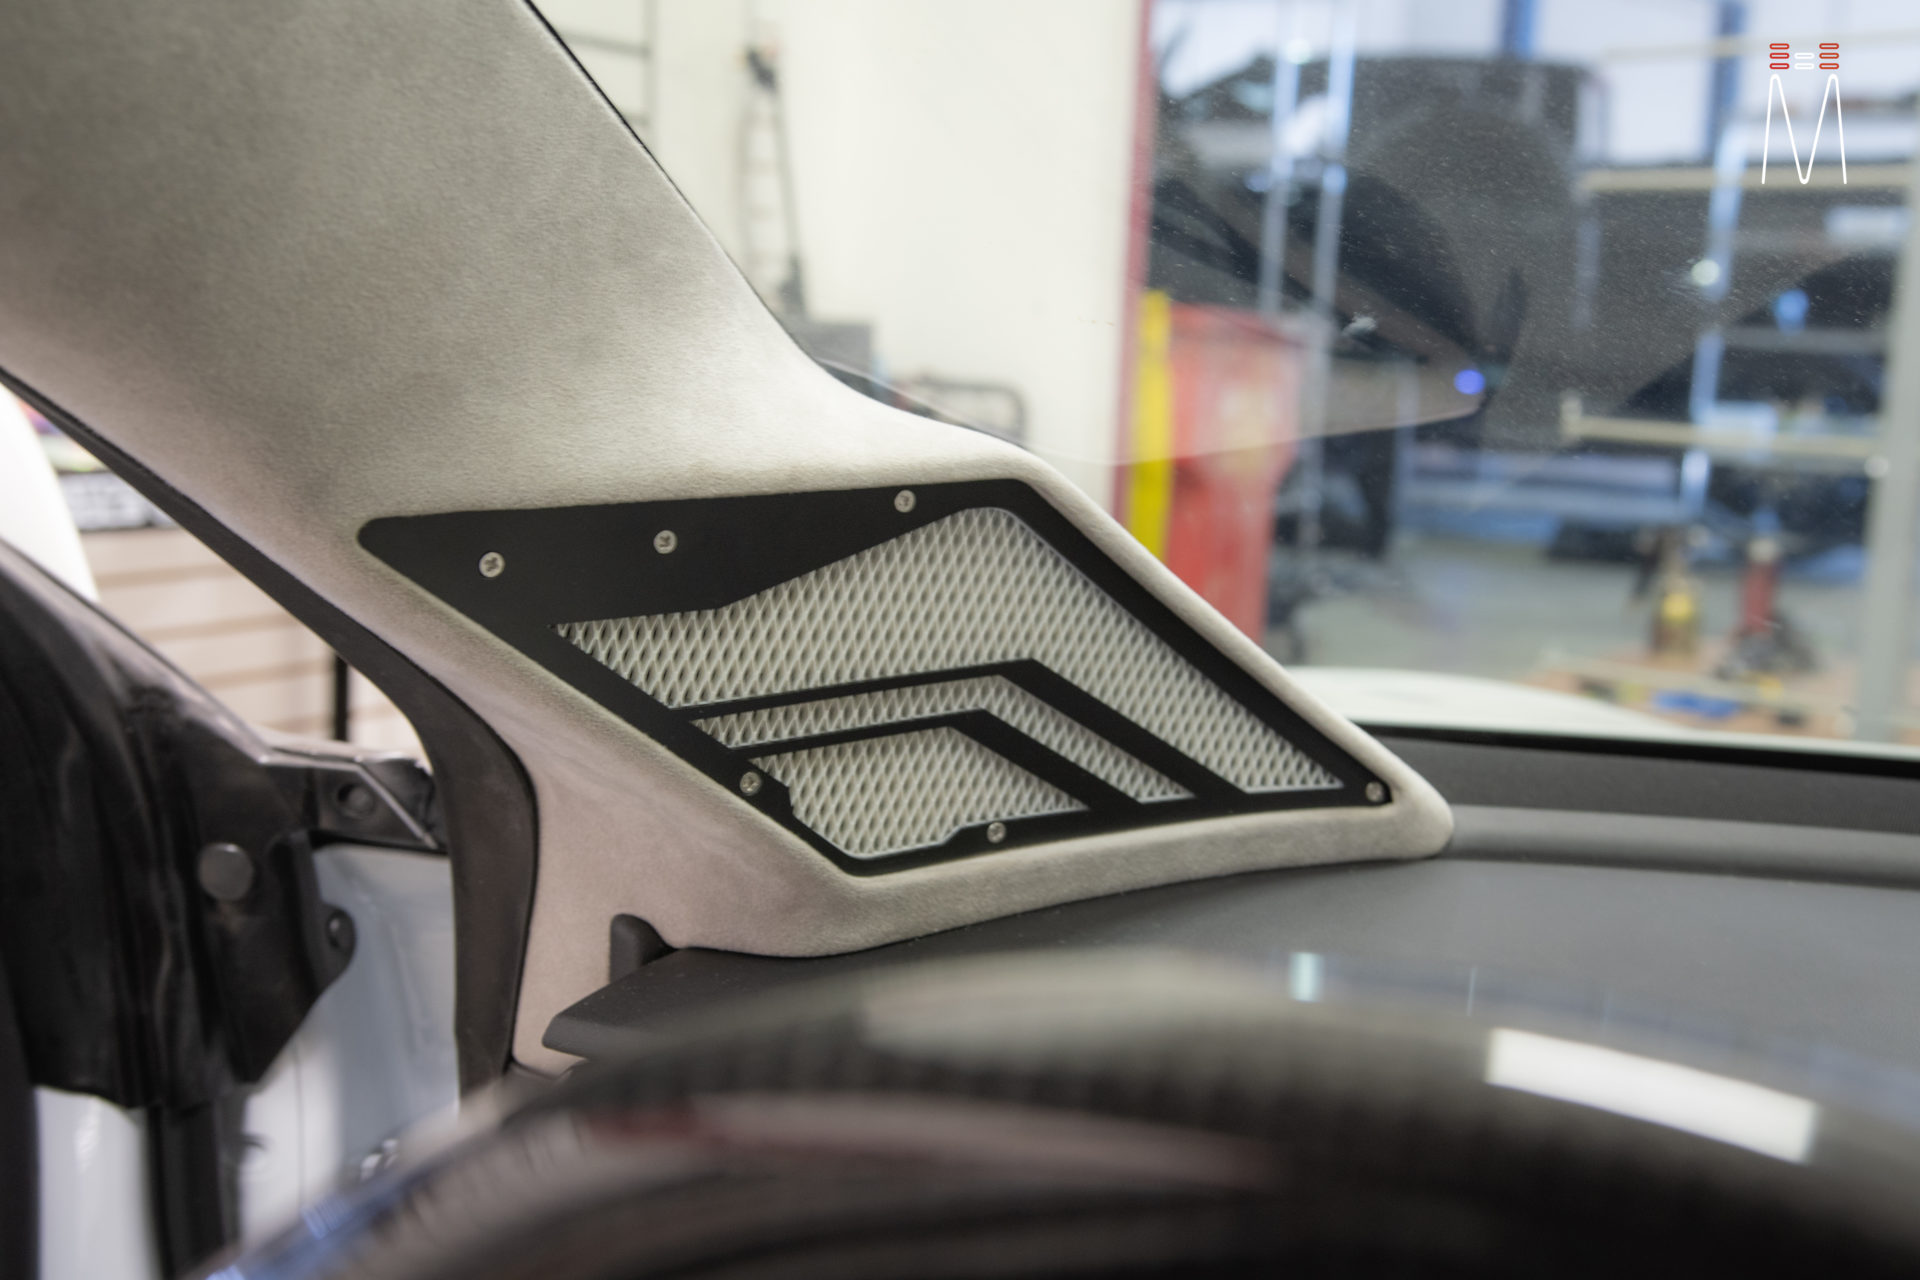
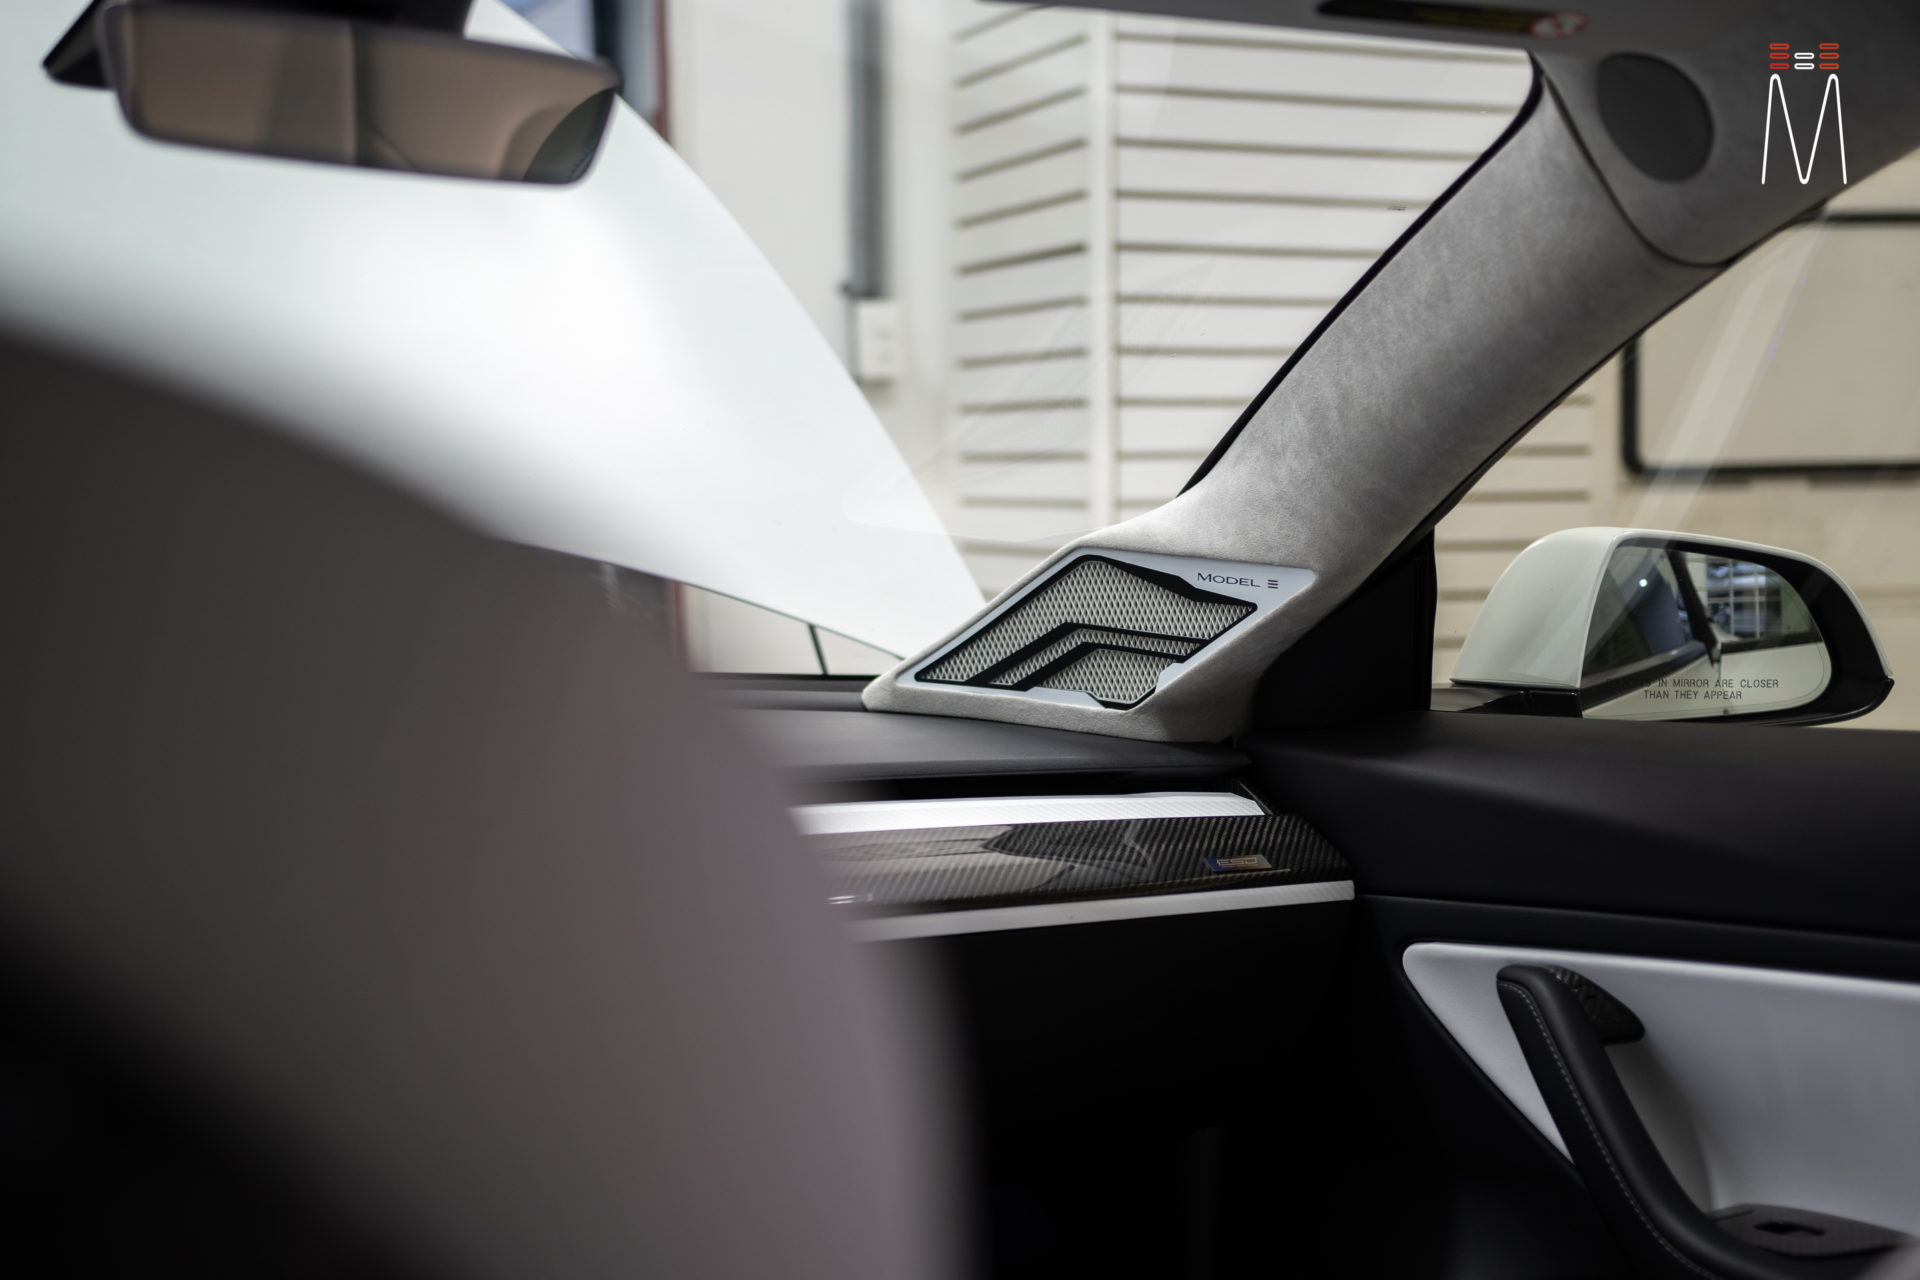
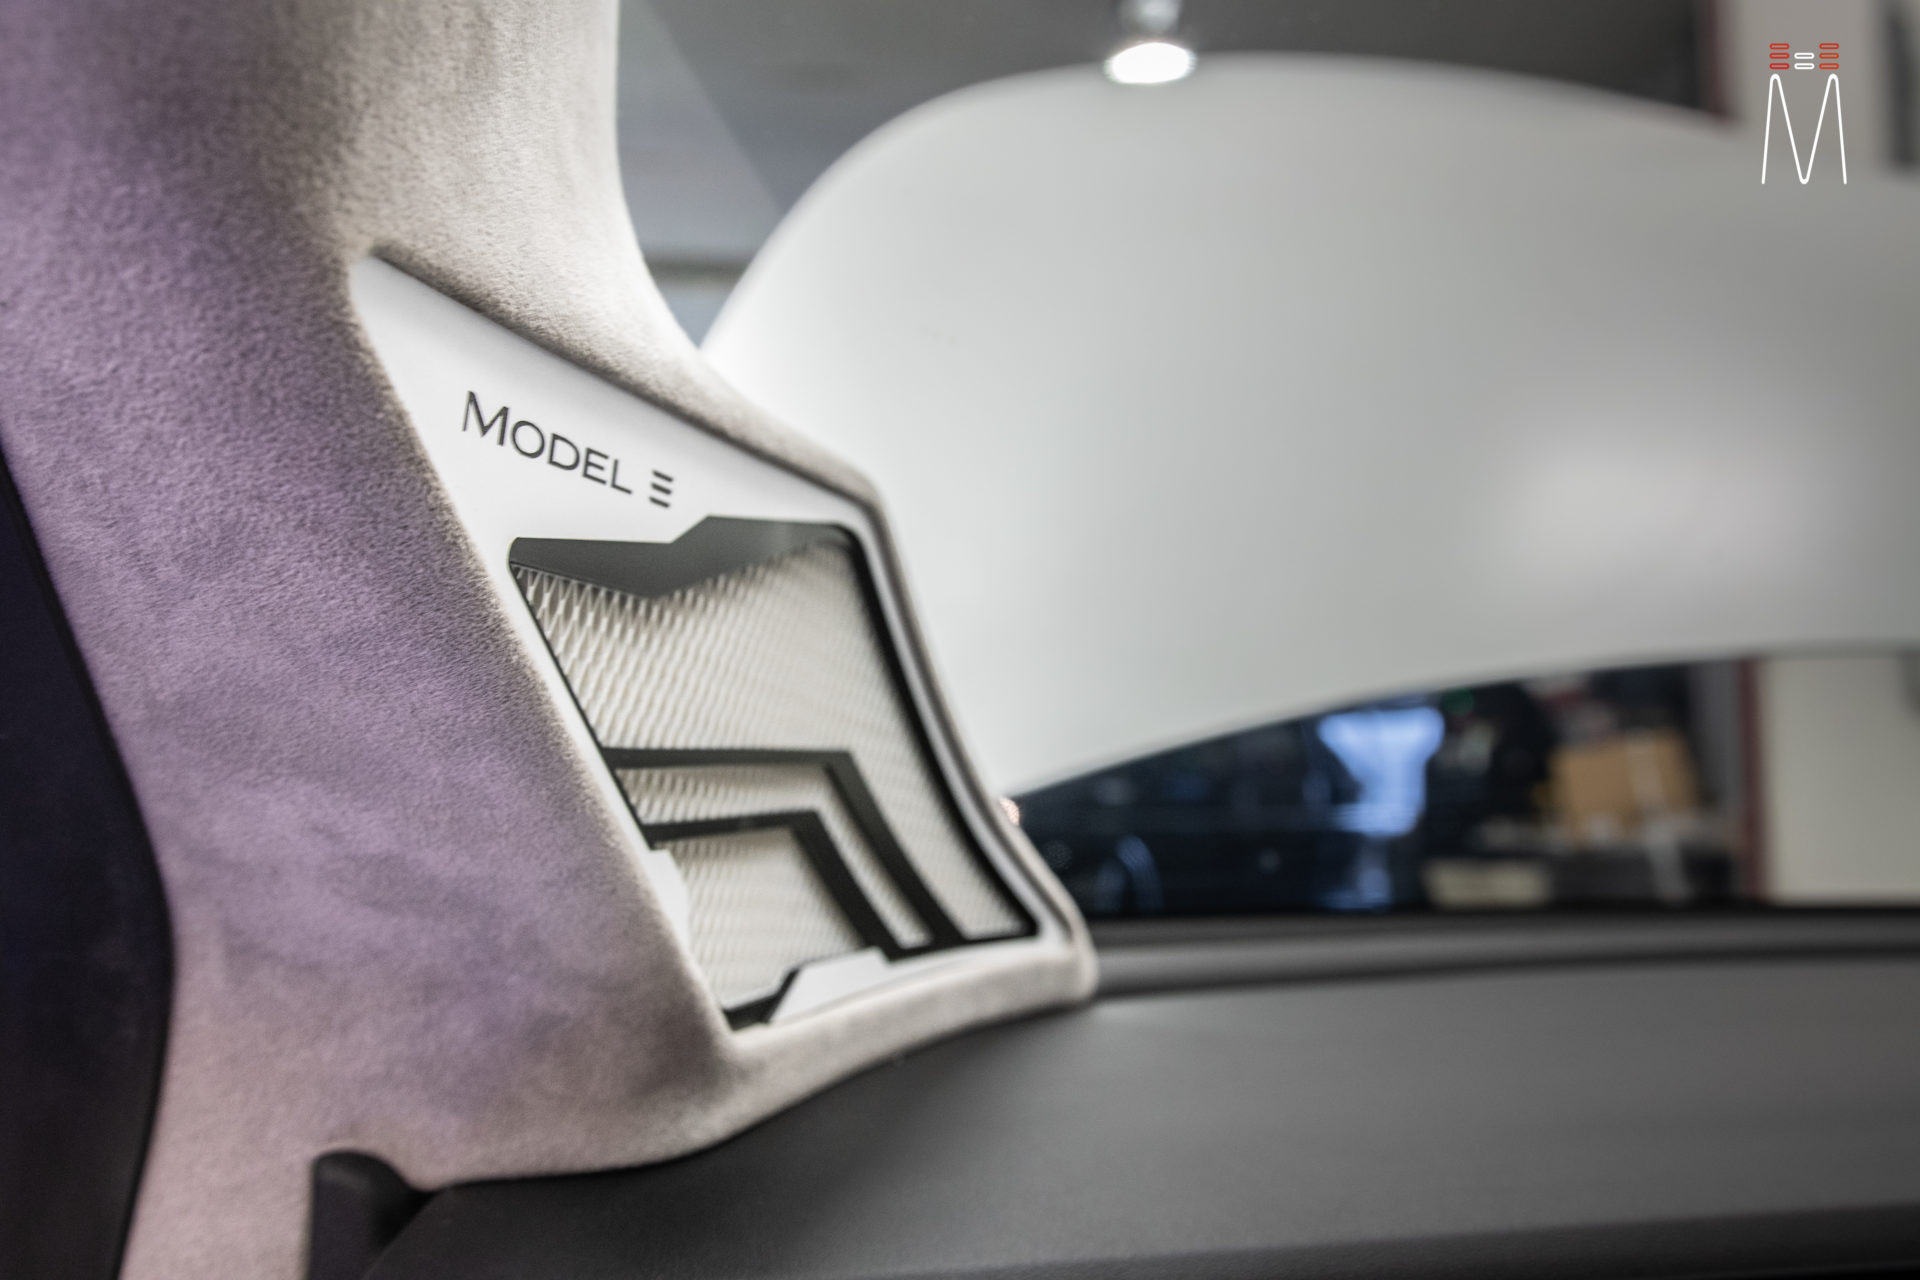
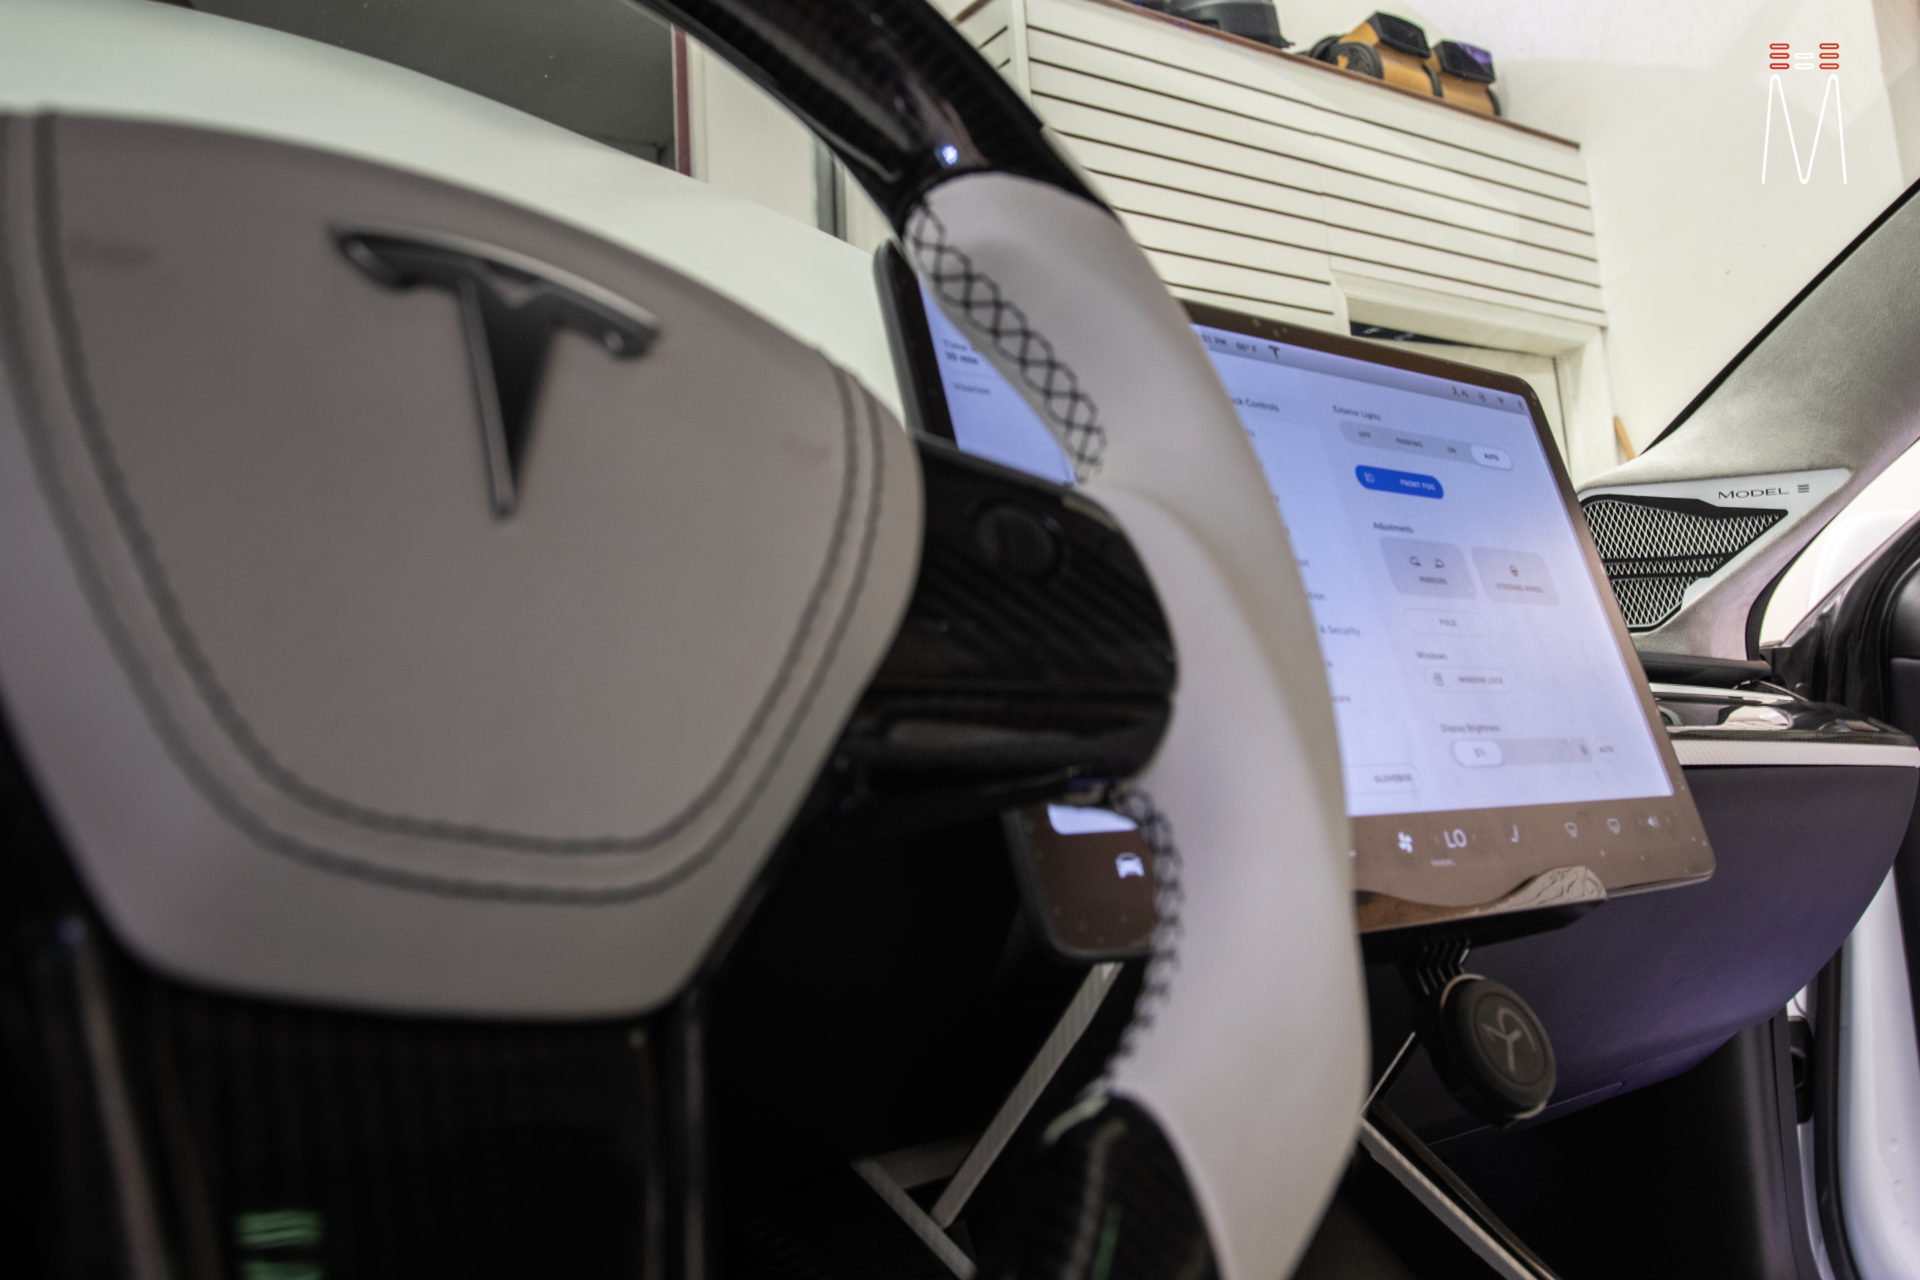
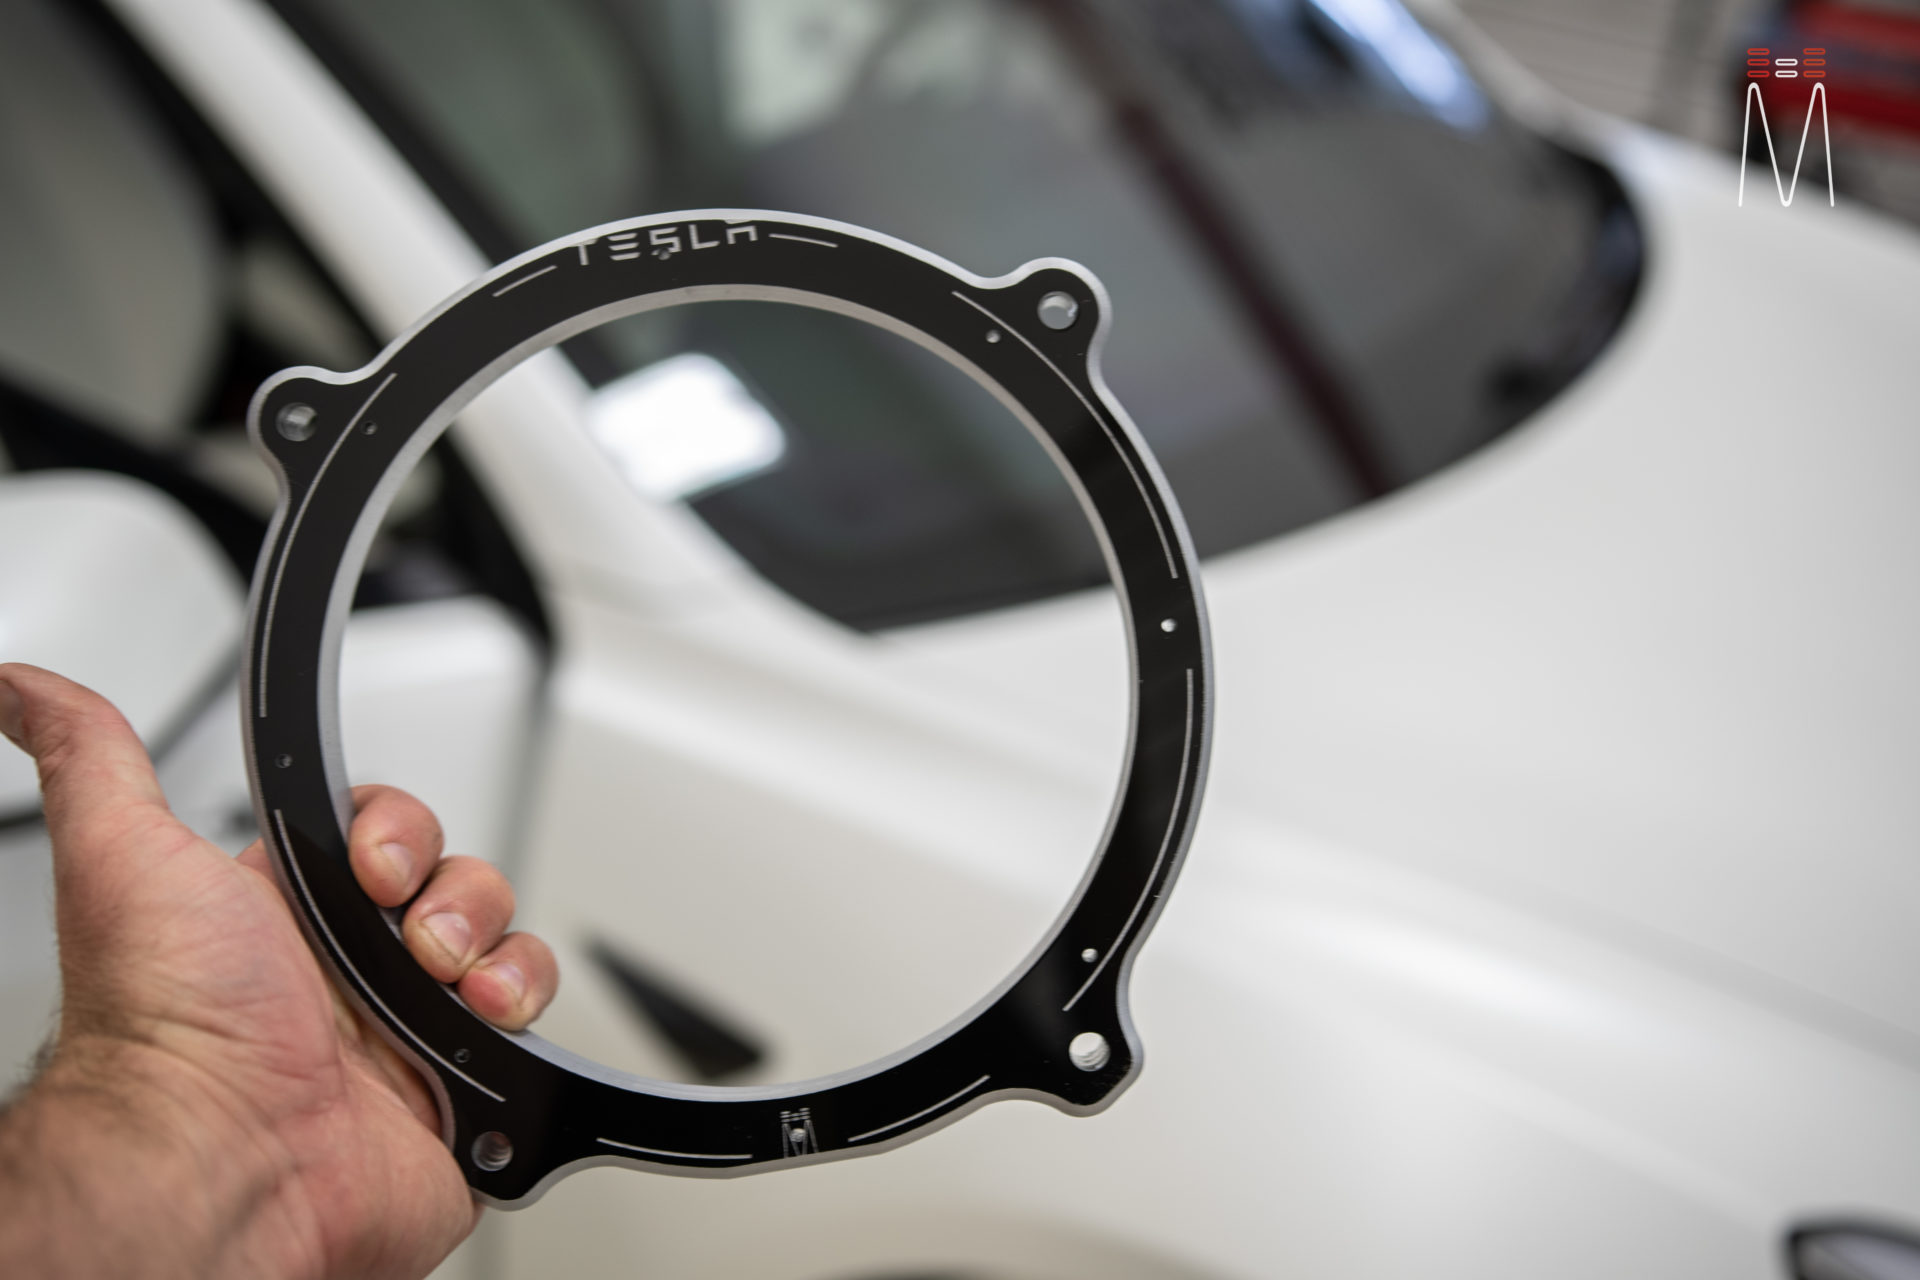
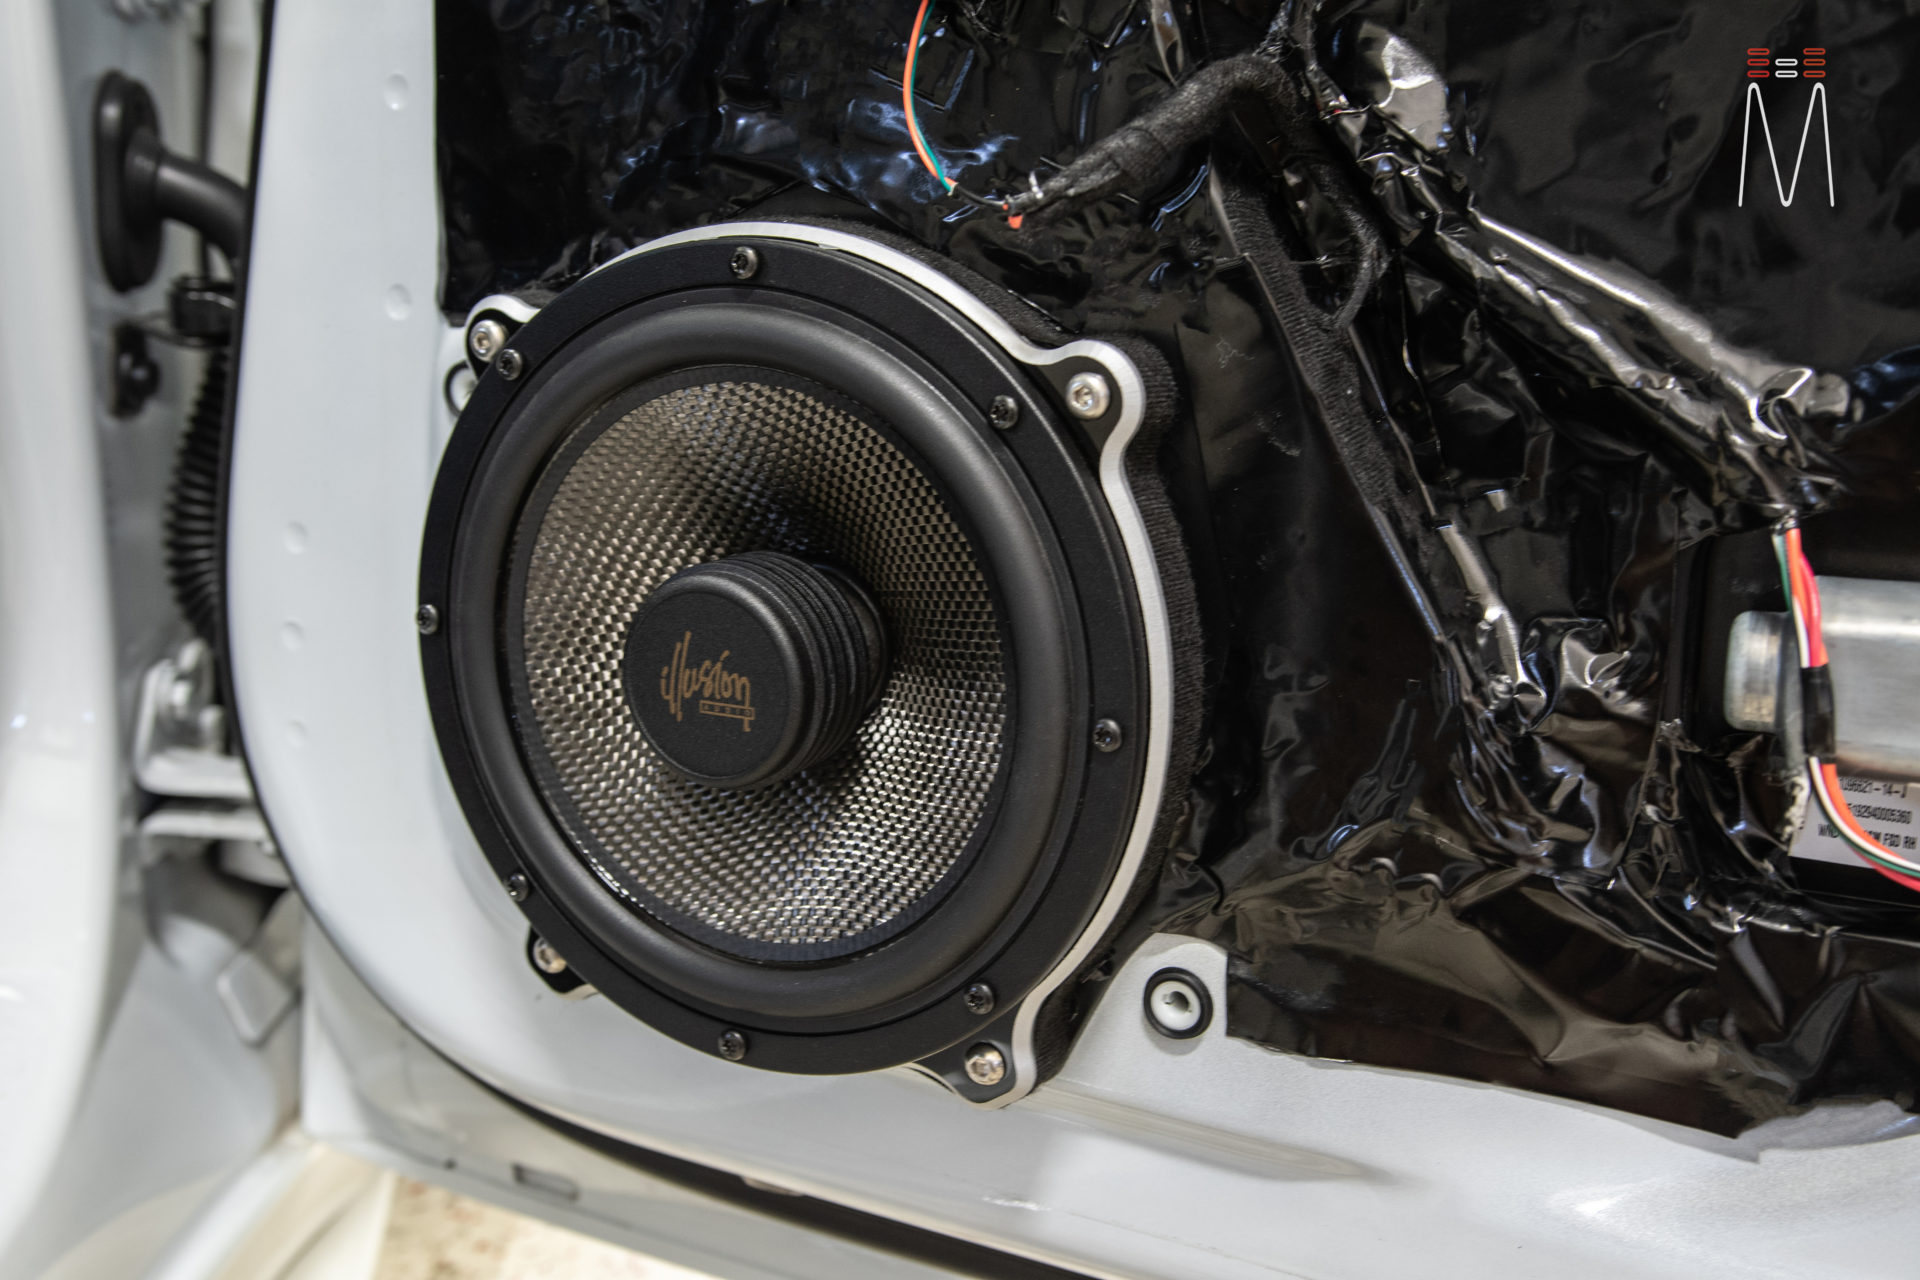
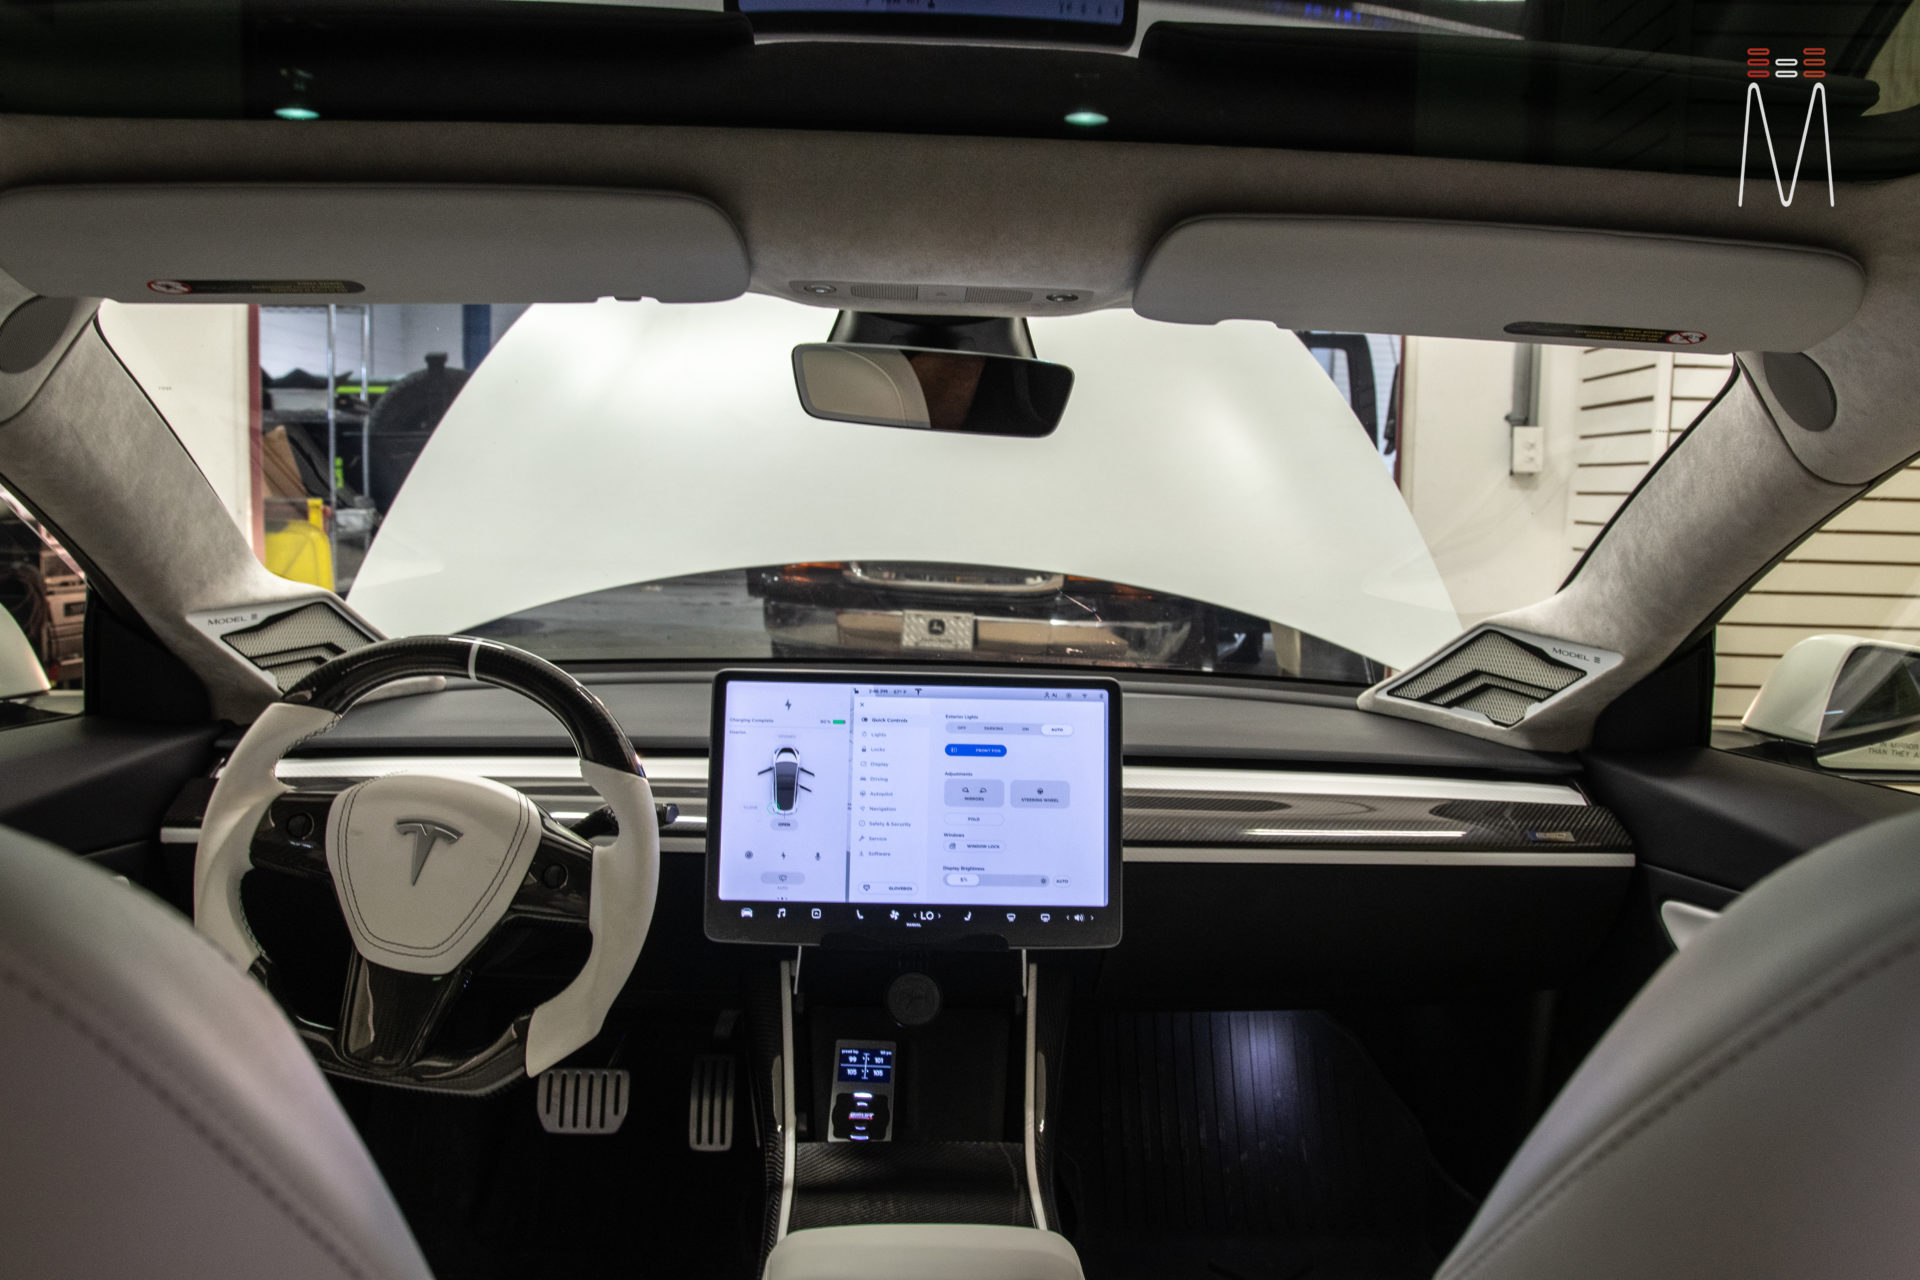
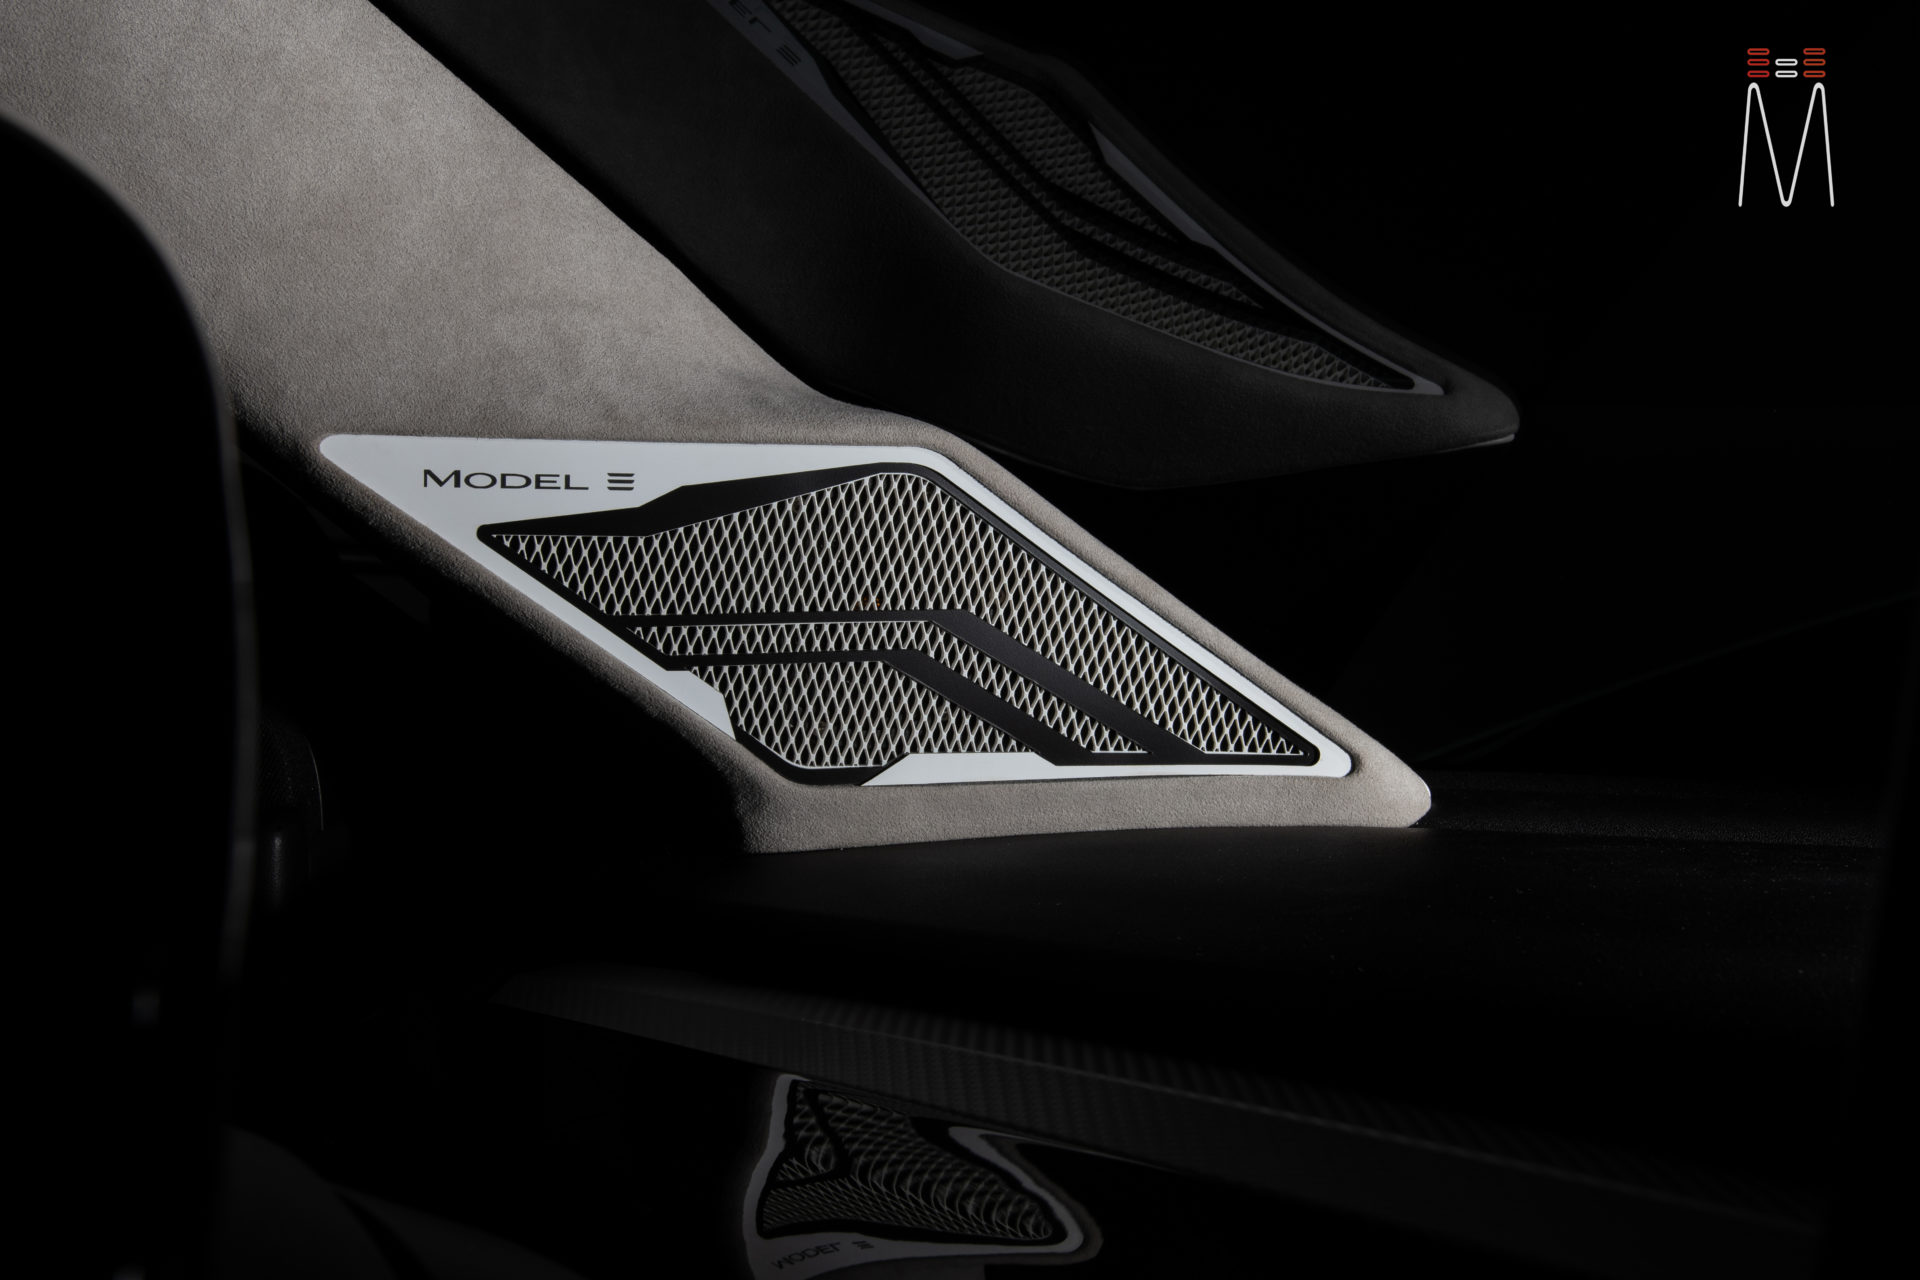
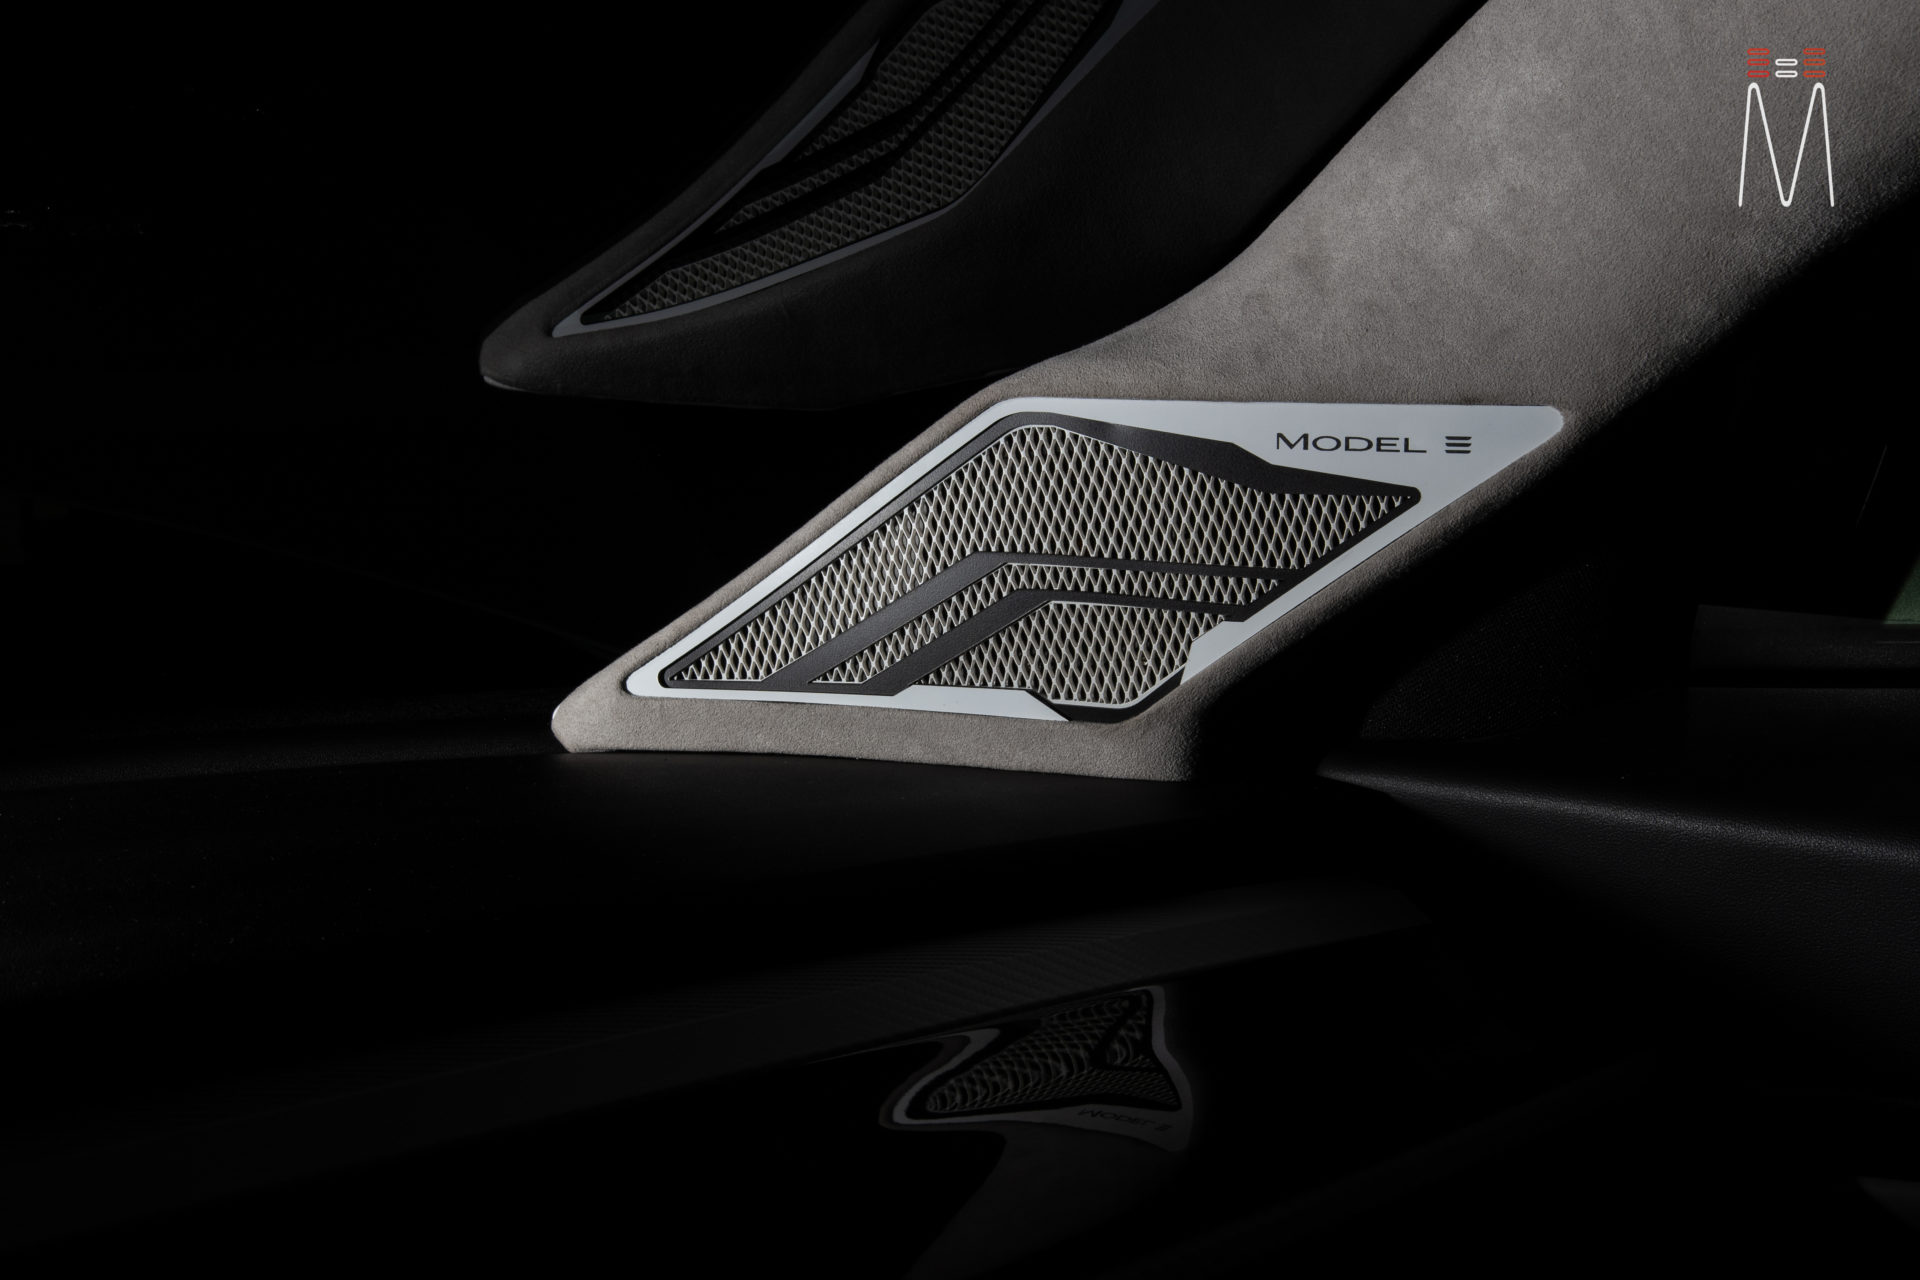
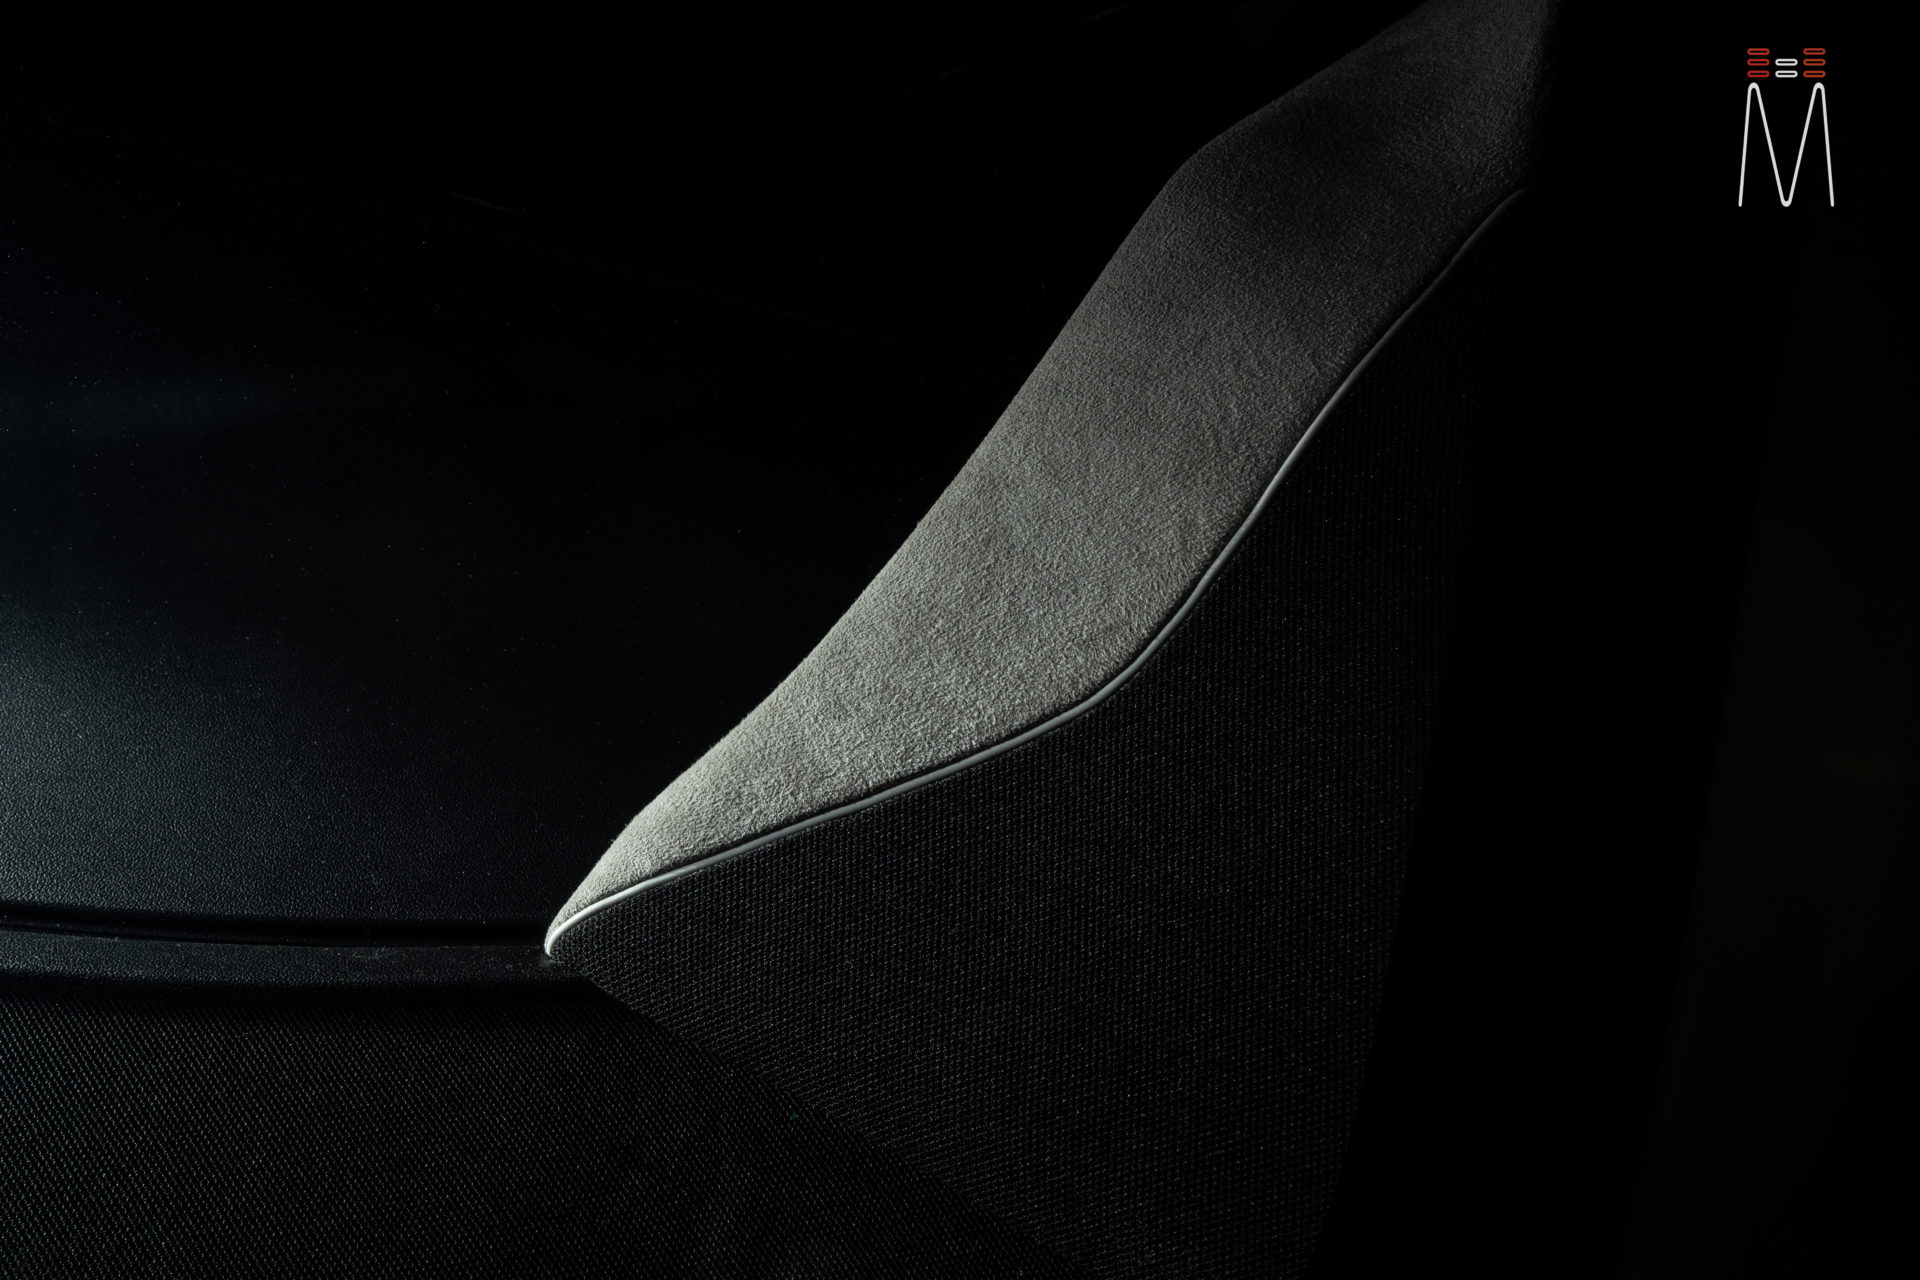
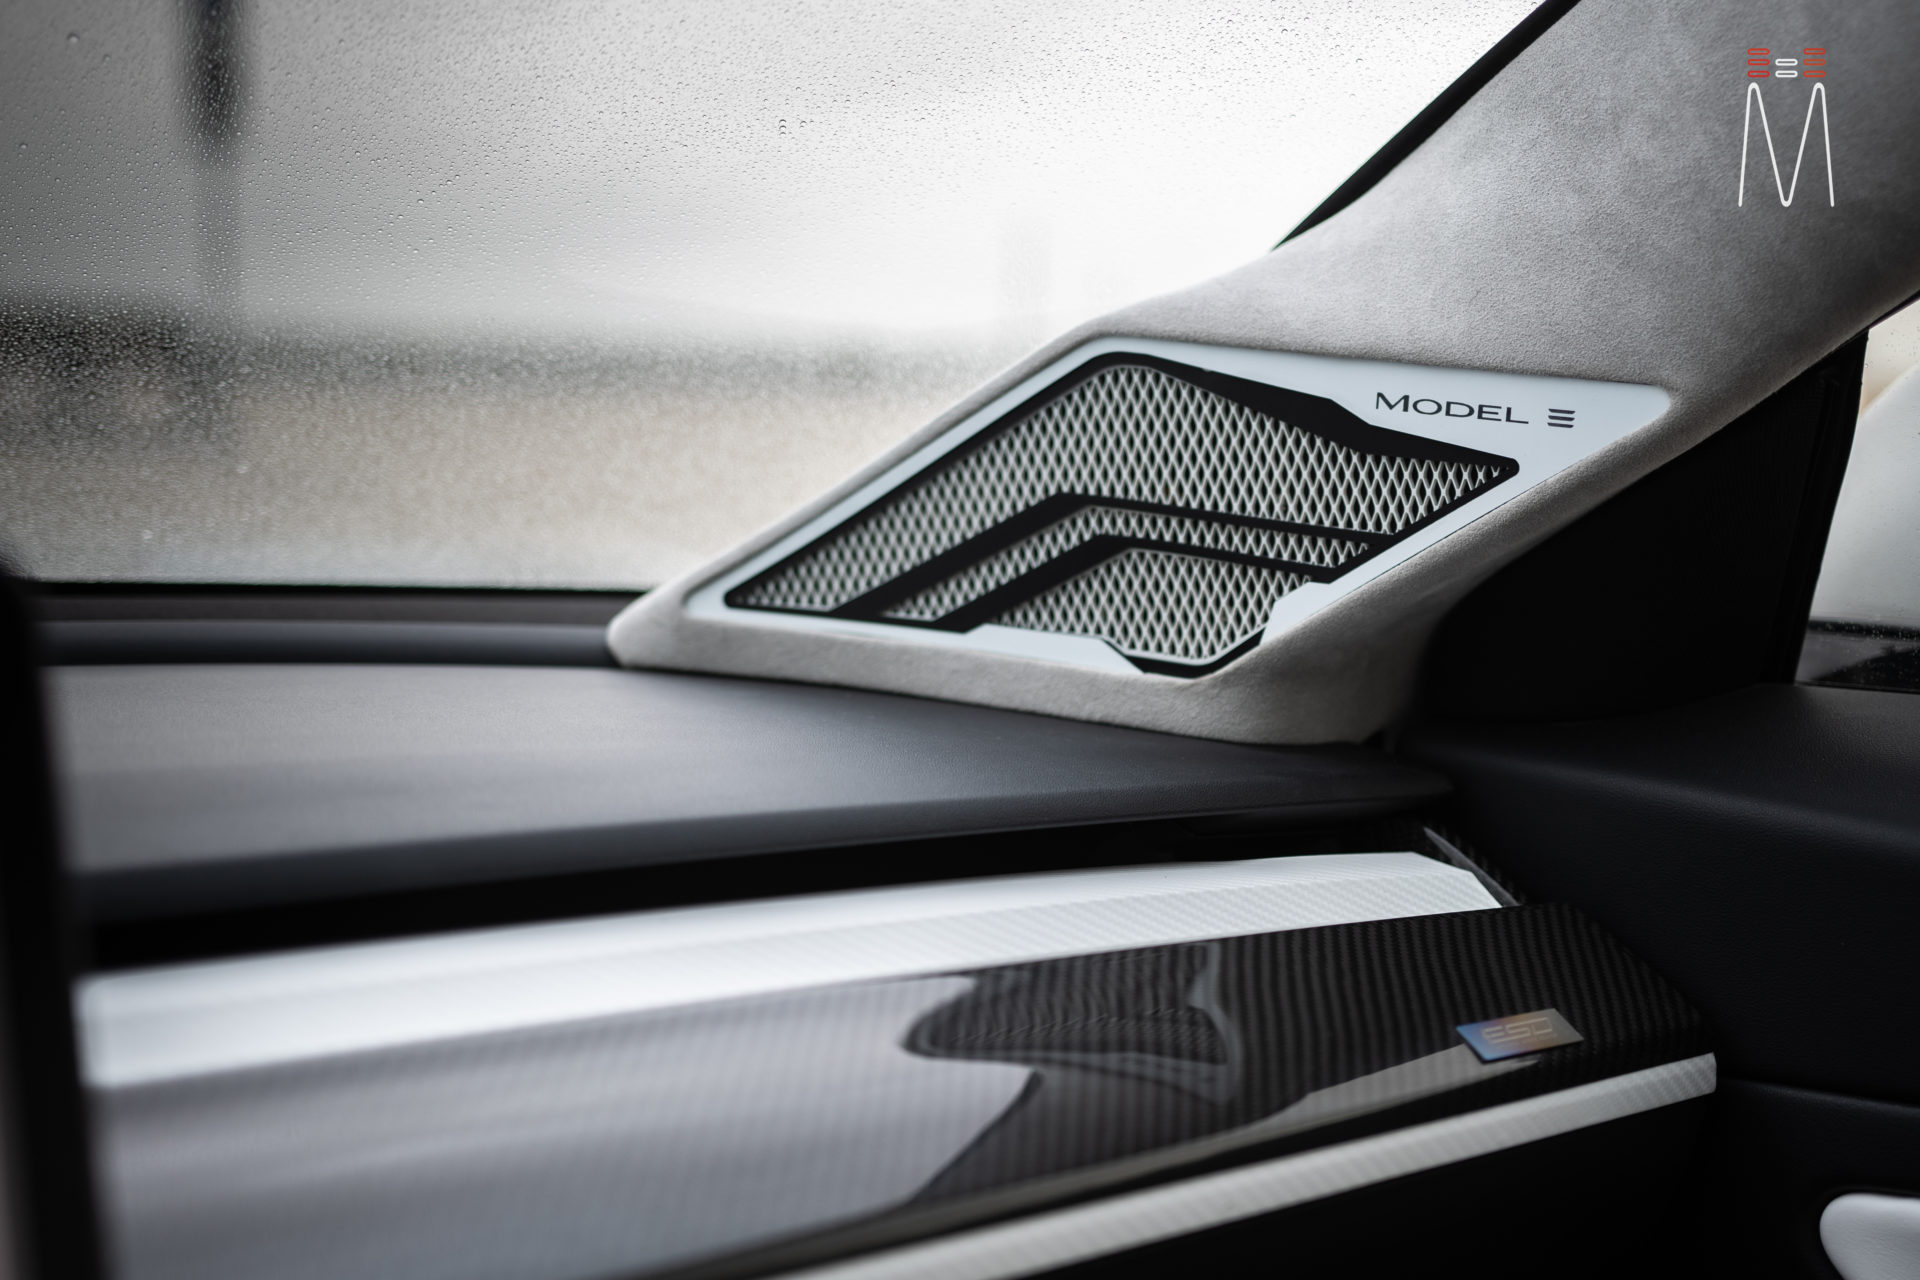
Starting with the front stage, we fabricated custom a-pillars to house a set of Illusion Carbon C3CX. These are point source midrange / tweeters. The shape of the factory dash grill gave us the inspiration and ability to fabricate the a-pillars on axis. The OEM dash grill arc’s across the dashboard. So with our speakers on axis, your eyes see the dash grille shape which flows into the pillars. On the side that is exposed to the windshield, the pillar was split and matching grill cloth was used to create a seamless transition looking through the glass. This also made the pillar look sleek and not heavy or bulky. The front of the pillar was finished off with multiple layers of acrylic to match various interior design. A set of Illusion Carbon C8 midbass woofers were used in the lower door location. The doors were sound treated with a combination of Hushmat and Sound Shield. Custom 1” acrylic adapted were made to house our C8 woofers into the factory location. In this scenario, the OEM rear deck speakers were left in place, while the rear door speakers were deactivated.
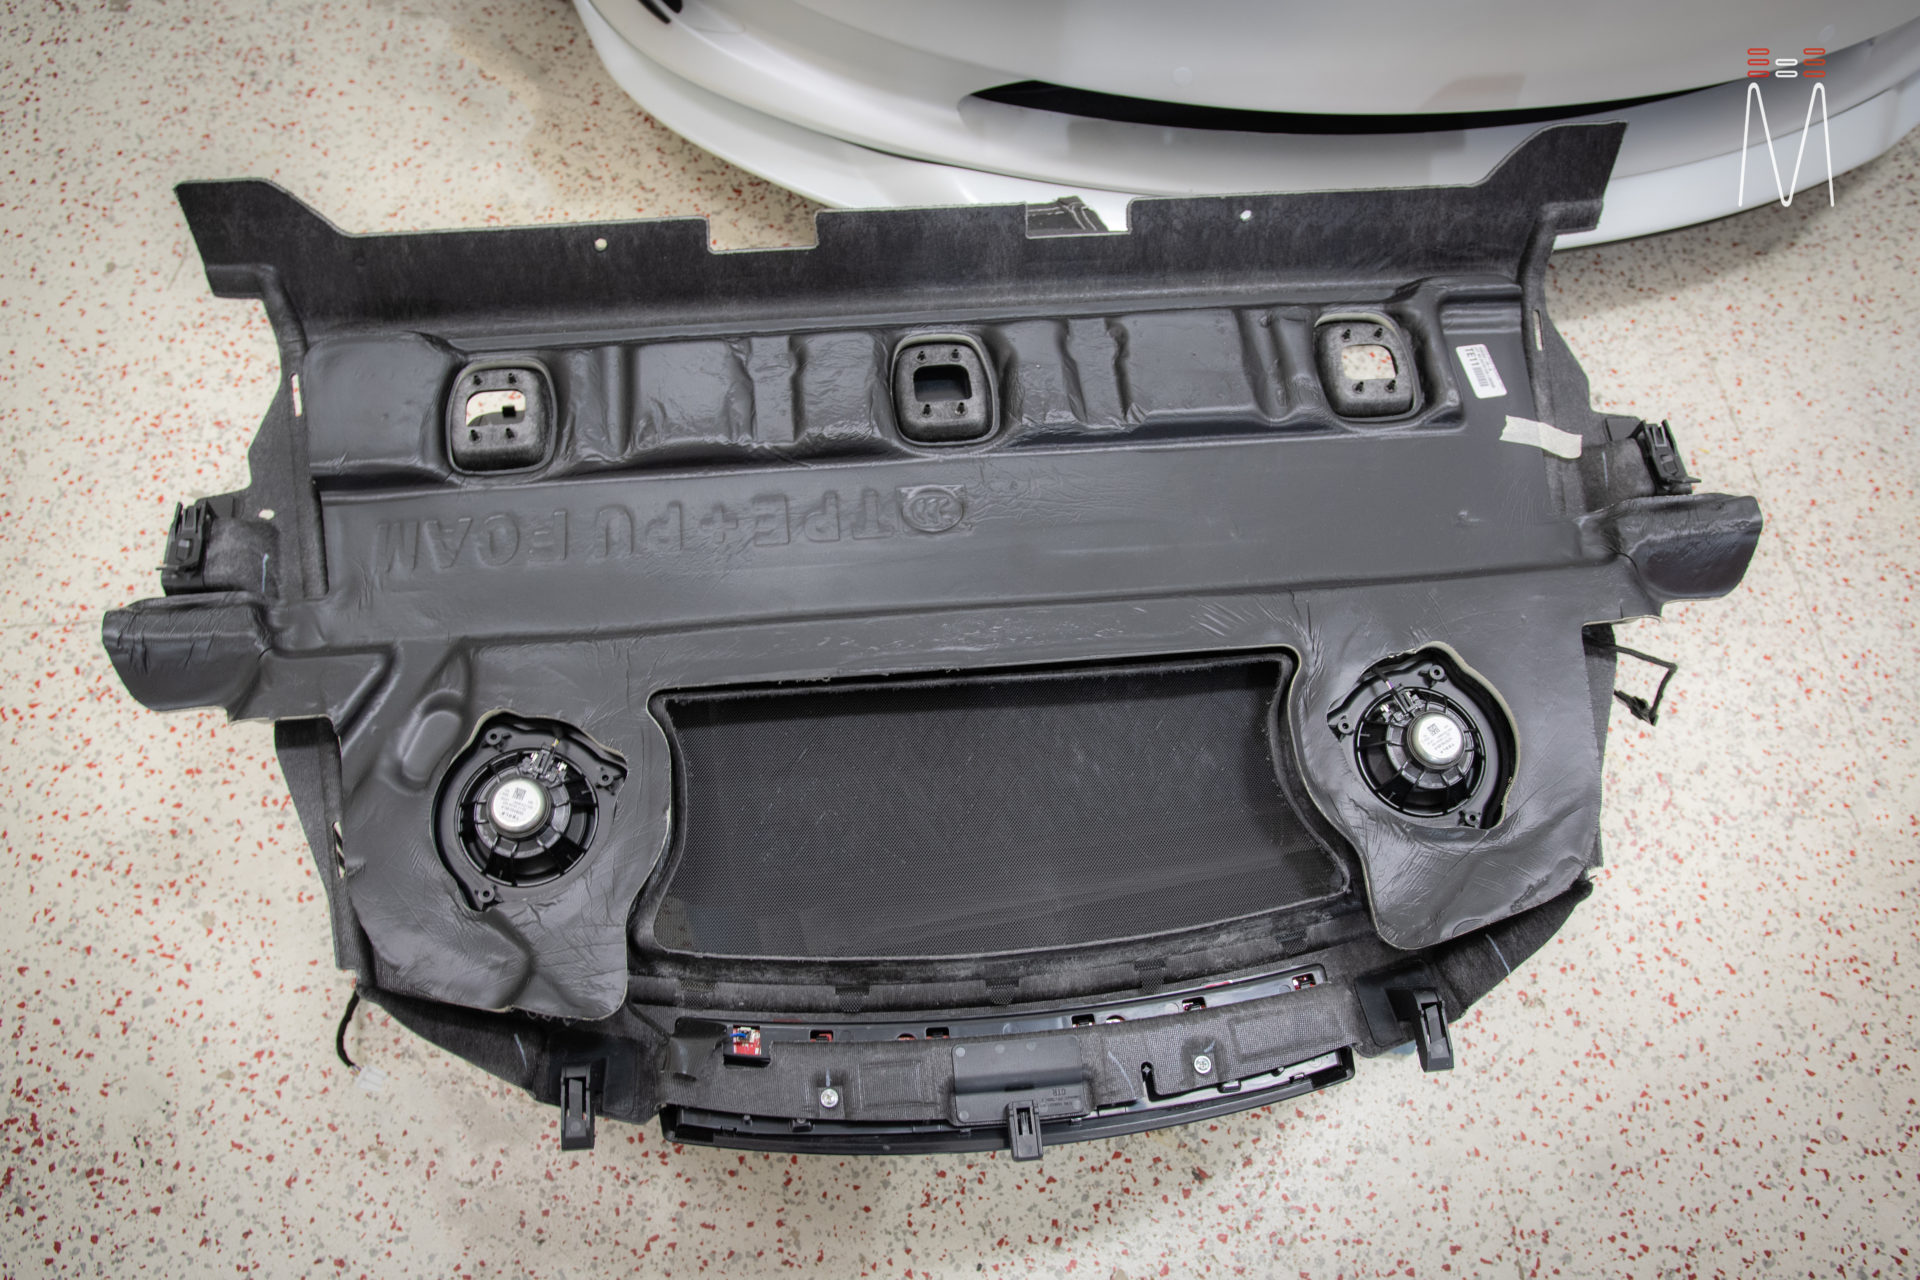
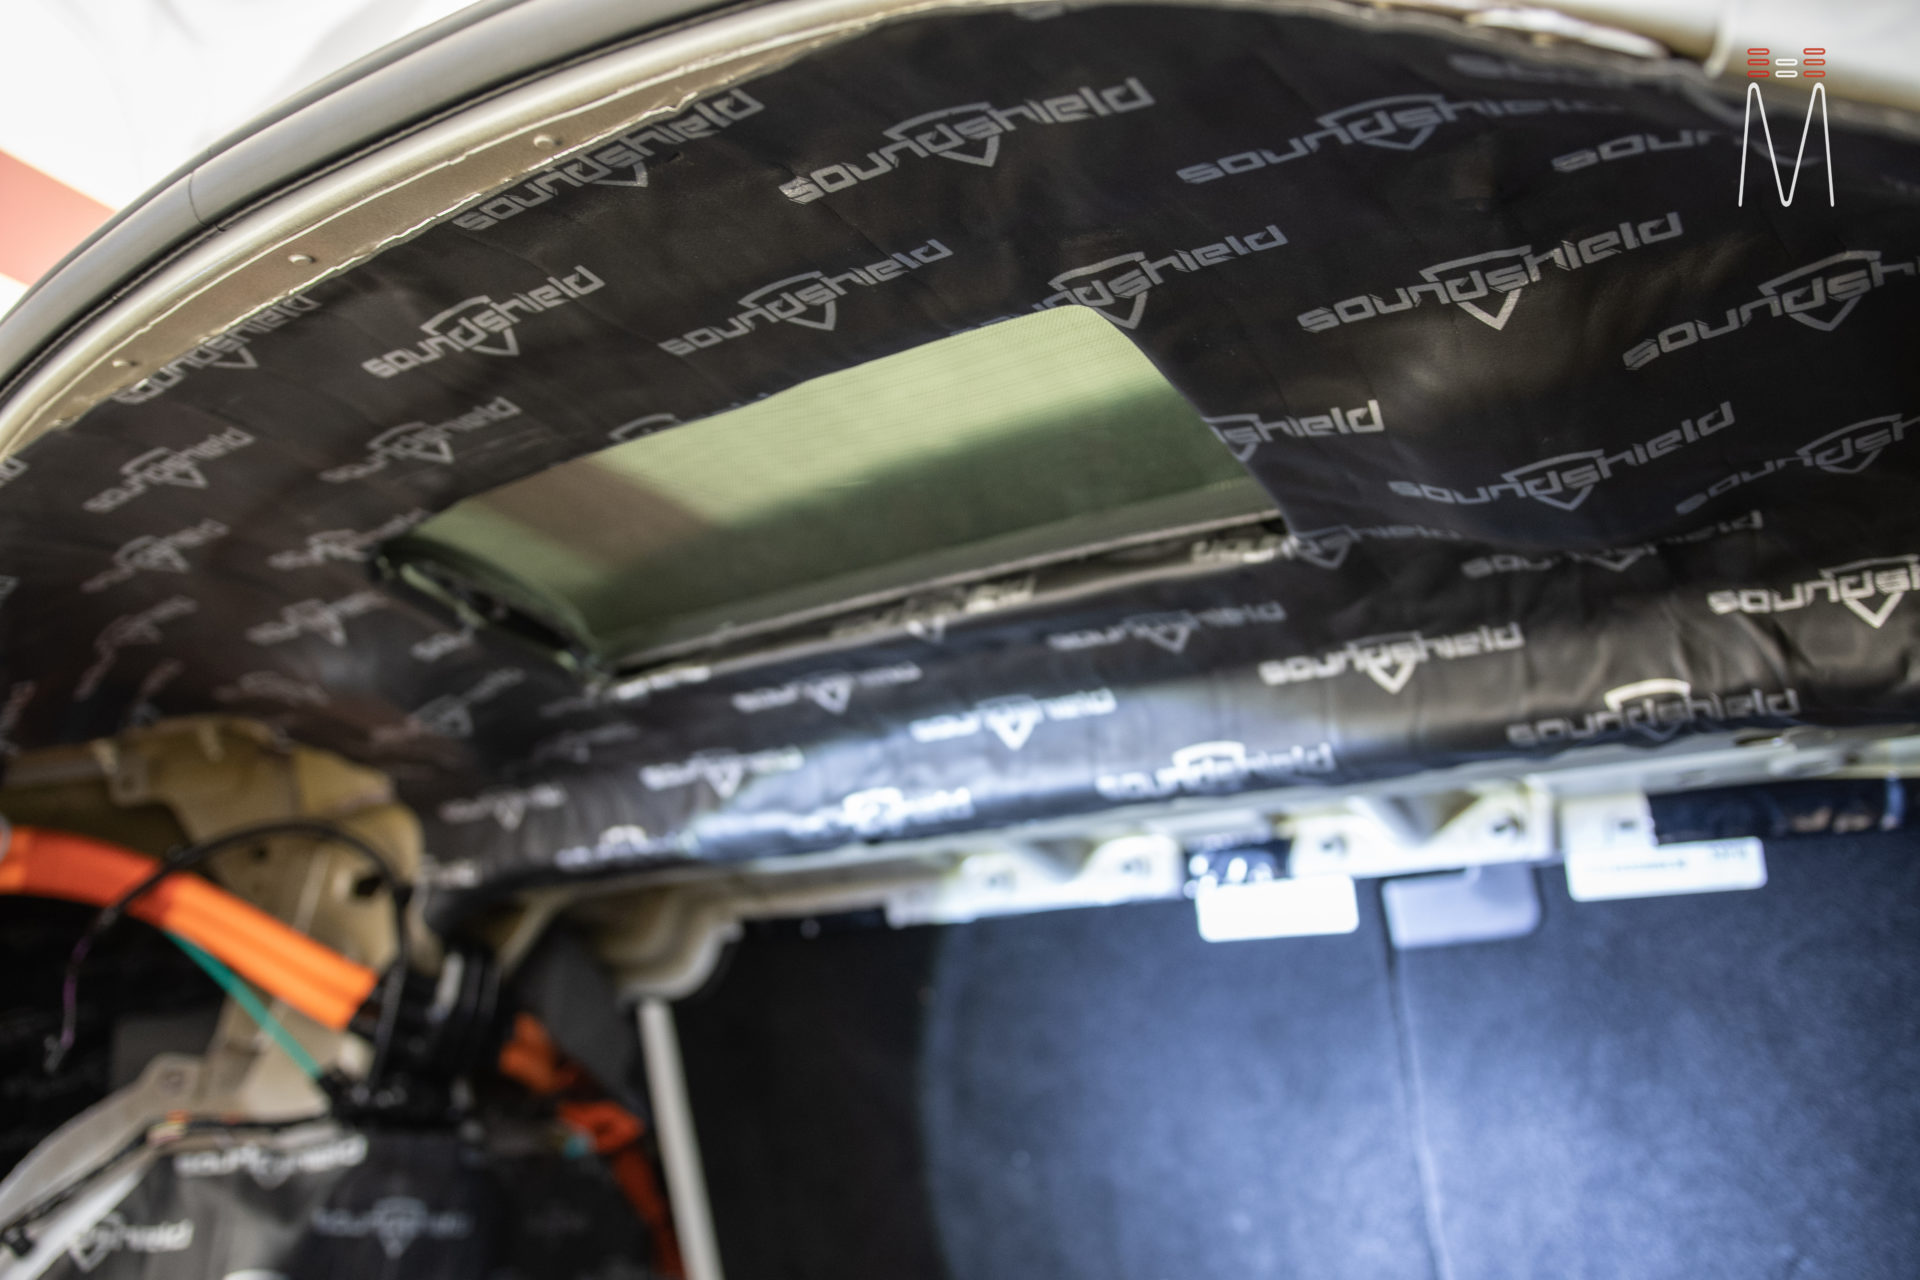
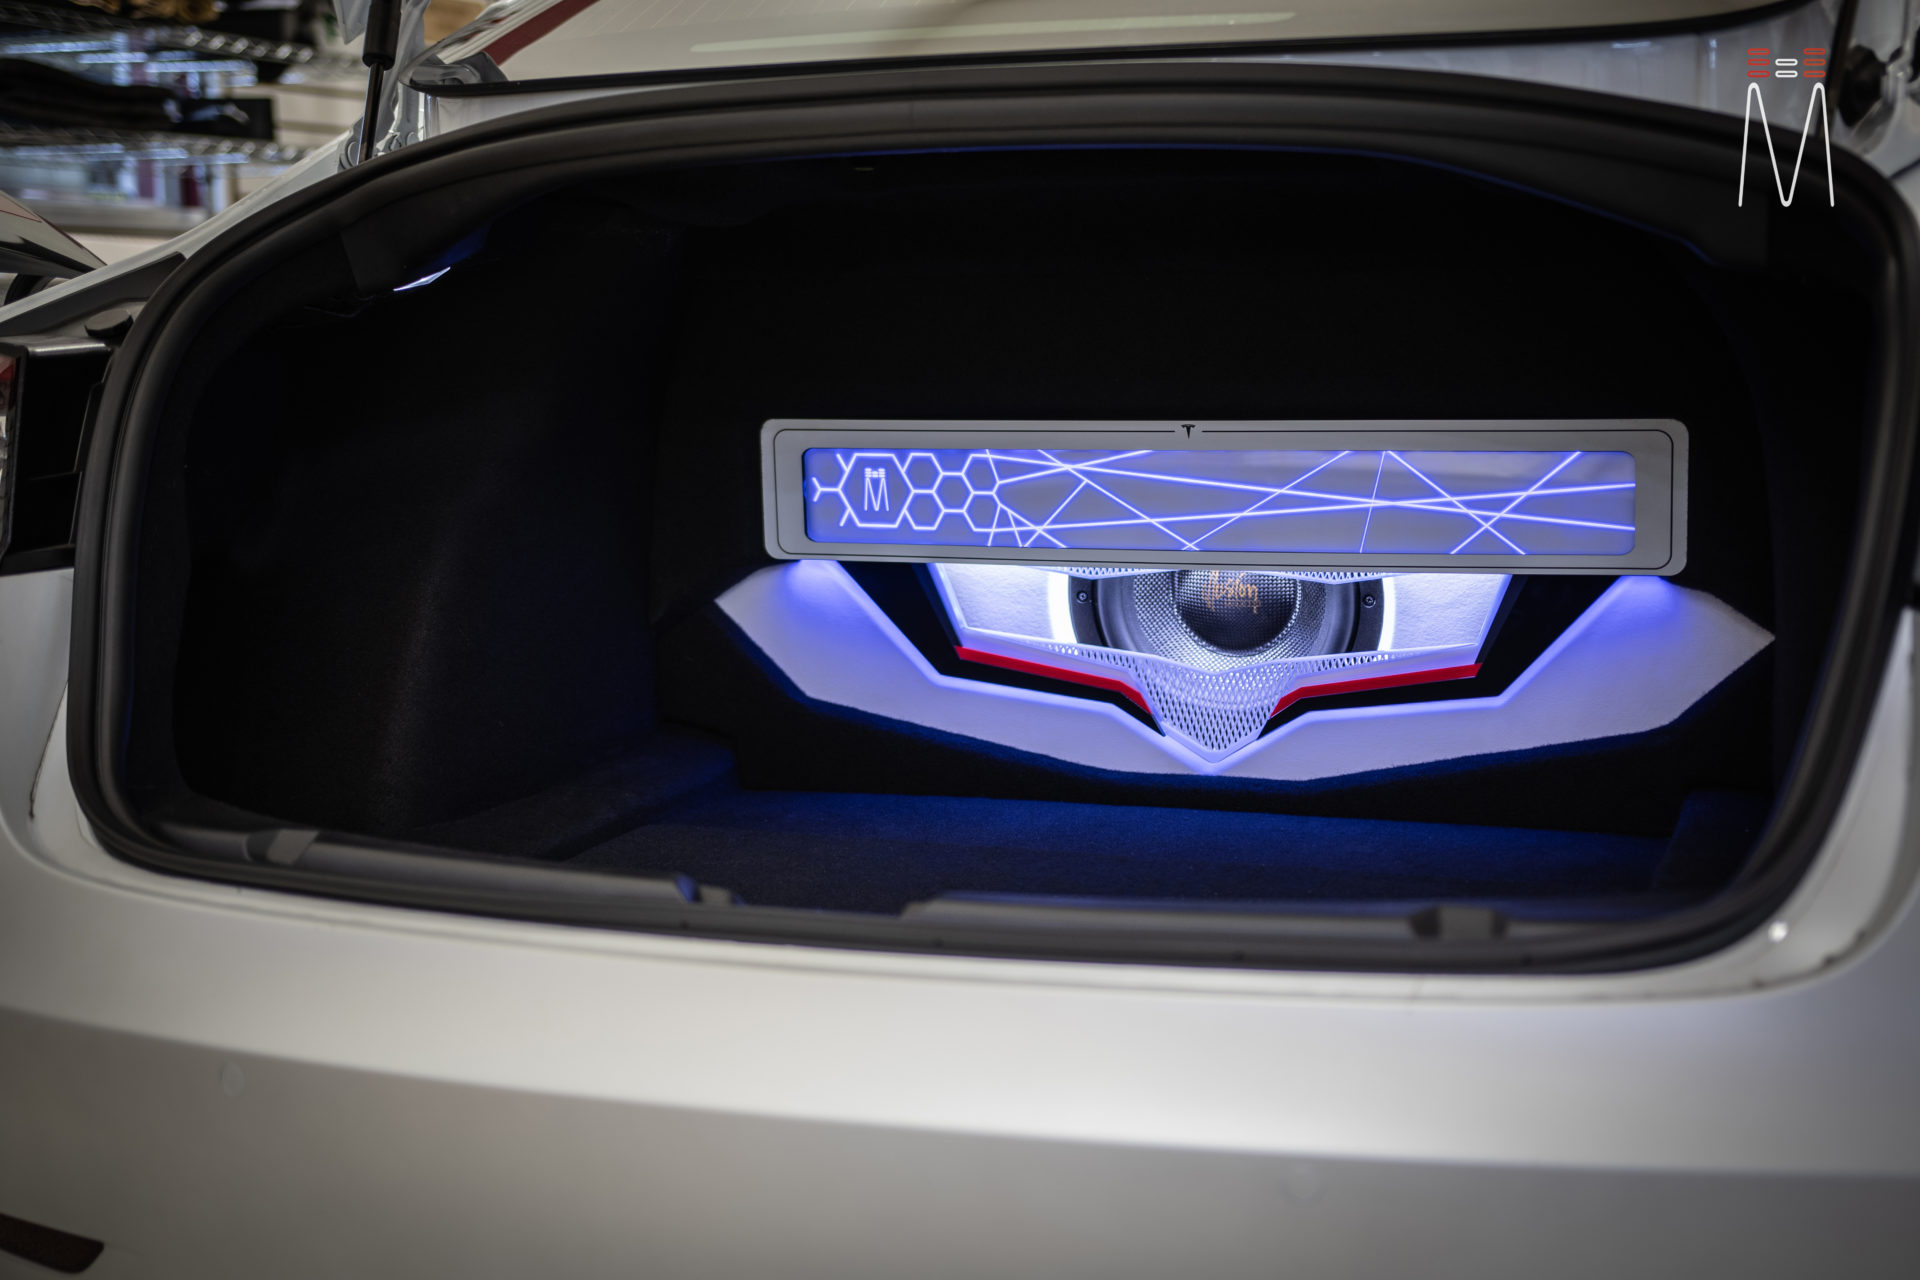
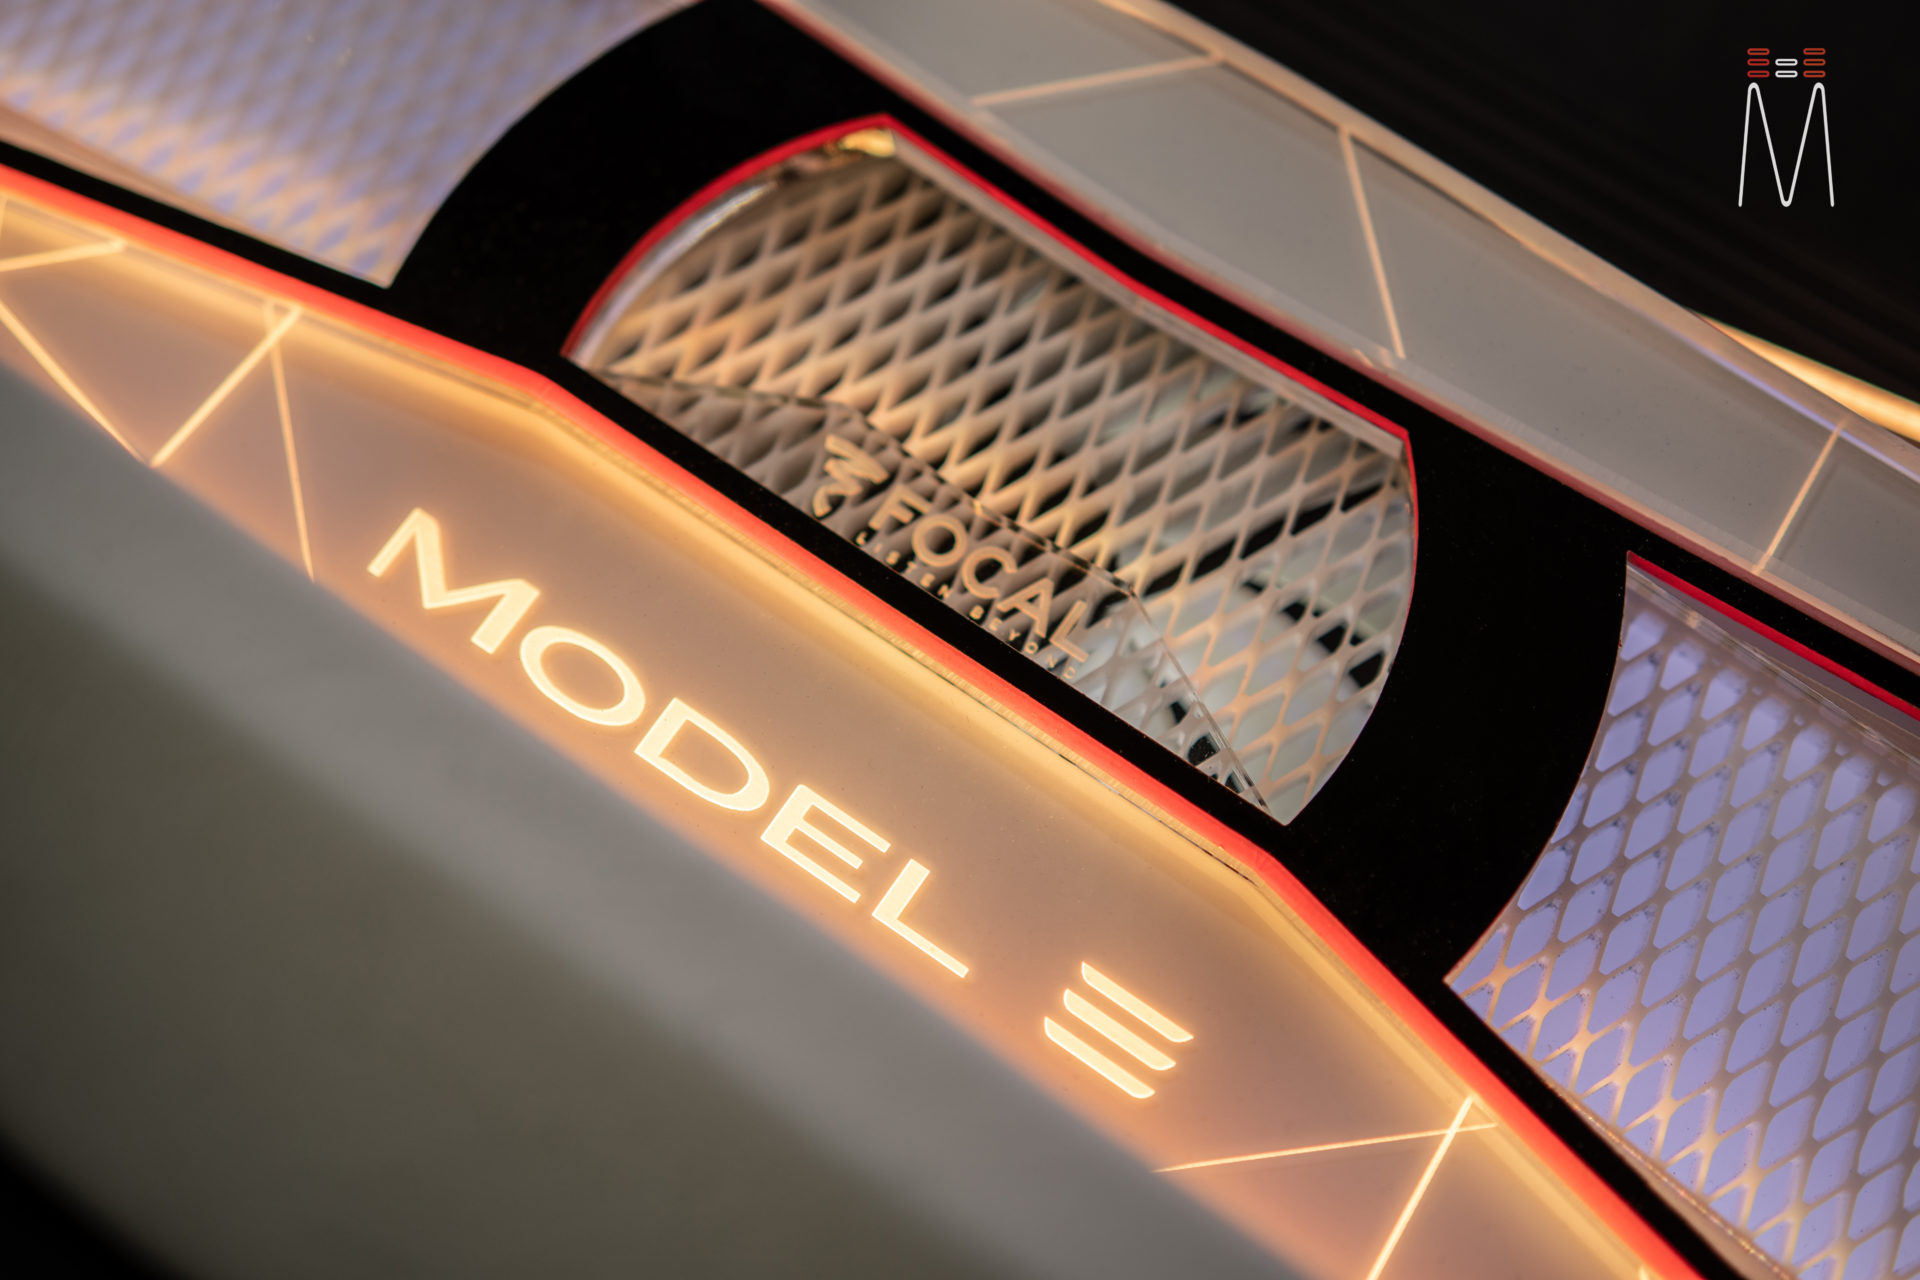
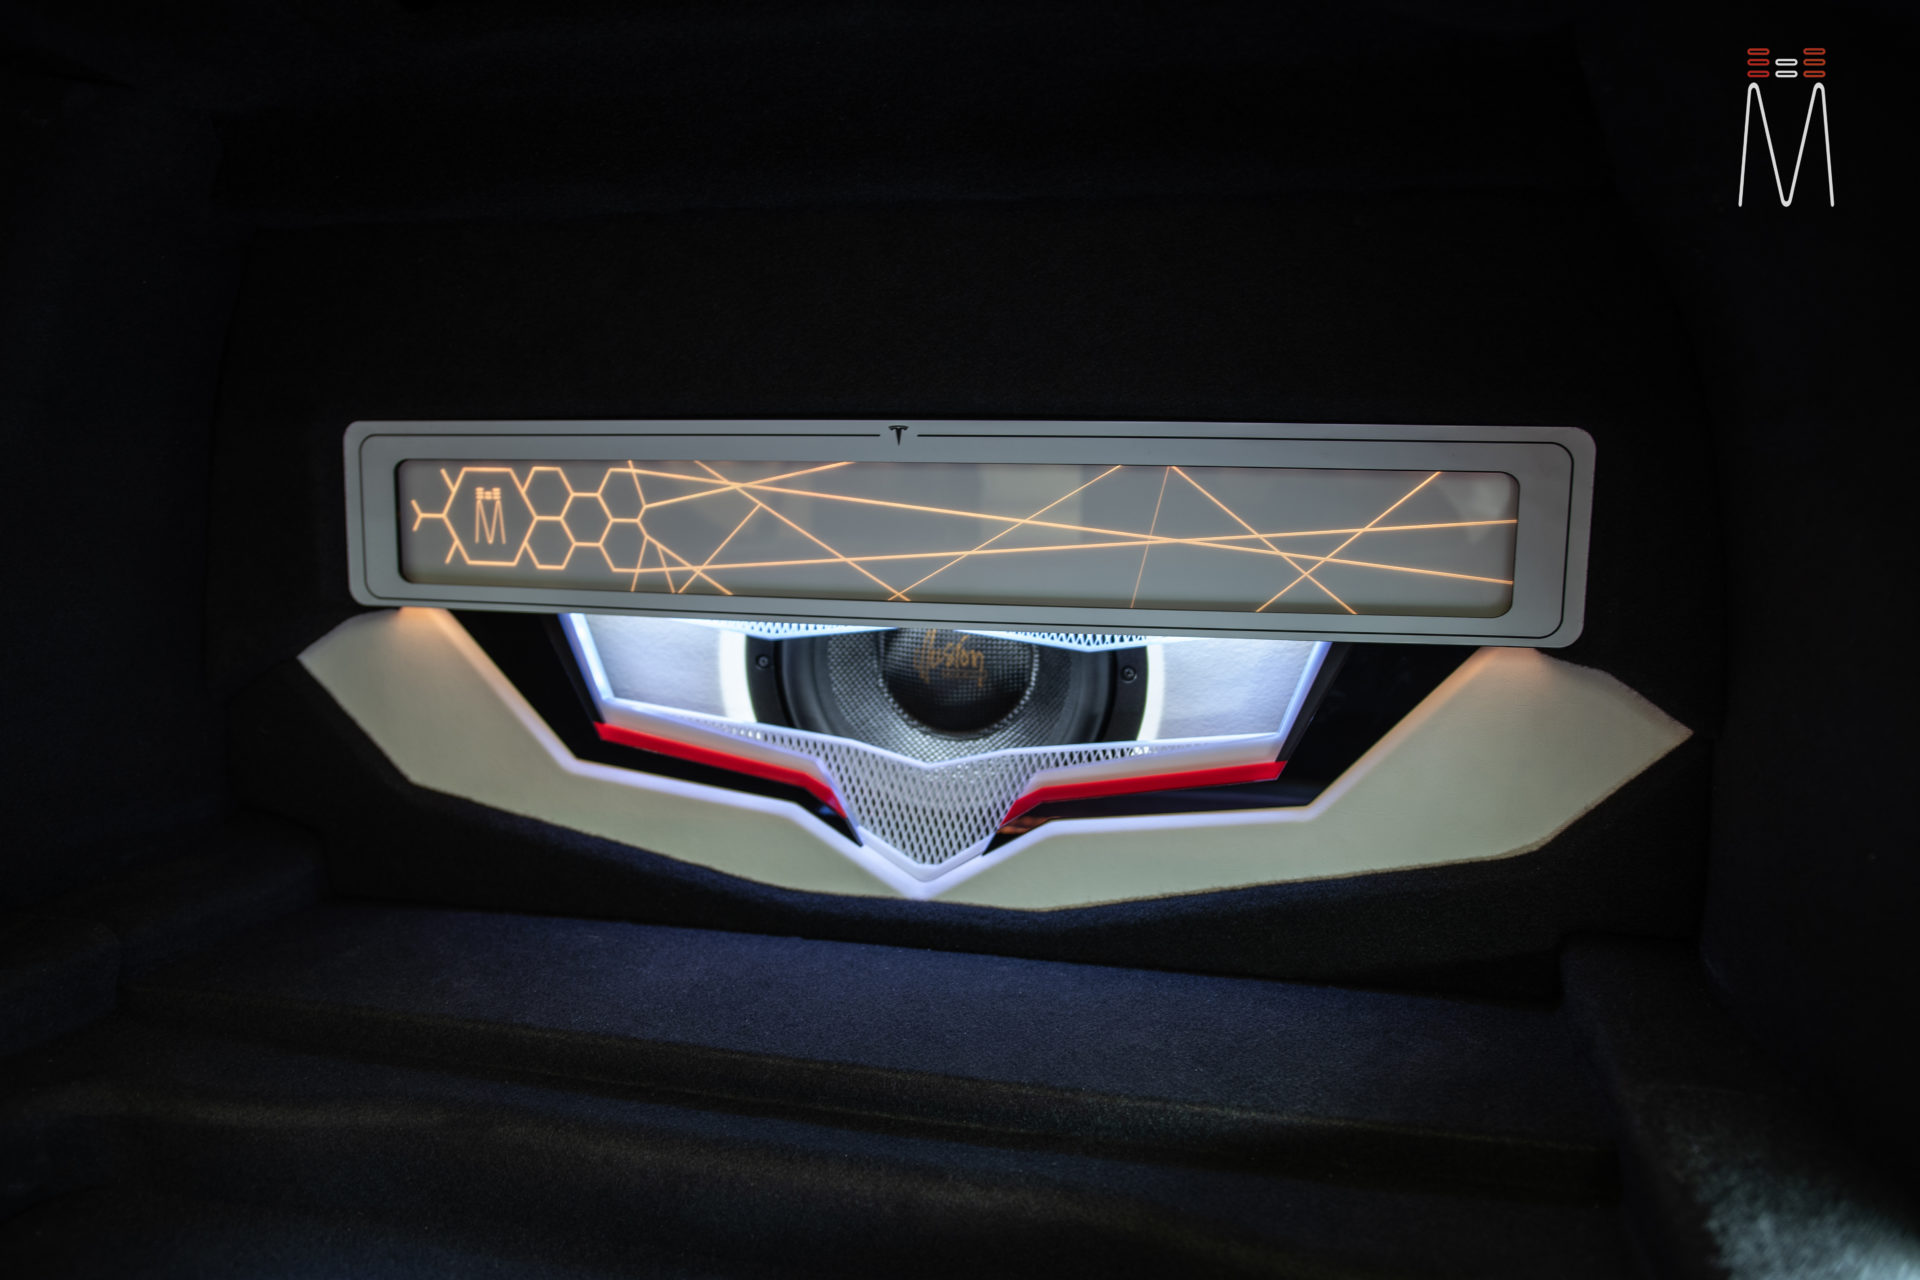
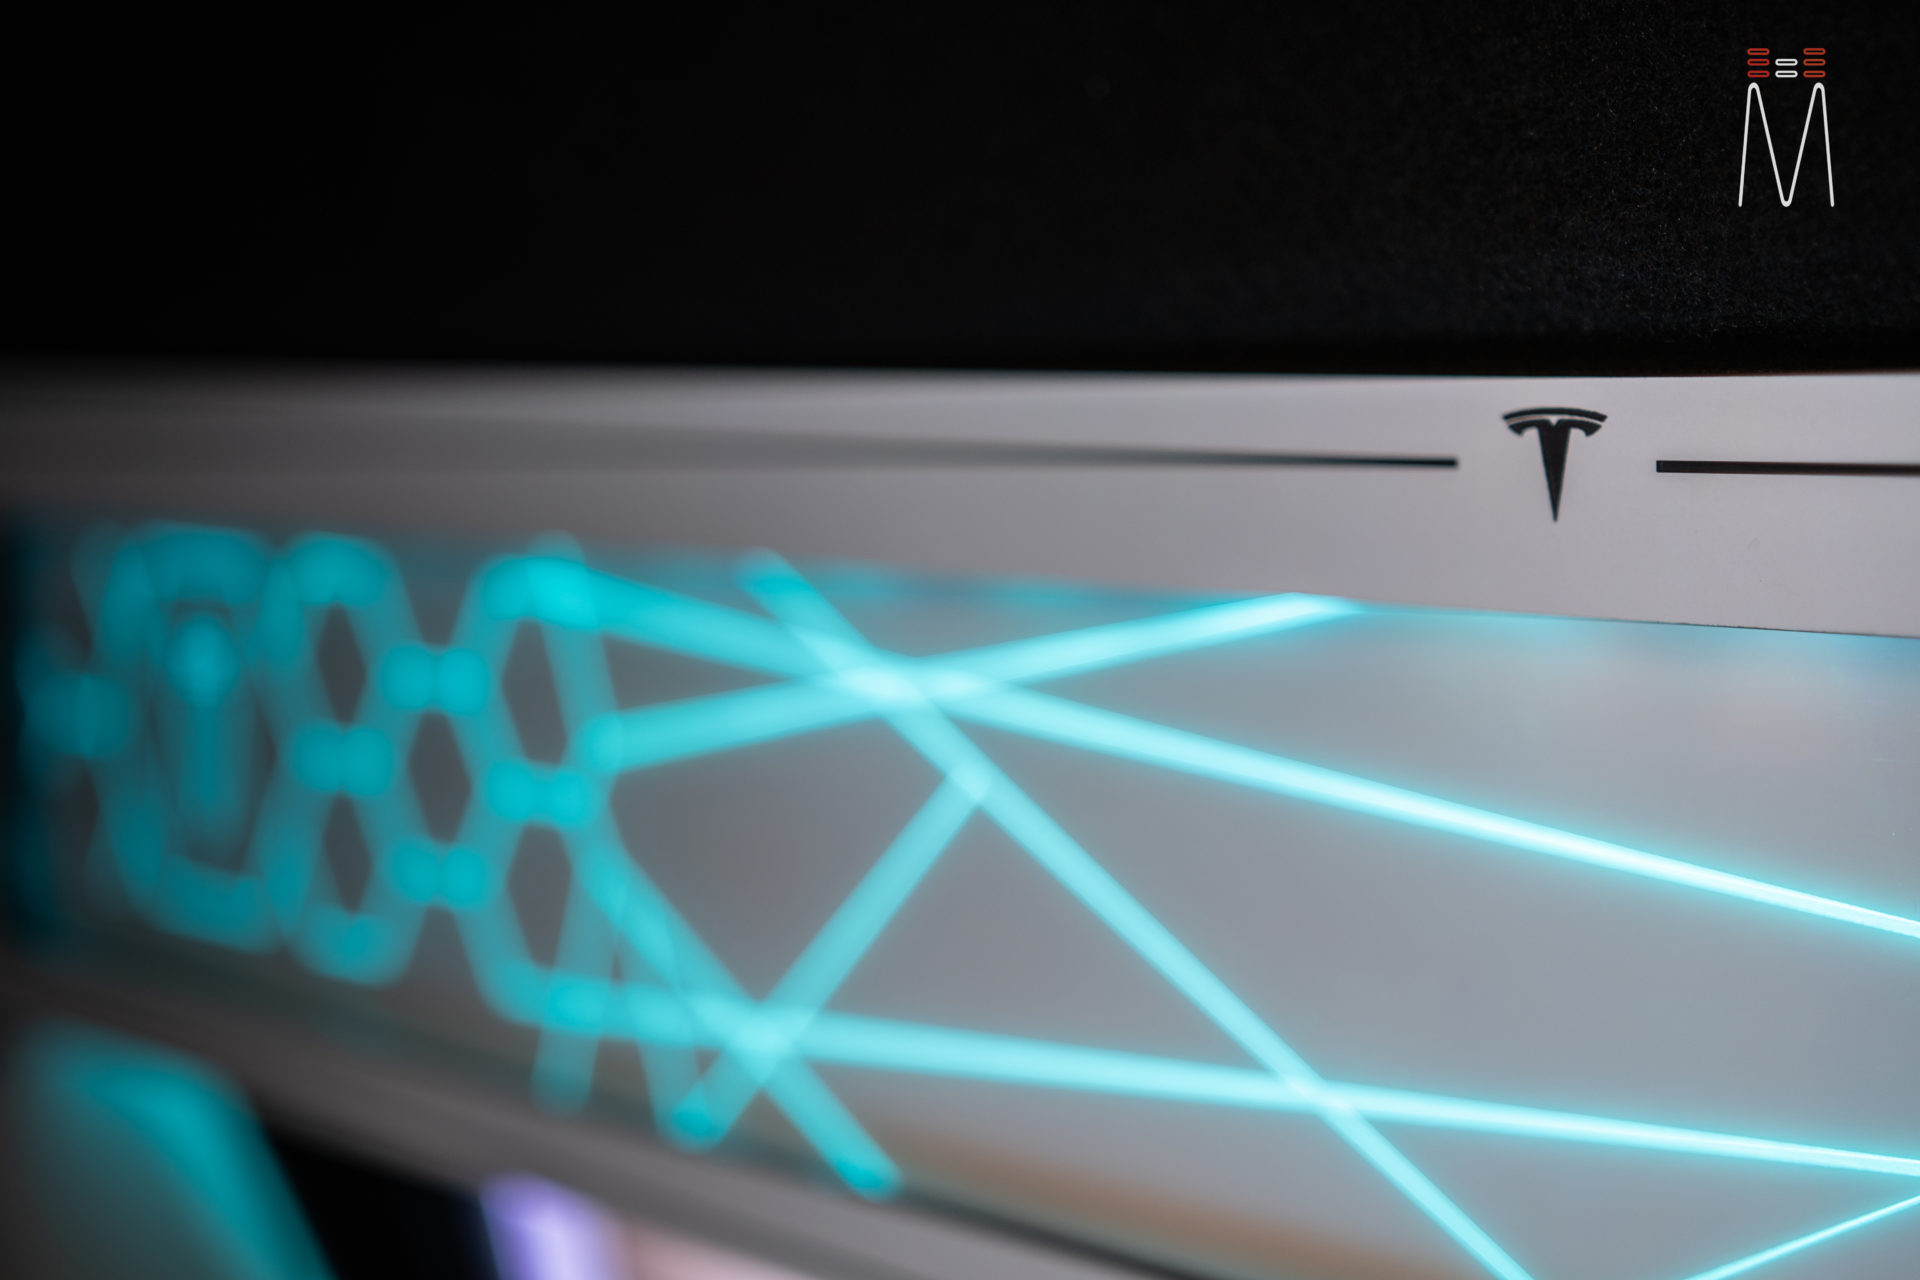
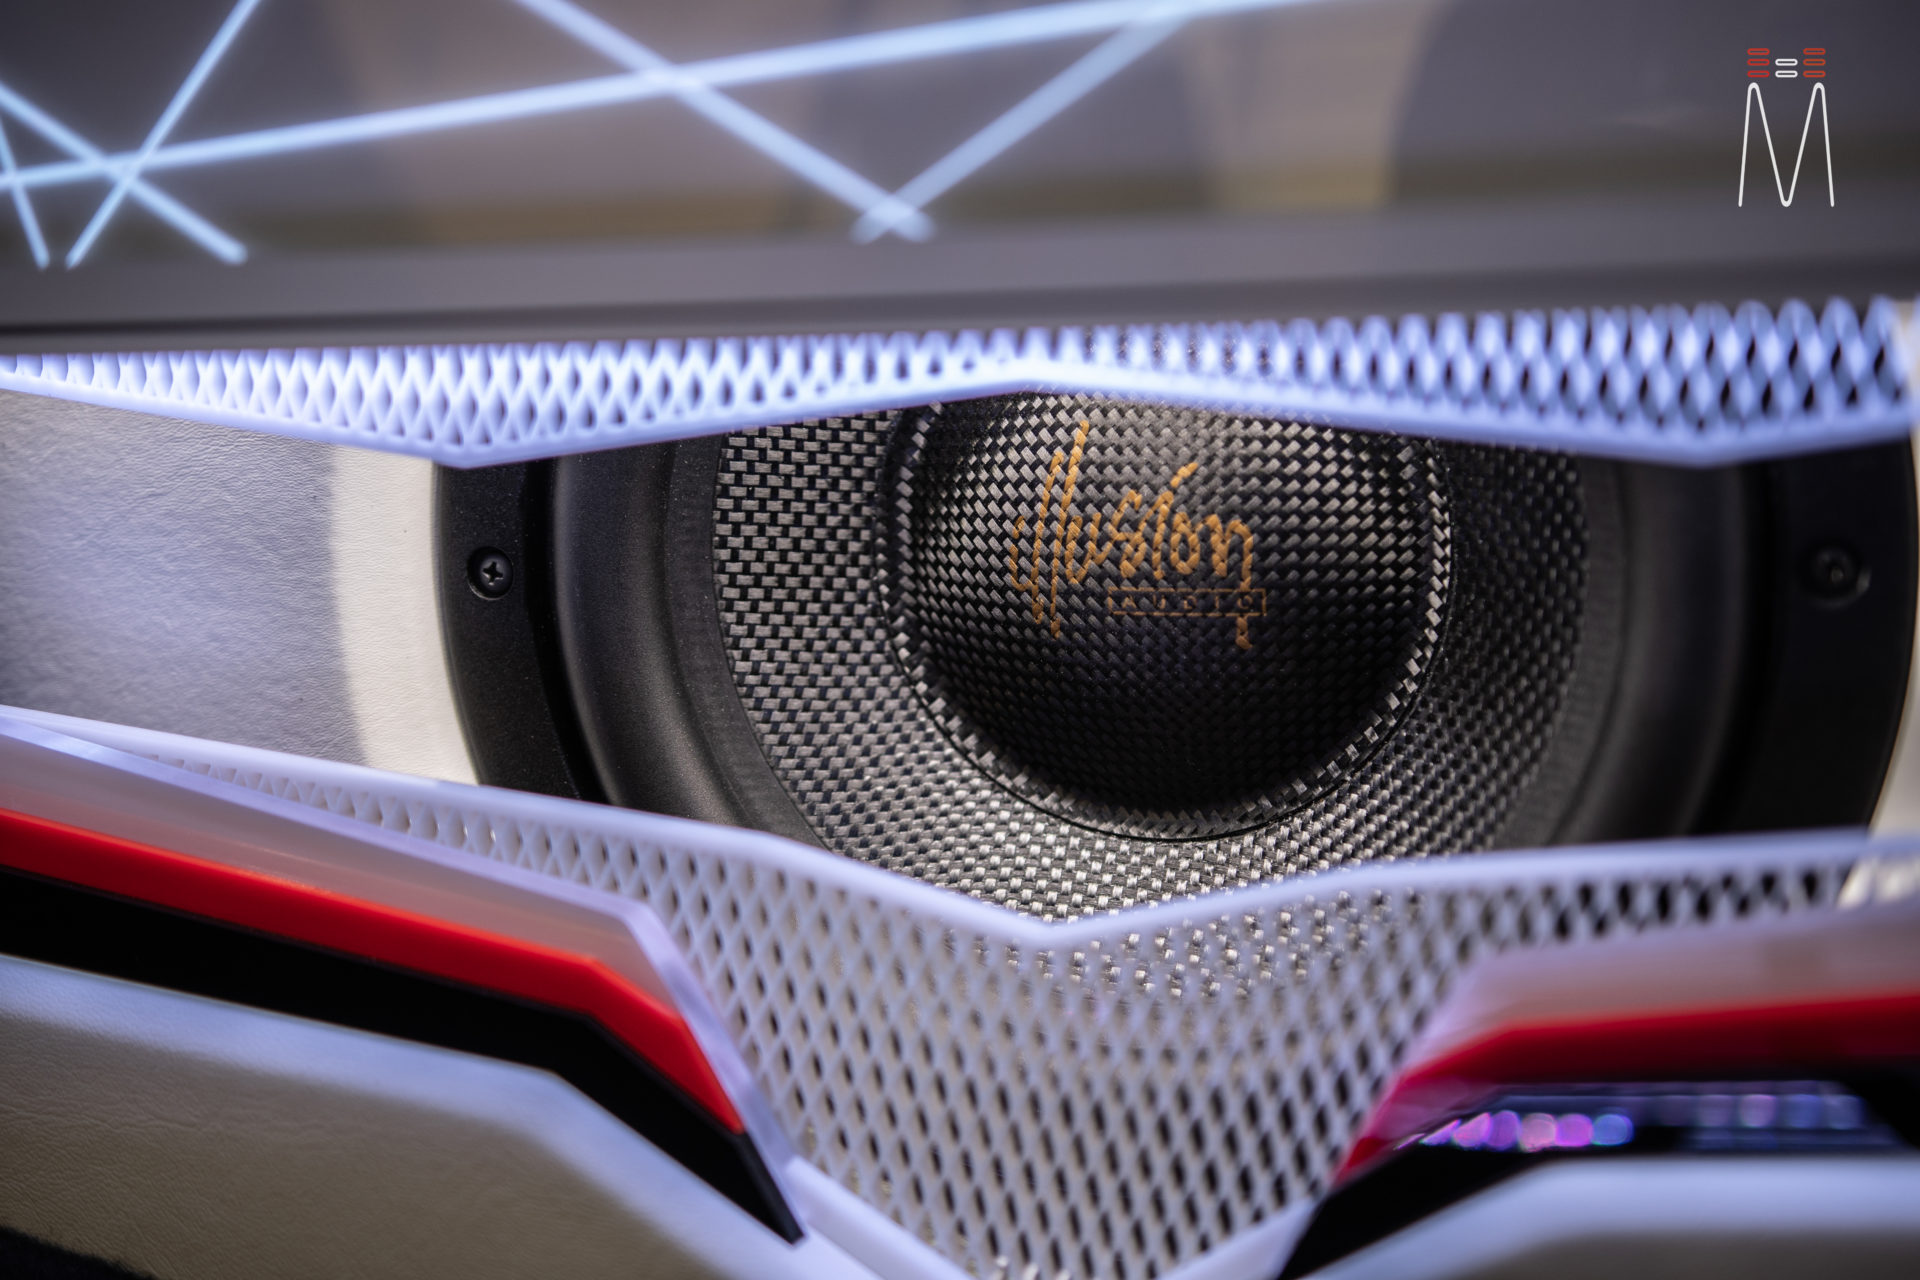
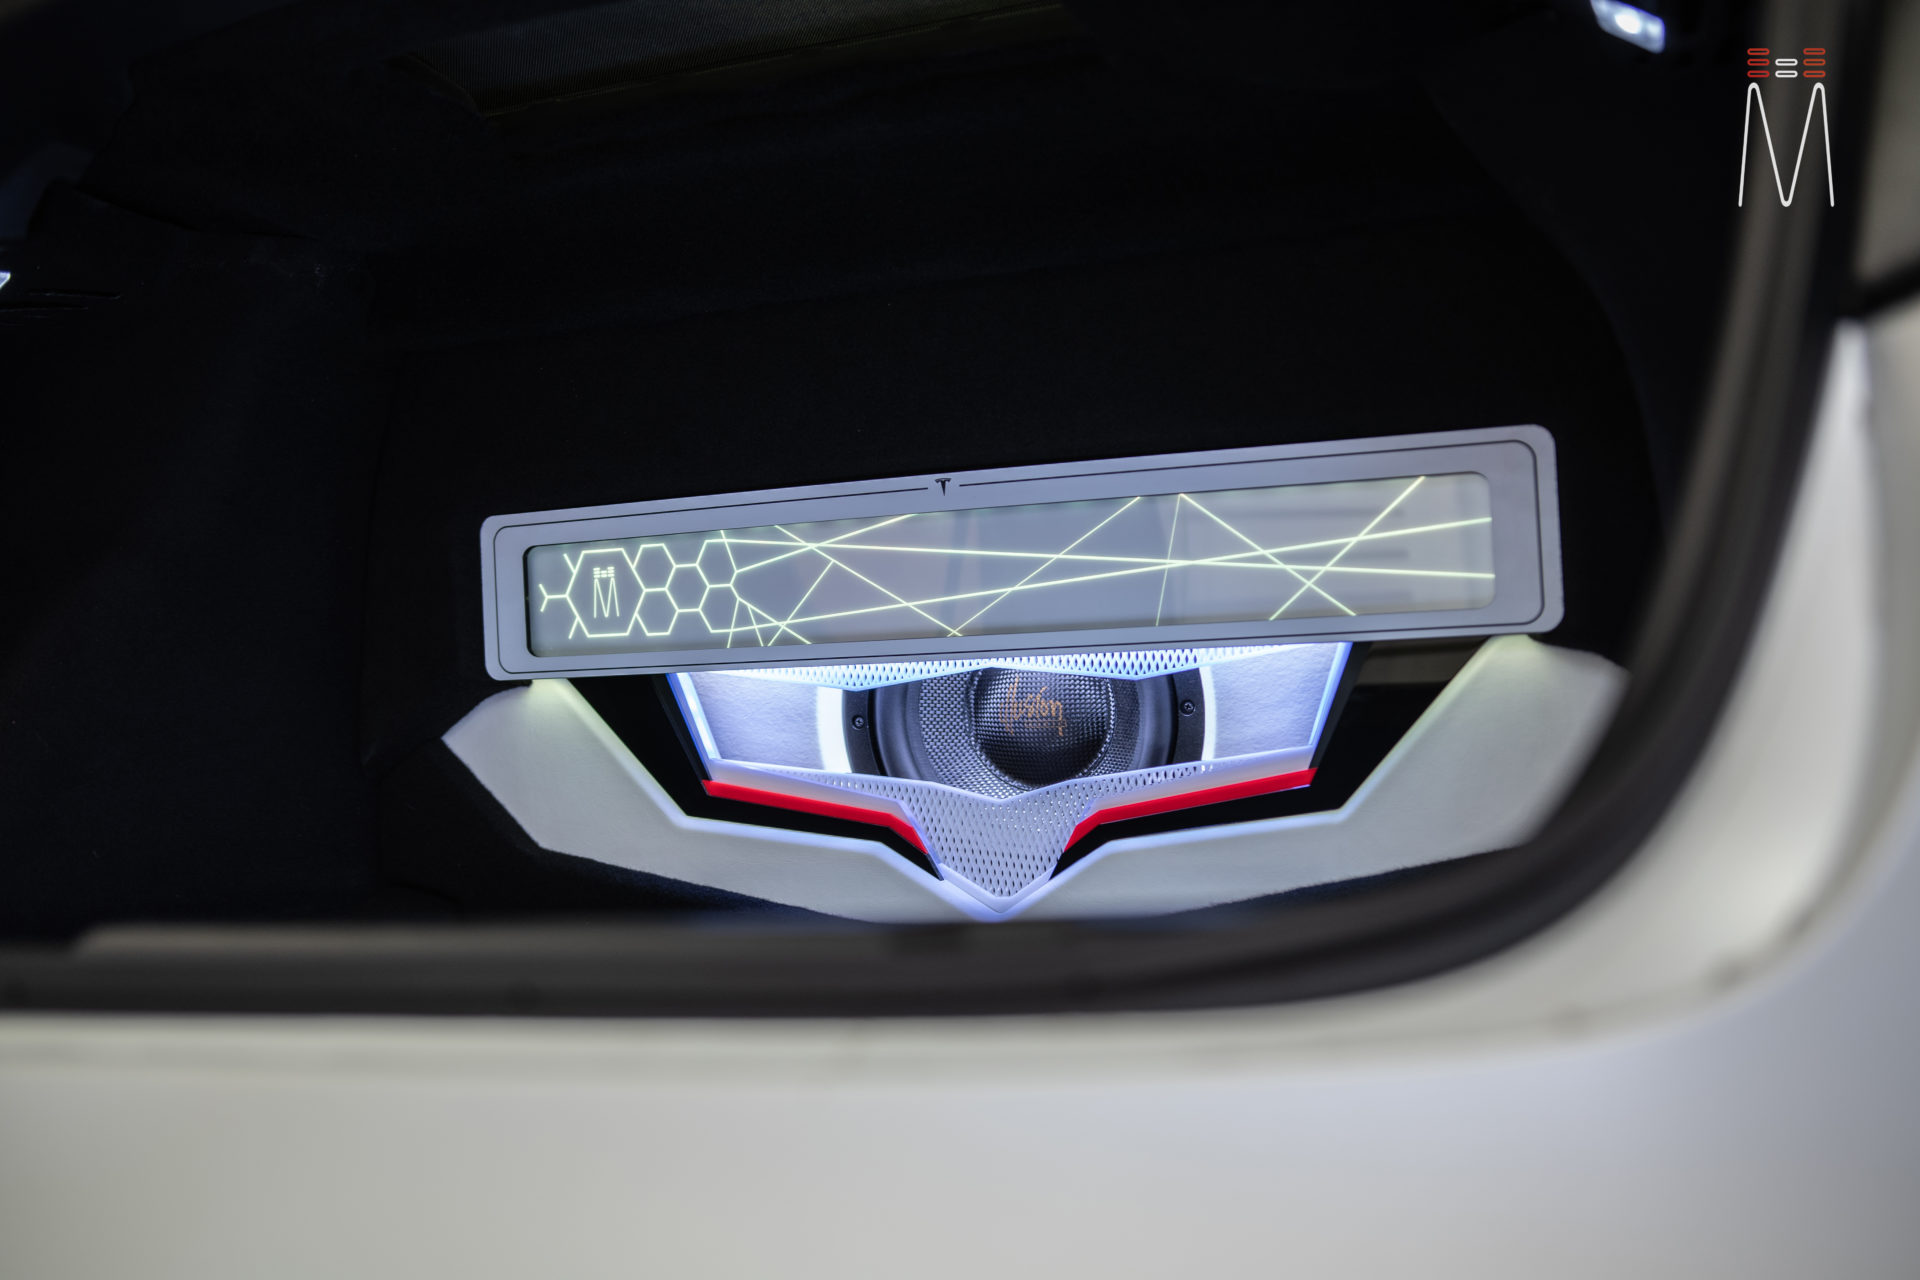
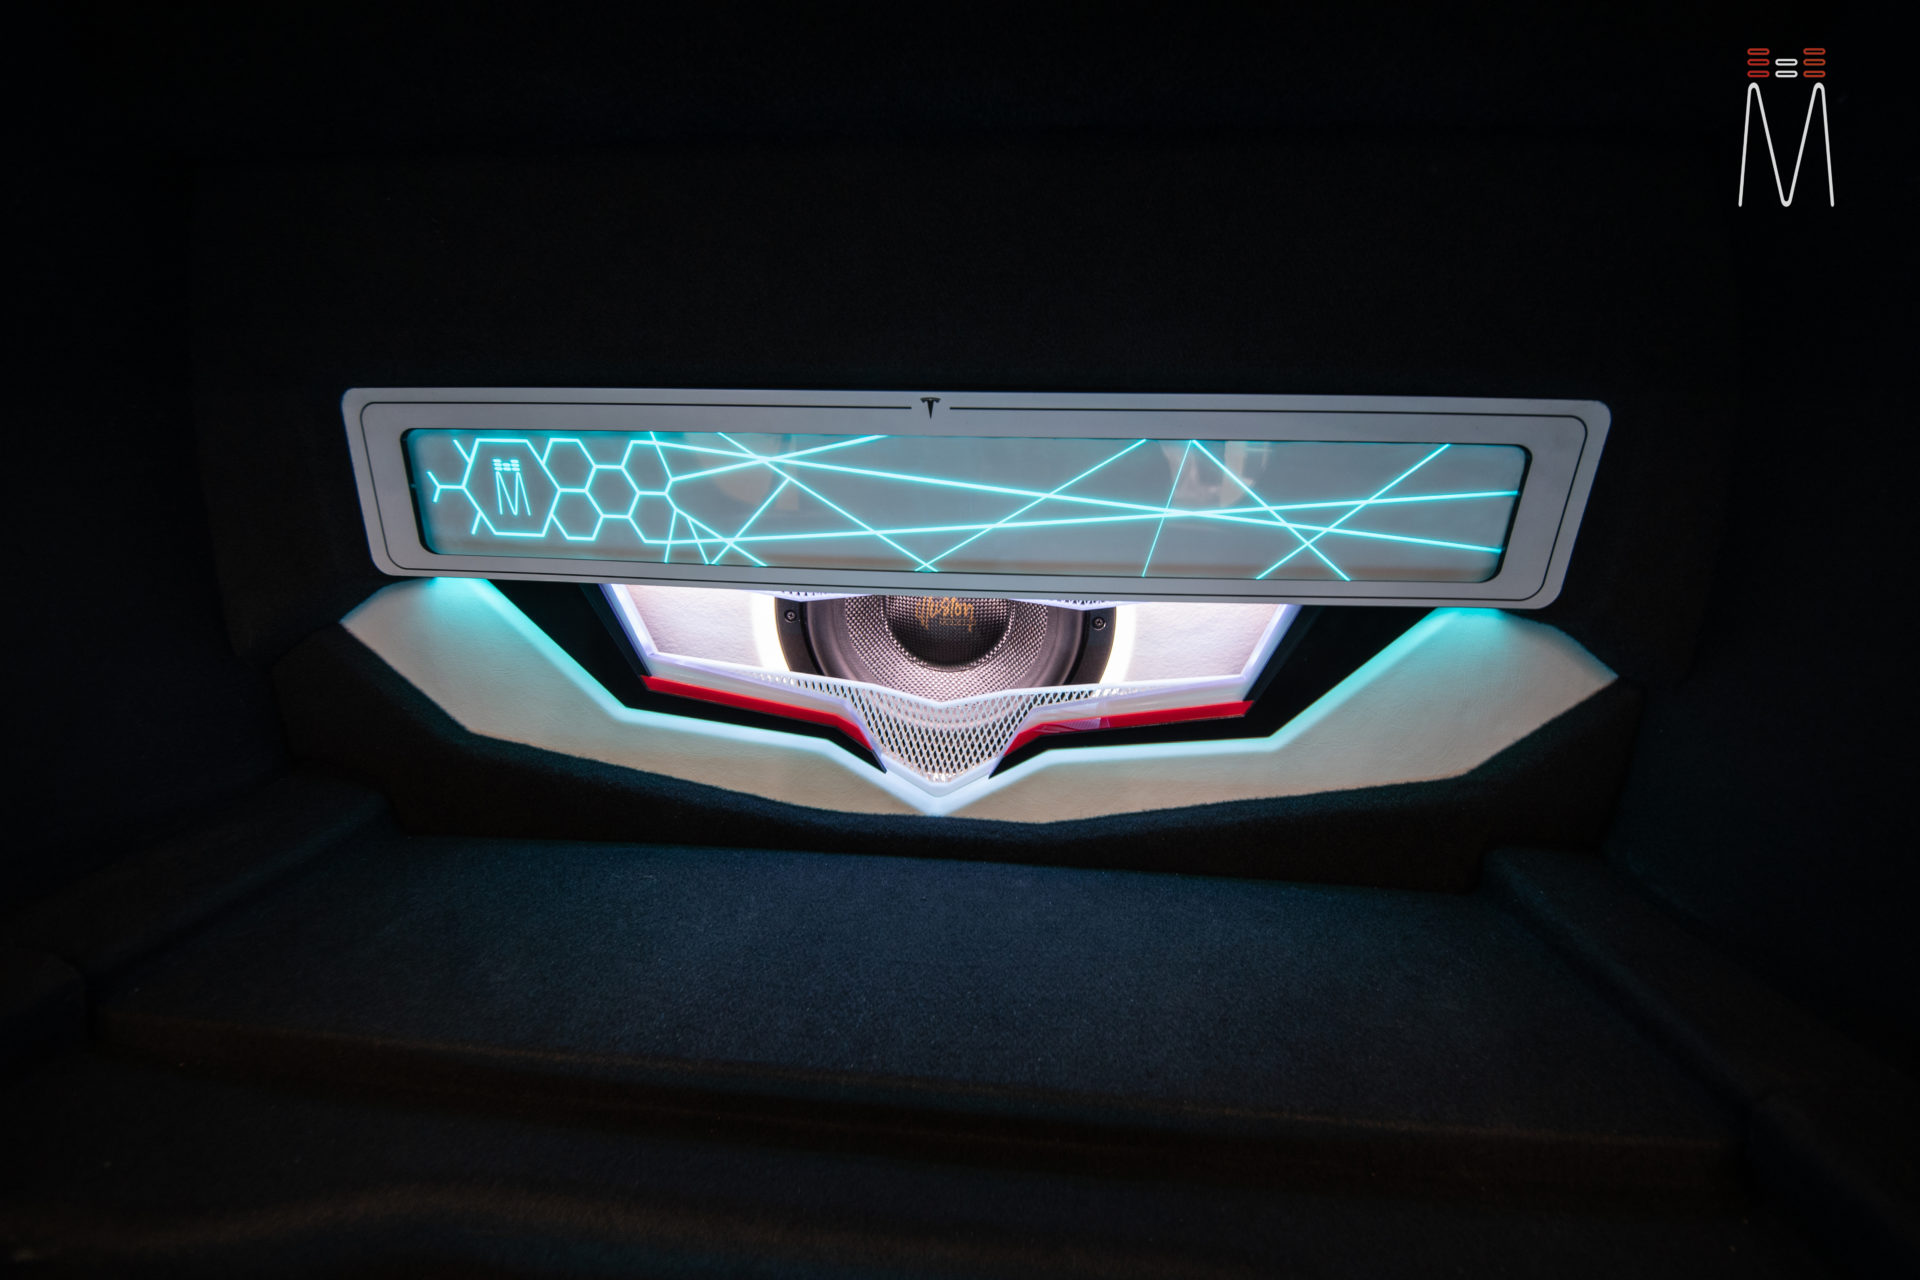
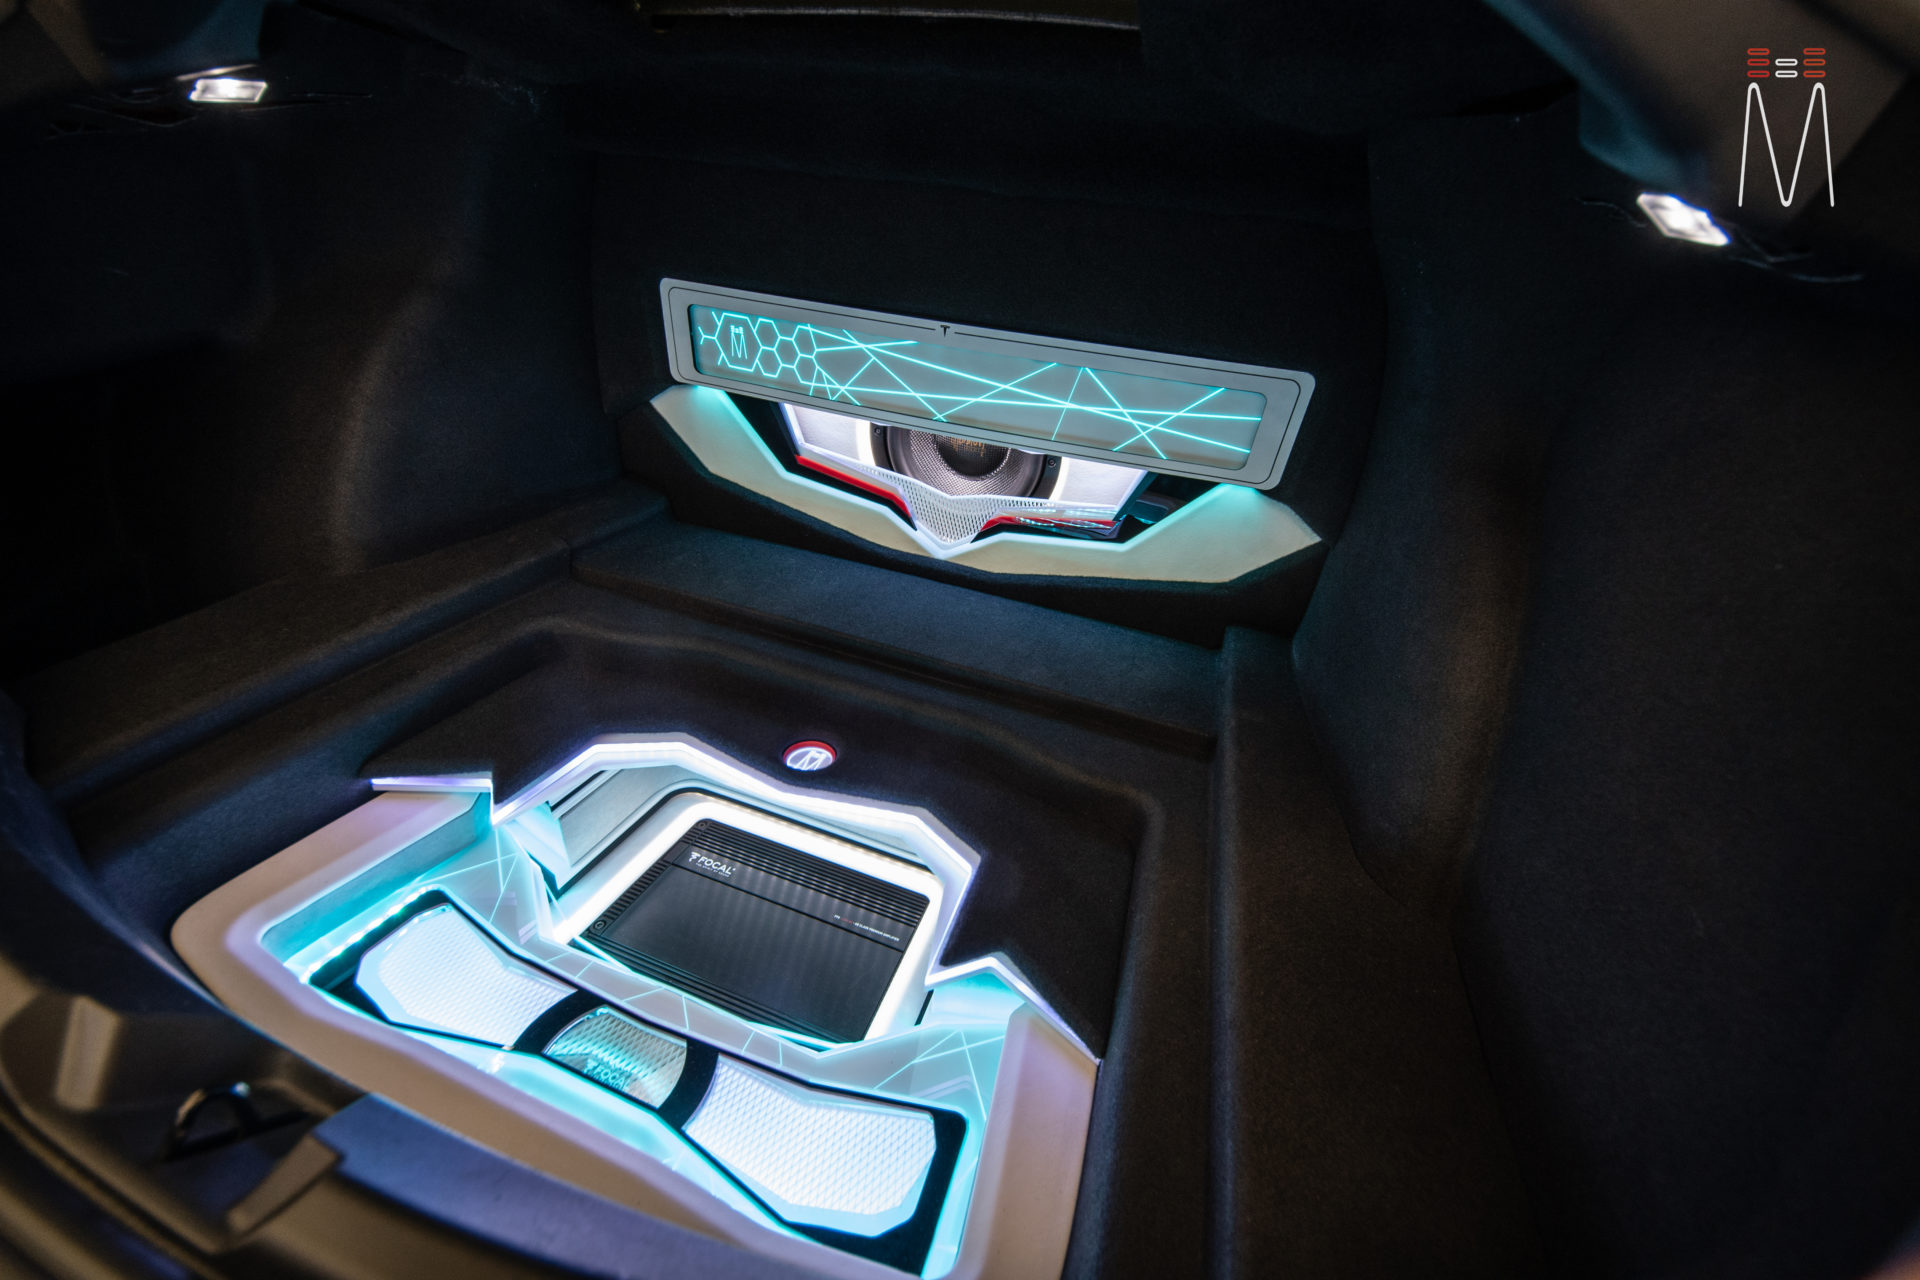
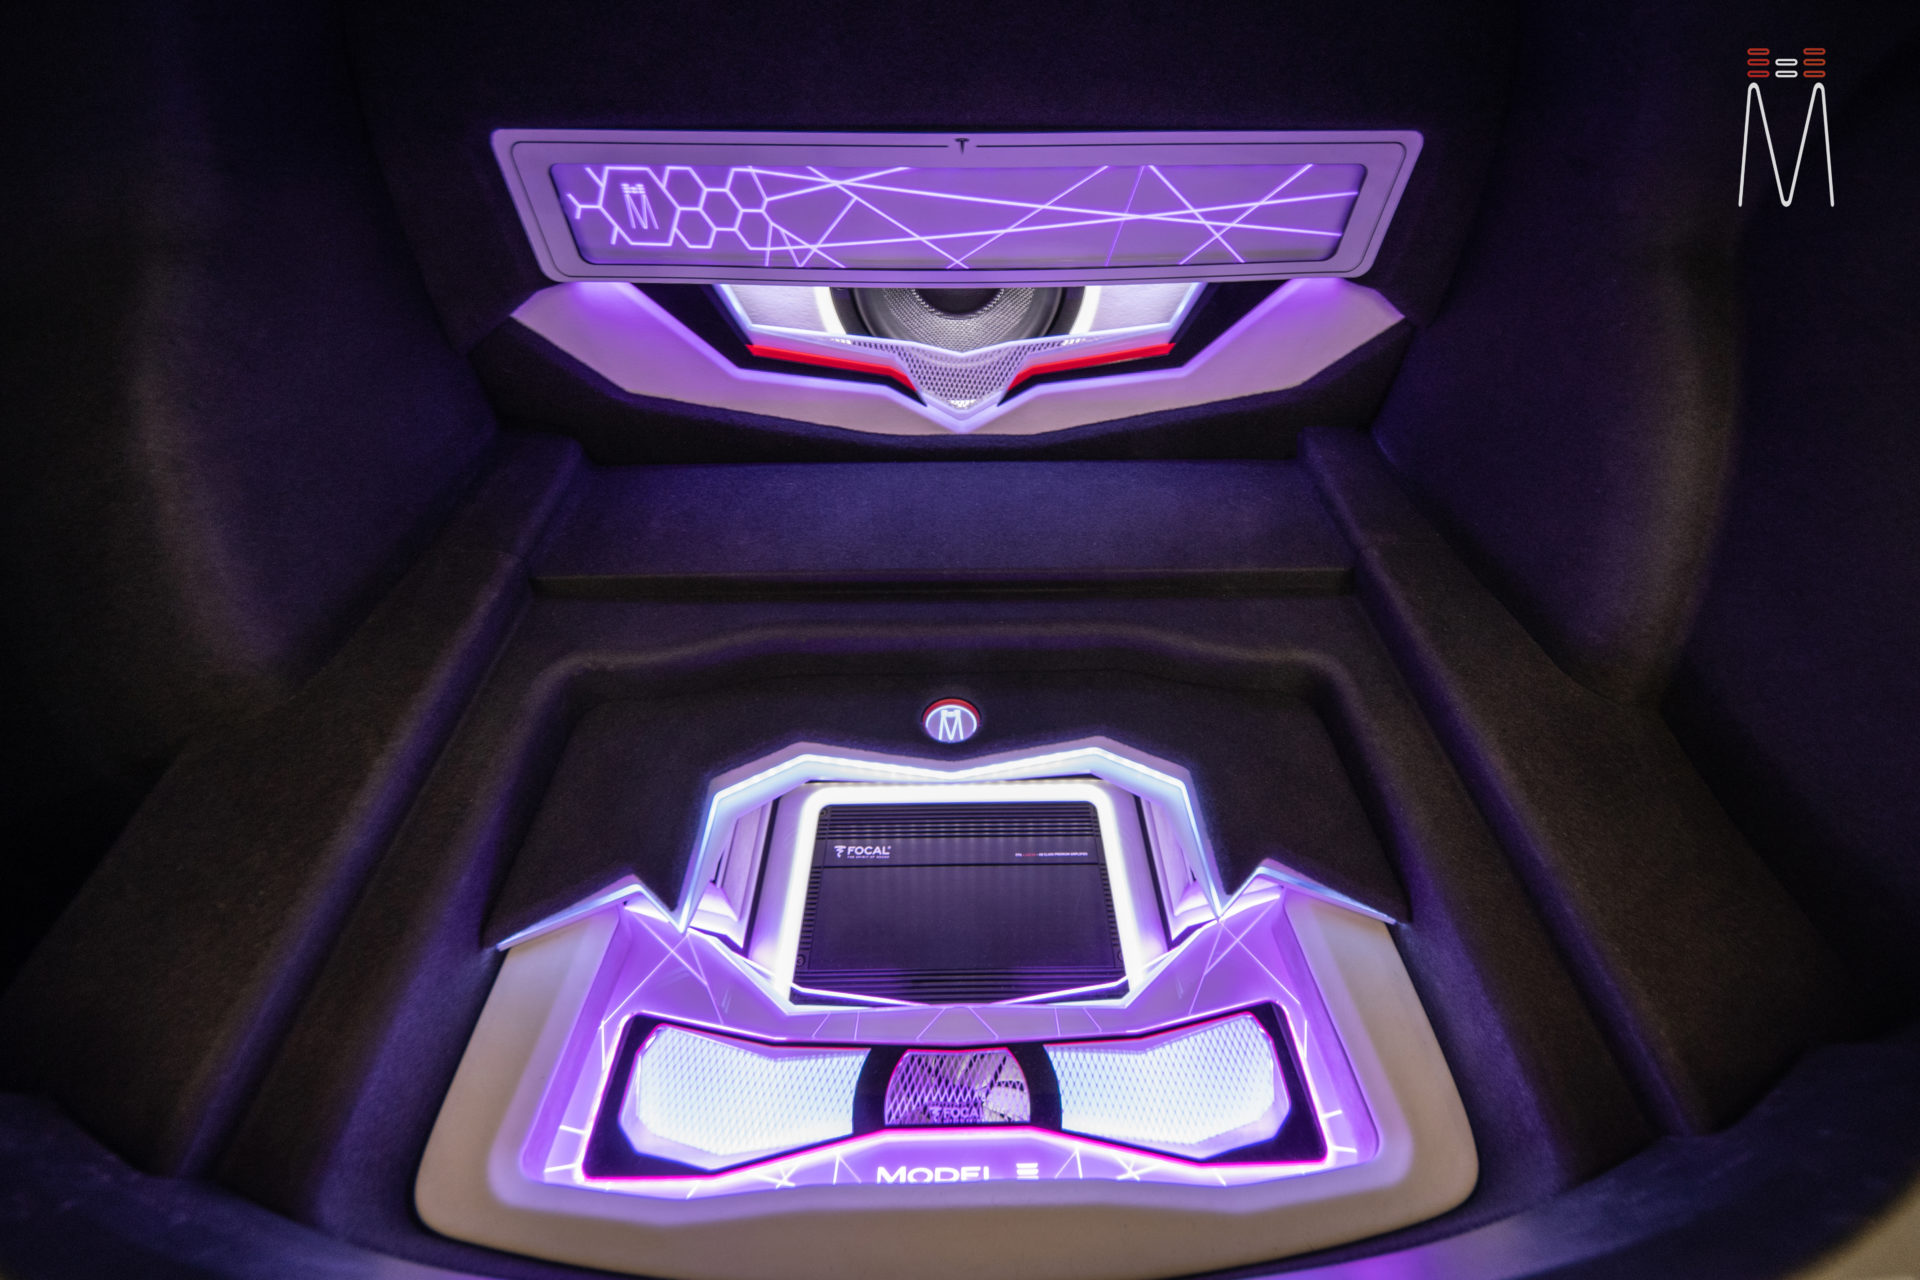
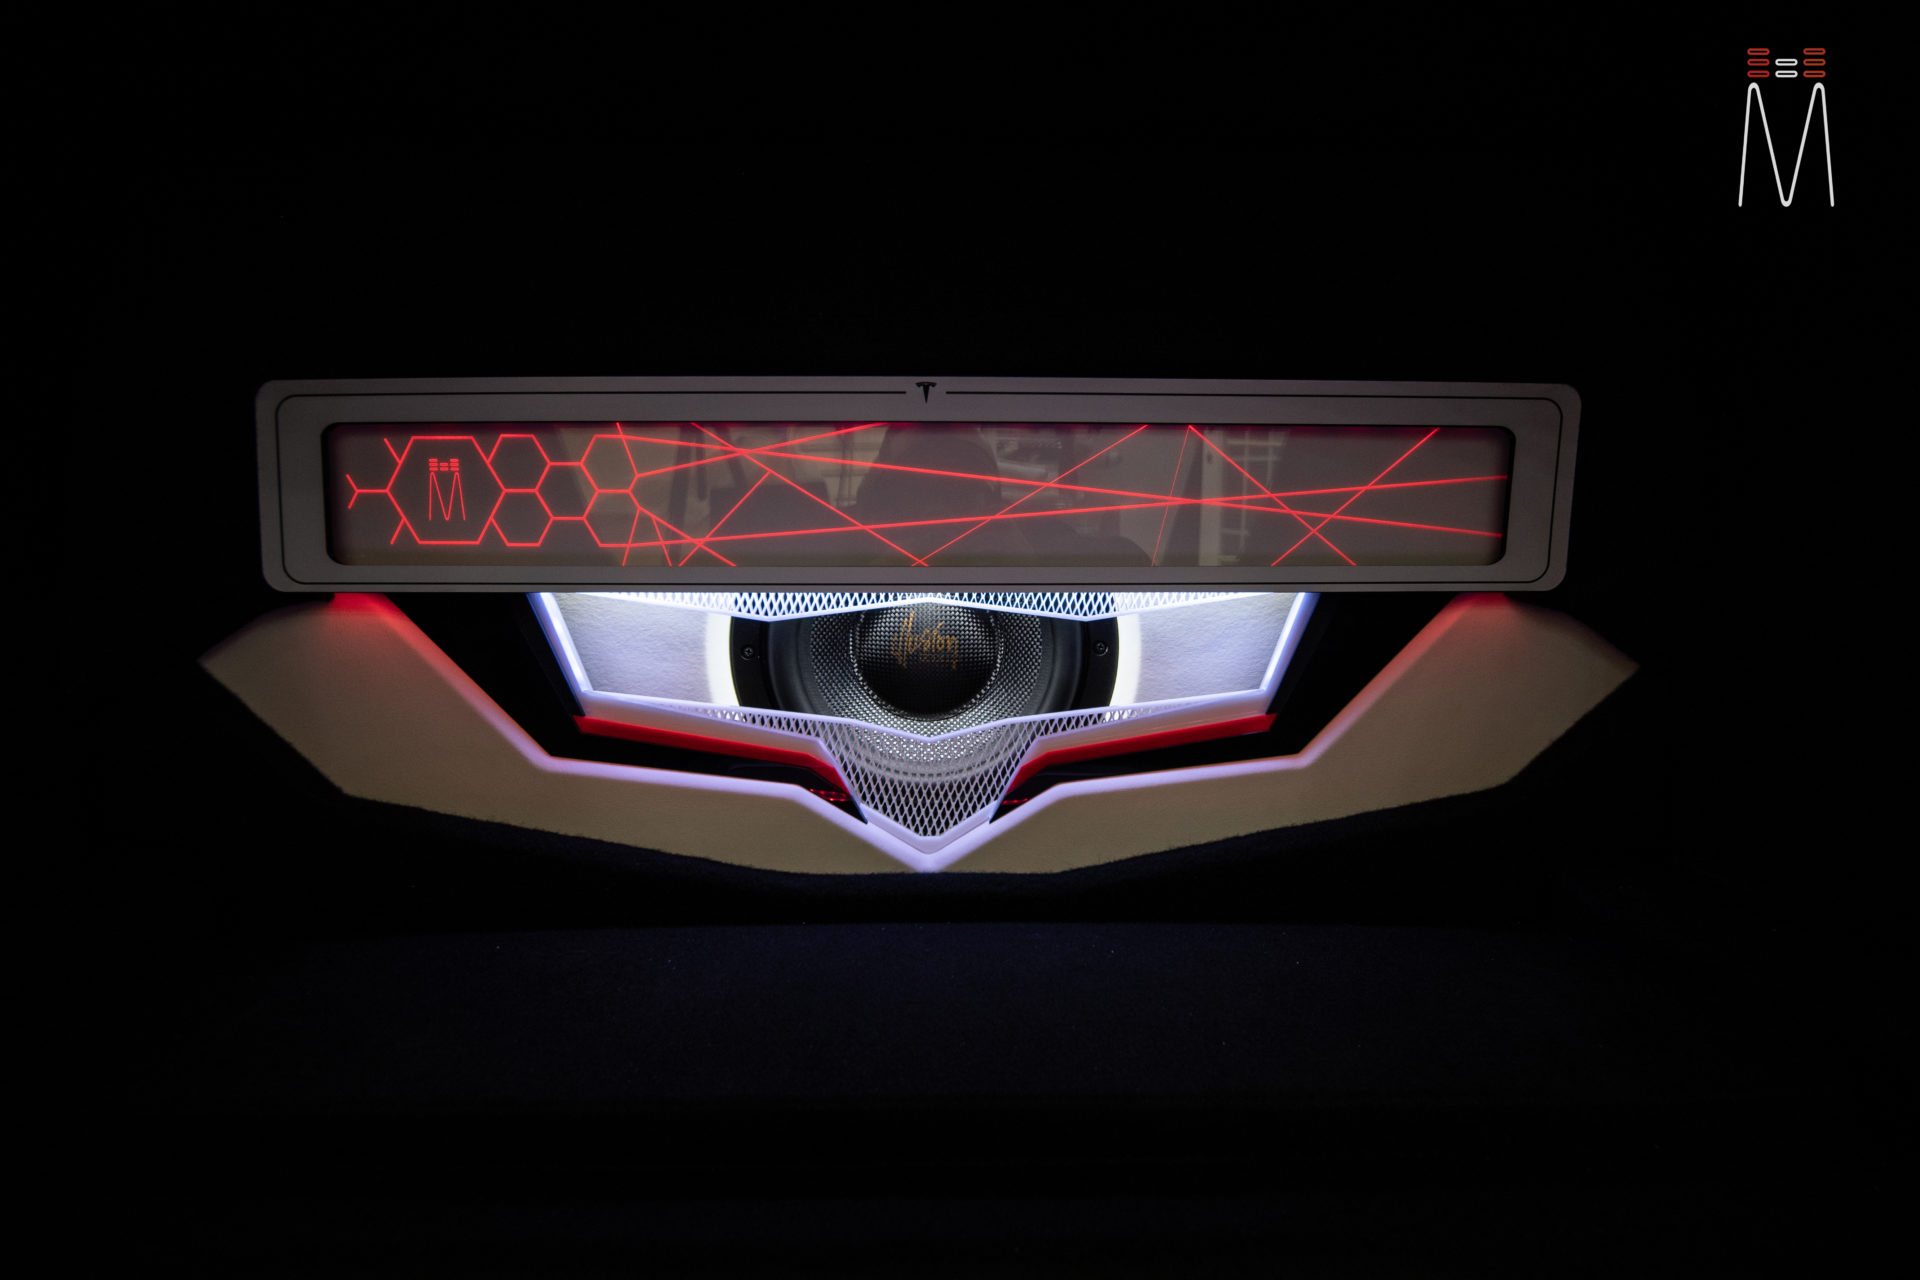
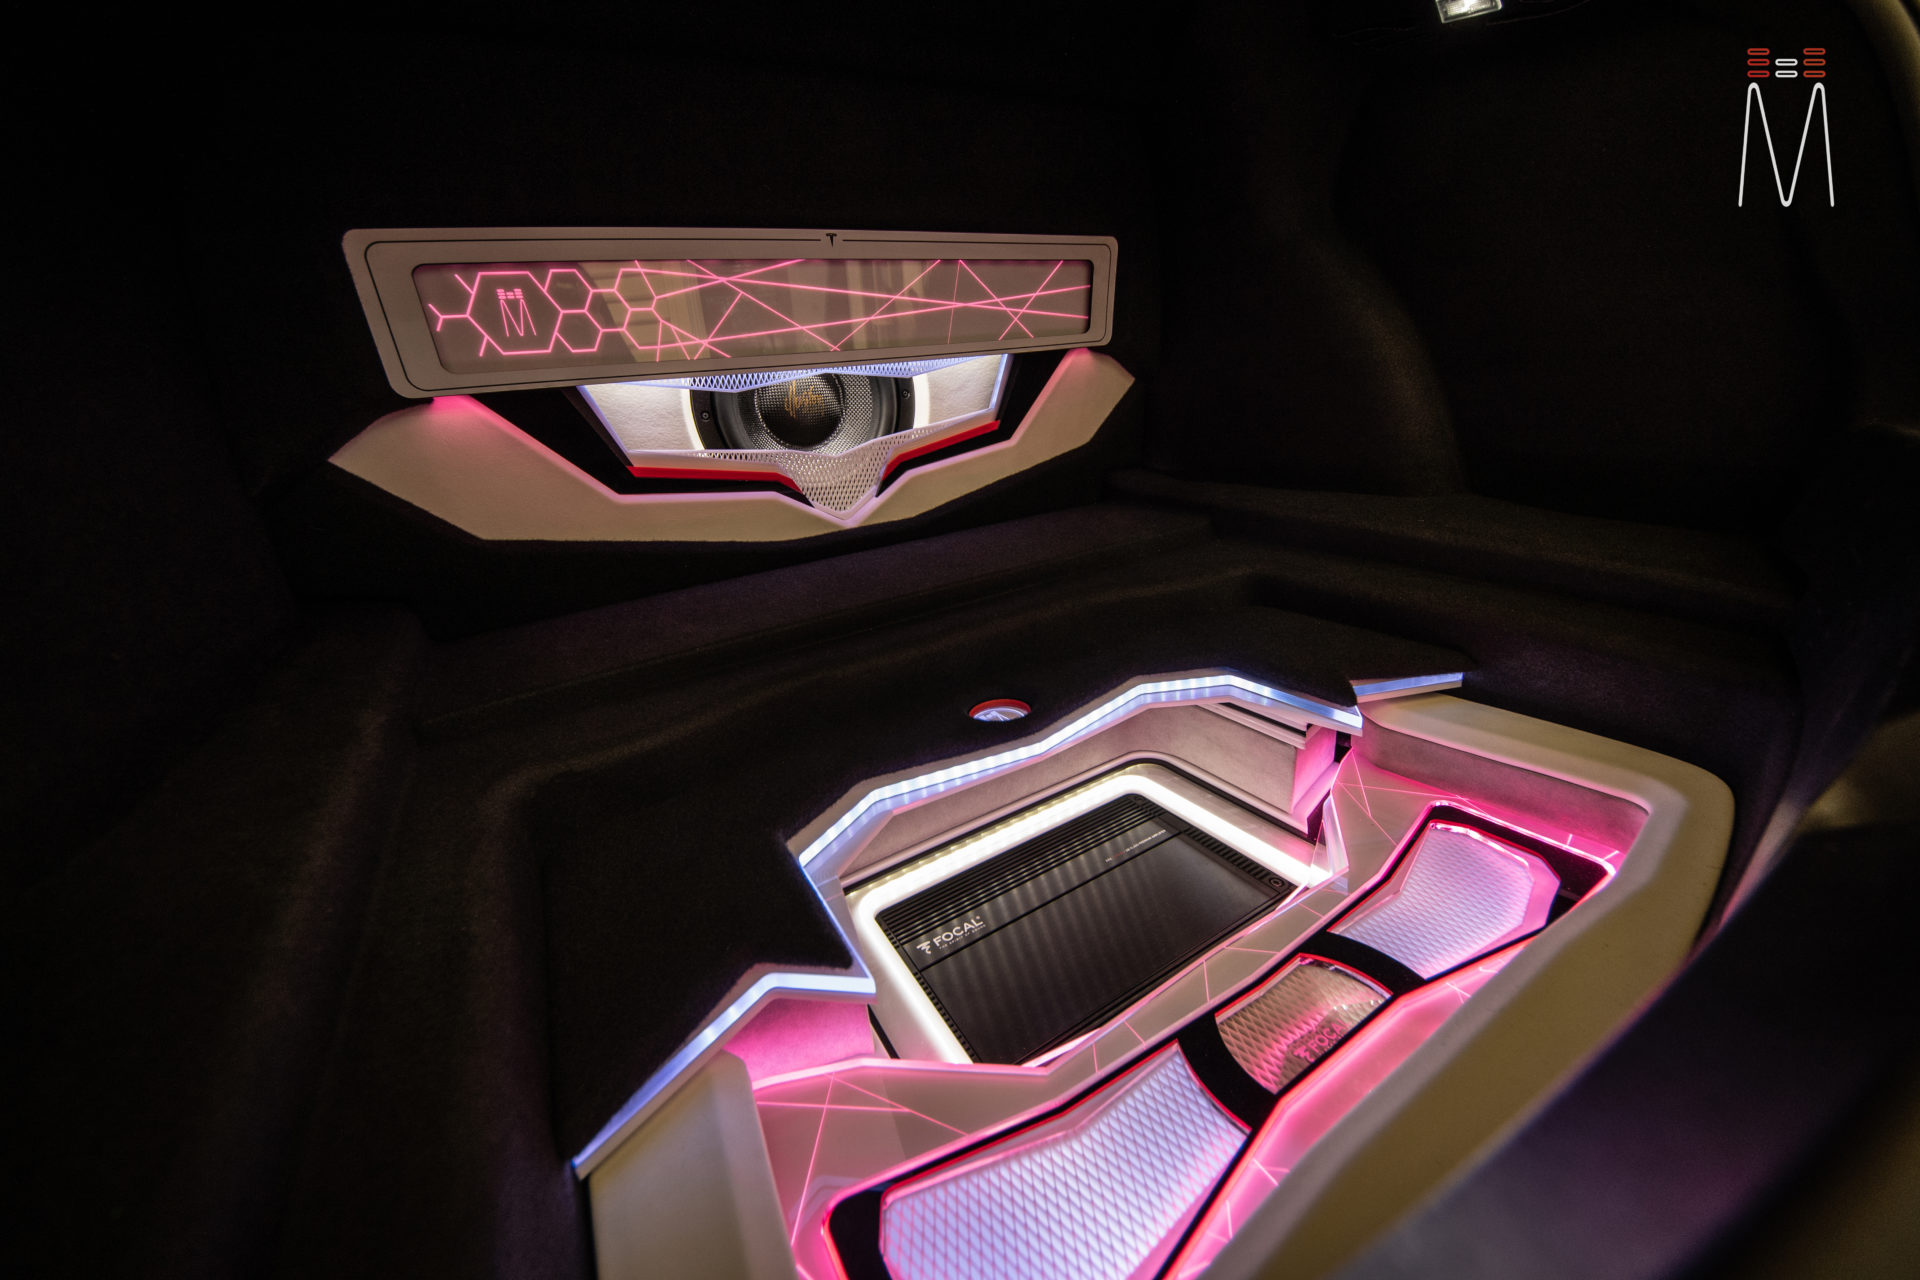
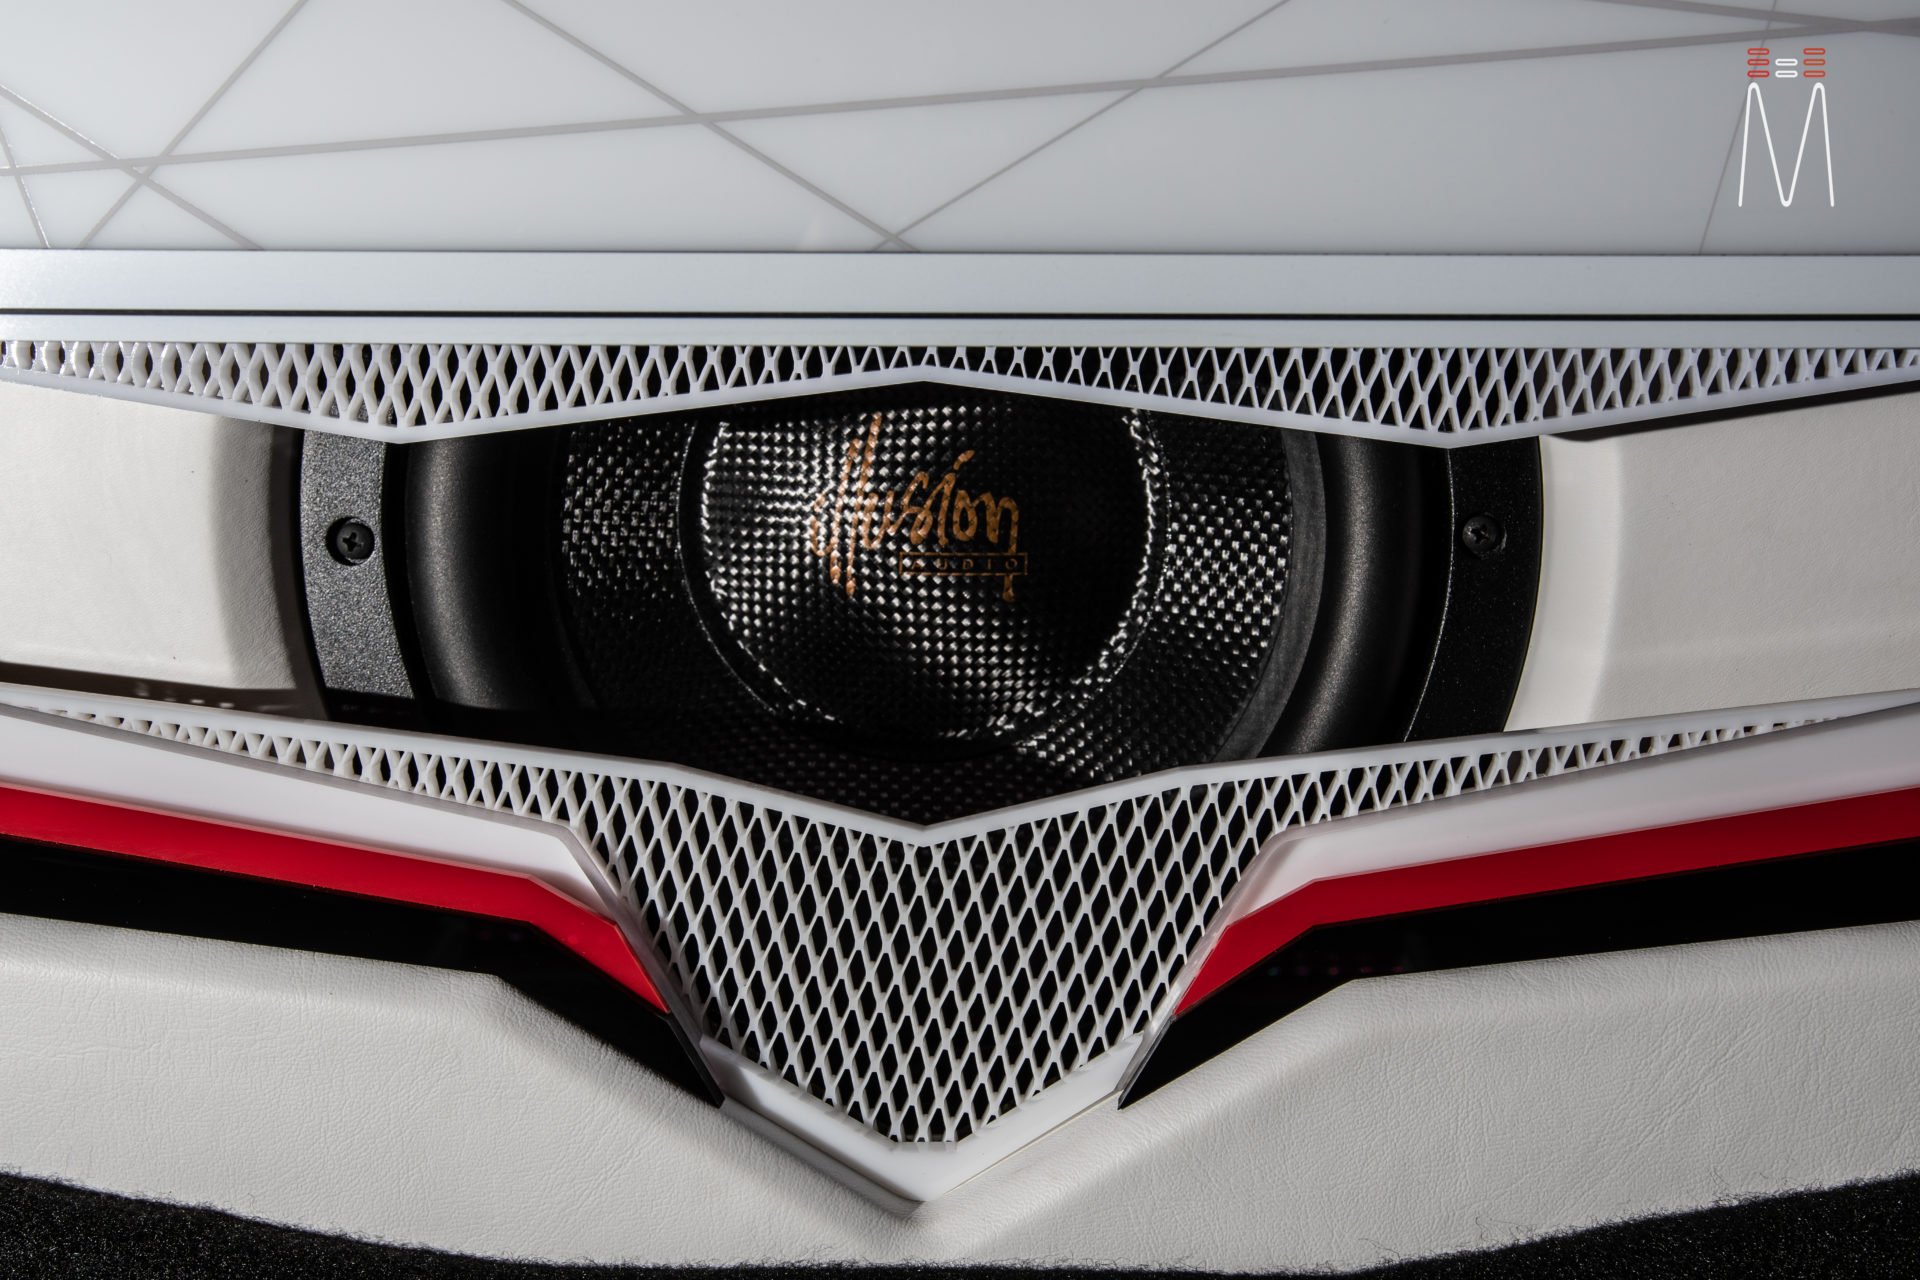
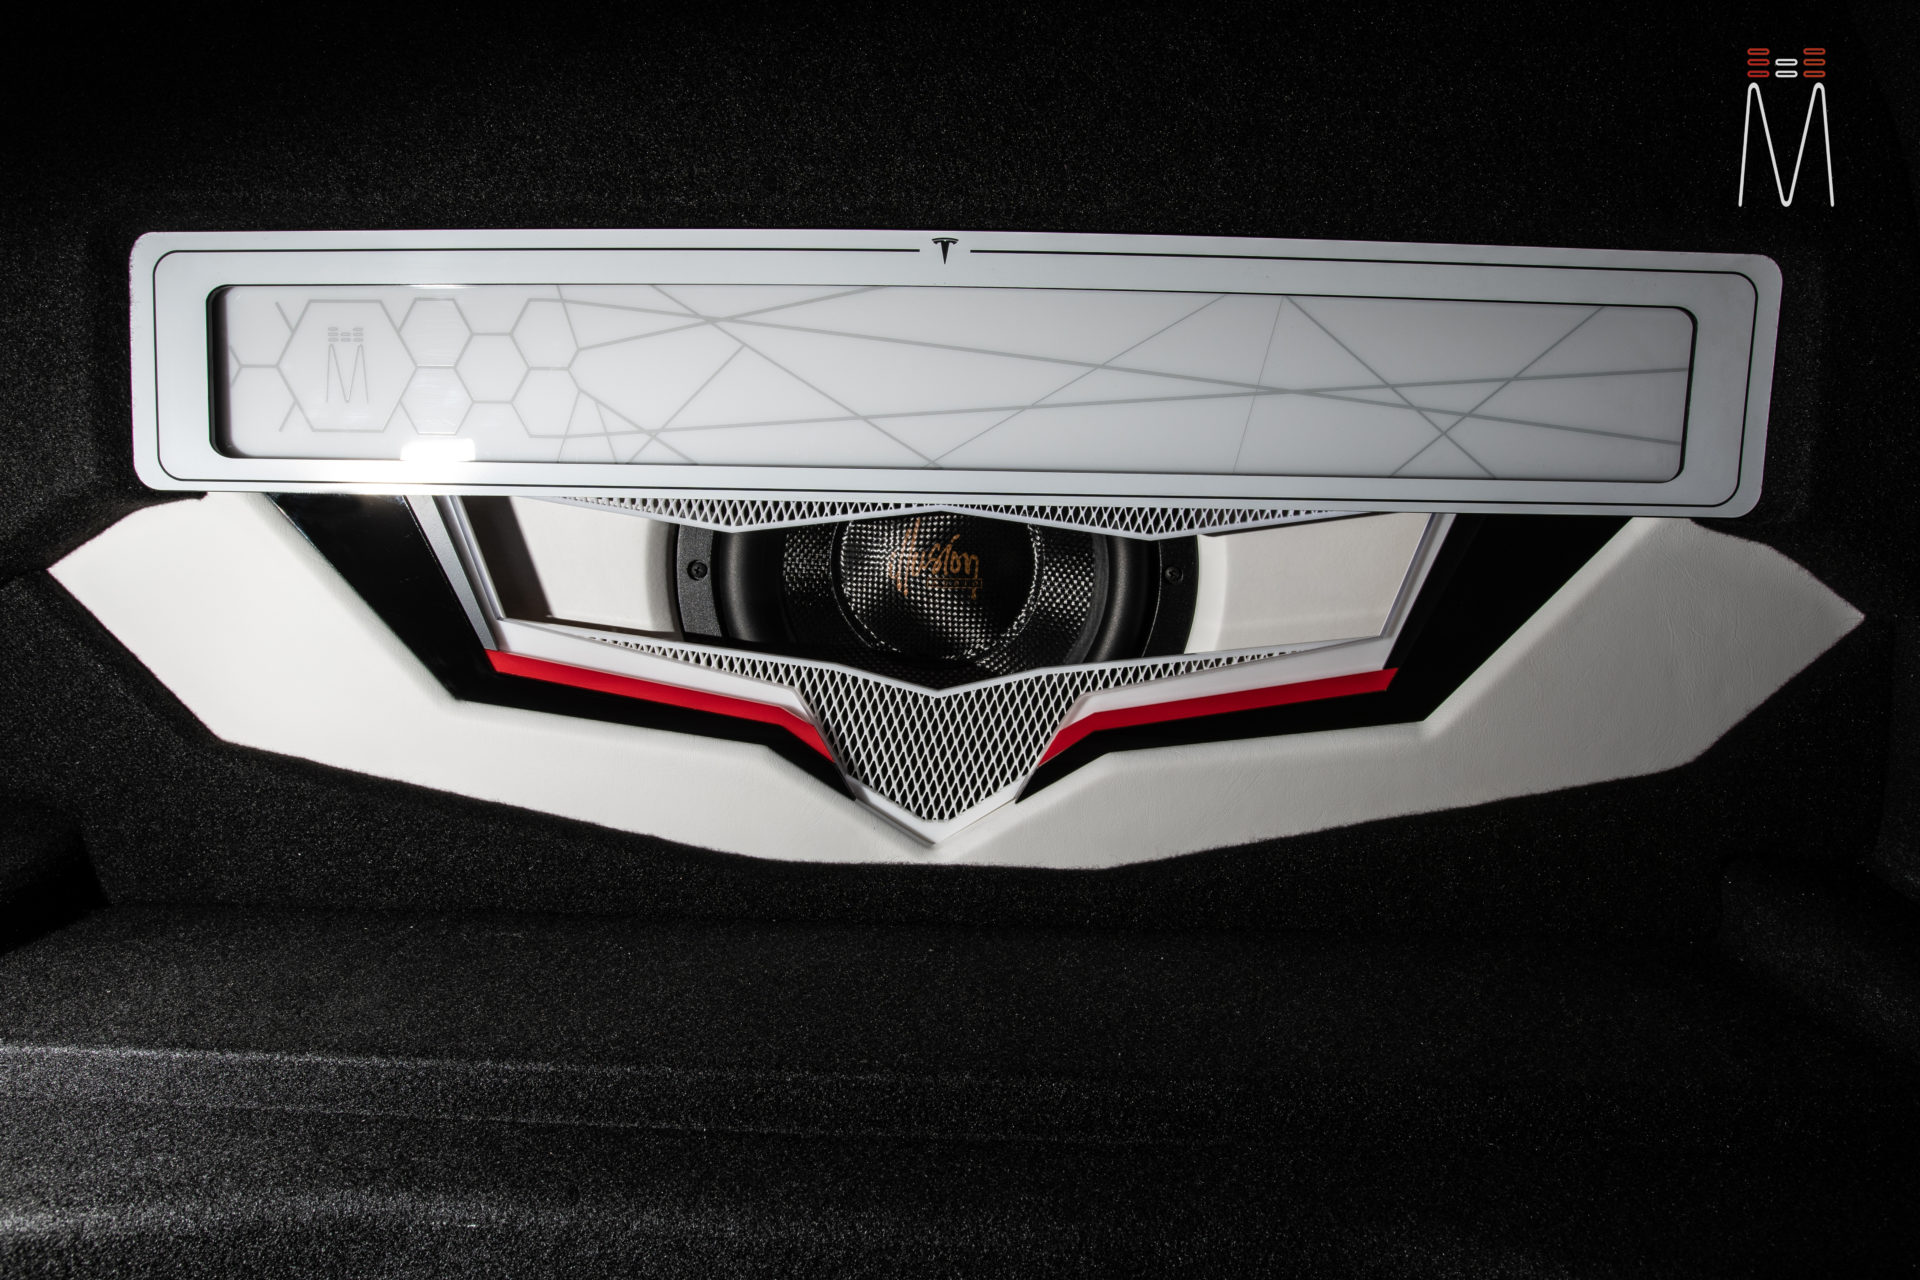
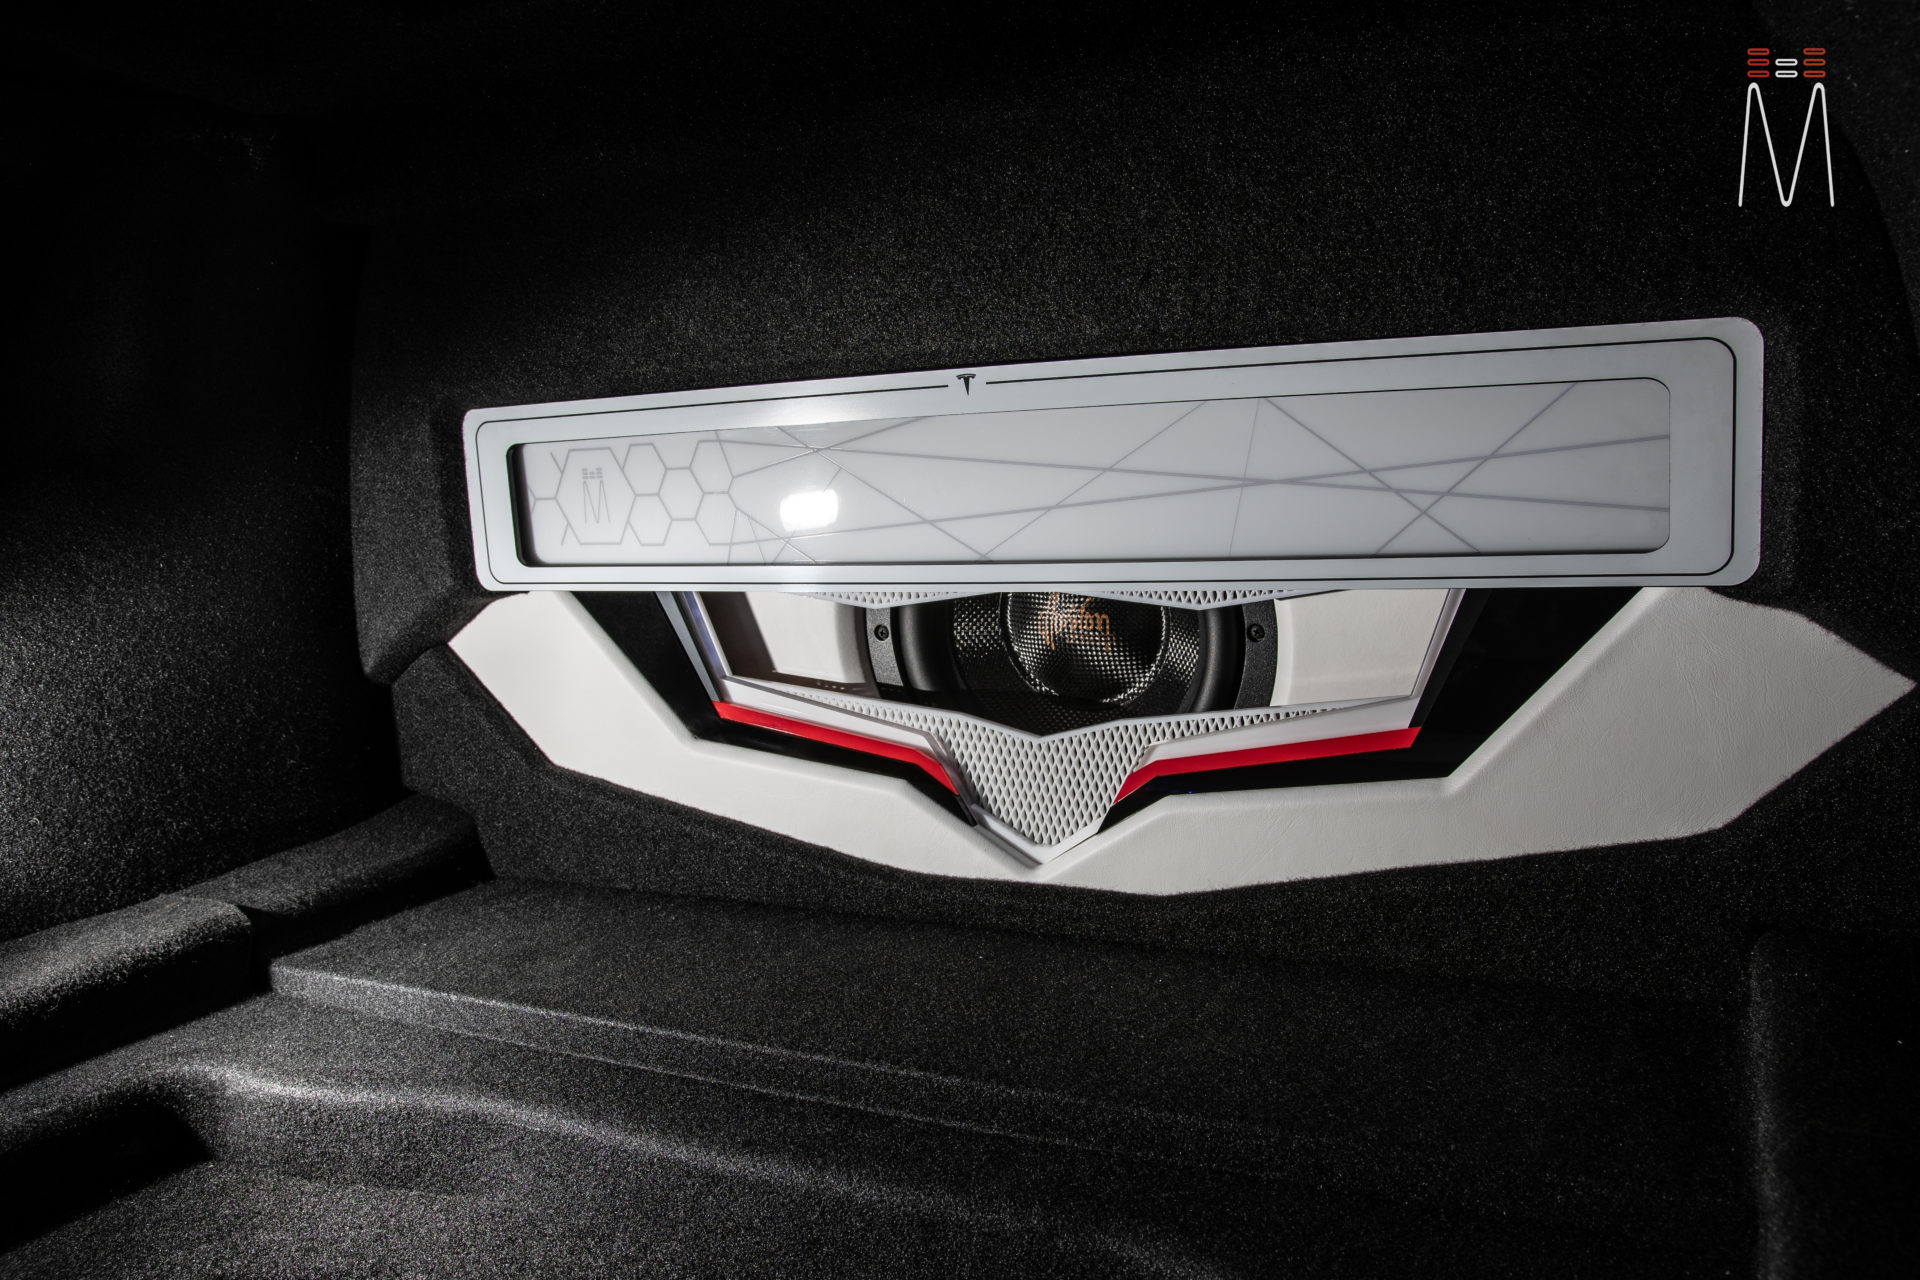
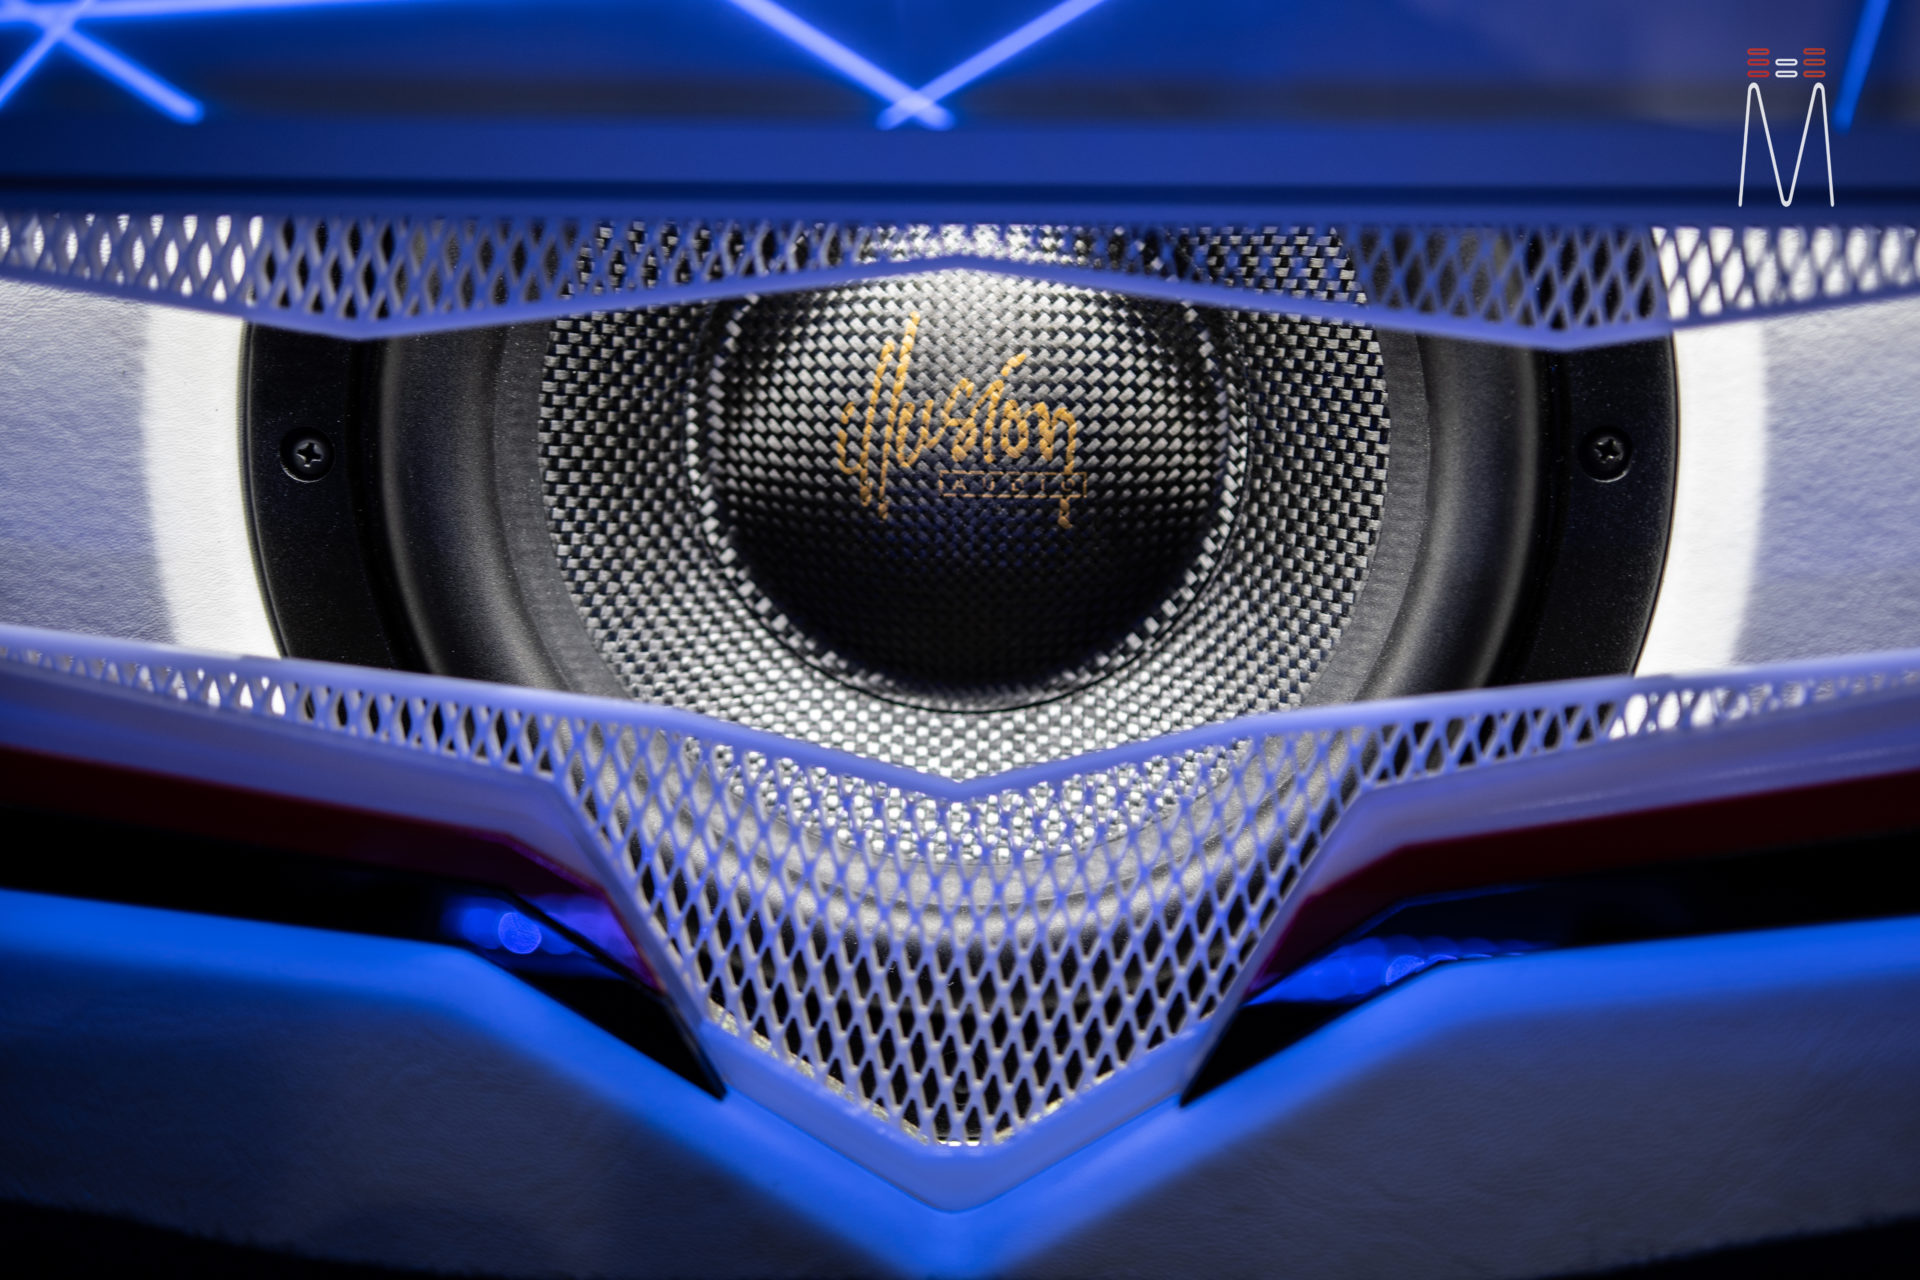
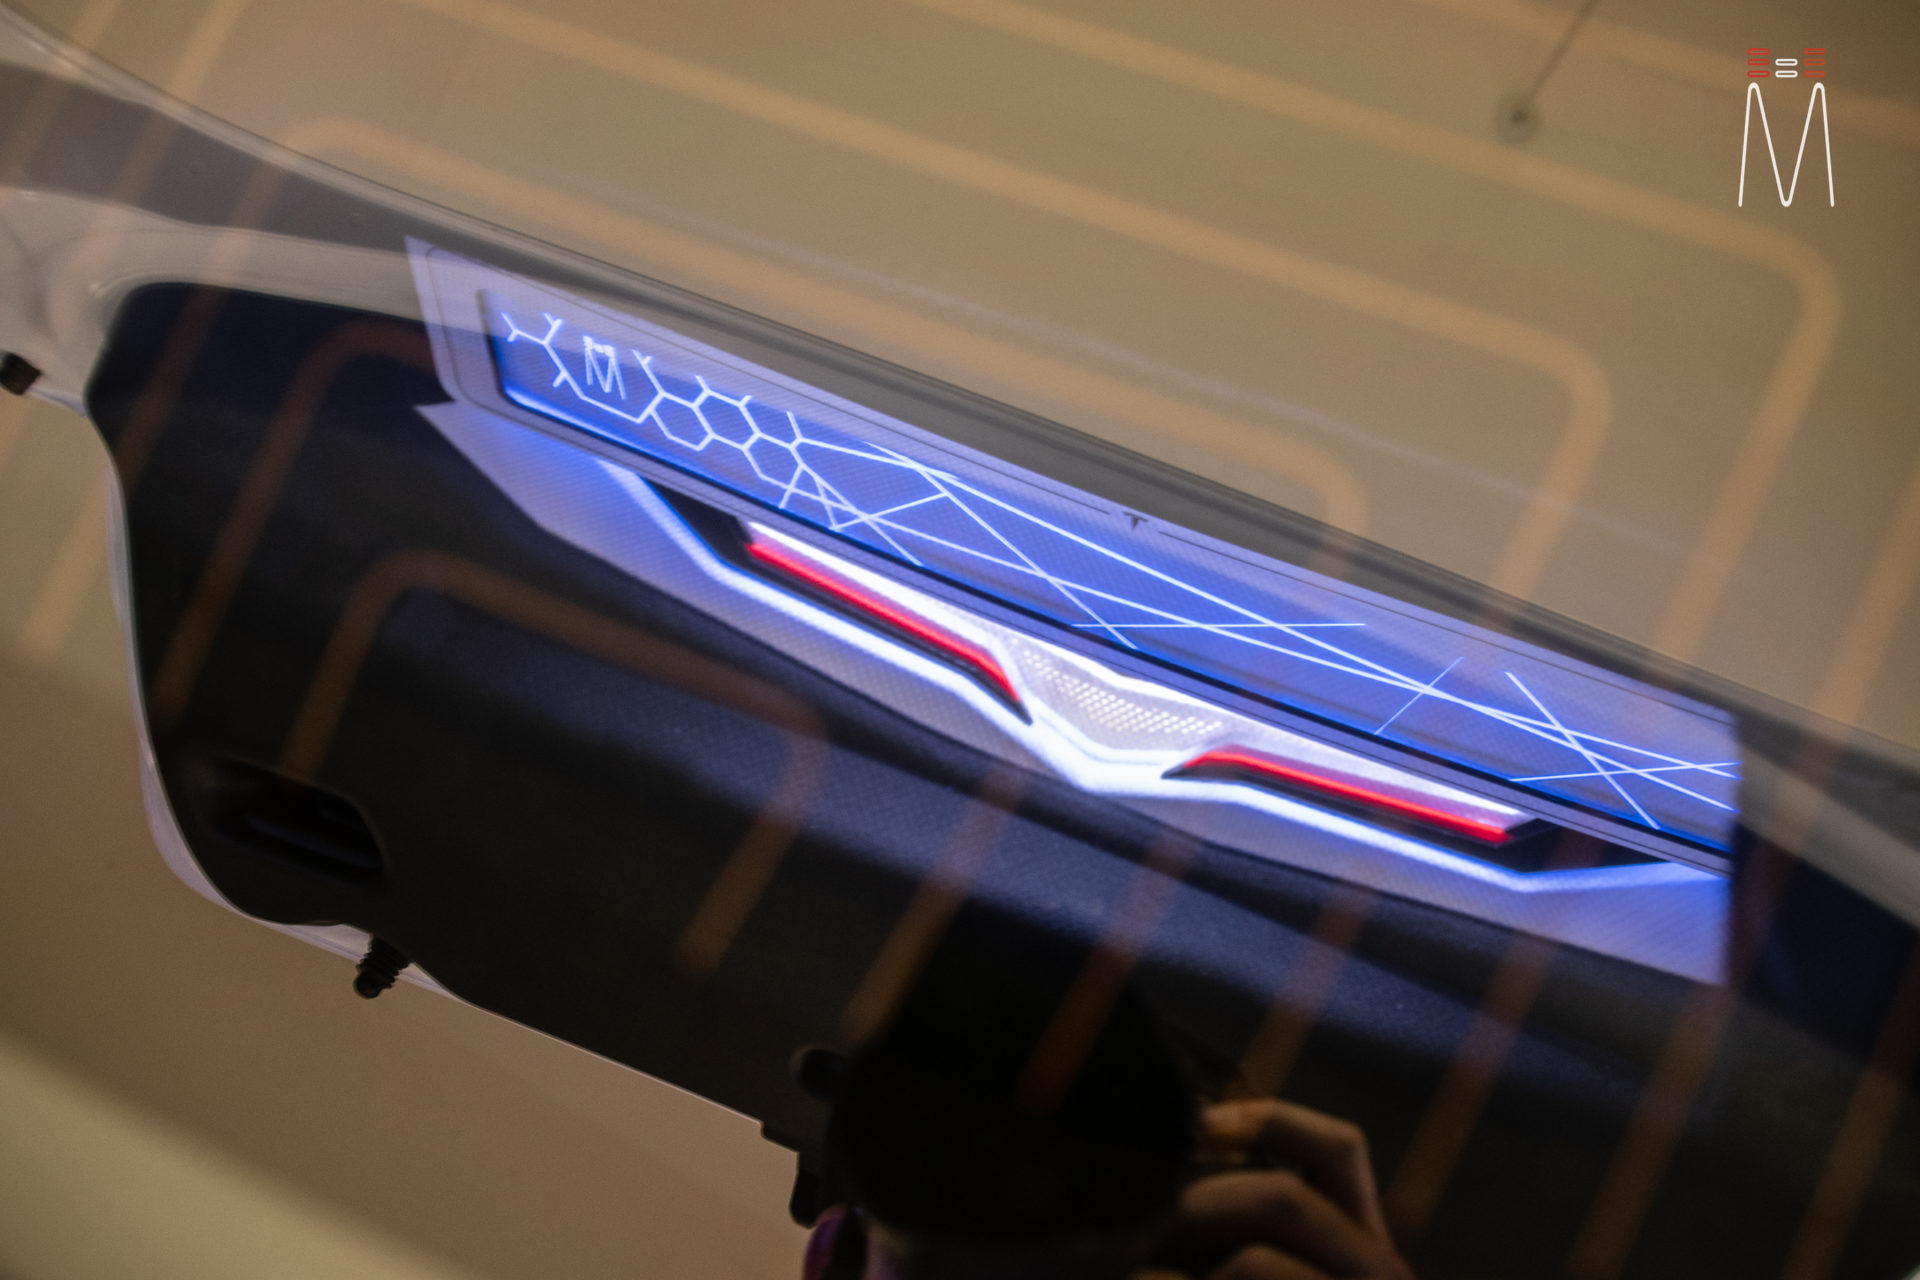
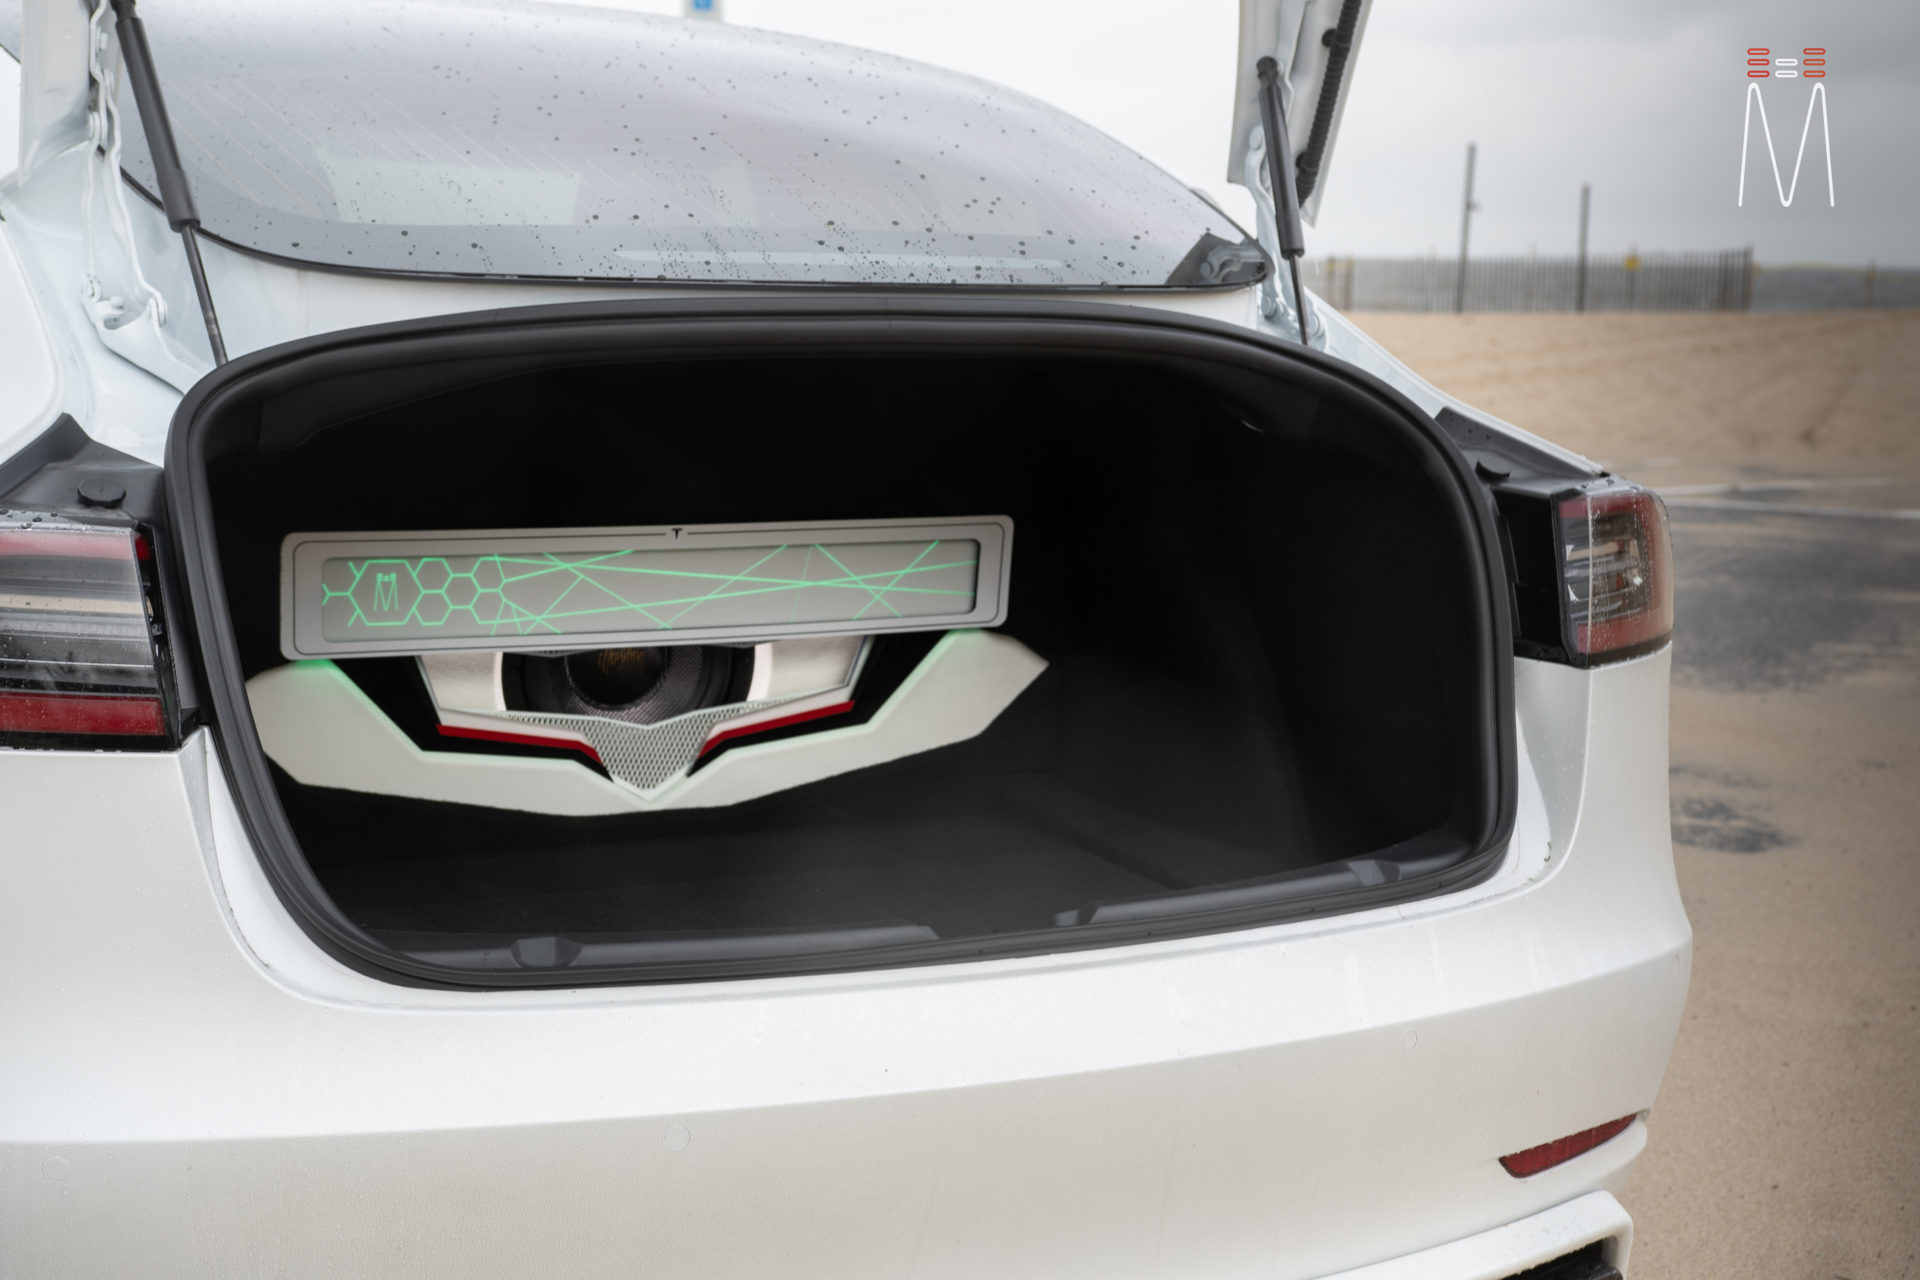
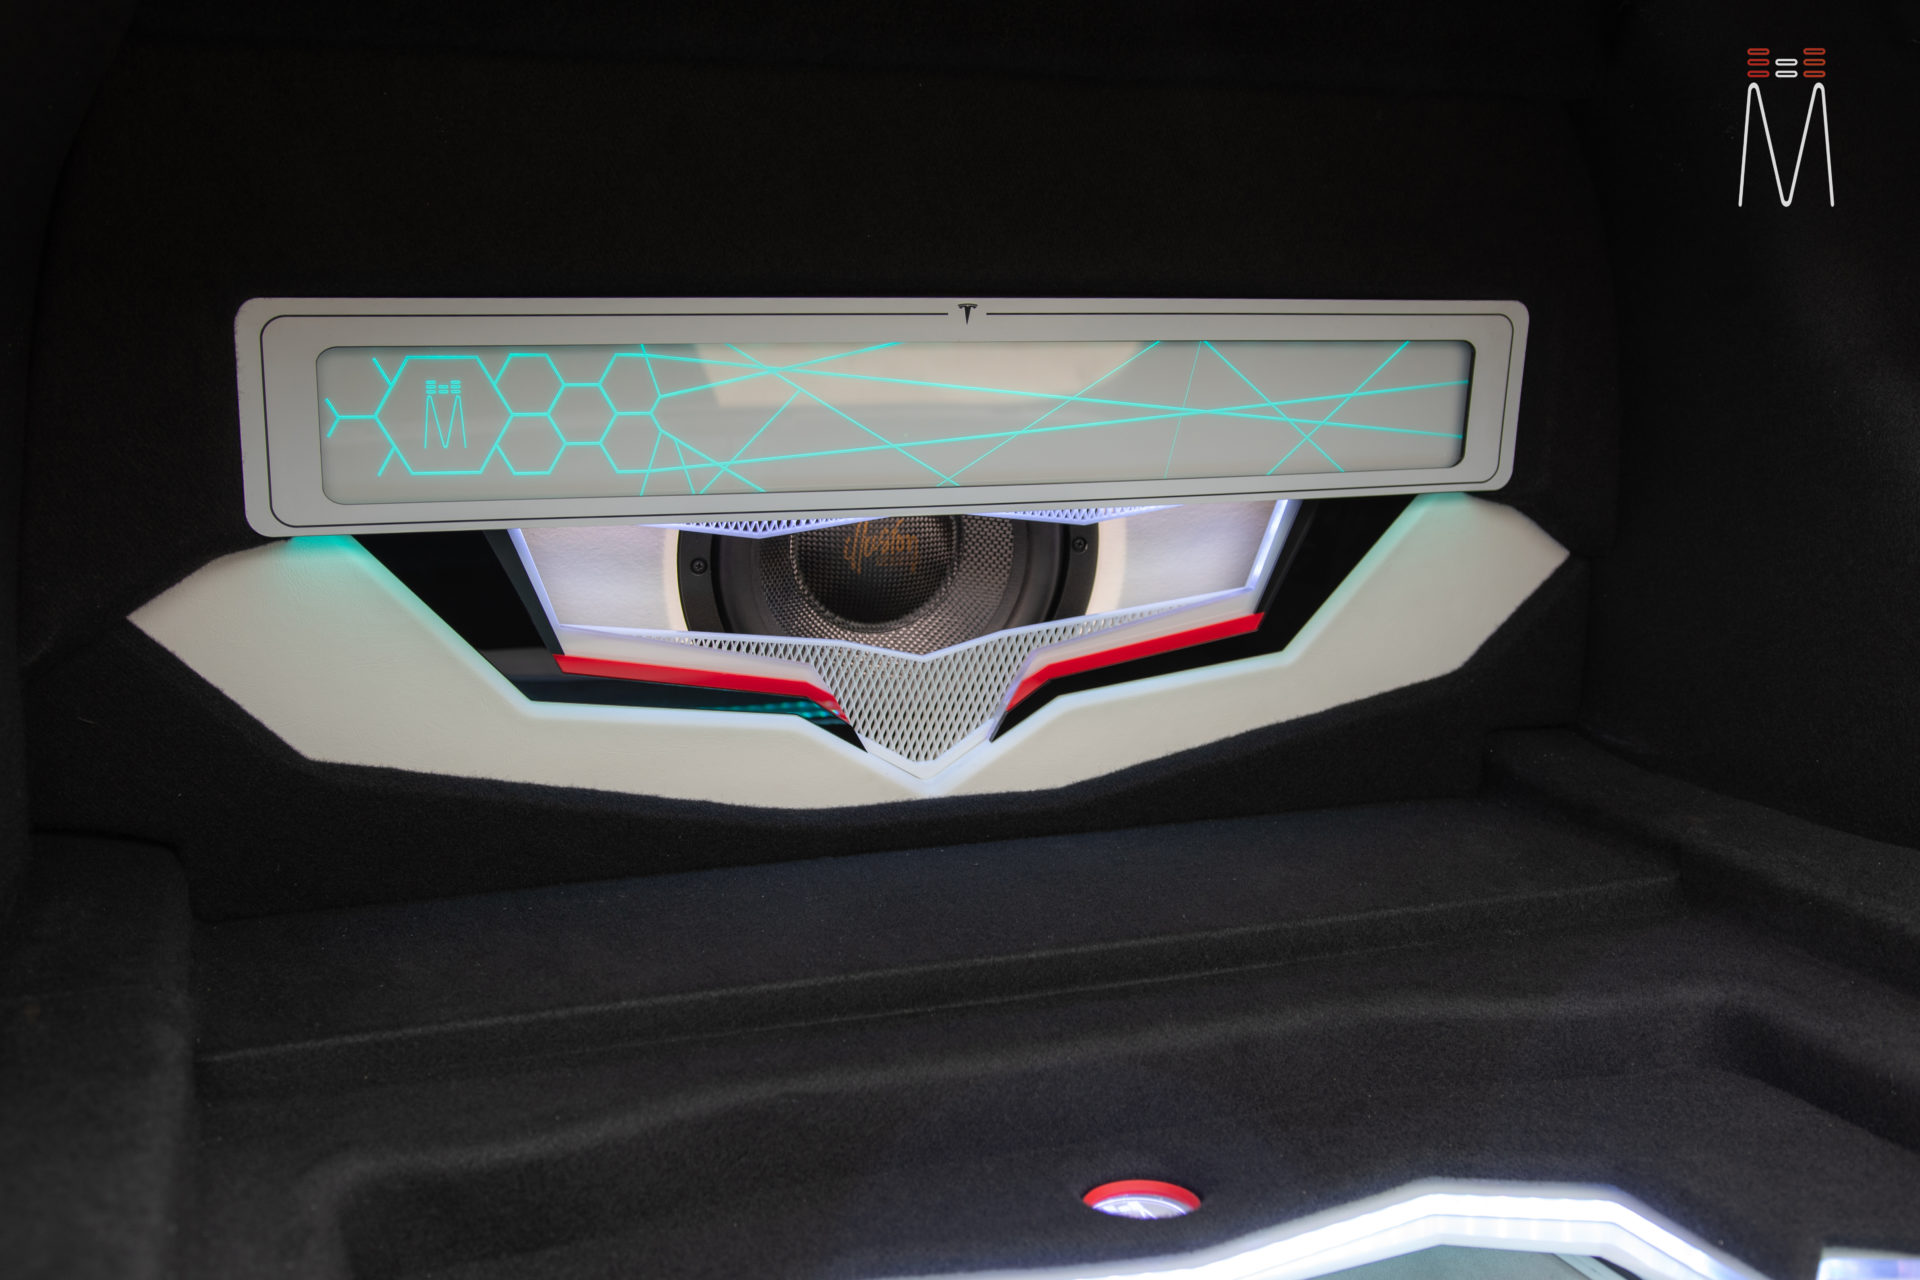
While the rear deck was removed to sound treat all the metal underneath, a pass through was made through the factory grille. The center of the OEM grill is completely closed off and did not serve any type of purpose. This would be necessary to vent the trunk into the interior of the vehicle for our subwoofer. Cutting through the thin rear deck metal gave us a massive passthrough for air to move. The subwoofer enclosure was created from Russian Baltic Birch and mounted to the frame of the vehicle. Multiple layers of different acrylic trim was created to give a dimension look. Similar grille pattern and design elements were used to match the design of our new a-pillars. Over the subwoofer is an acrylic lit panel which uses RGB lighting. Our design was created in CAD and a cnc laser was used to etch the back of the clear acrylic to highlight the RGB lighting. This lit acrylic panel has a 2 inch arch which spreads across the face of the subwoofer enclosure. Another channel of RGB lighting cycles a different set of colors across the grille of the enclosure. A bright white LED highlights the subwoofer.
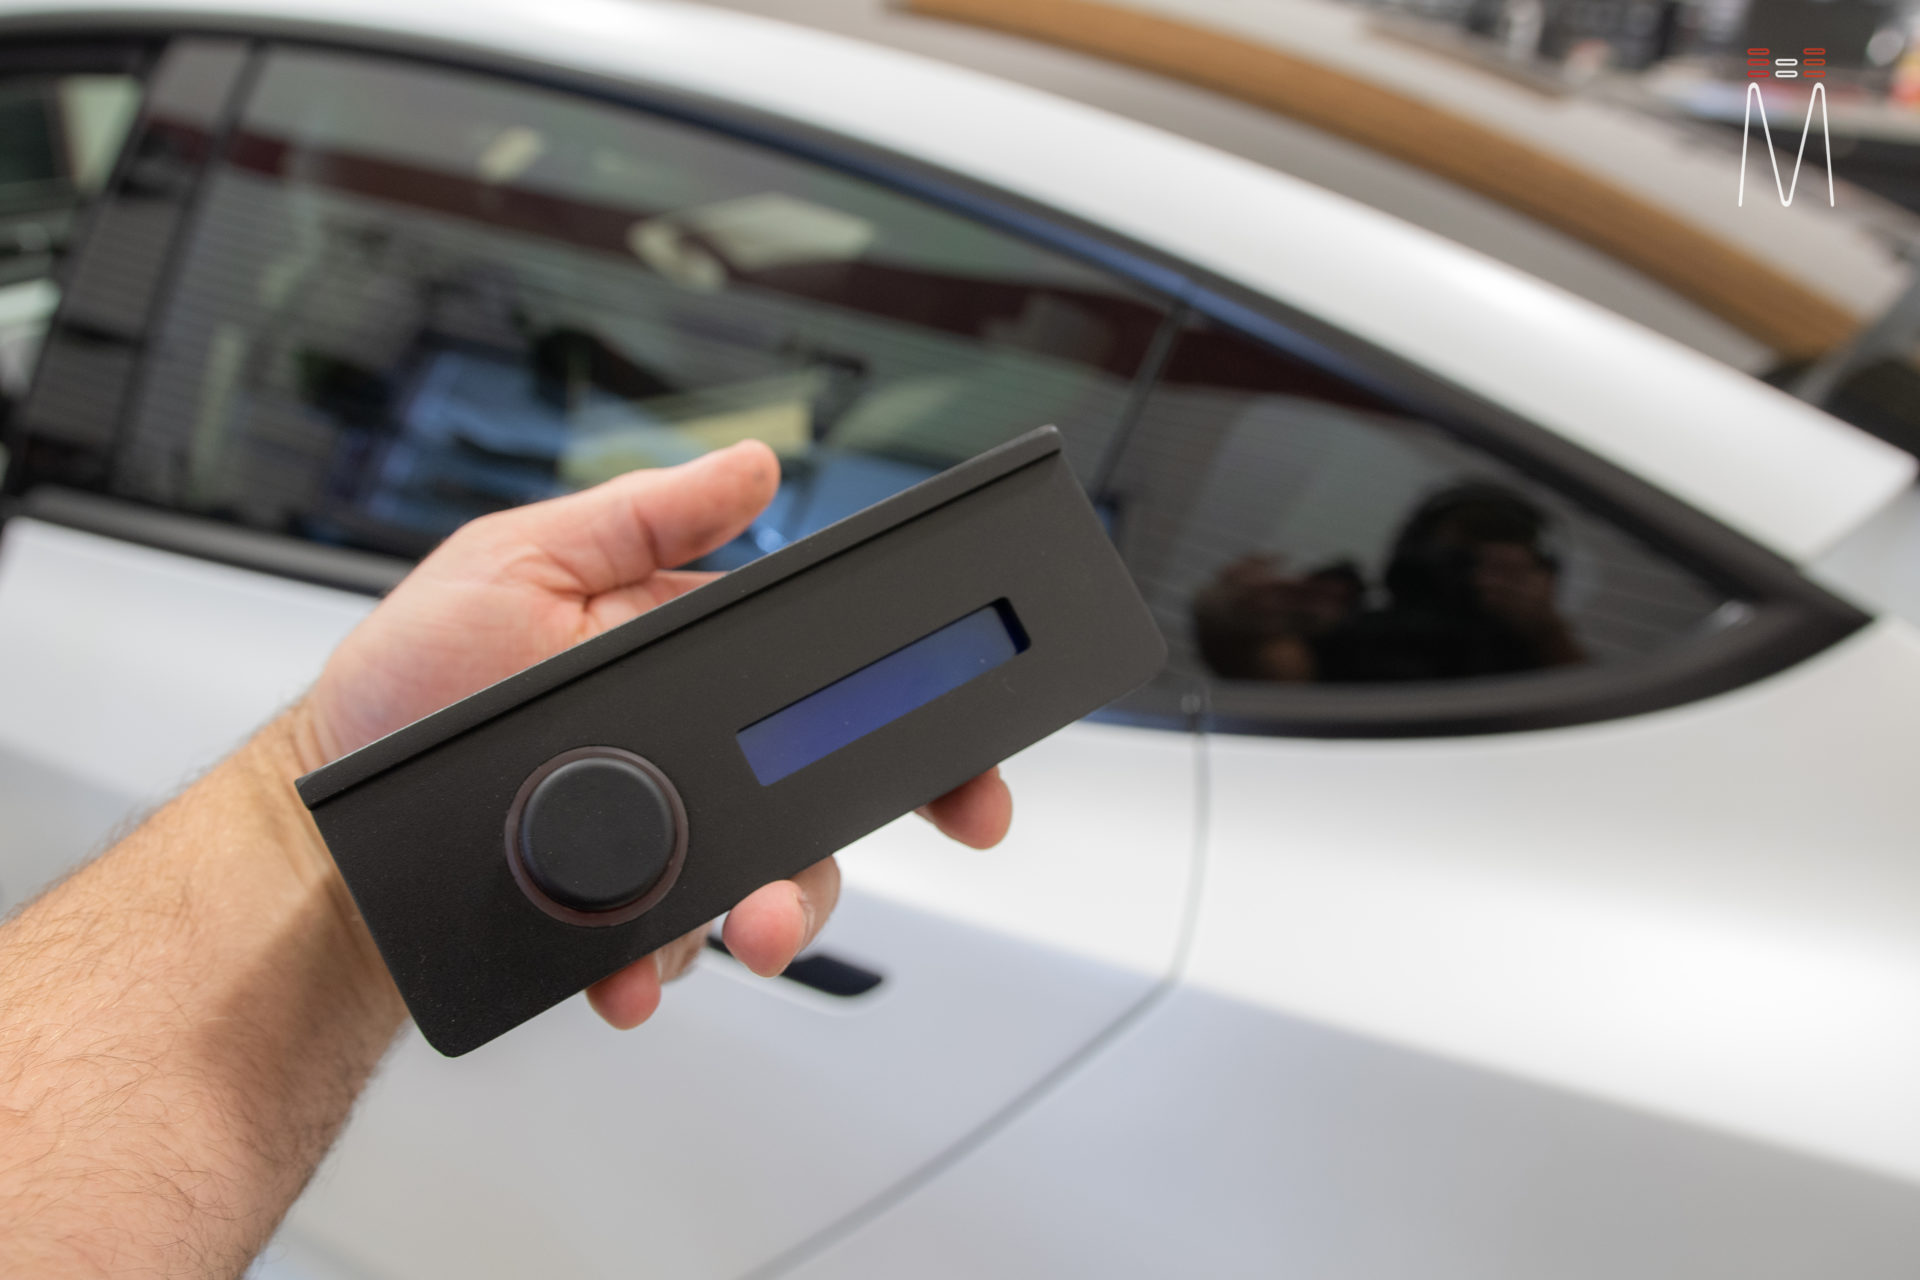
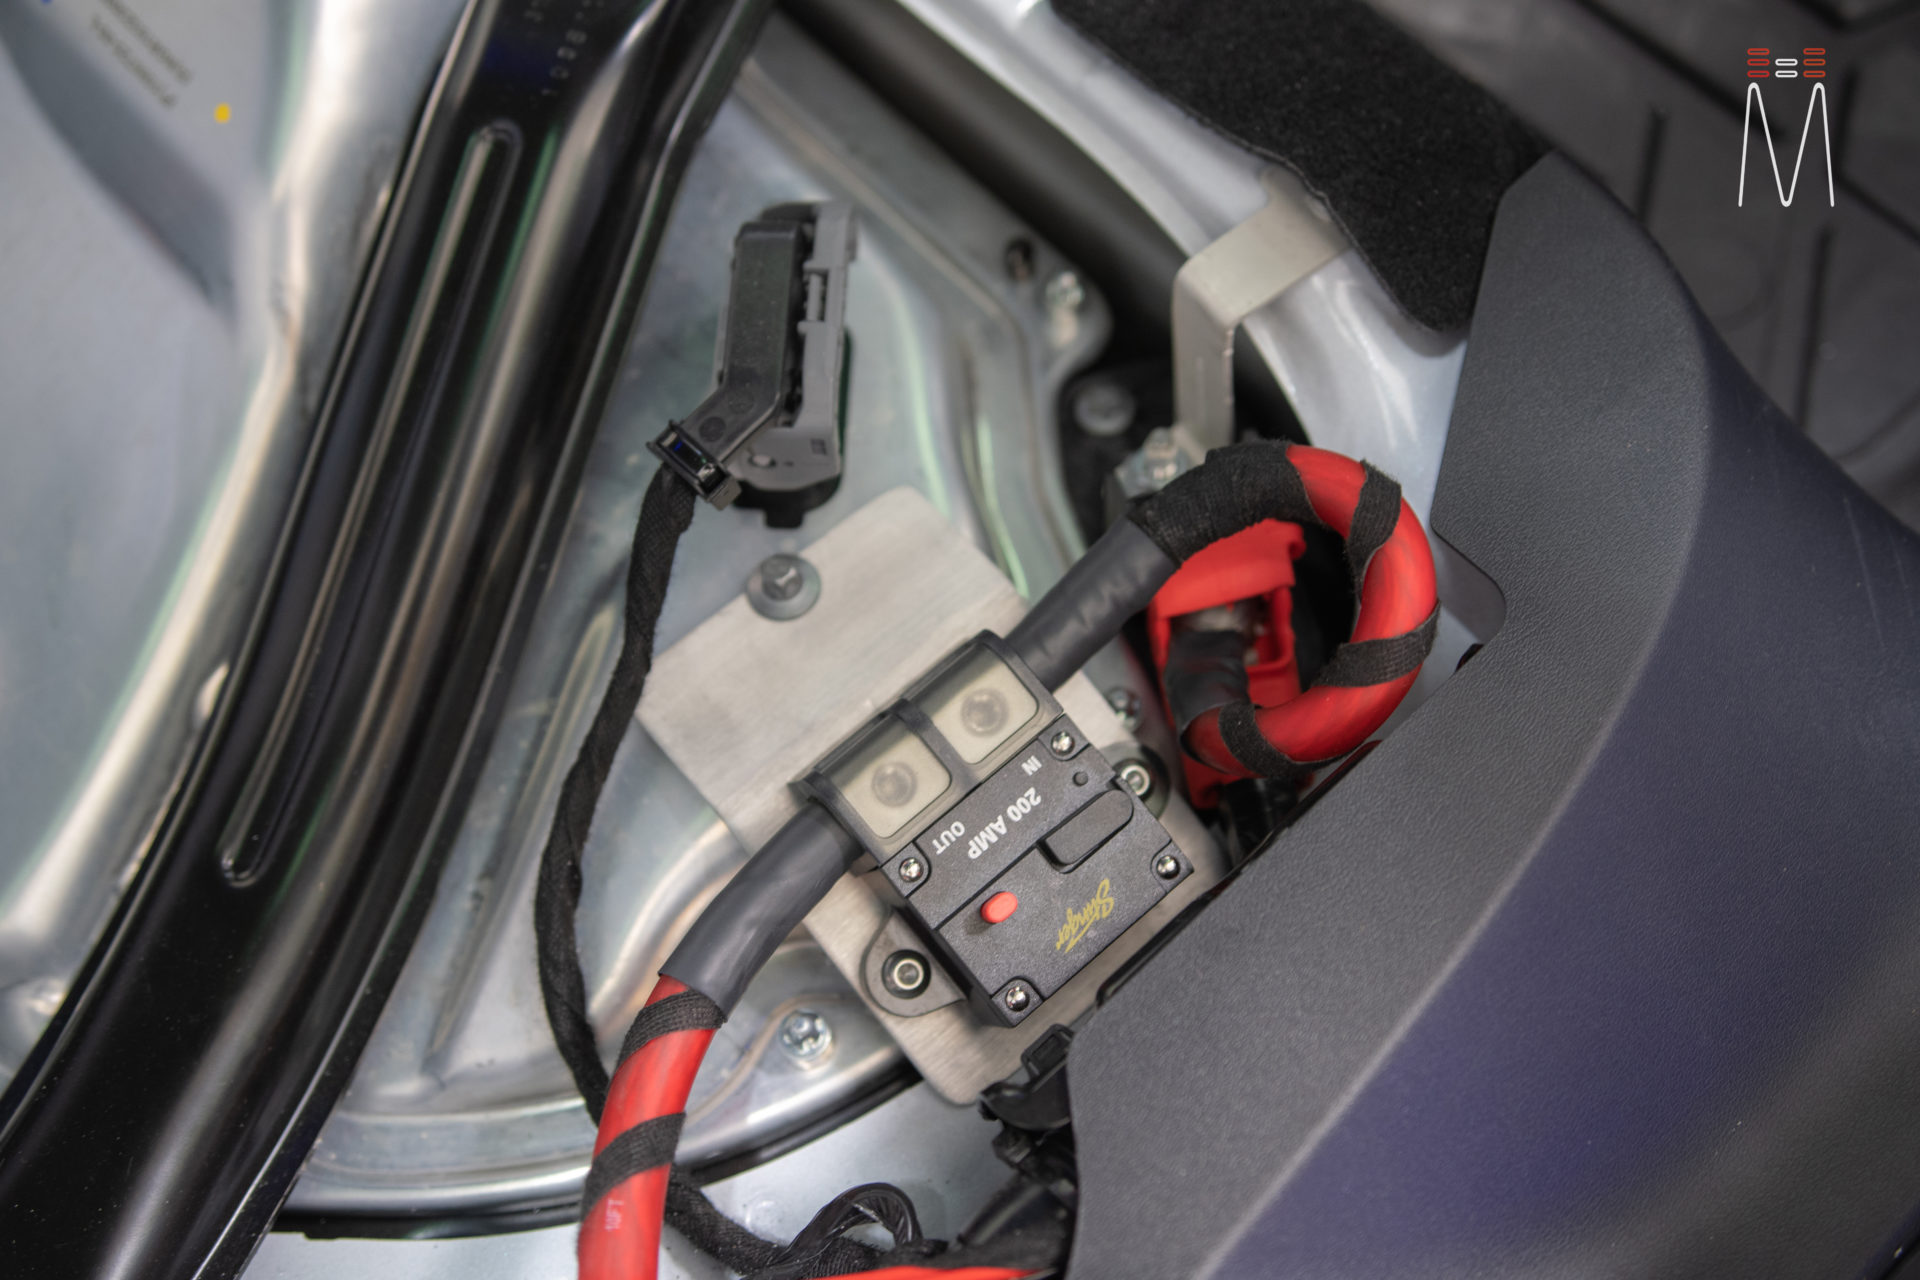
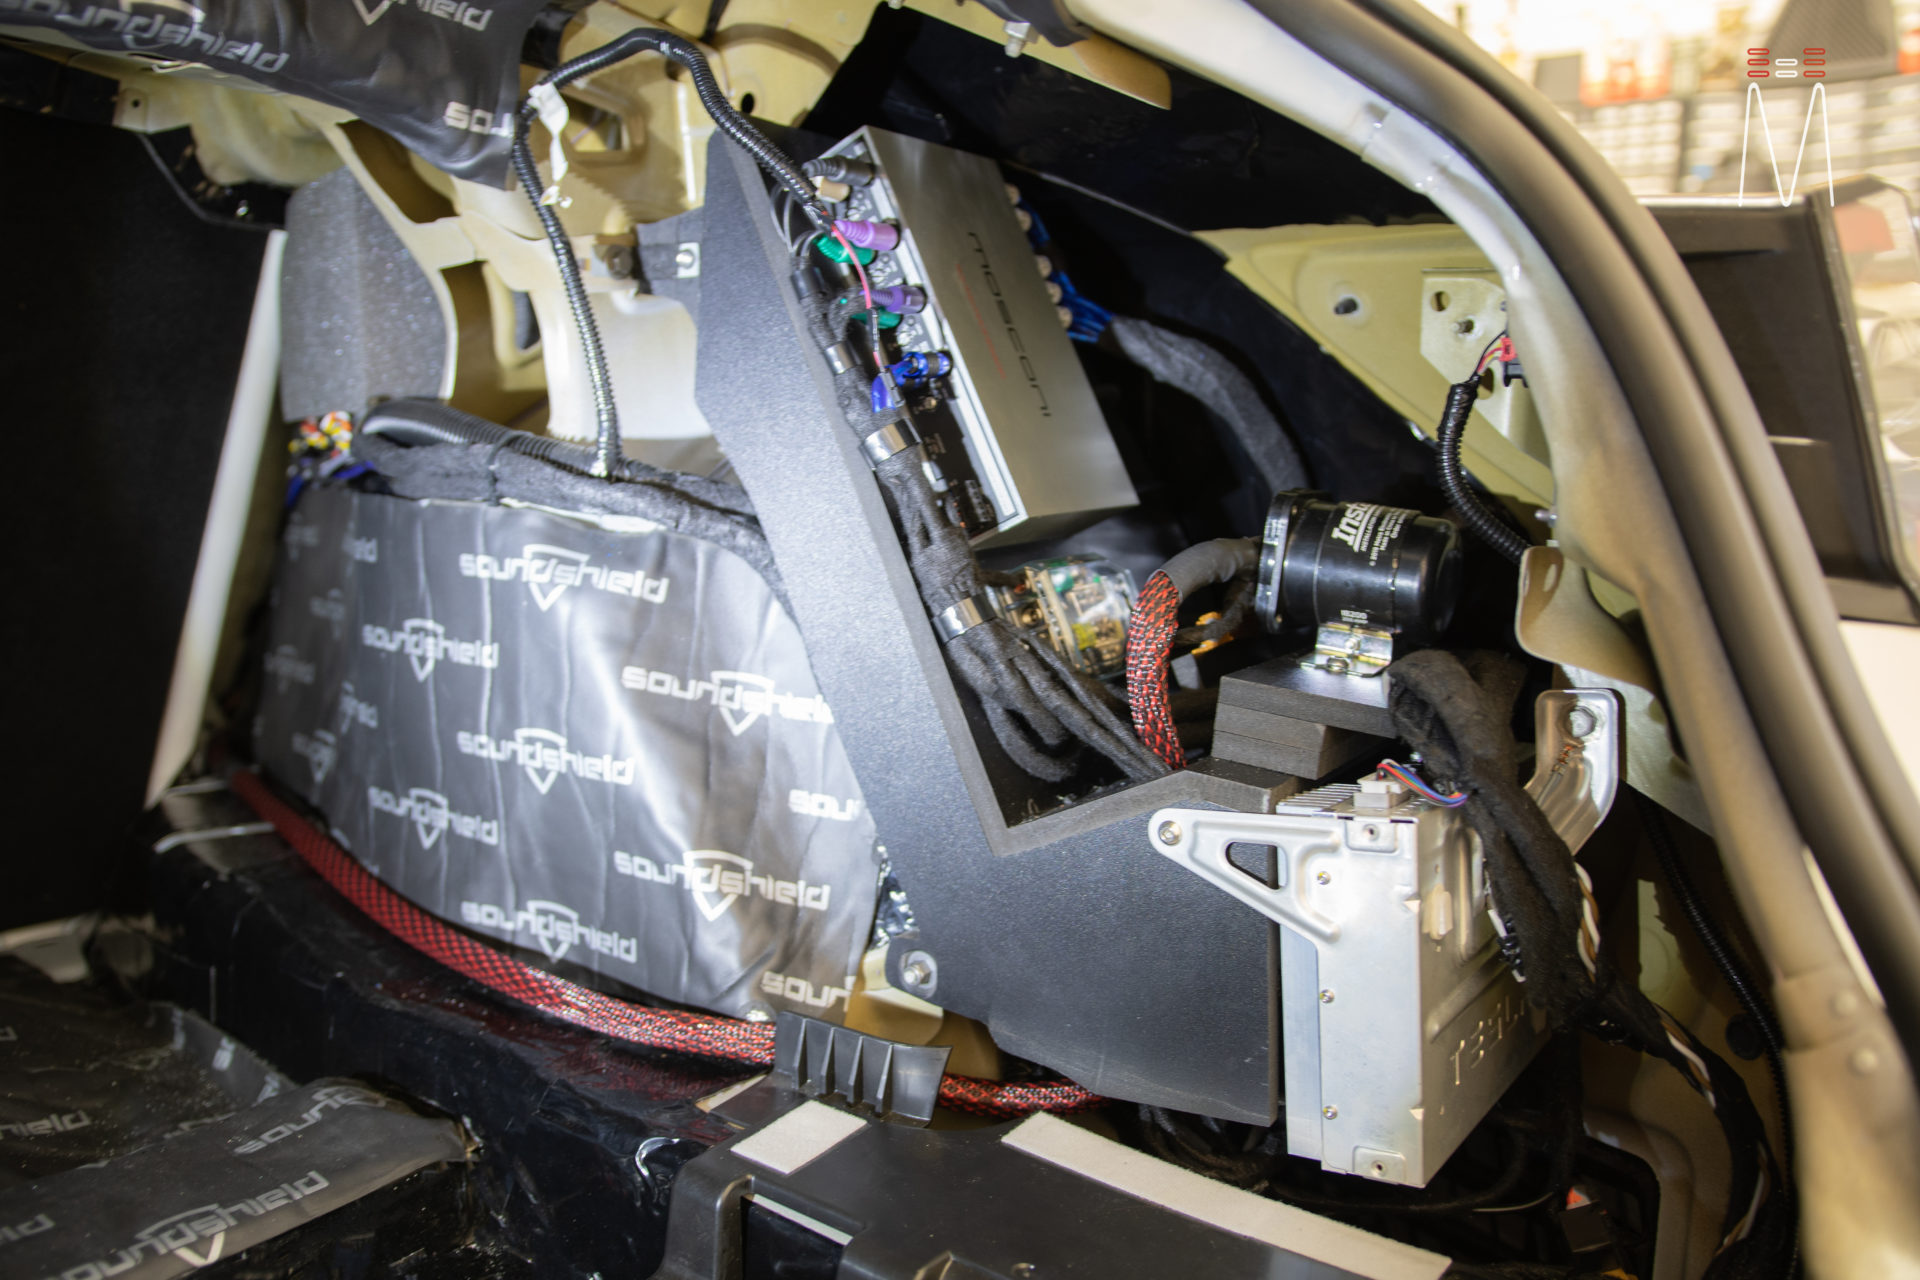
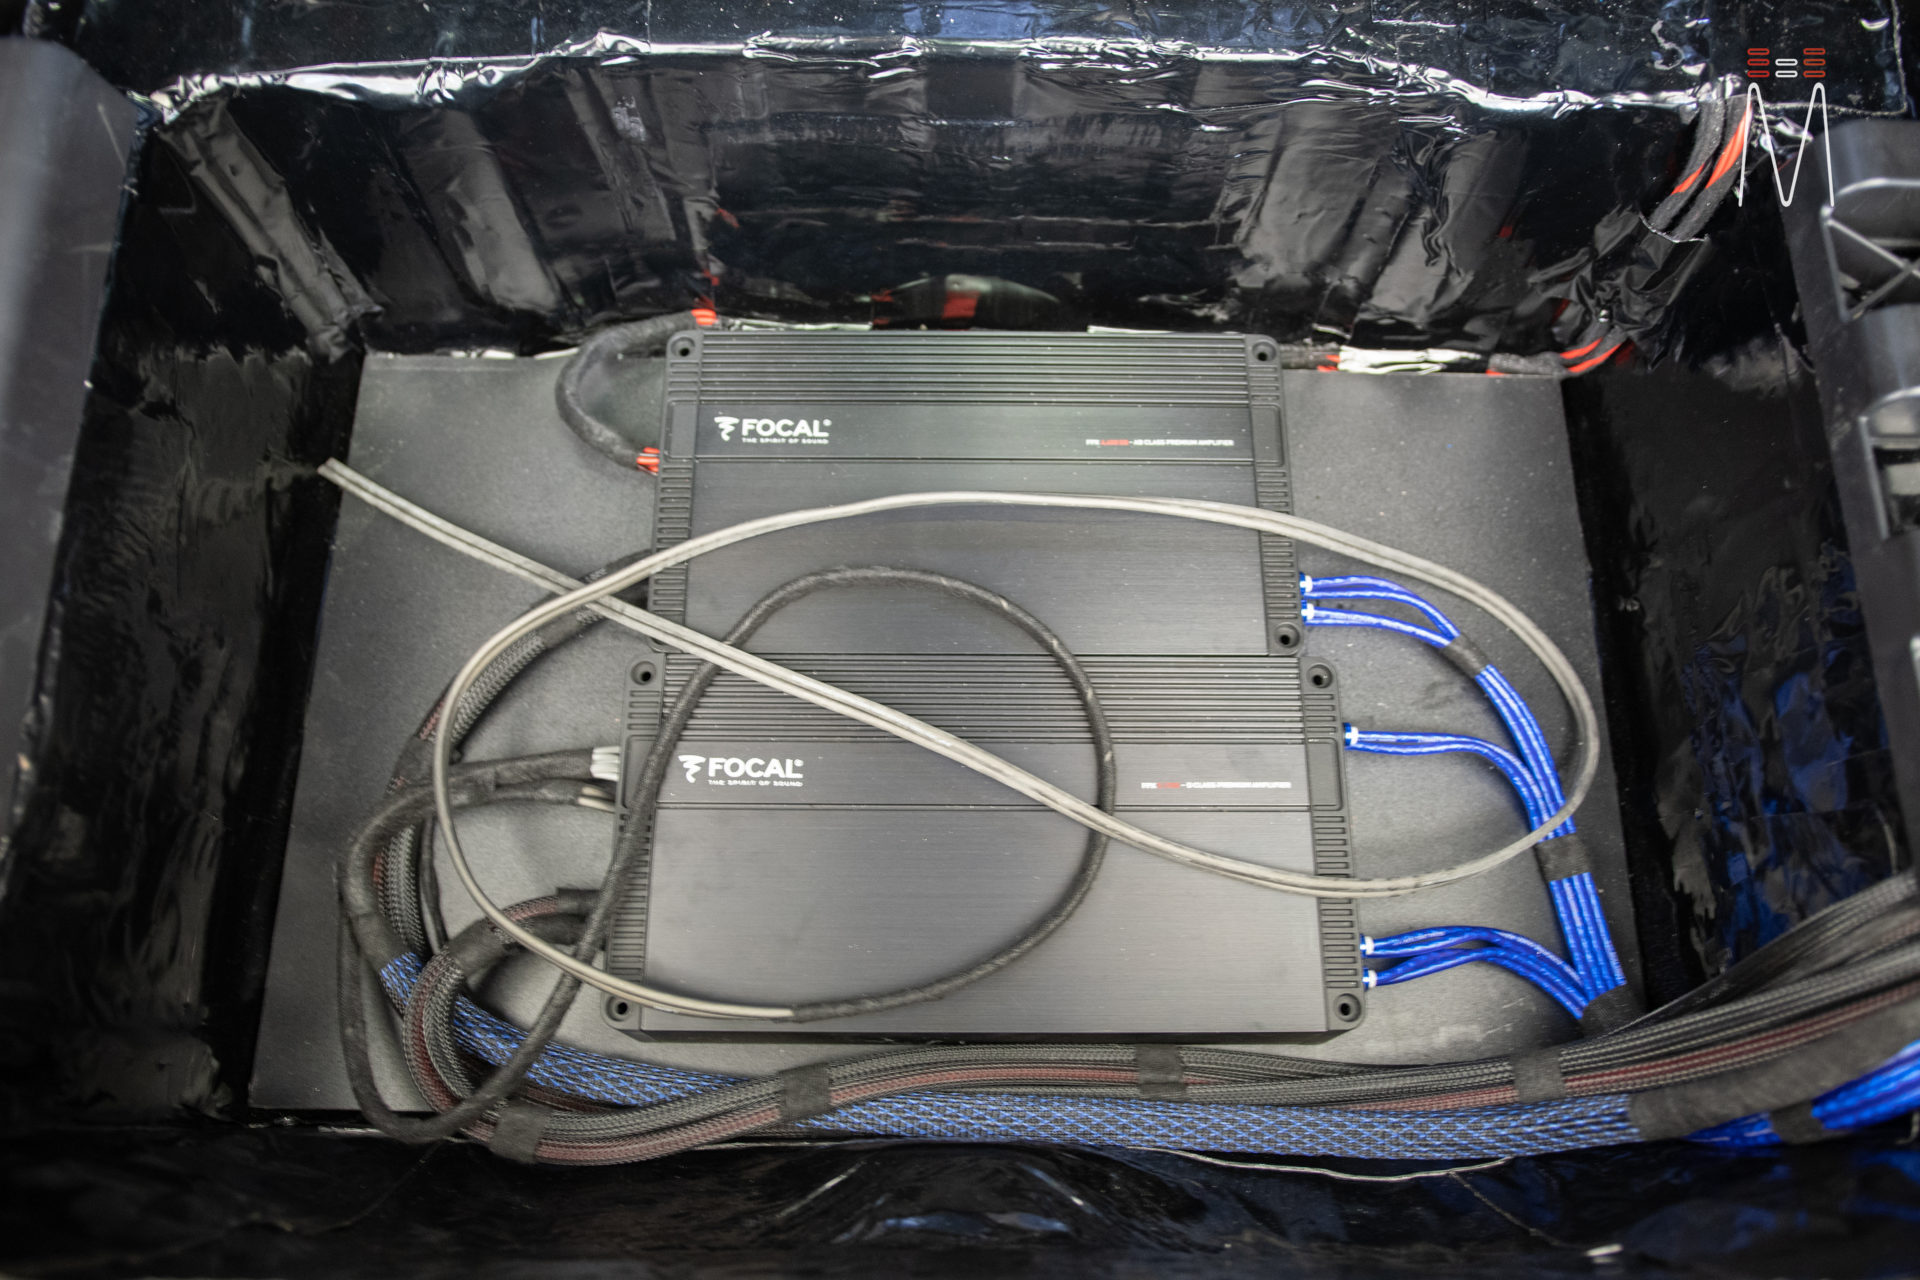
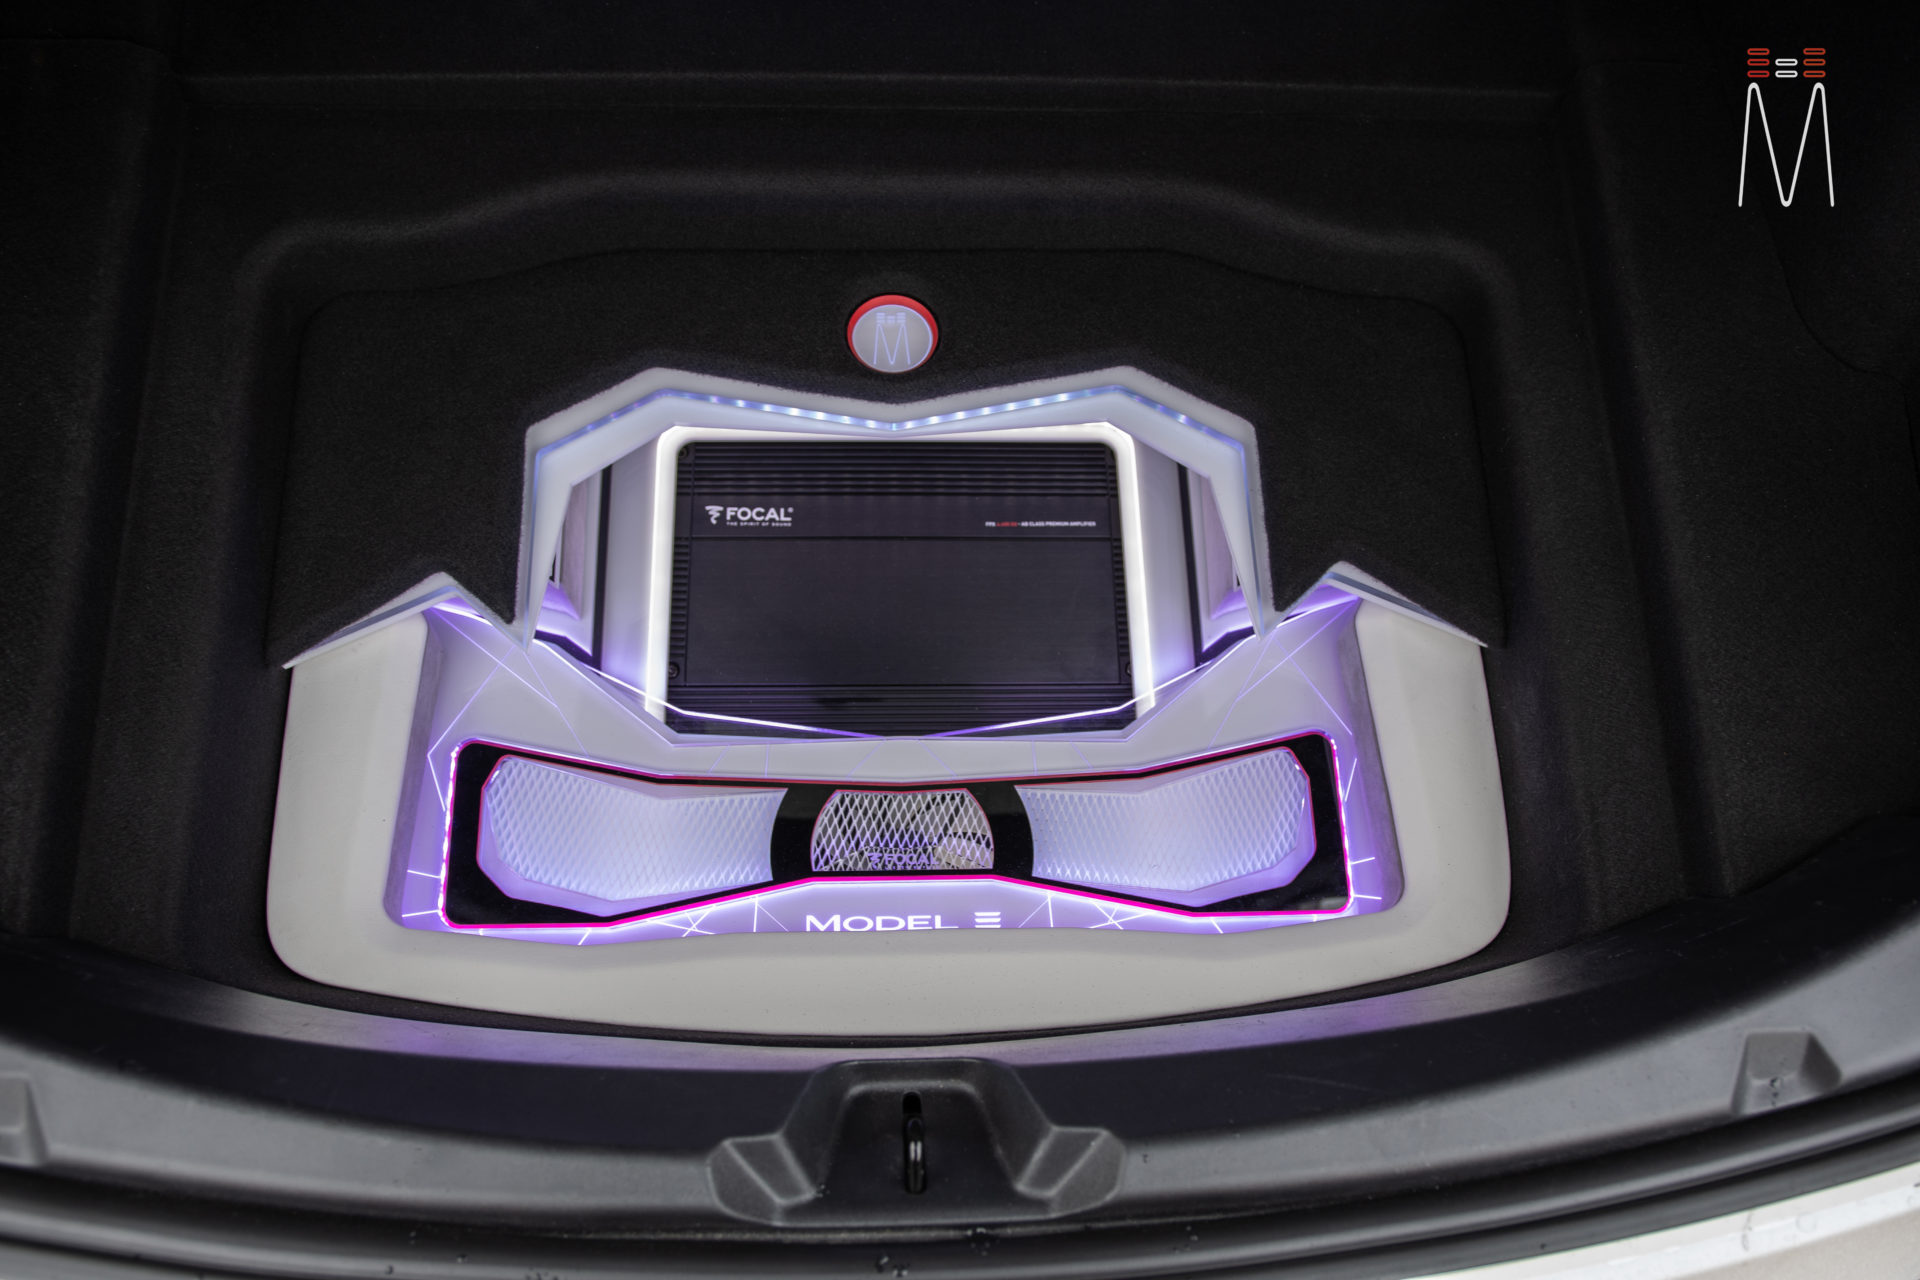
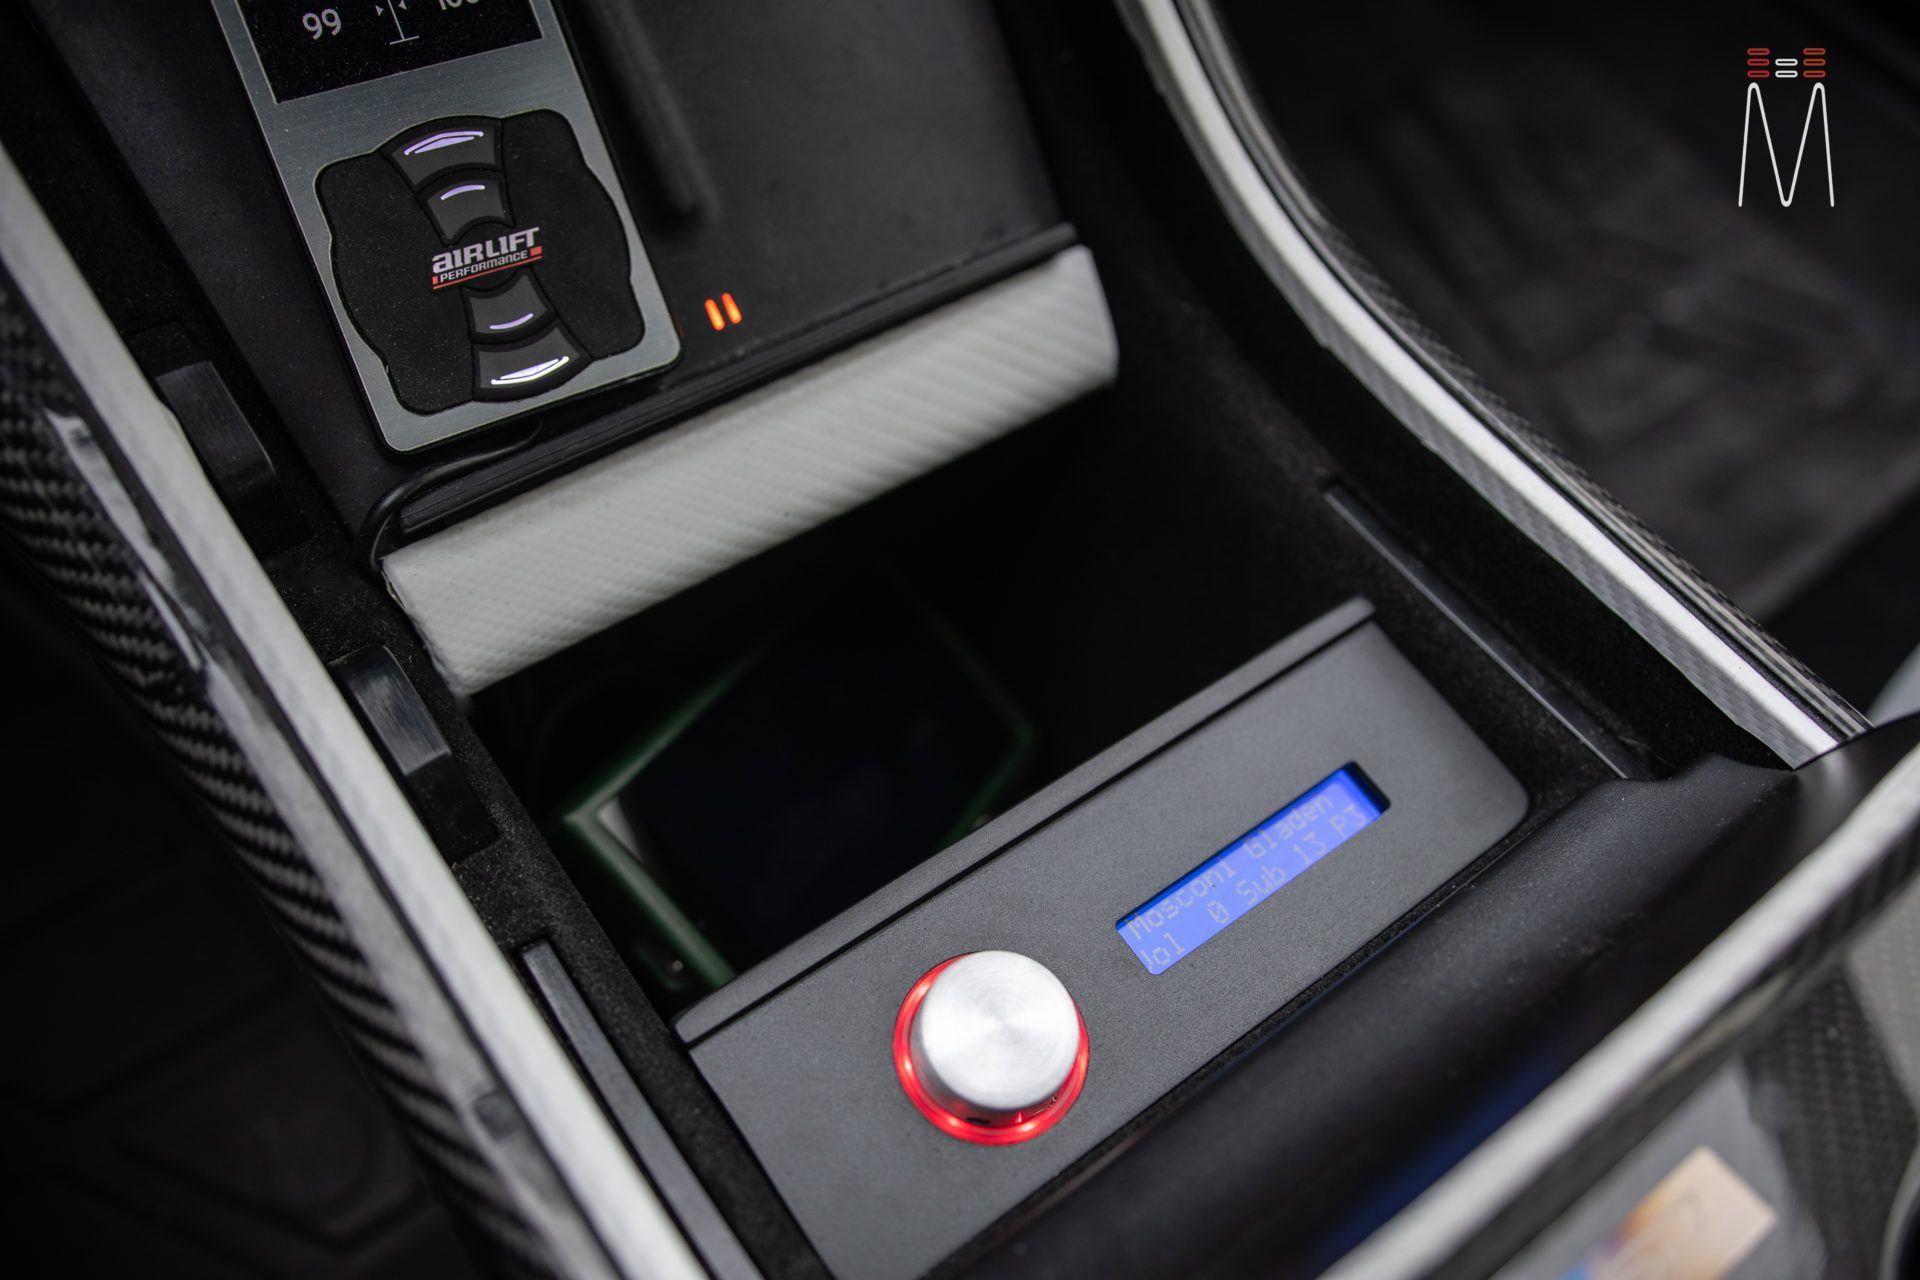
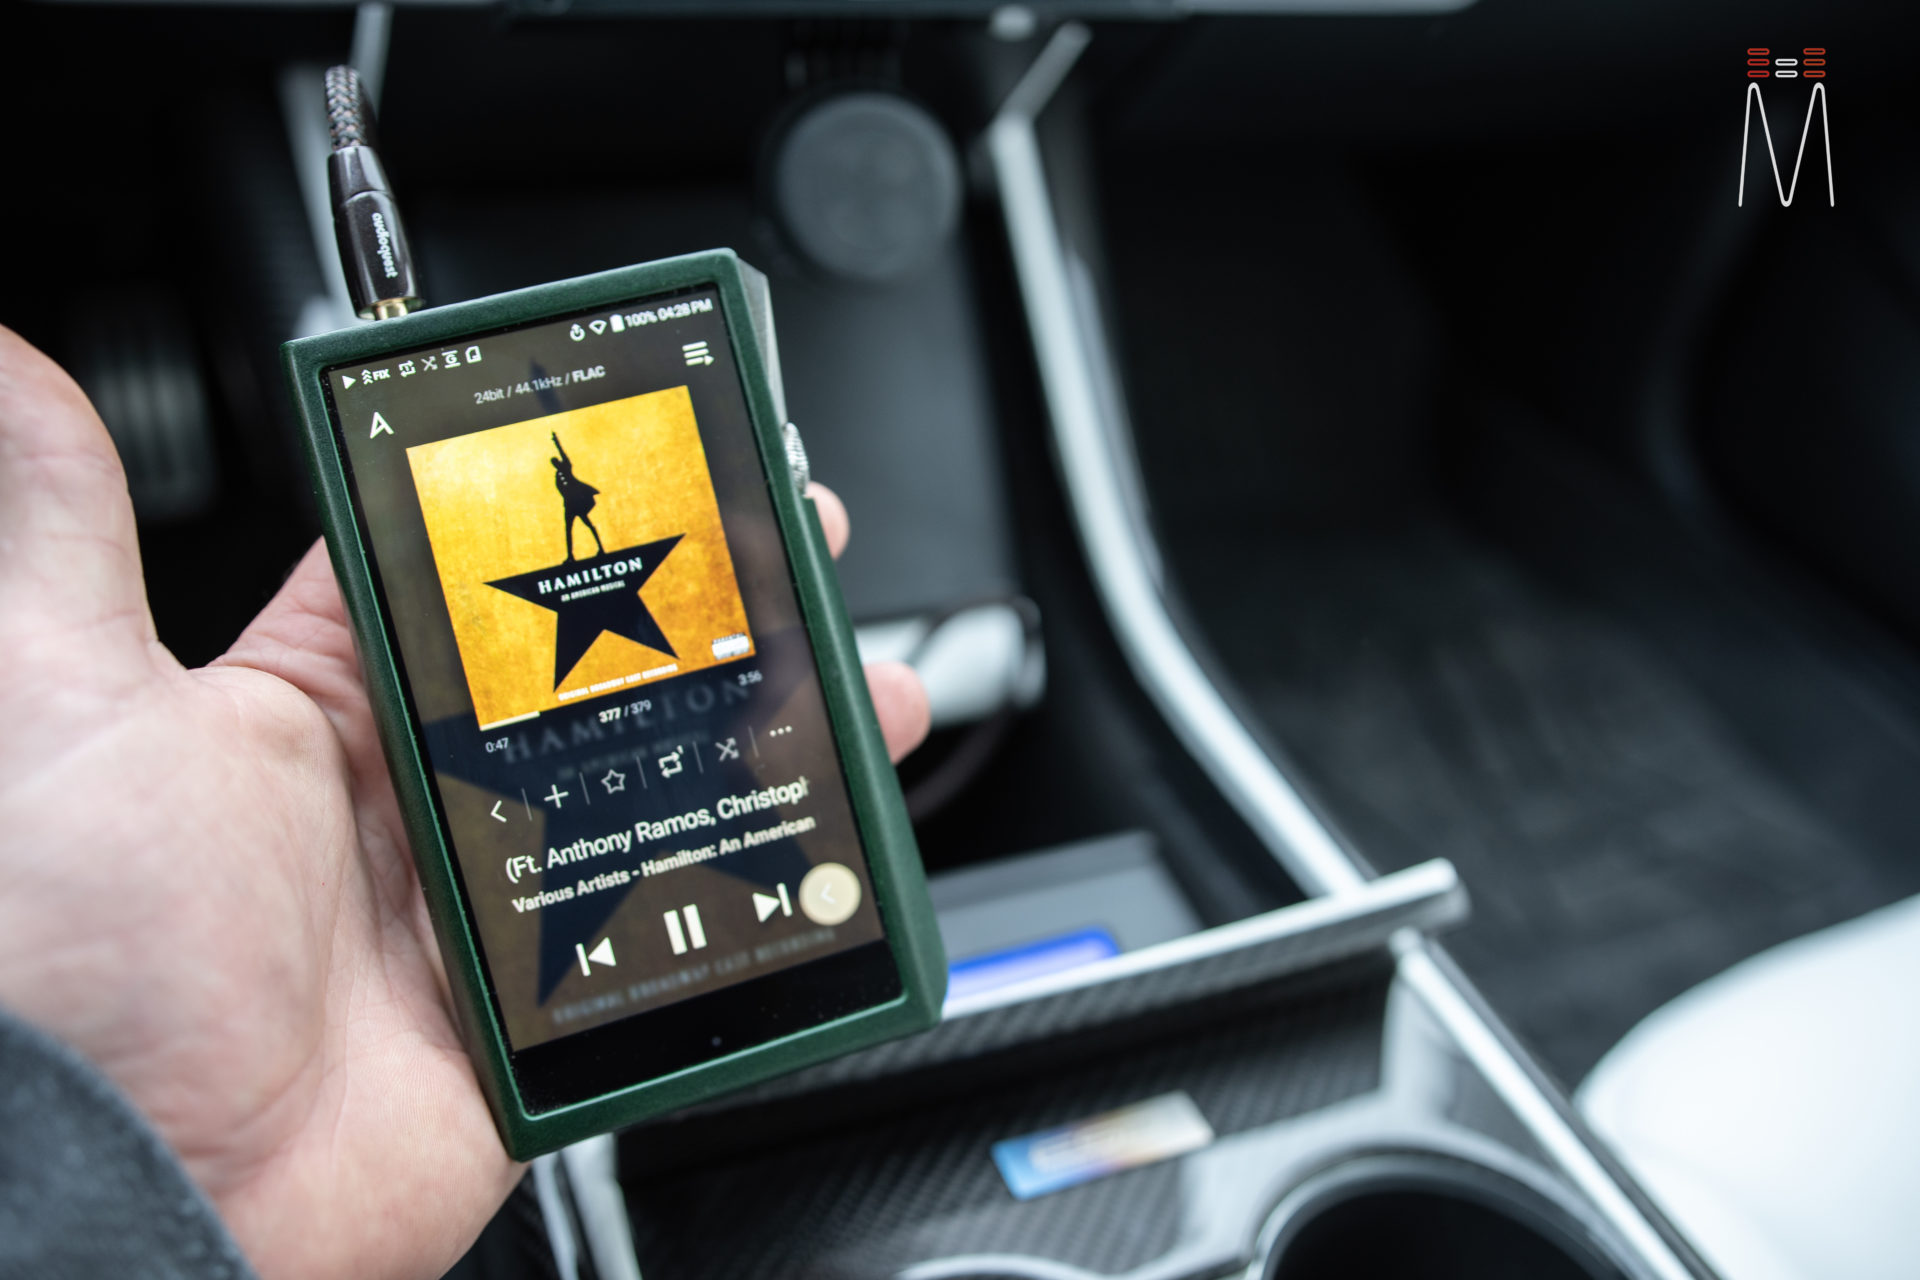
A Mosconi 8to12 Pro DSP is the brains of our audio system and is in charge with interacting into the factory MCU / Amplifier. The system is powered off a multiple relays and battery isolators in order to interface with the DC to DC converter properly. Some may know that the Model 3 electrical system is much different than that of the S and X. Additional procedures need to done in order to not receive an error from the MCU. We built a panel which mounts into the OEM Subwoofer location which houses our DSP, isolator, system fusing, and cooling fan. Our Mosconi DSP then set its signal to a Focal FPX 4.400 SQ (Class AB which powers front tweeters and midrange) and a Focal FPX 5.1200 (which powers front mid bass, rear, and subwoofer). The housing we created for the DSP controller was installed into the center console. Three separate presets were used for the listening experience of the vehicle. Preset 1 controls the factory radio (all functions of the radio remain in tact and works the same). Preset 2 uses an AMAS BT chip. This is the primary way to integrate your phone into the audio system. In this preset, the user will connect to AMAS and the Tesla radio at the same time. The information of the music you are listening to shows up on the MCU while still giving you the ability to change tracks from the steering wheel. This is important because it appears you are still using the MCU while your audio signal is going digitally directly to the DSP processor. This is giving you a perfect signal while in Preset 1, we are summing the factory signals together to achieve a full range signal. The OEM crossover points, timing, EQ are in place and our goal is to even this out as best as possible. With AMAS, we are already at that point. With Preset 3, we ran an analog Audioquest Big Sur cable to an Astell and Kern SE200 Hi-Res player. This gives us the ability to play higher resolution music through a great DAC, which will ultimately give us a completely different soundstage. The soundstage will appear wider and deeper with a ton more separation. This is the ultimate way to enjoy the audio system. Preset 4 was used as a valet mode. All speakers are completely attenuated so no one can mess with the audio system. Perfect when you valet your car or have it go into service.
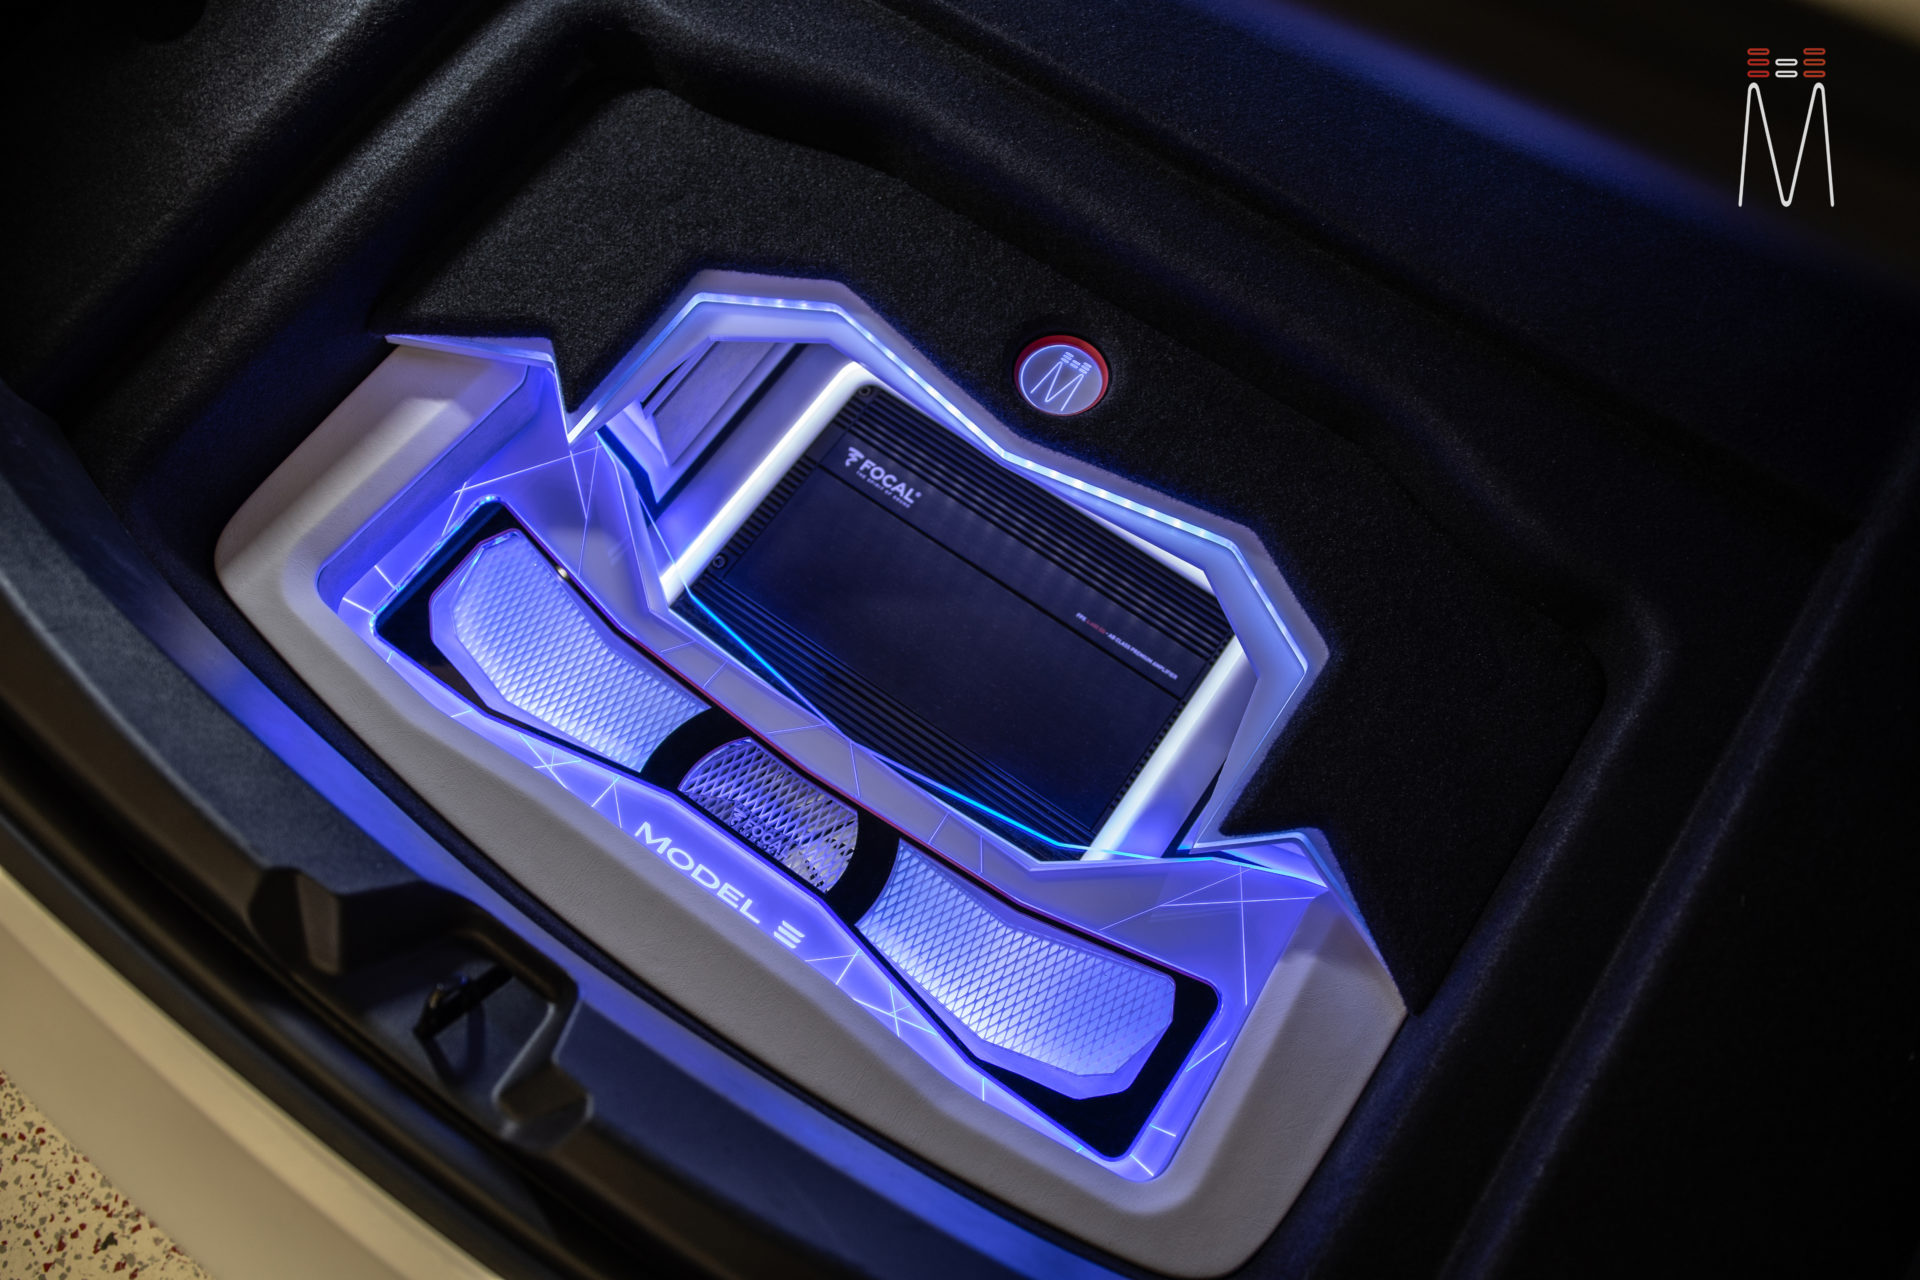
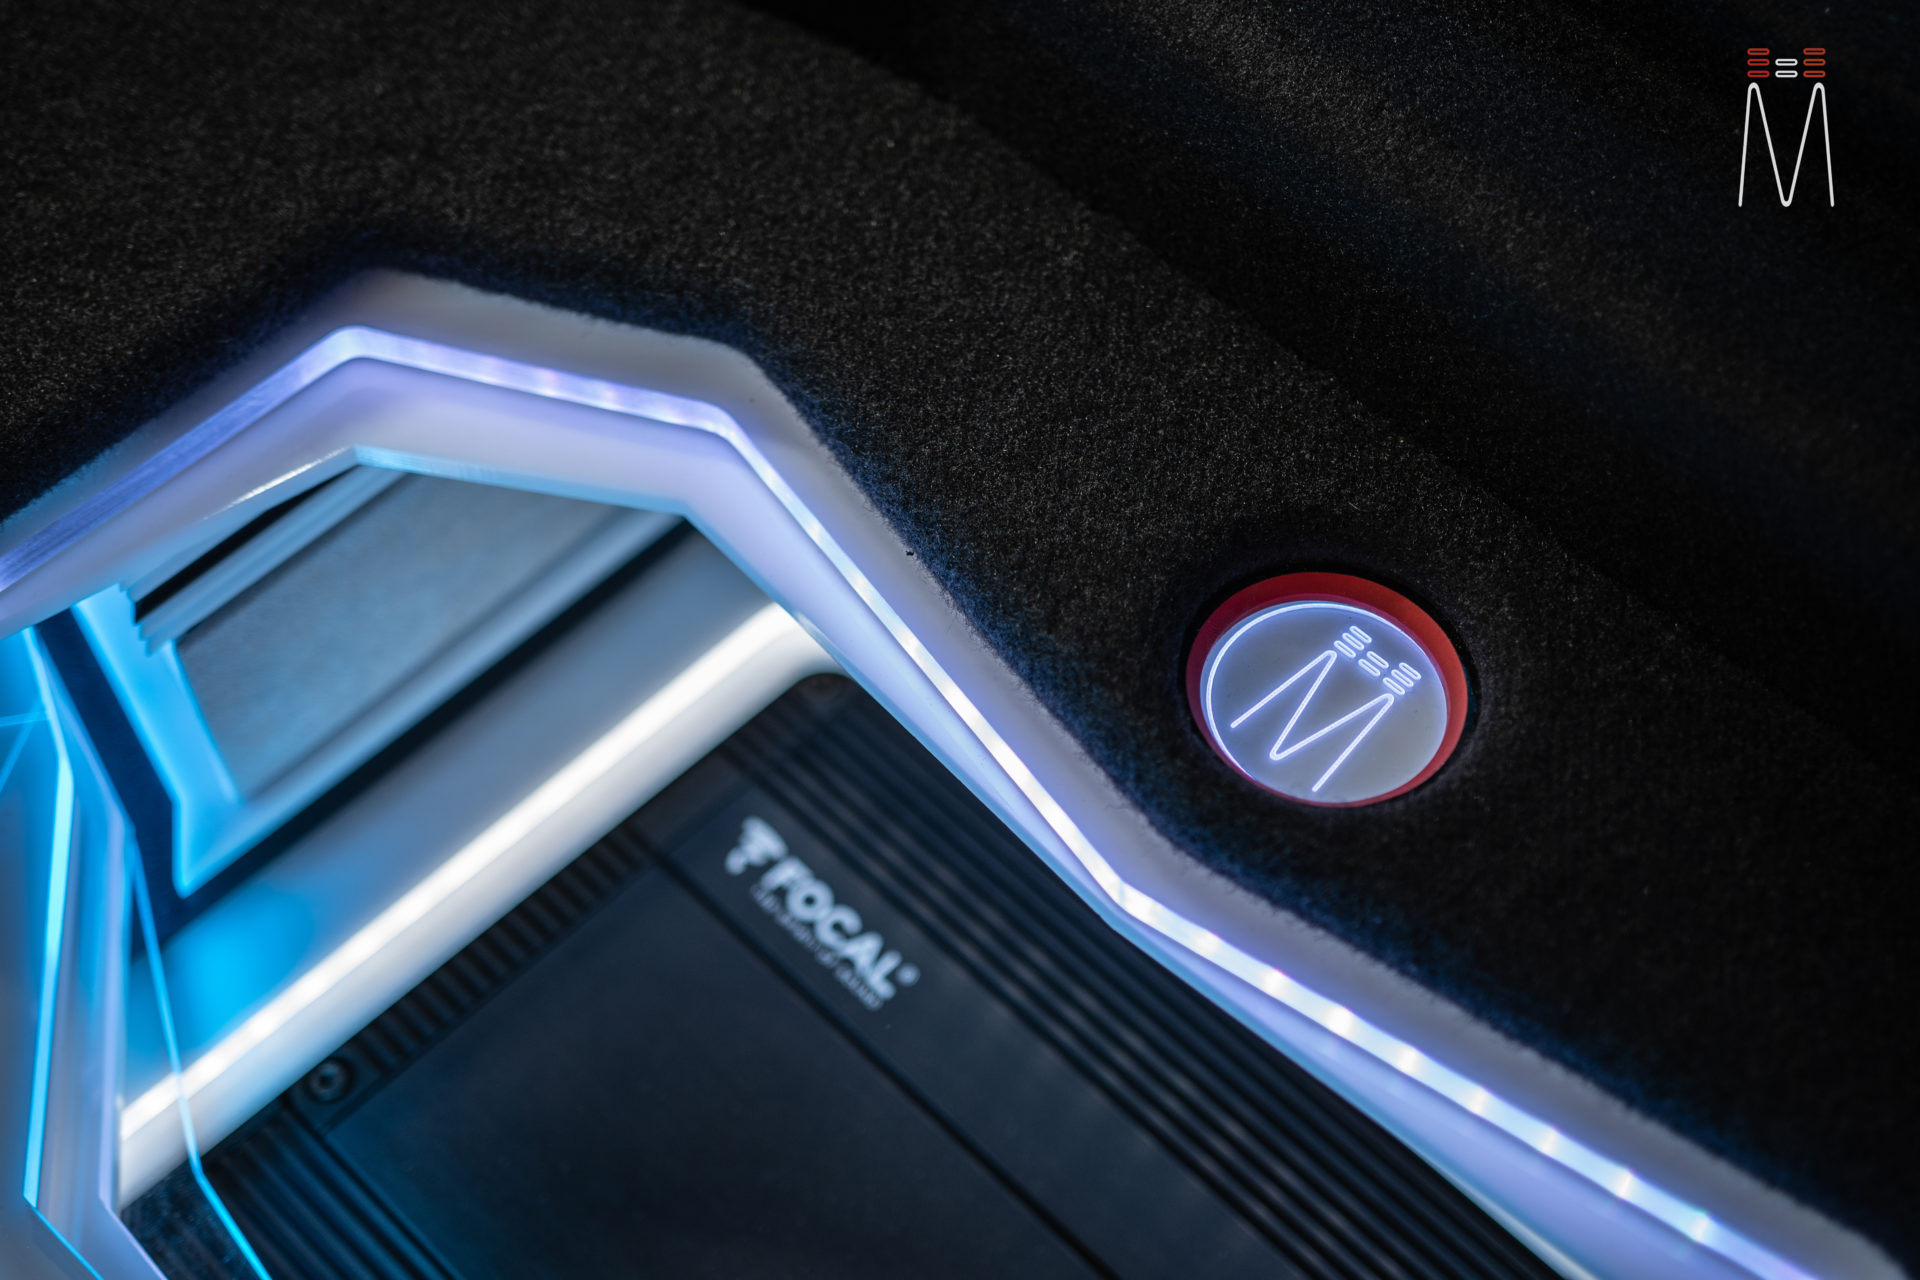
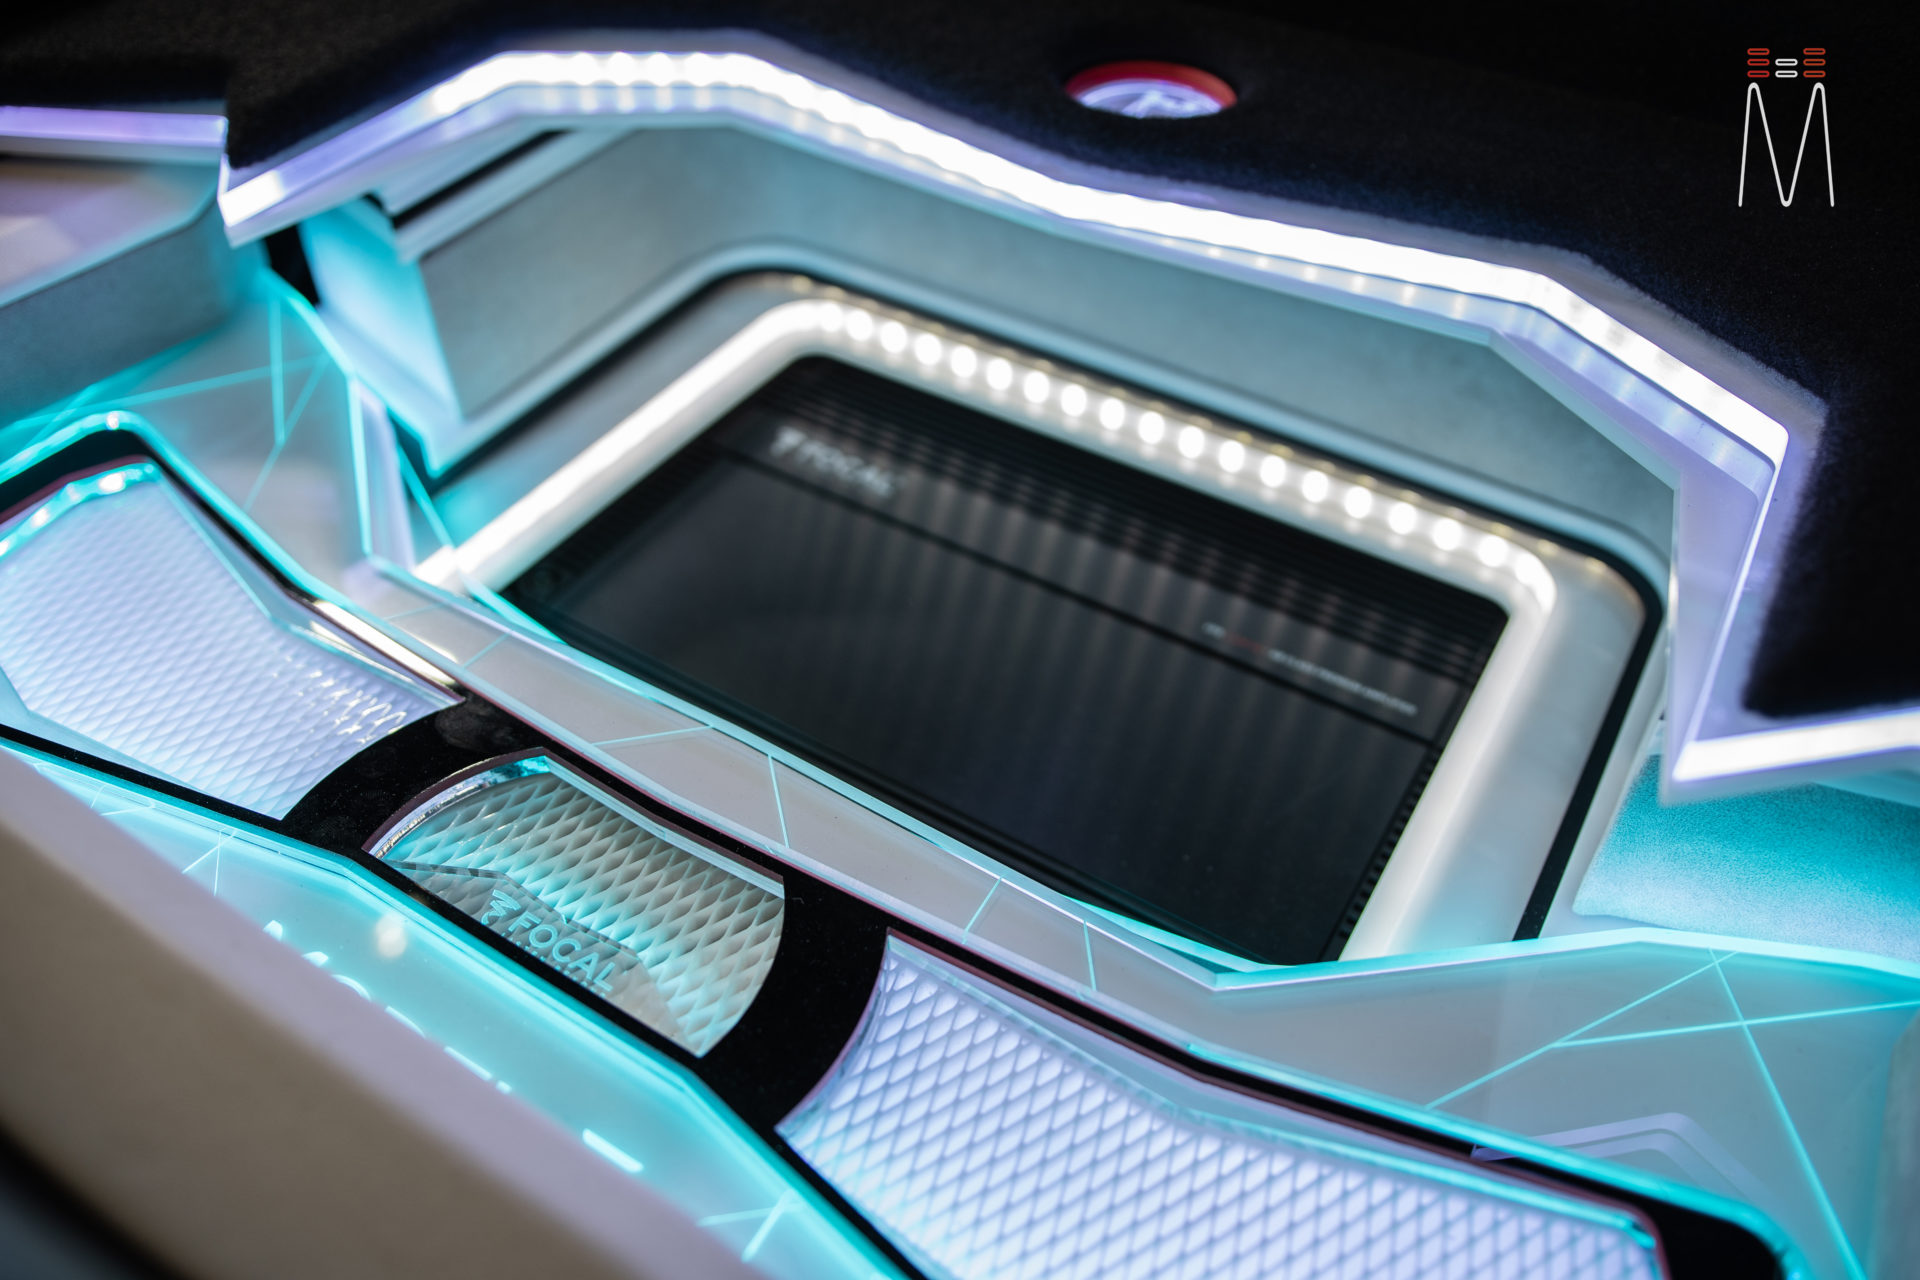
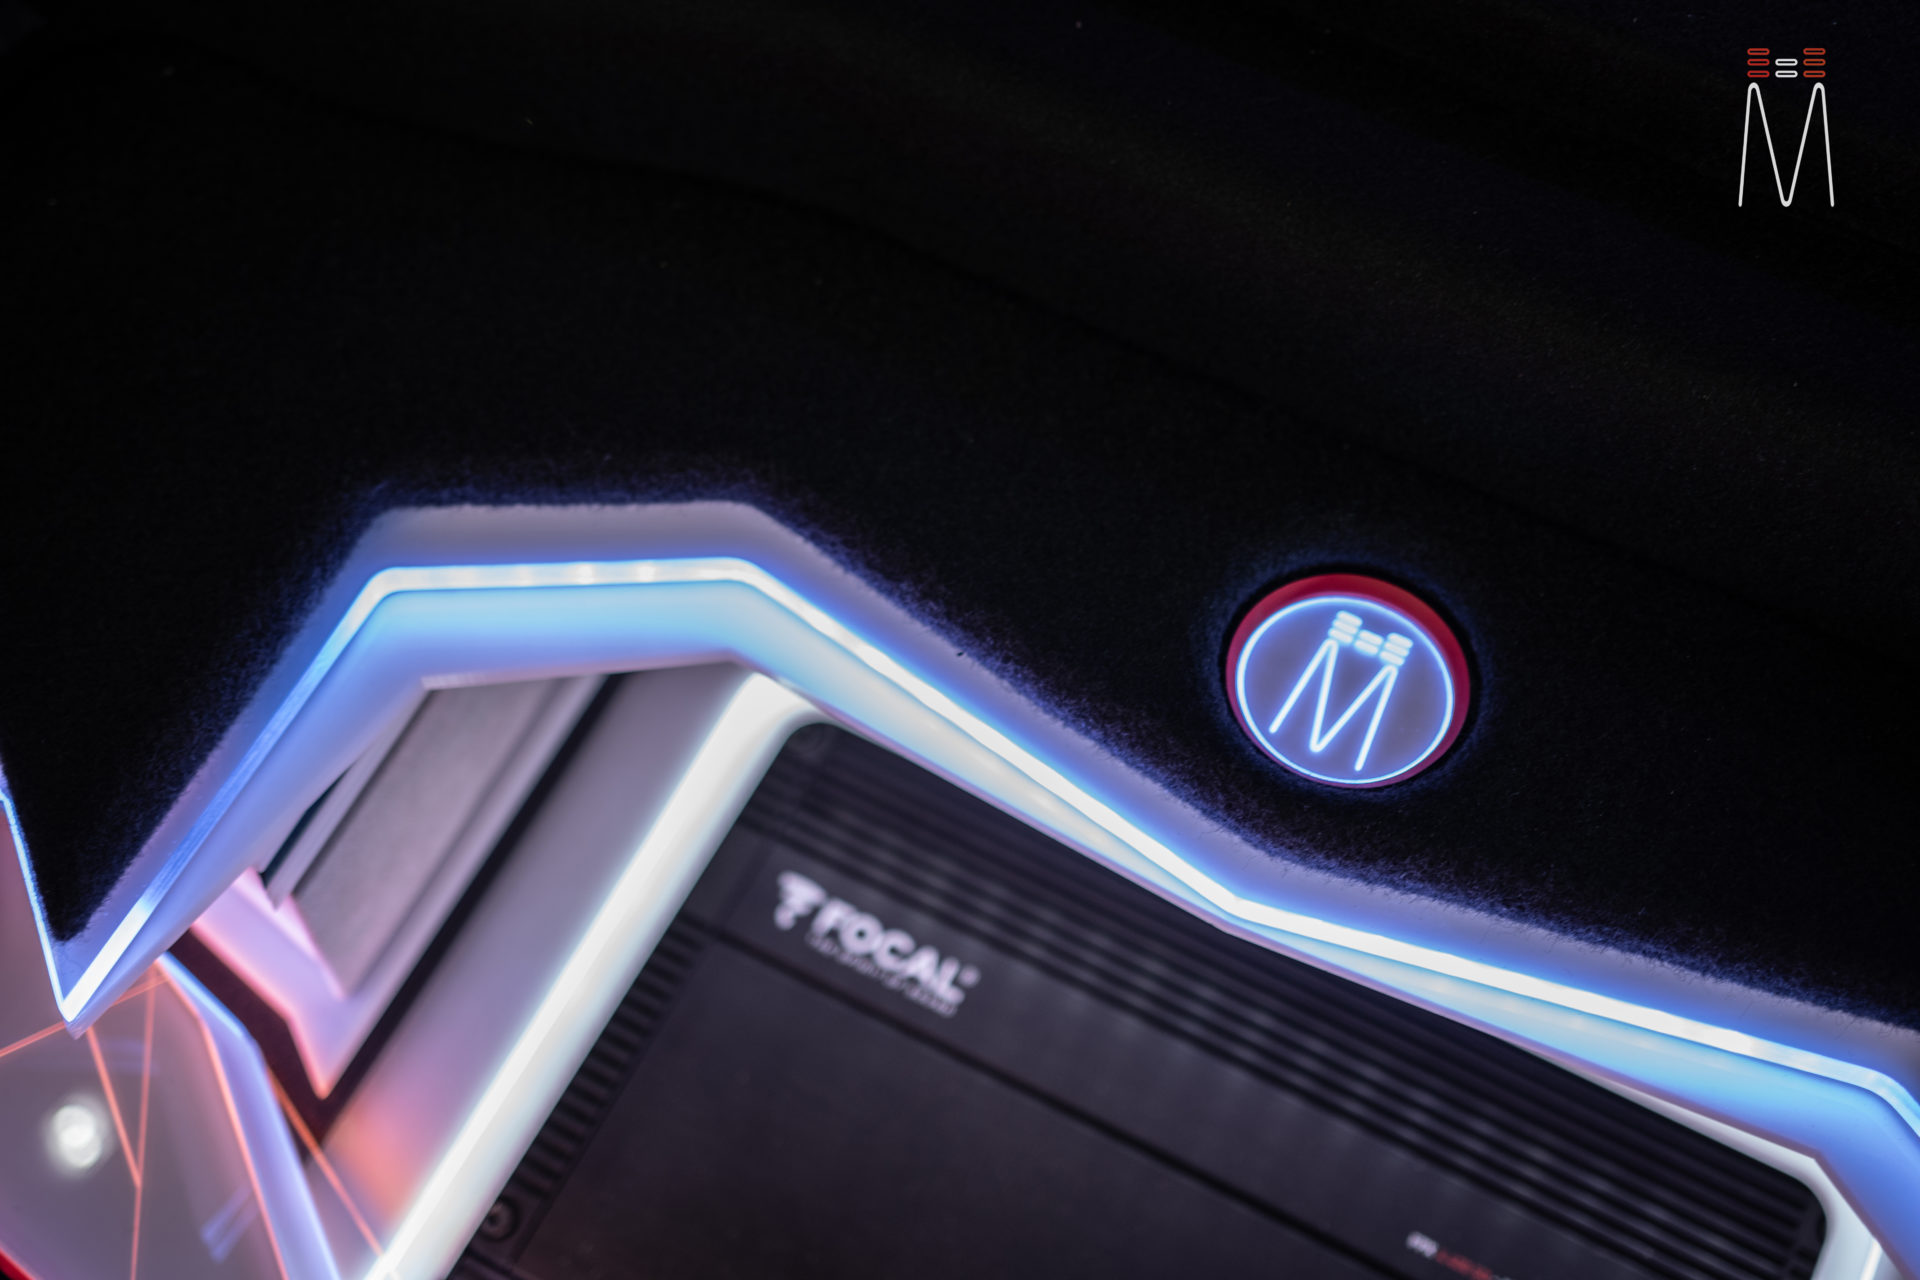
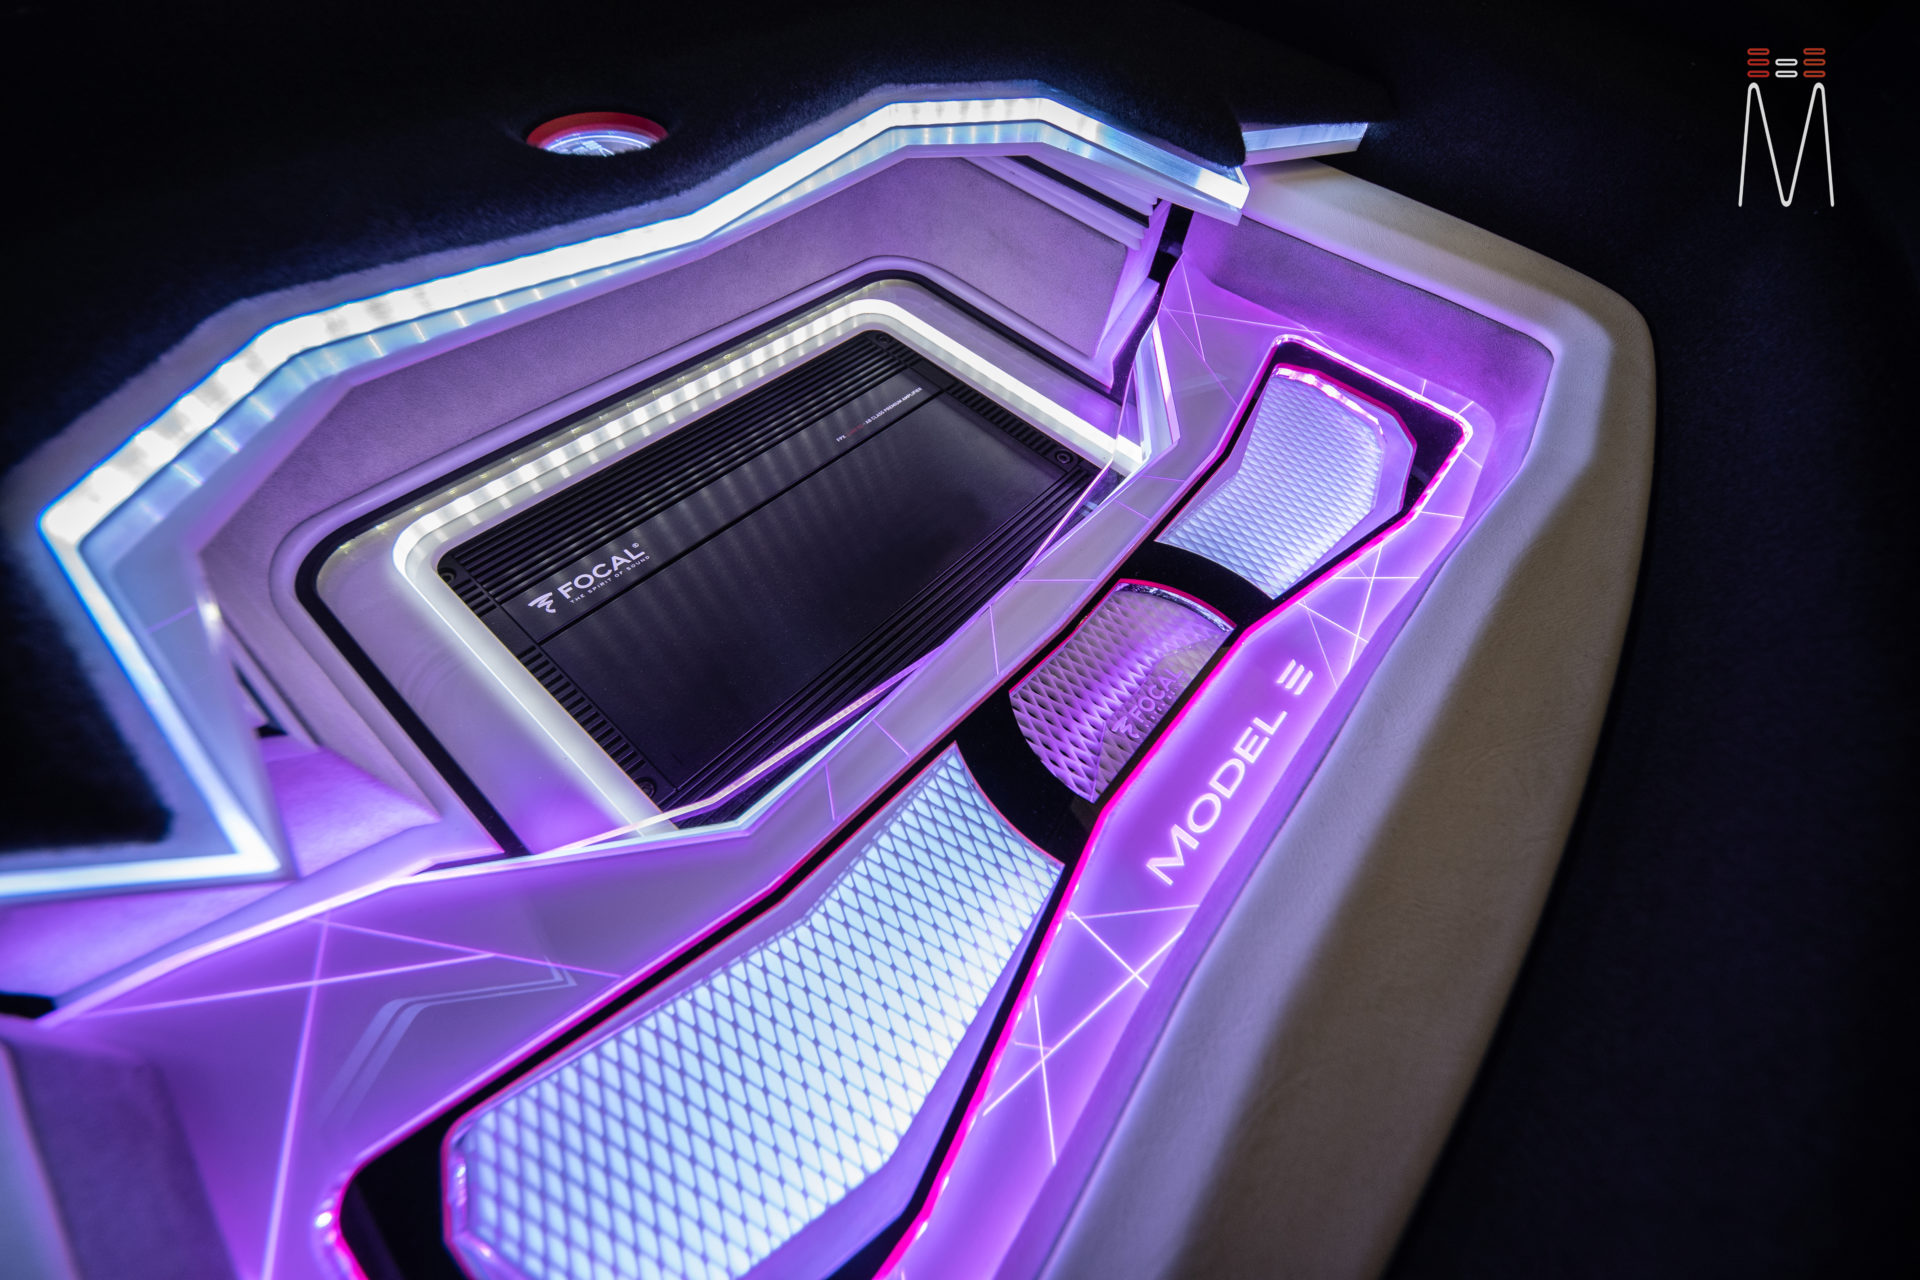
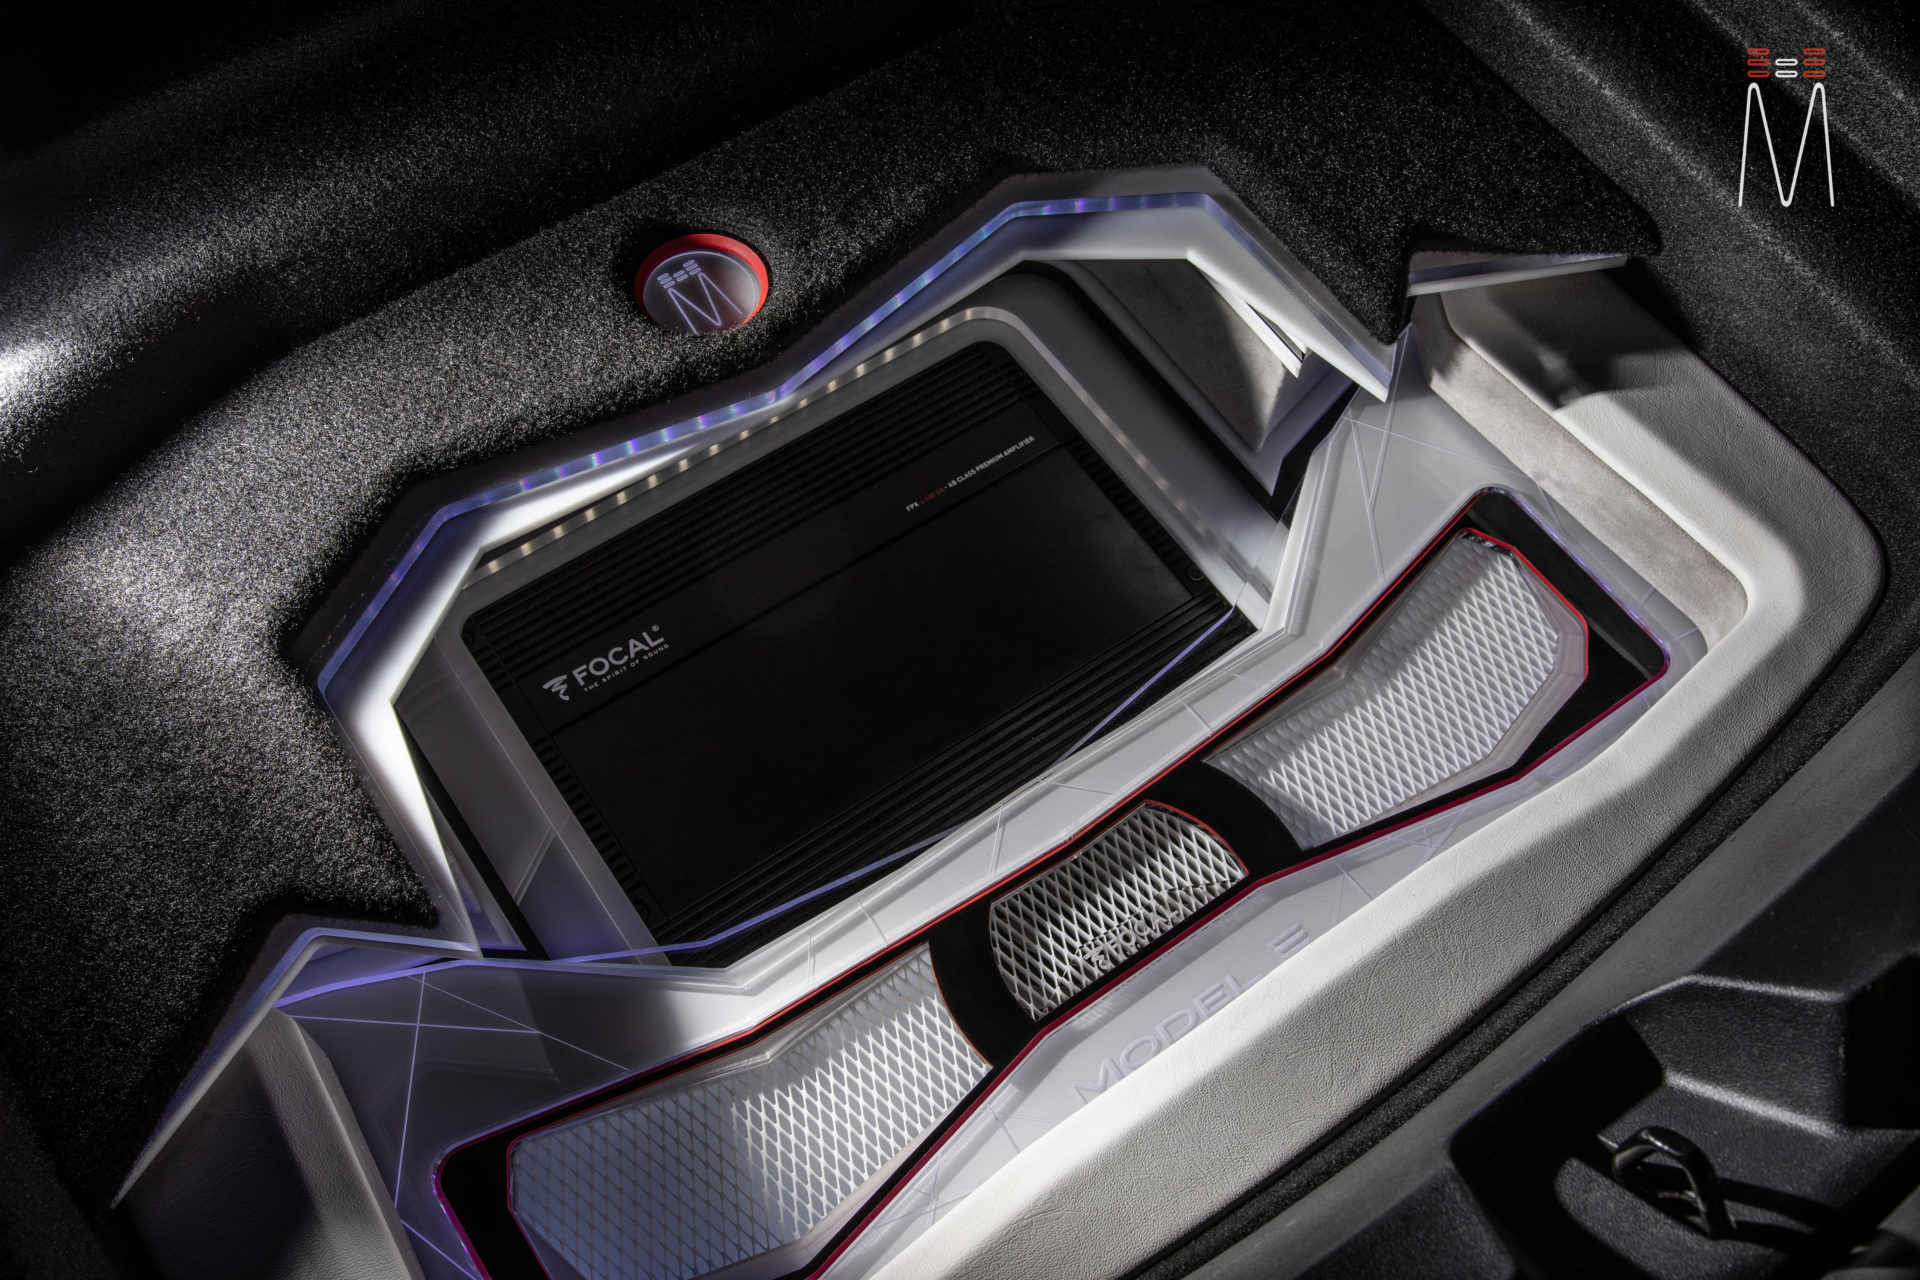
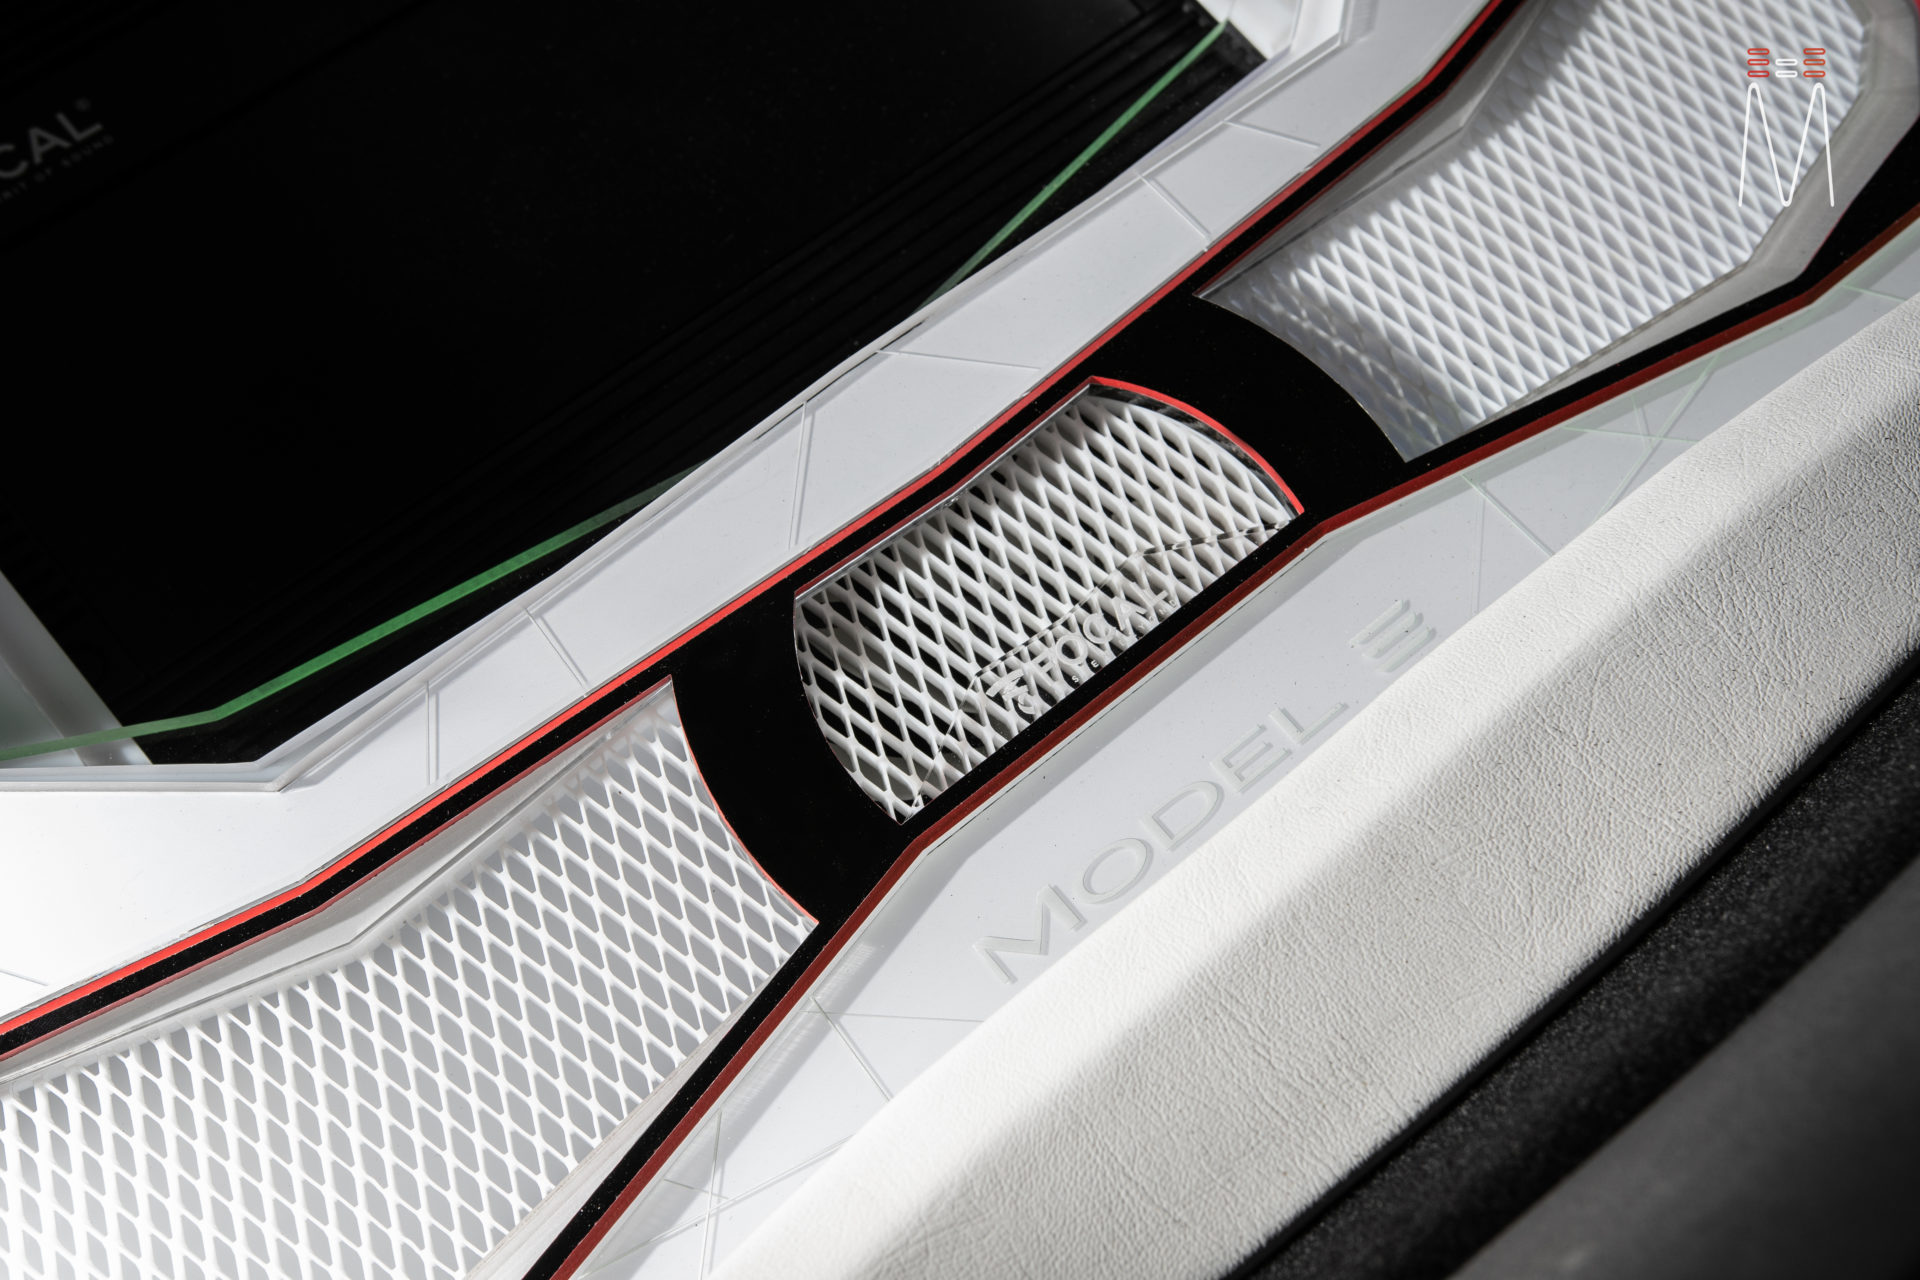
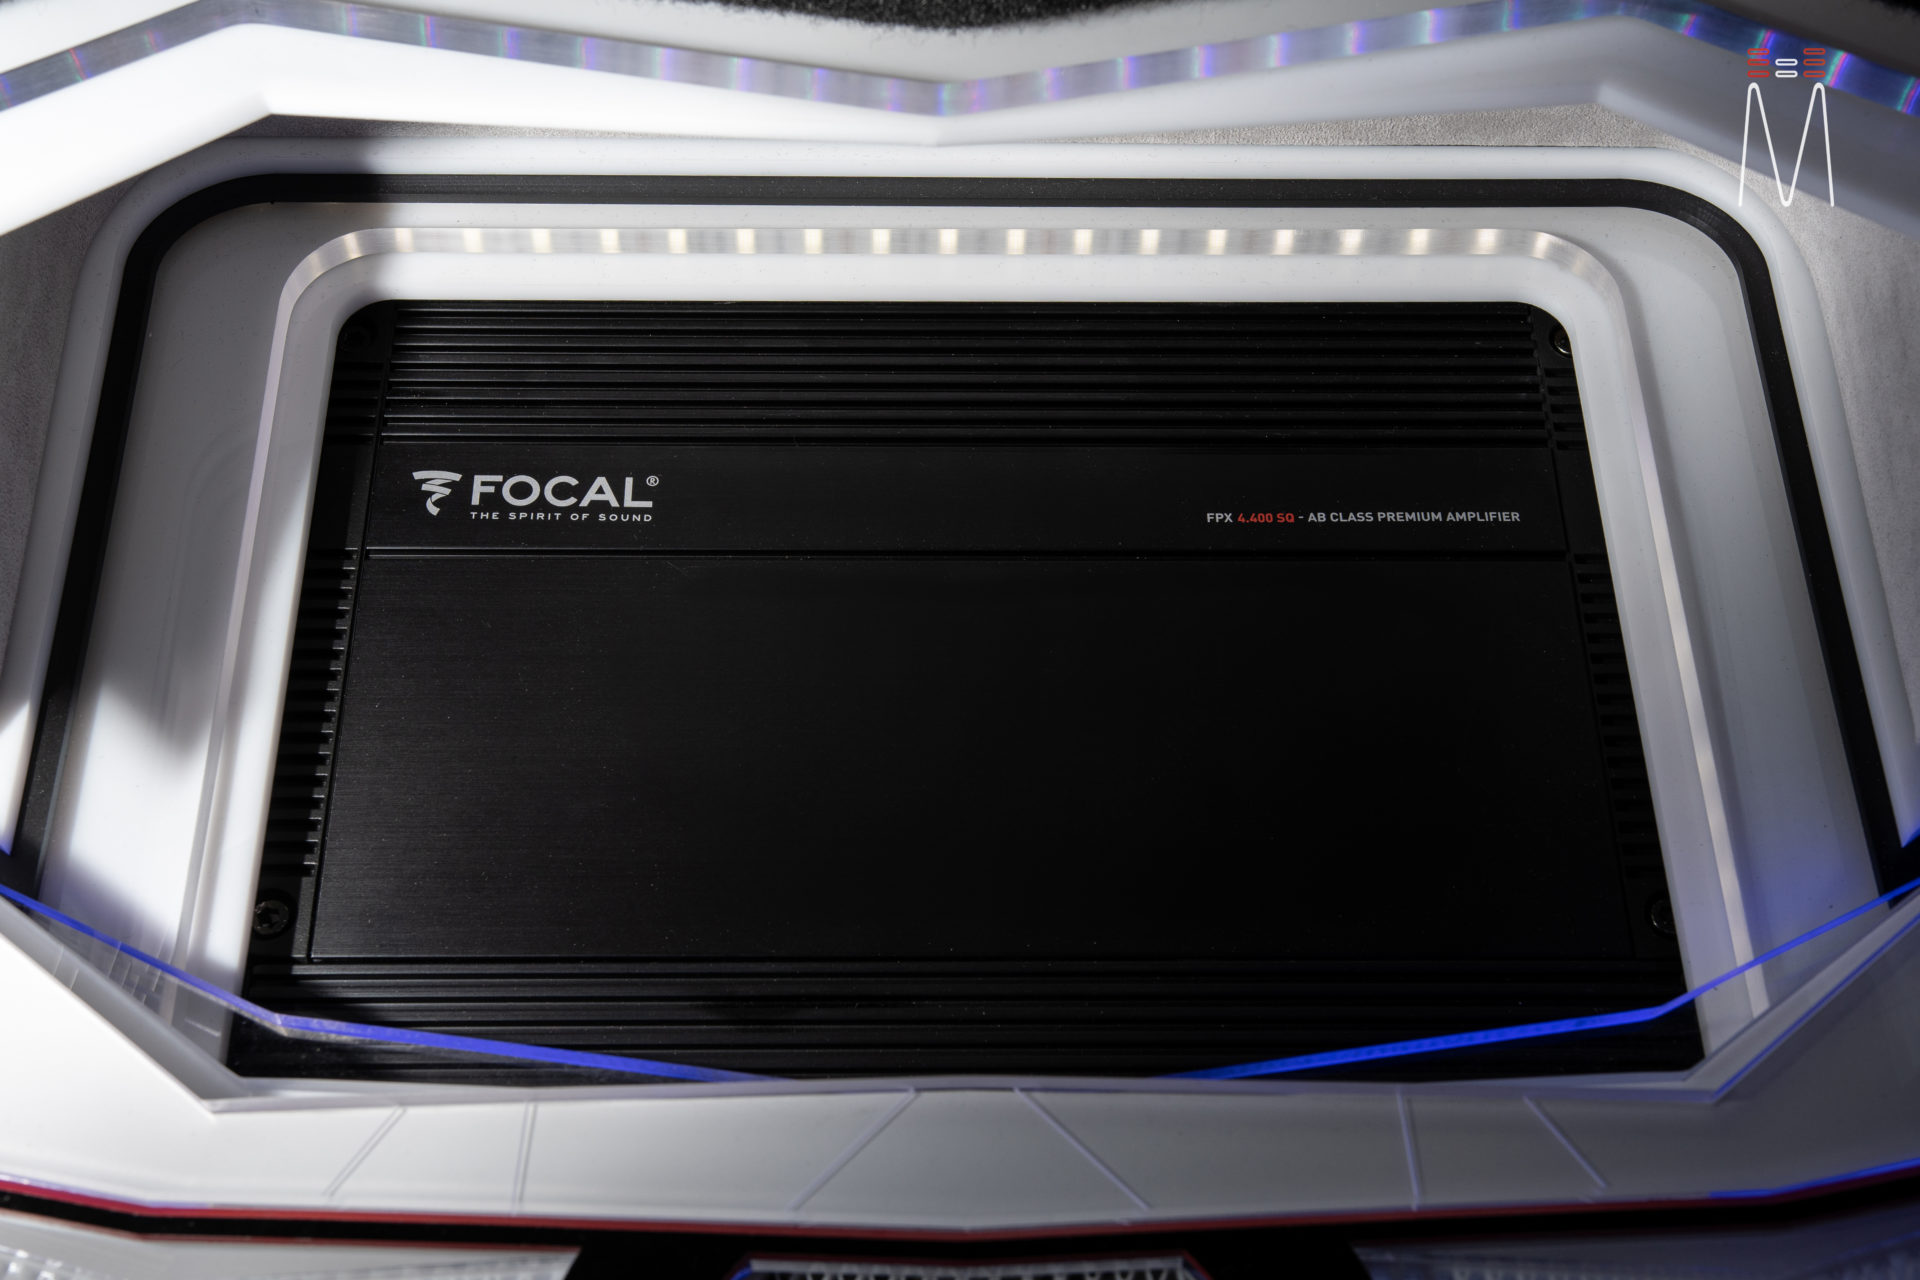
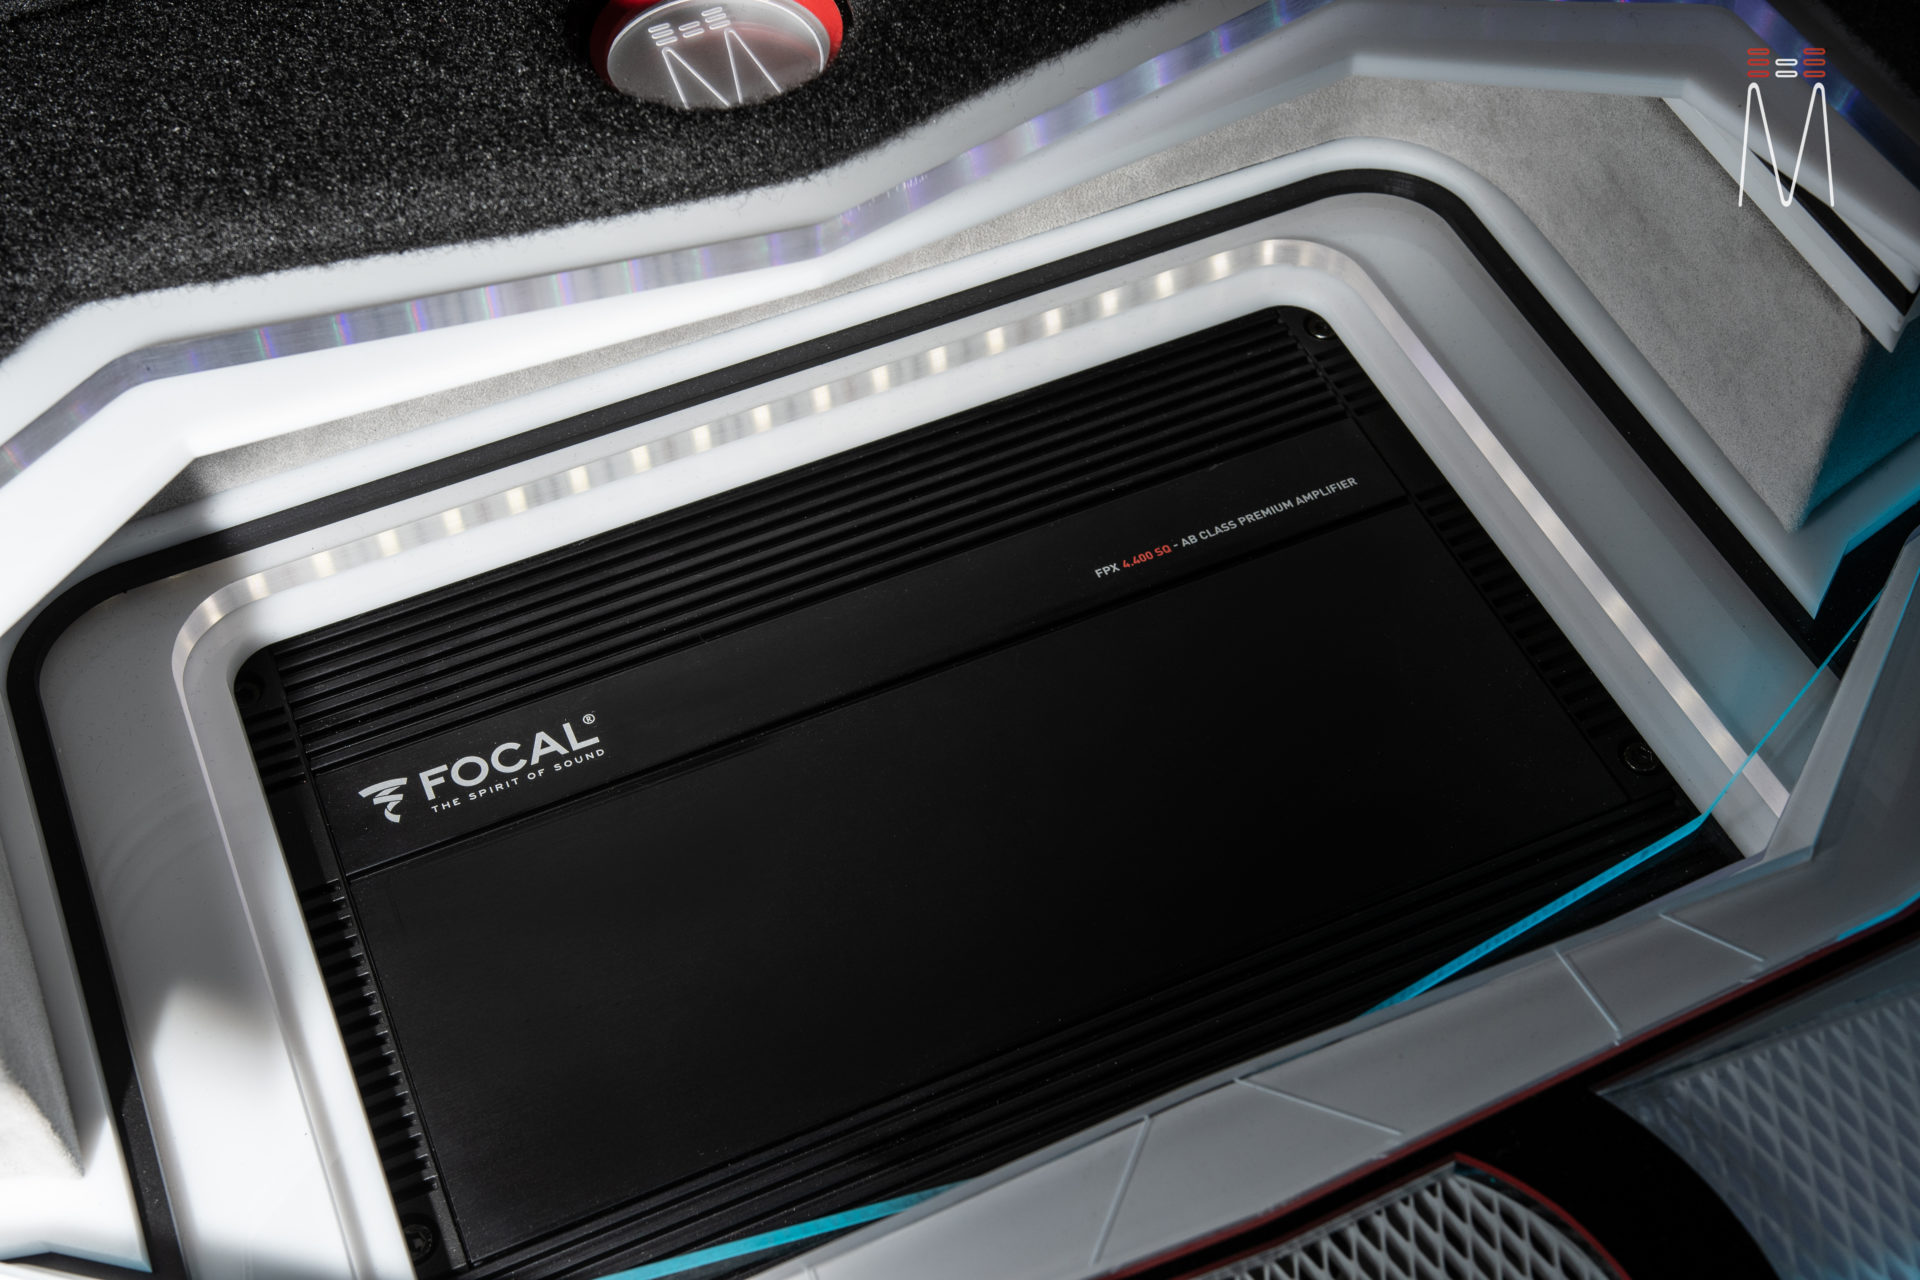
The amps were mounted under the OEM removable floor panel. This area is generally used for overflow storage. We wanted to create something that would really grab attention given this is a show car. I created this area first, and was going to focus on this area having most of the detail. There were a total of 14 layers from the floor to the top of the amp rack. Multiple layers having individual lighting and changing of materials. There is a fan that is mounted in the center of the rack which is responsible for moving the stagnant air around the amplifiers. Overheating will not be an issue as amplifiers work way more efficiently than that of the 90’s. The fan was more for an added detail of function. A similar design was etched into the acrylic and RGB lighting was synced with the same layers of the subwoofer enclosure.
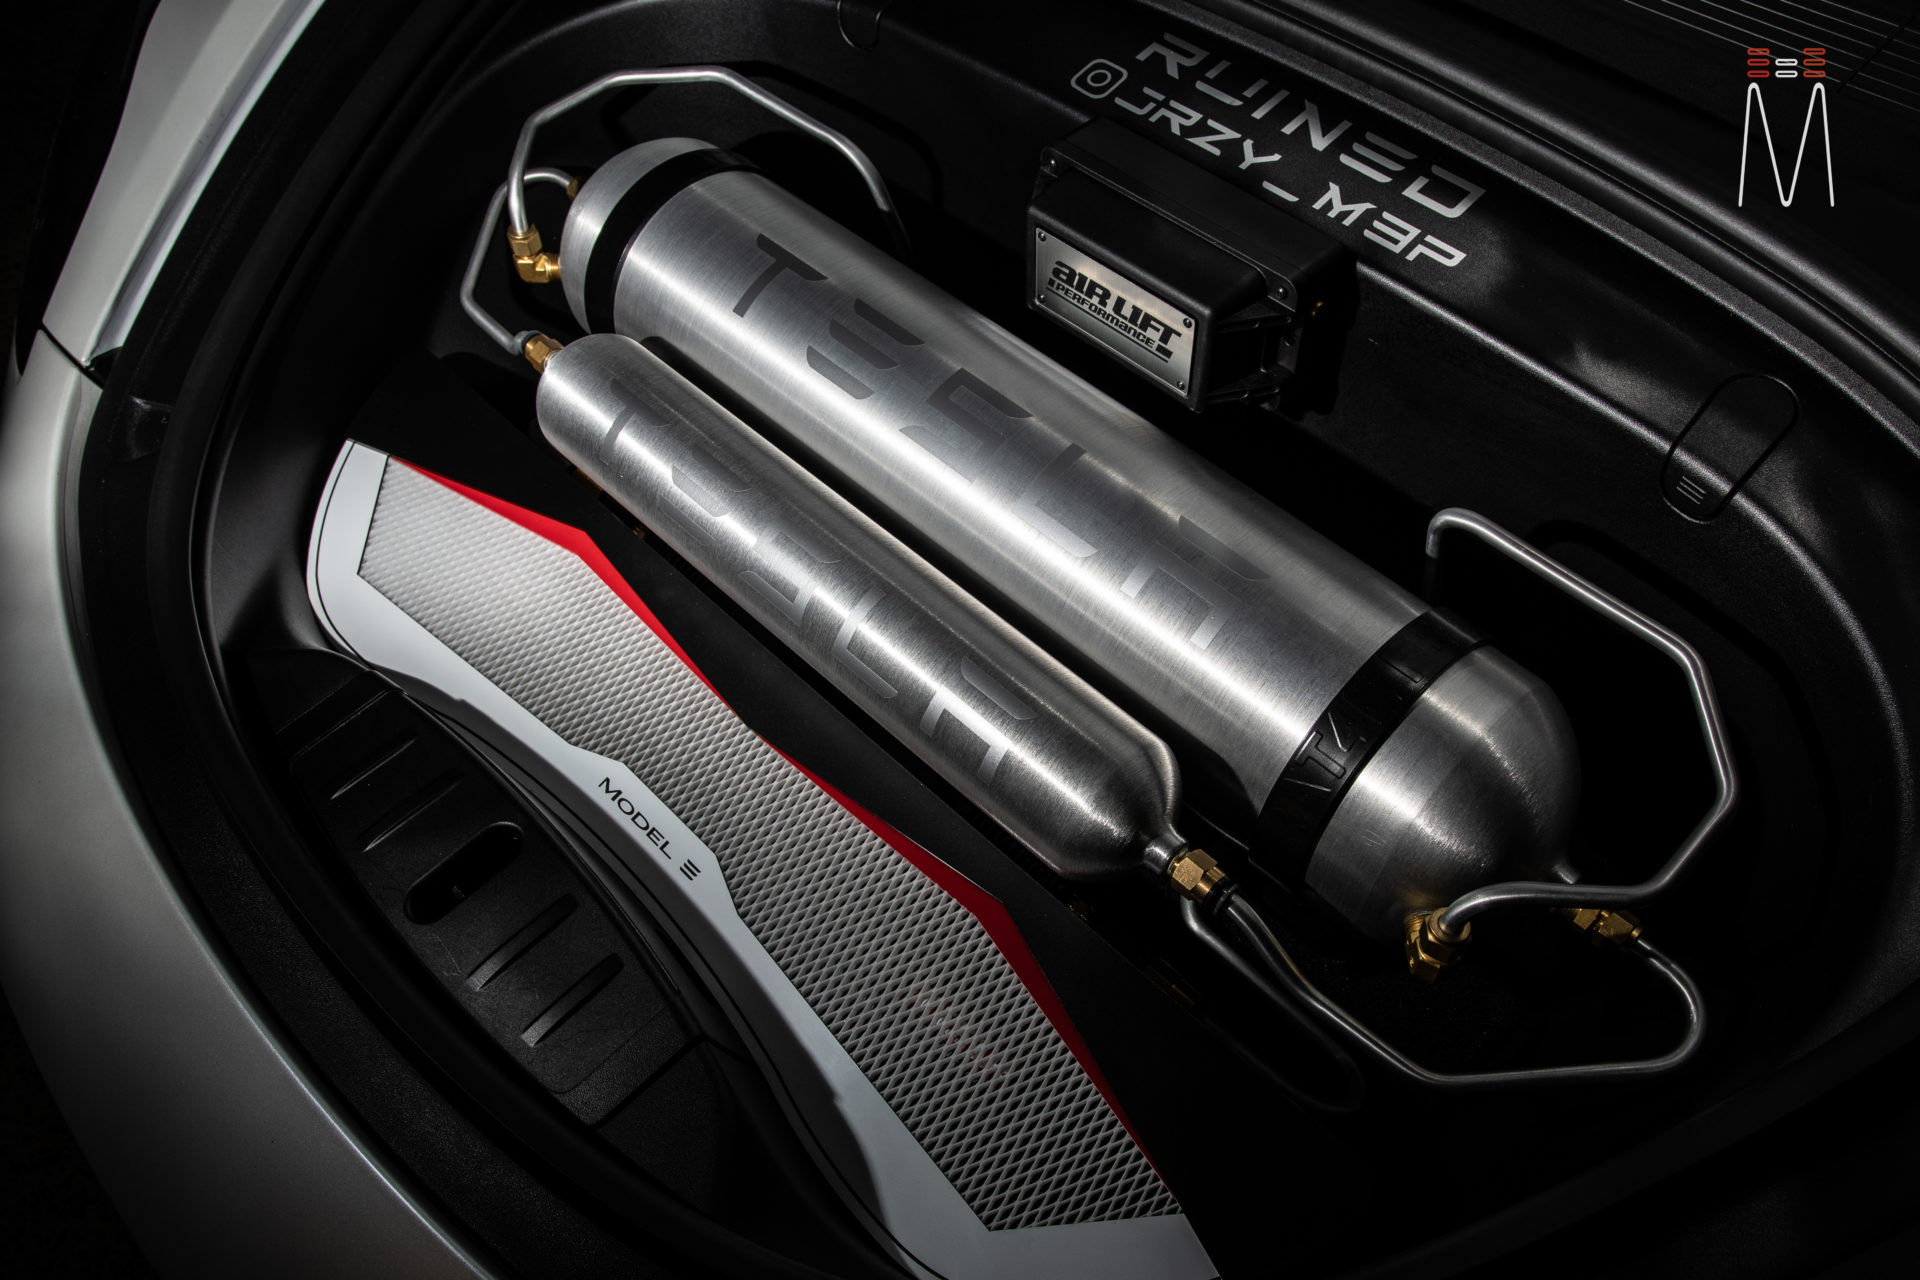
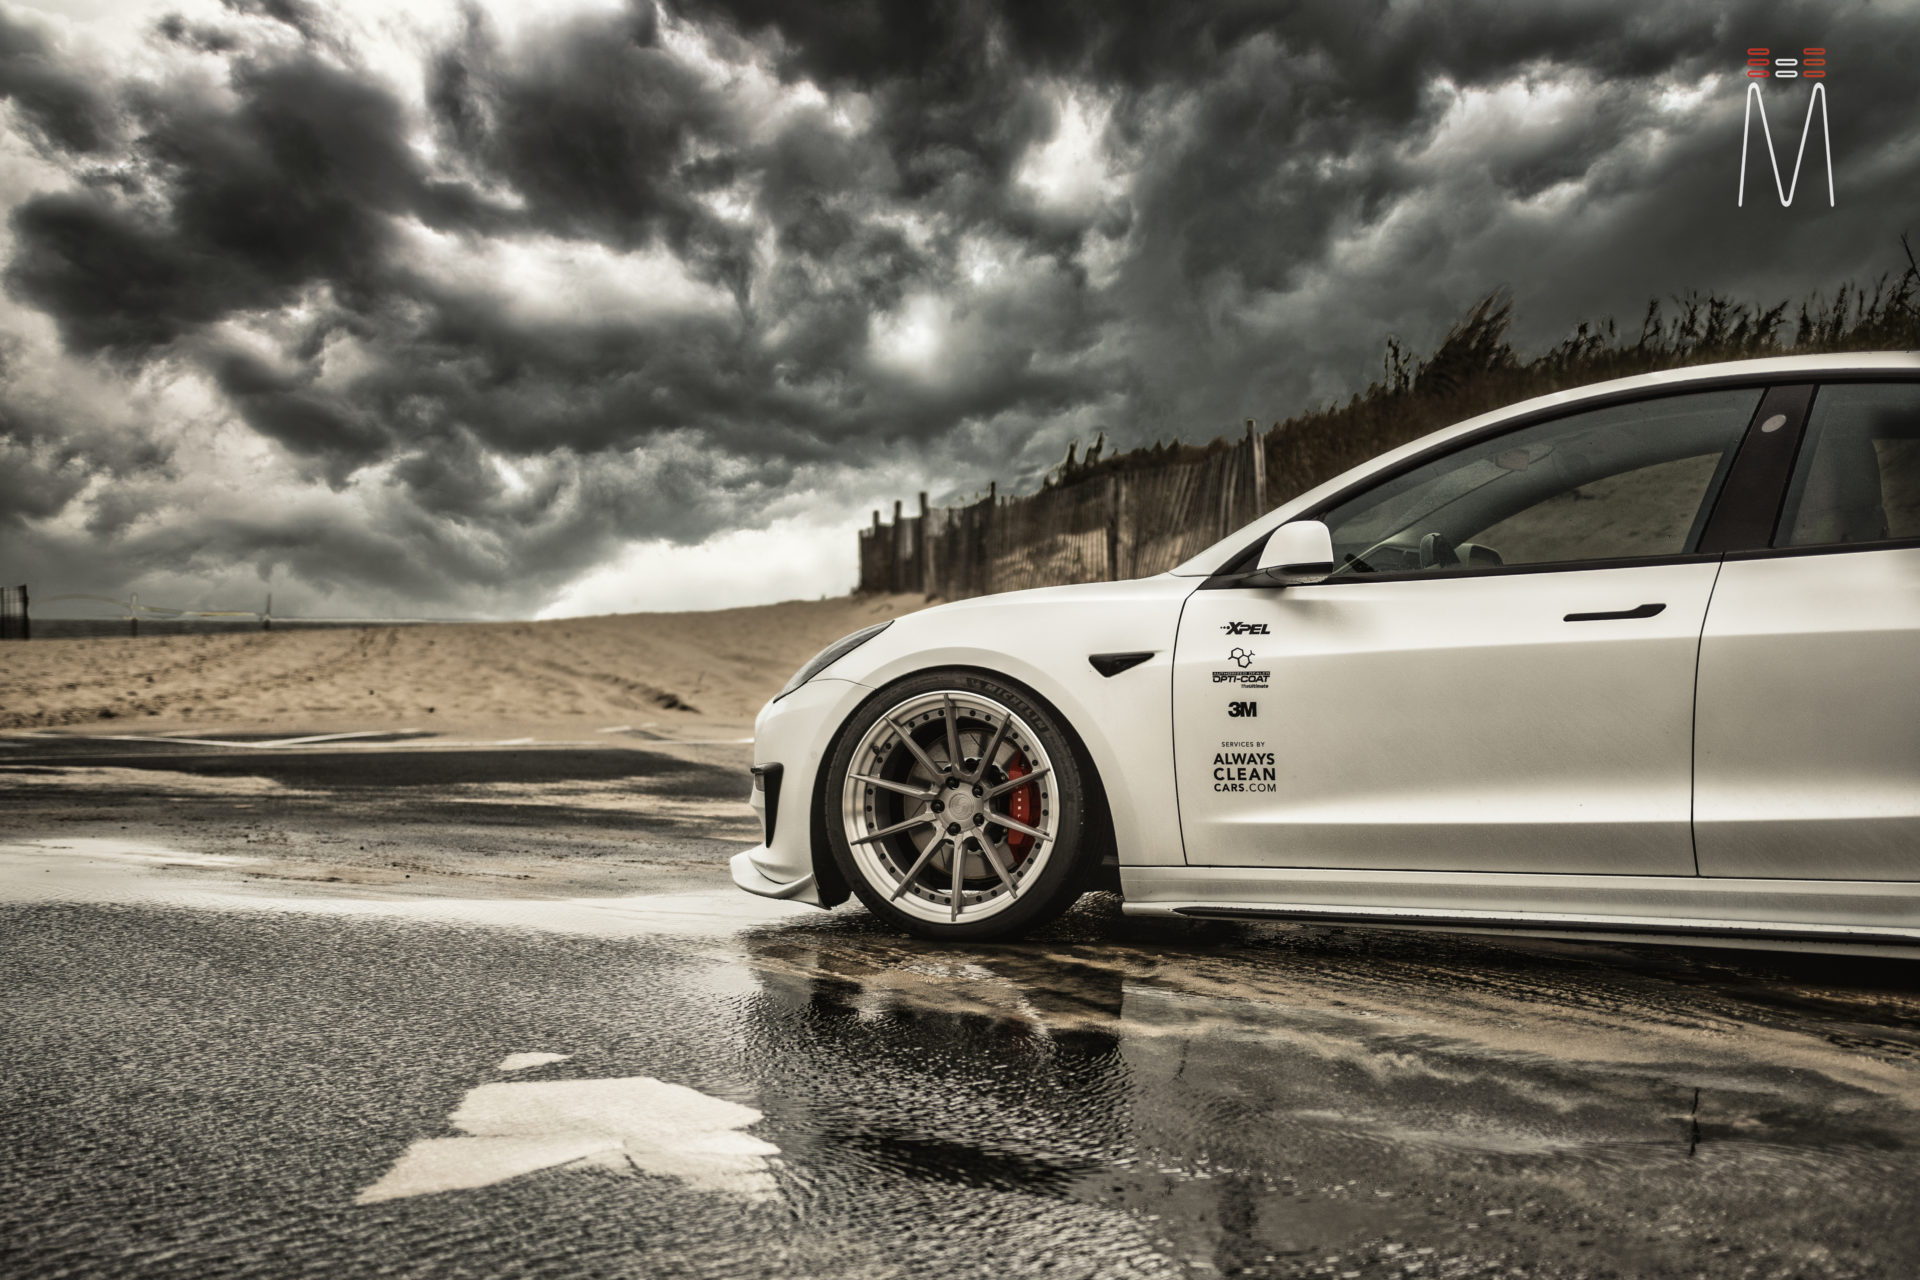
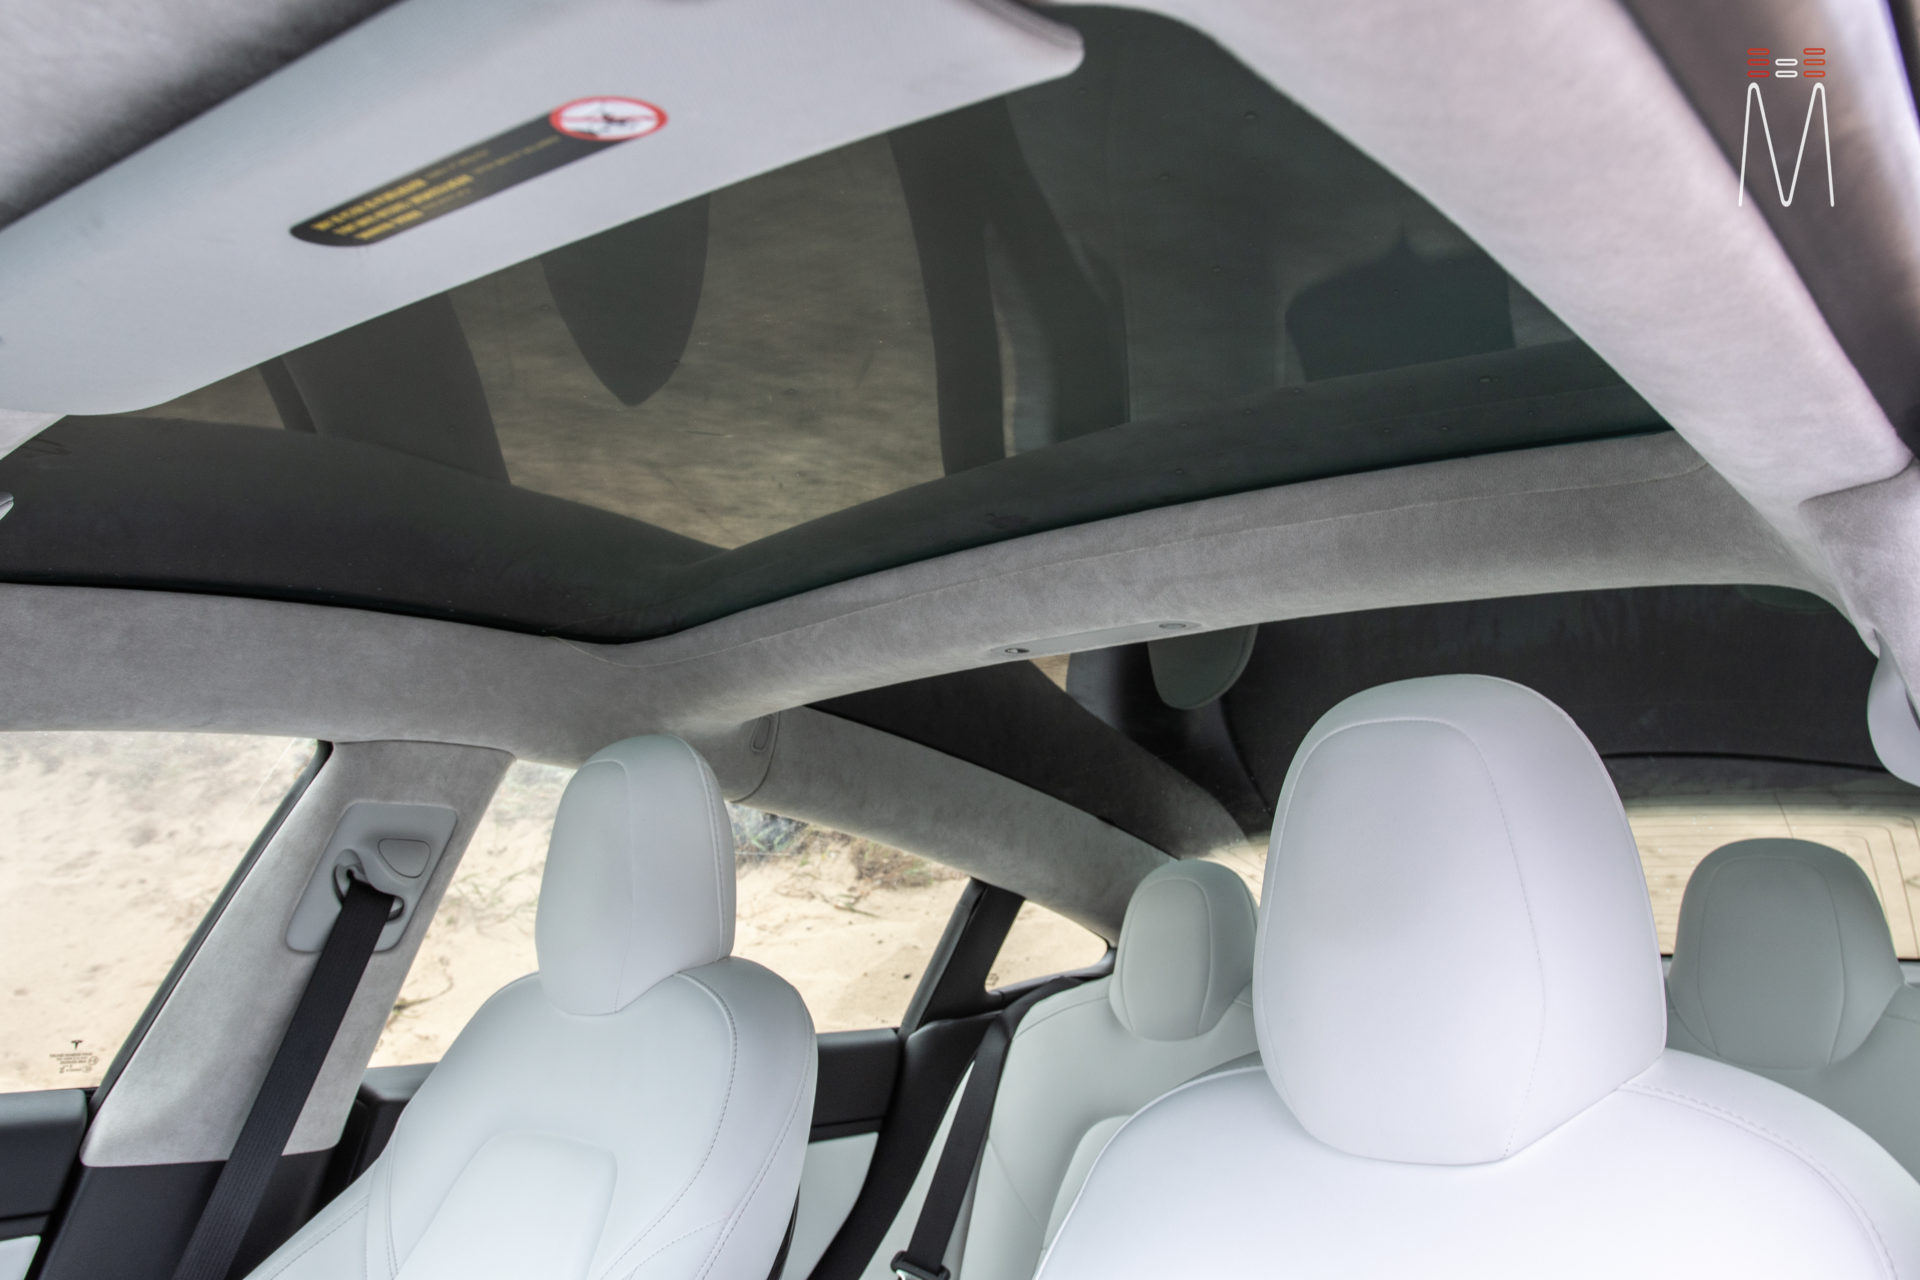
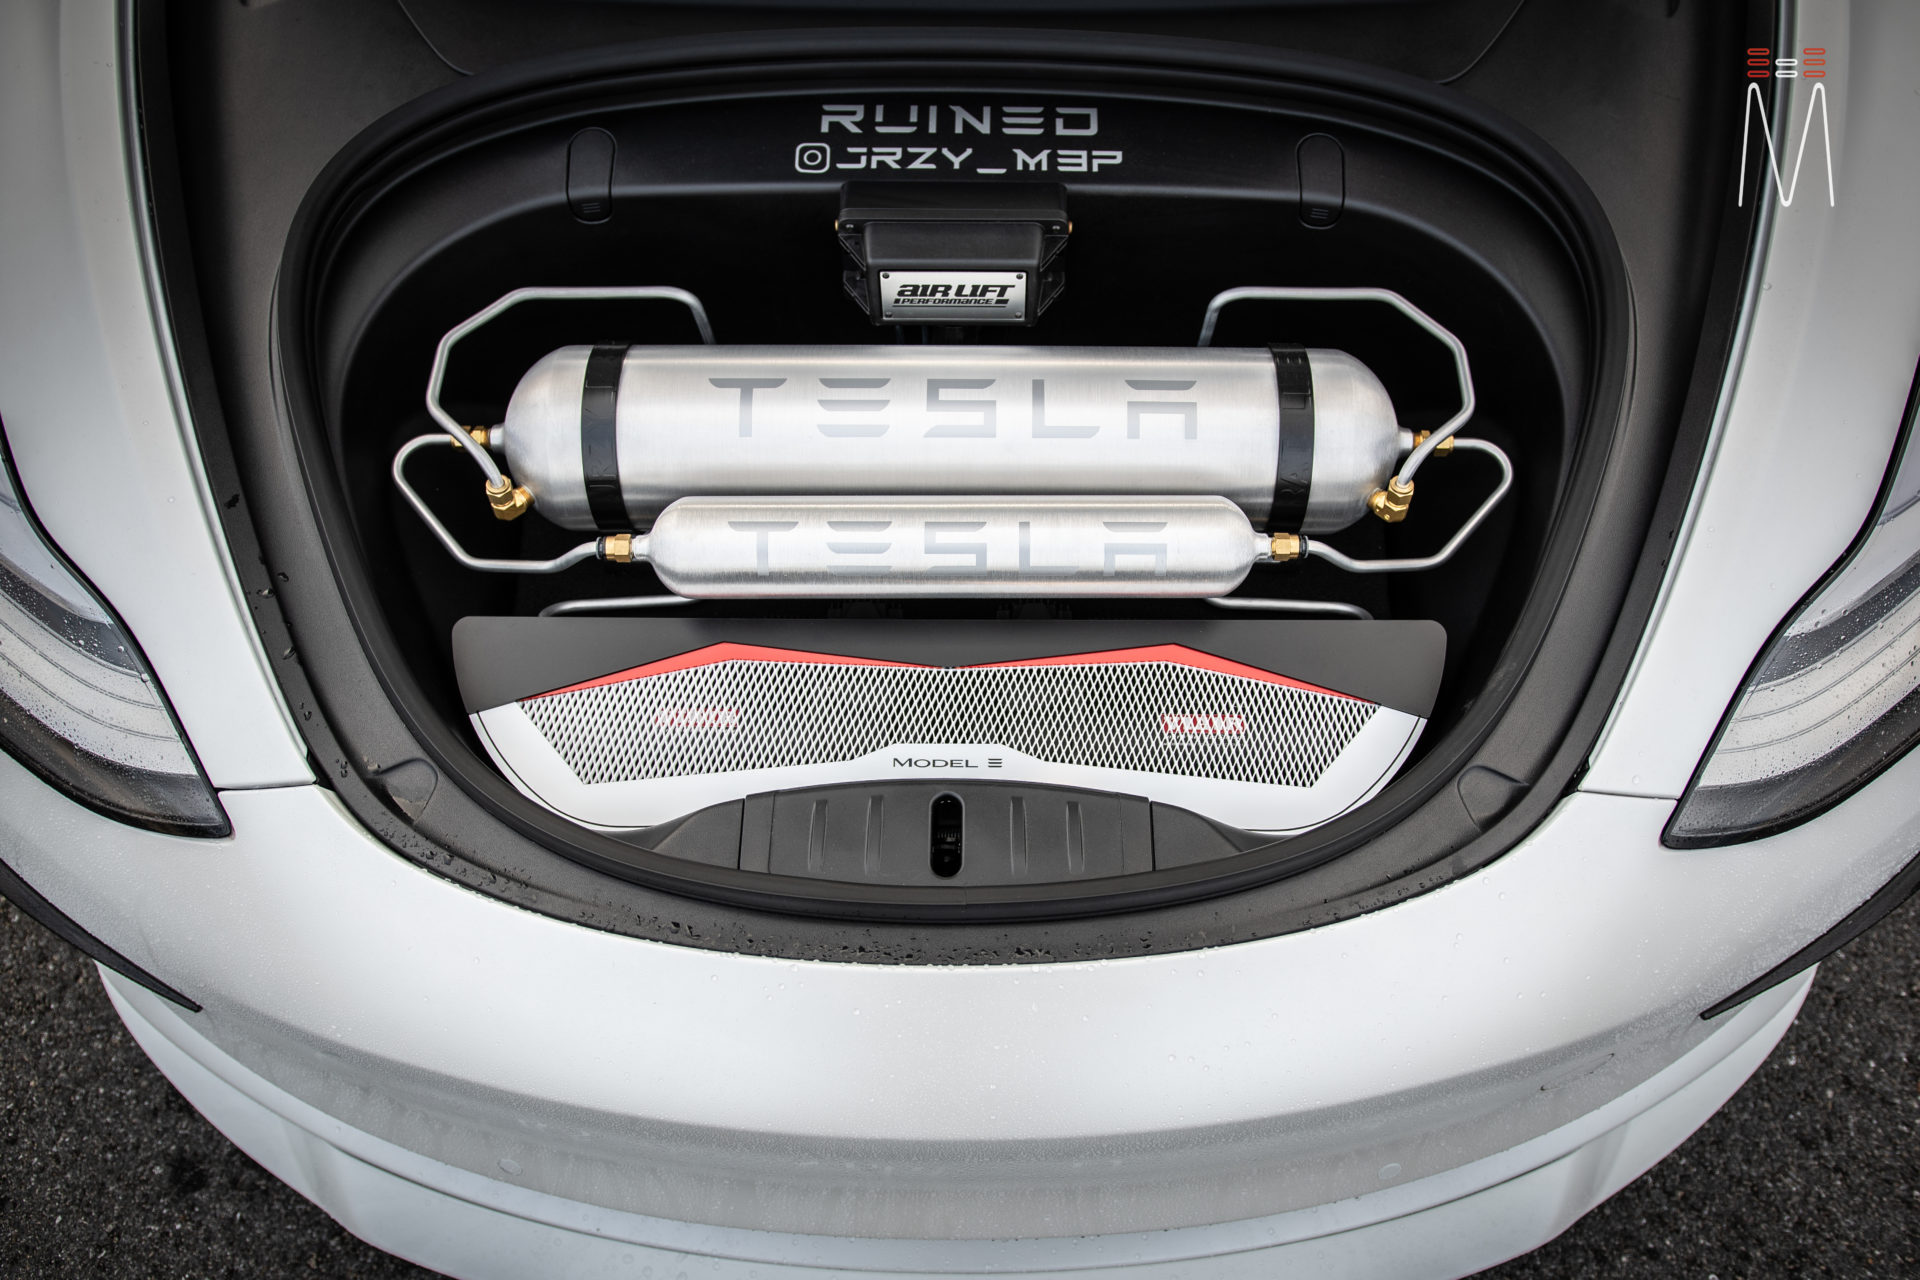
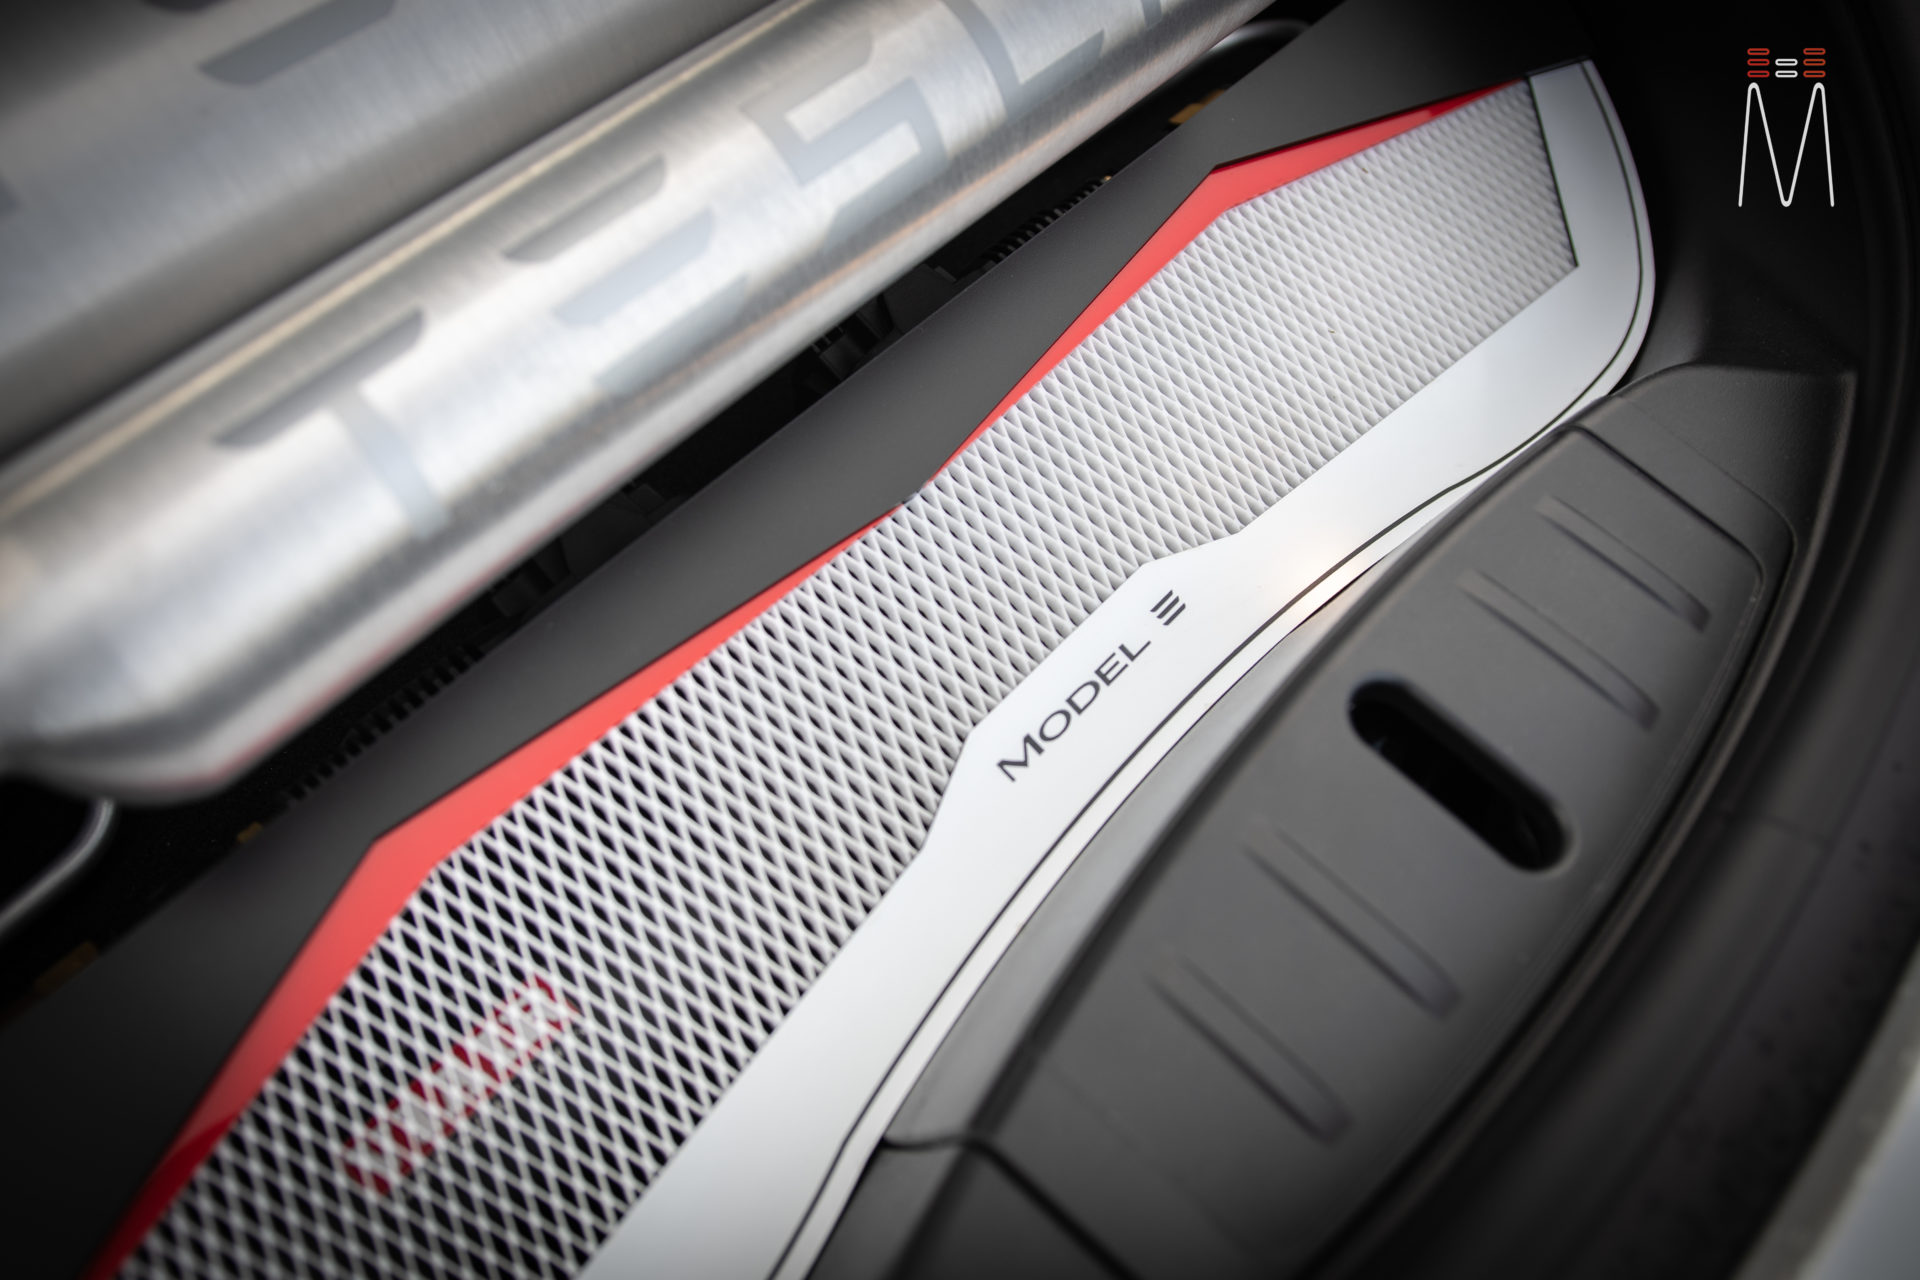
Finally, the OEM headliner and pillars were removed and recovered with gray Alcantara suede. A panel with a similar design to that of the pillars, subwoofer enclosure, and amp rack was created to hide the Viair compressors under the hood. The completed look of the car goes into a Tesla style modern design that scales from bumper to bumper.