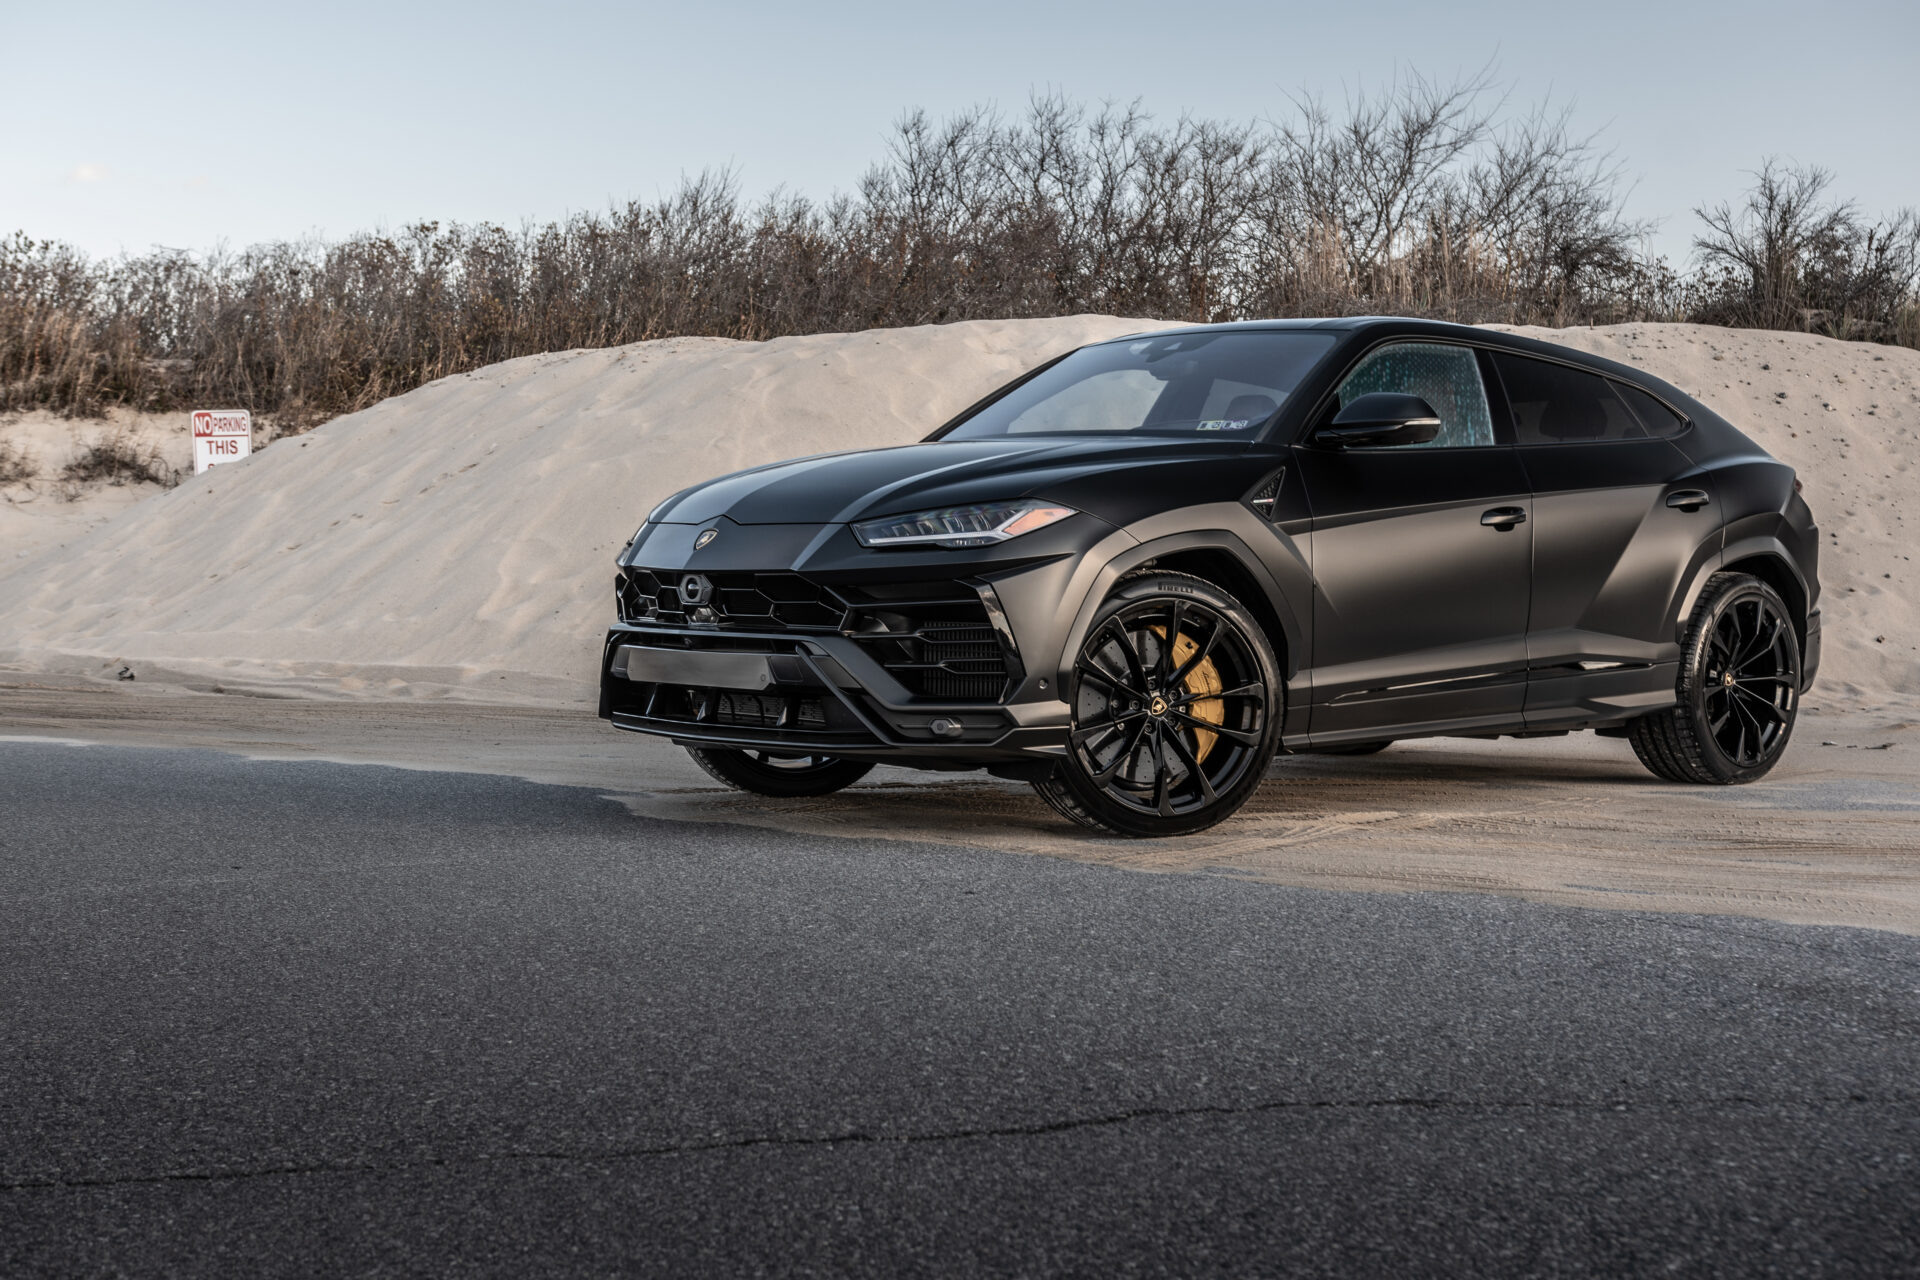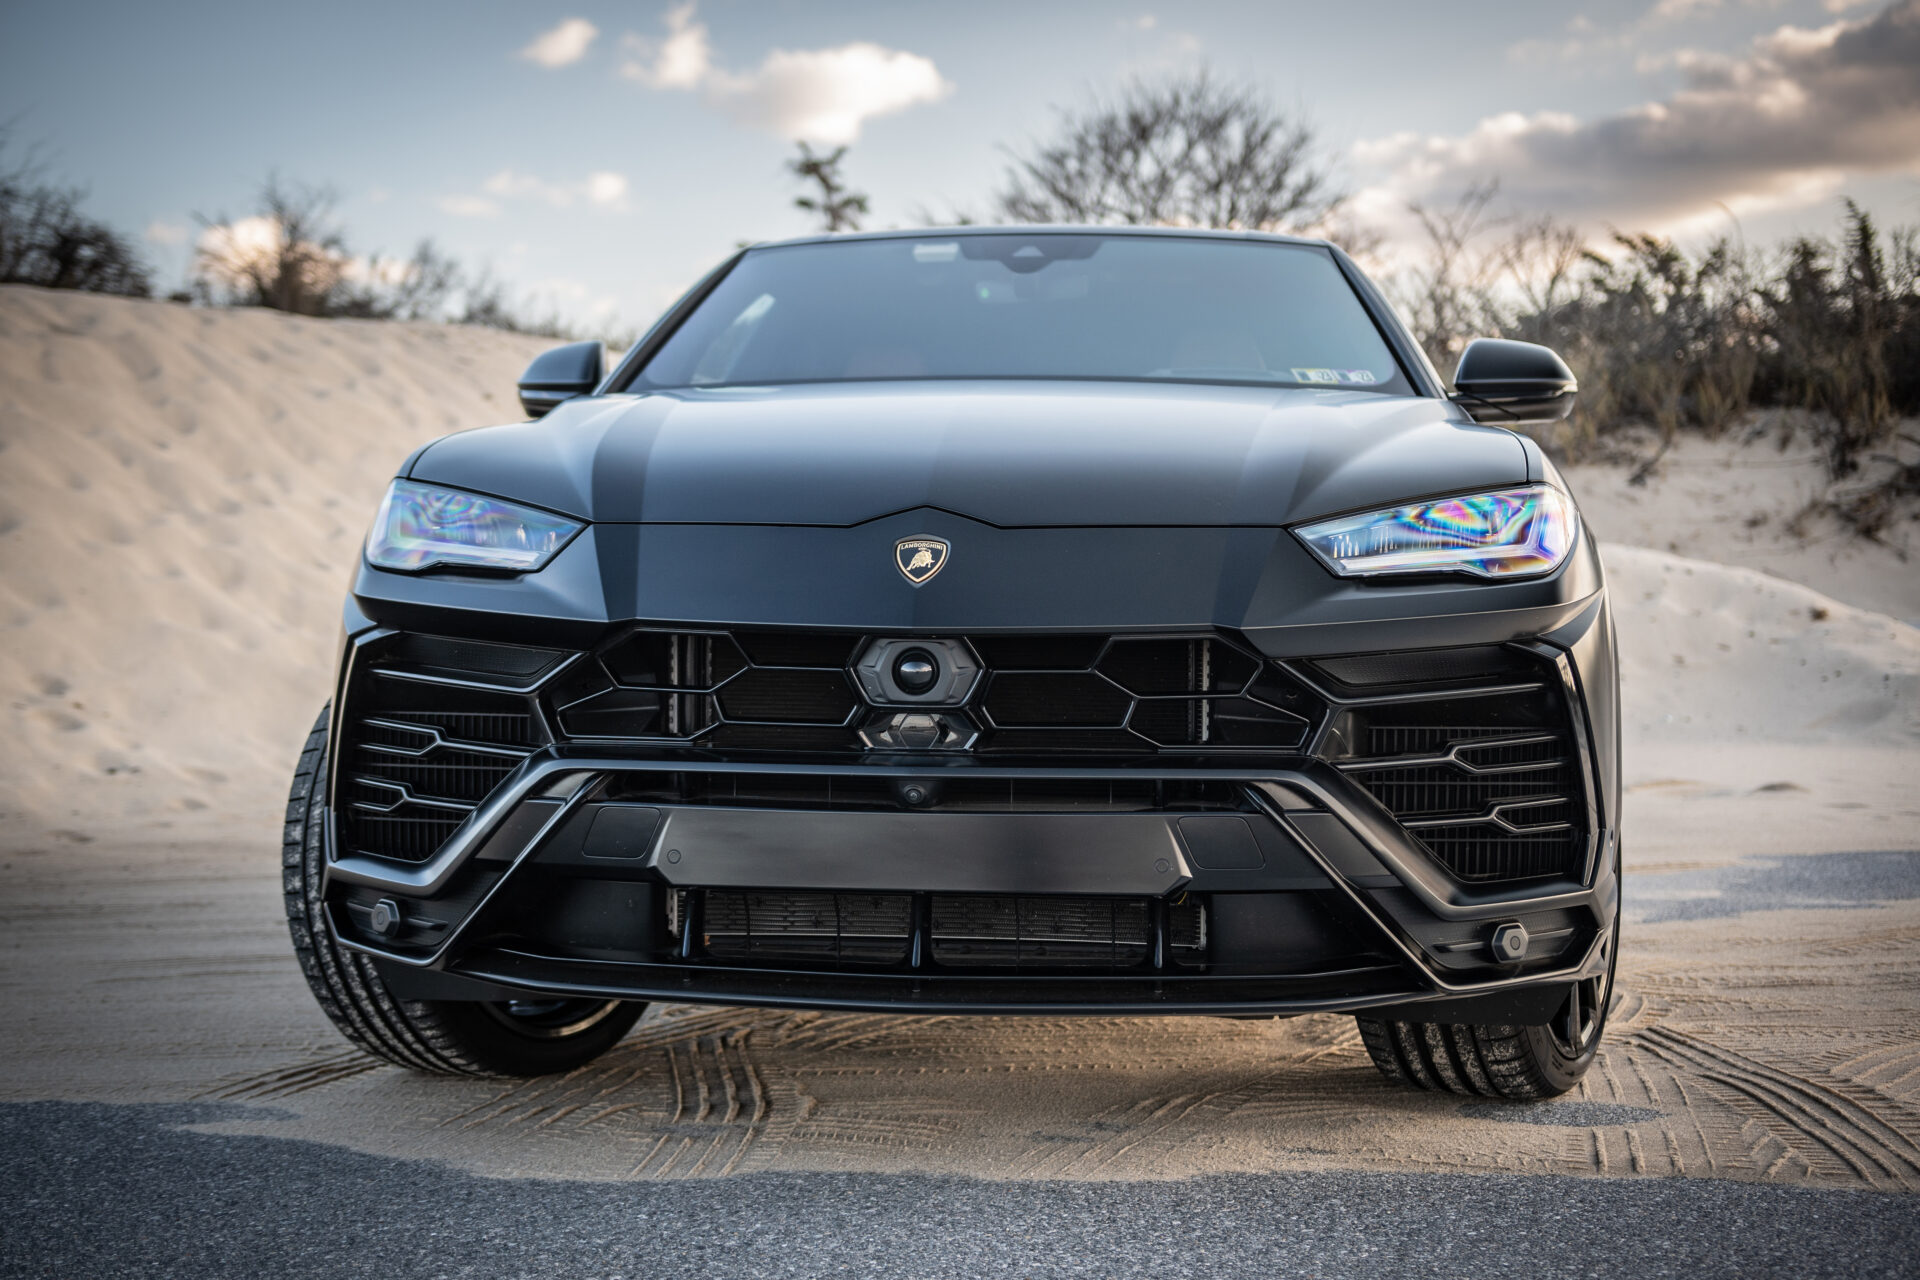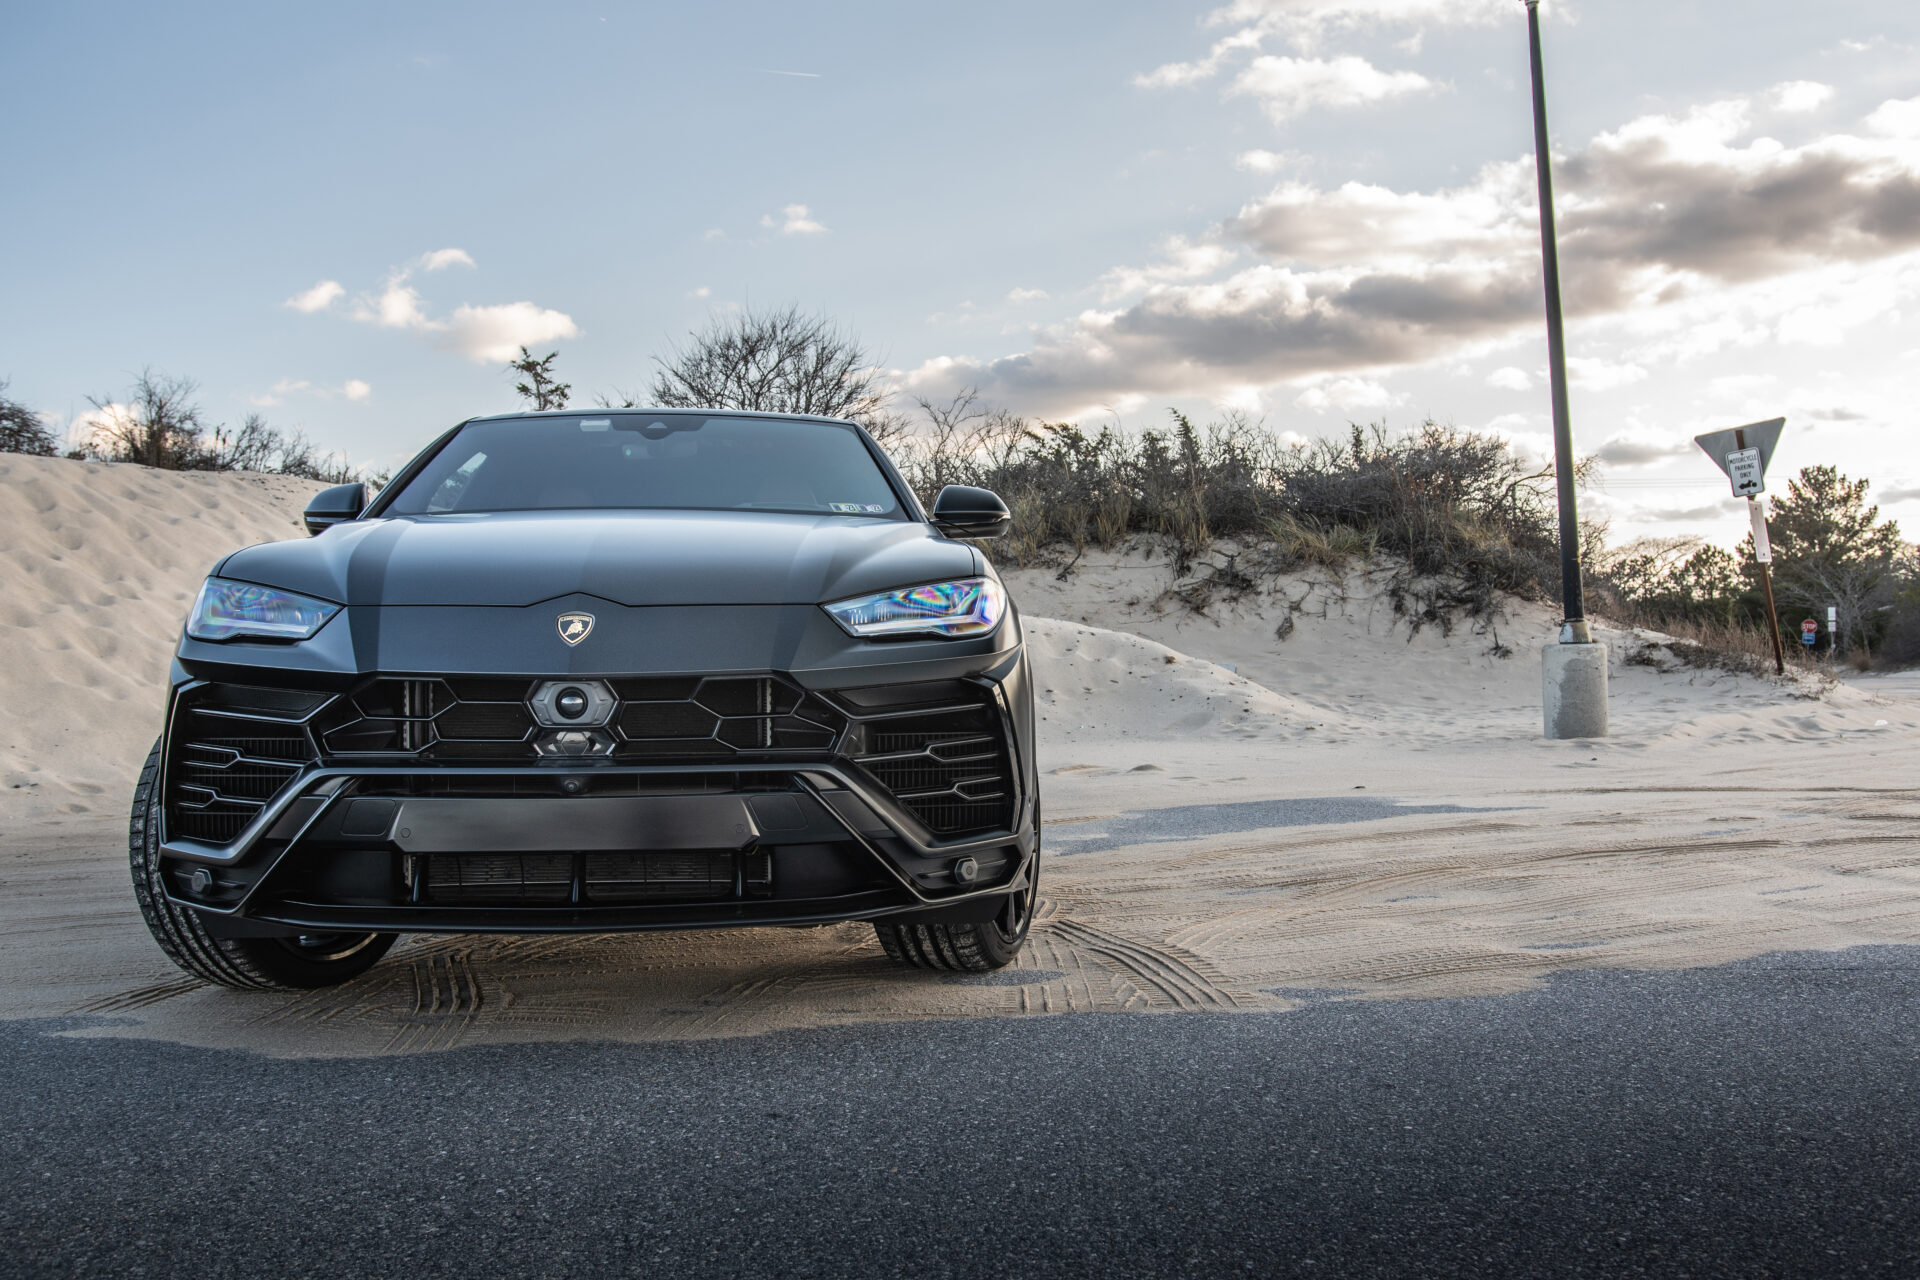
Conversion 2
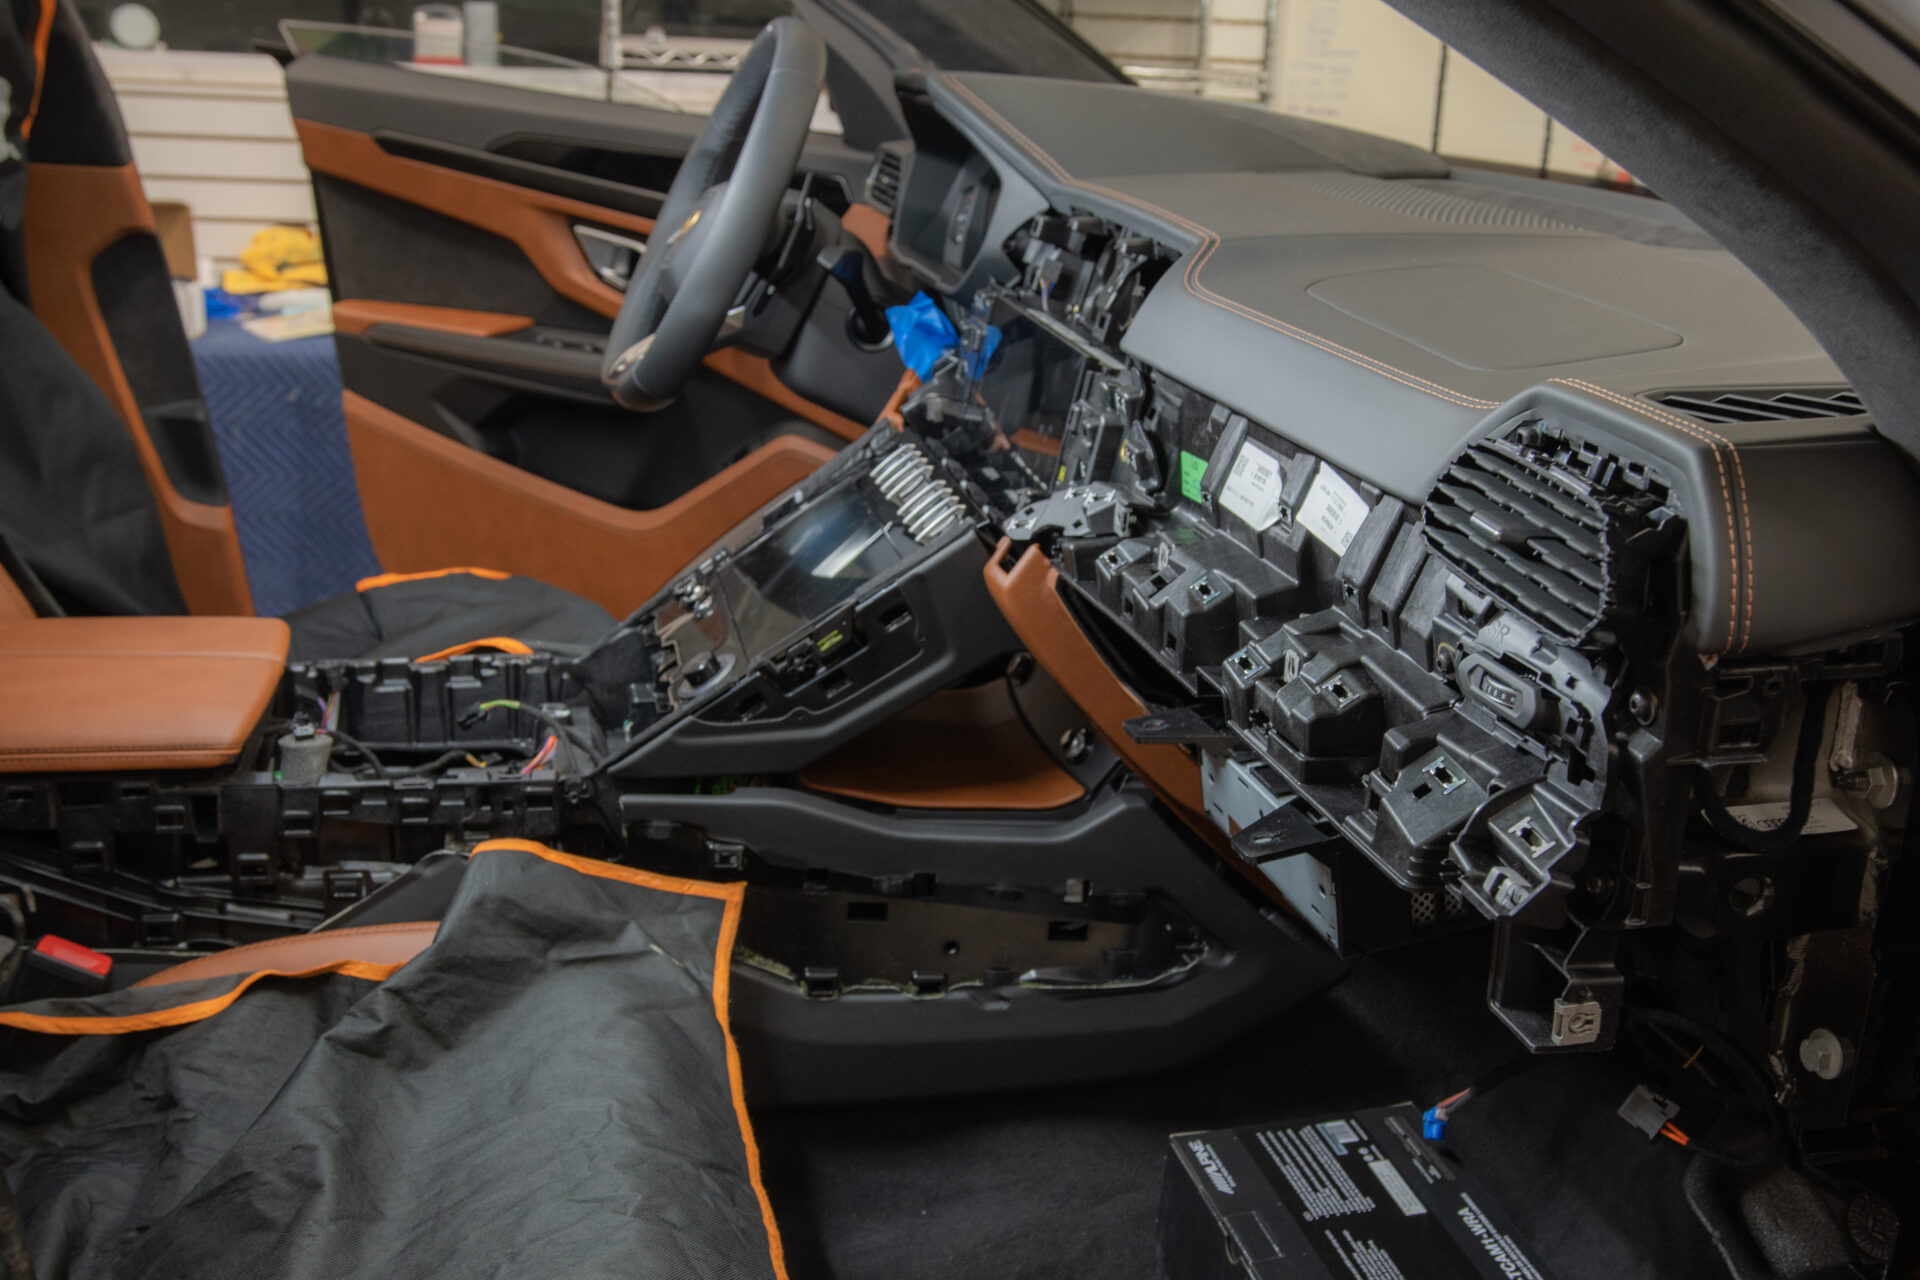
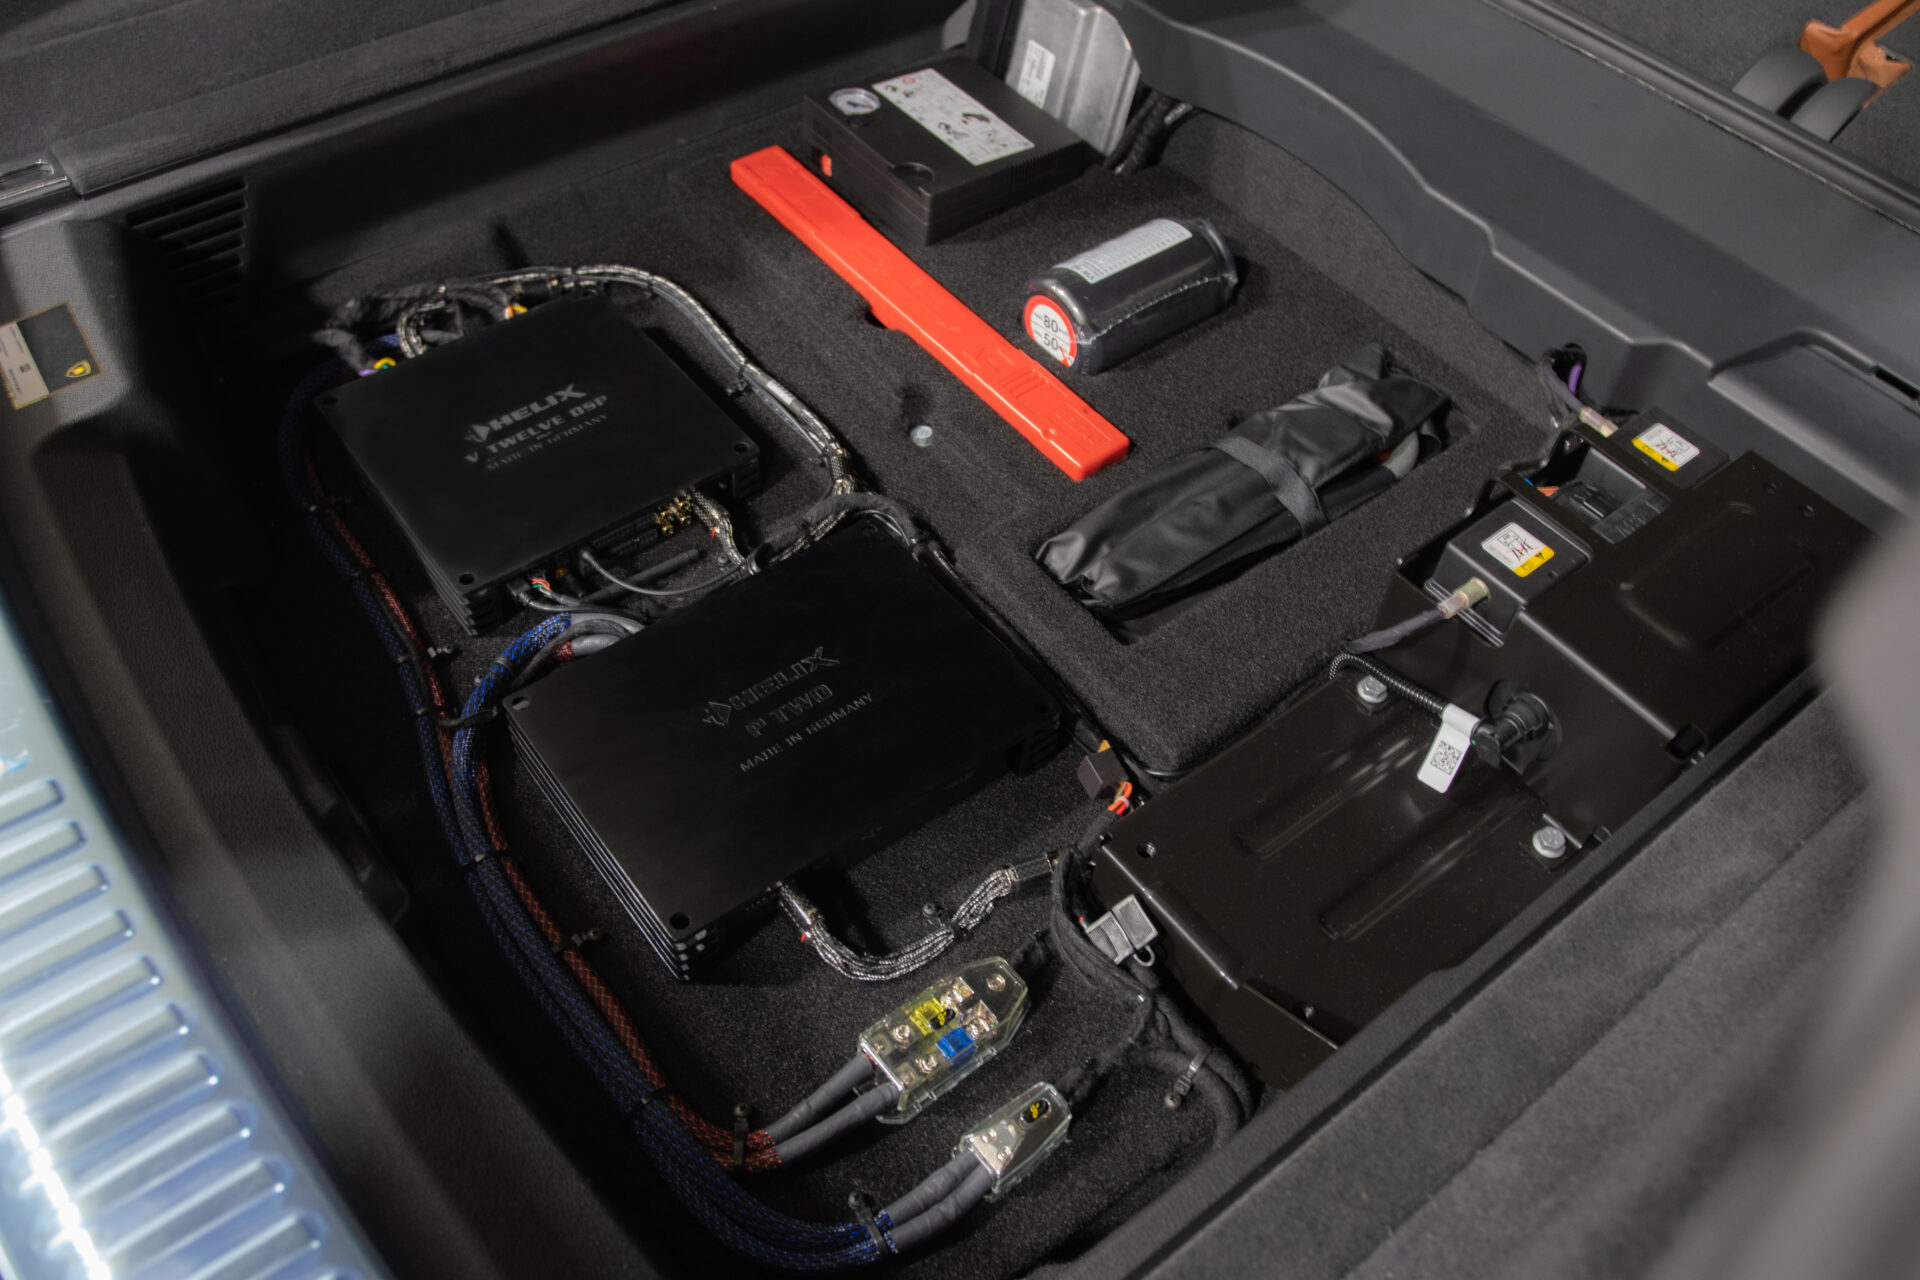
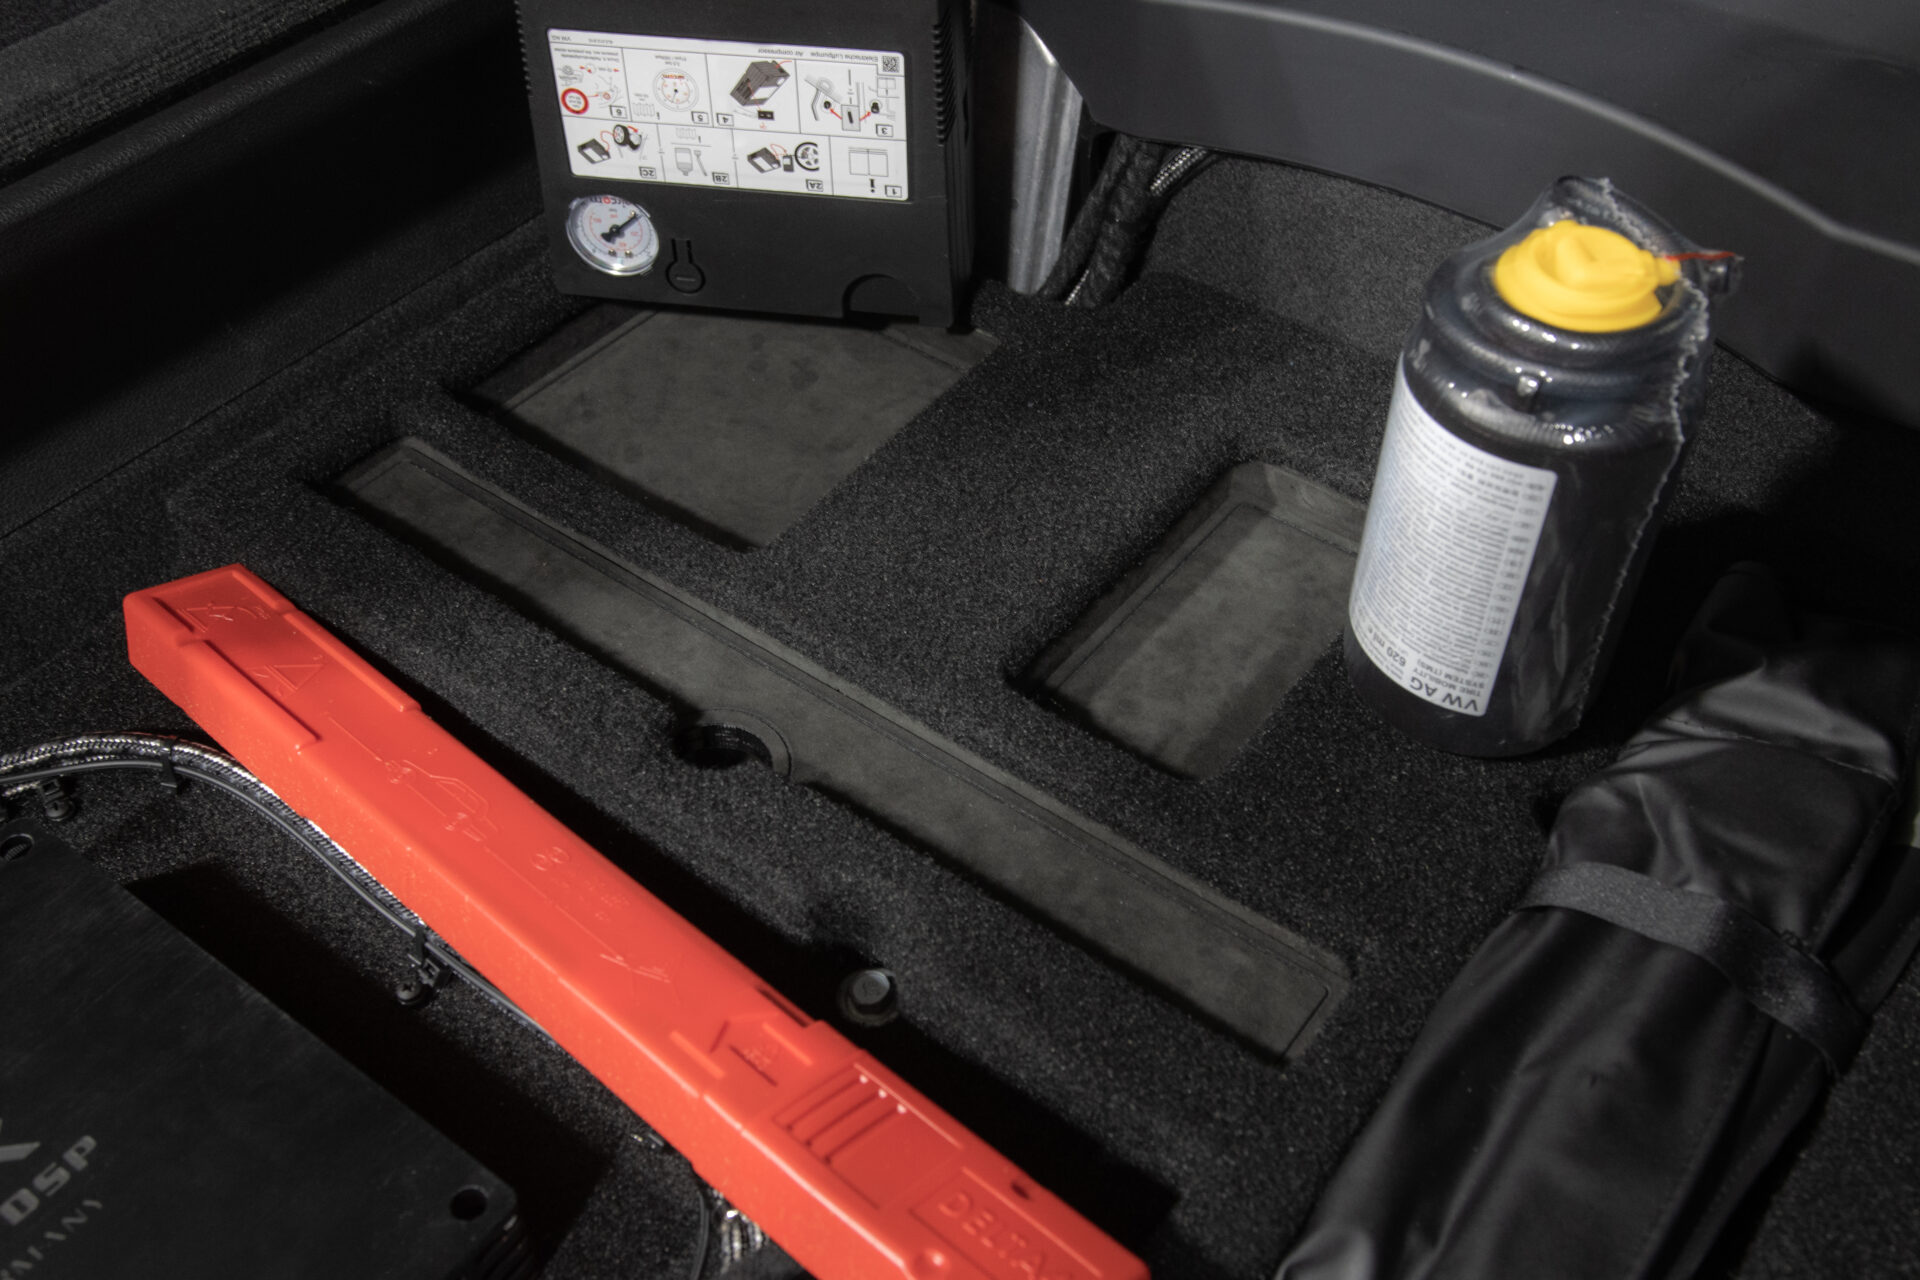
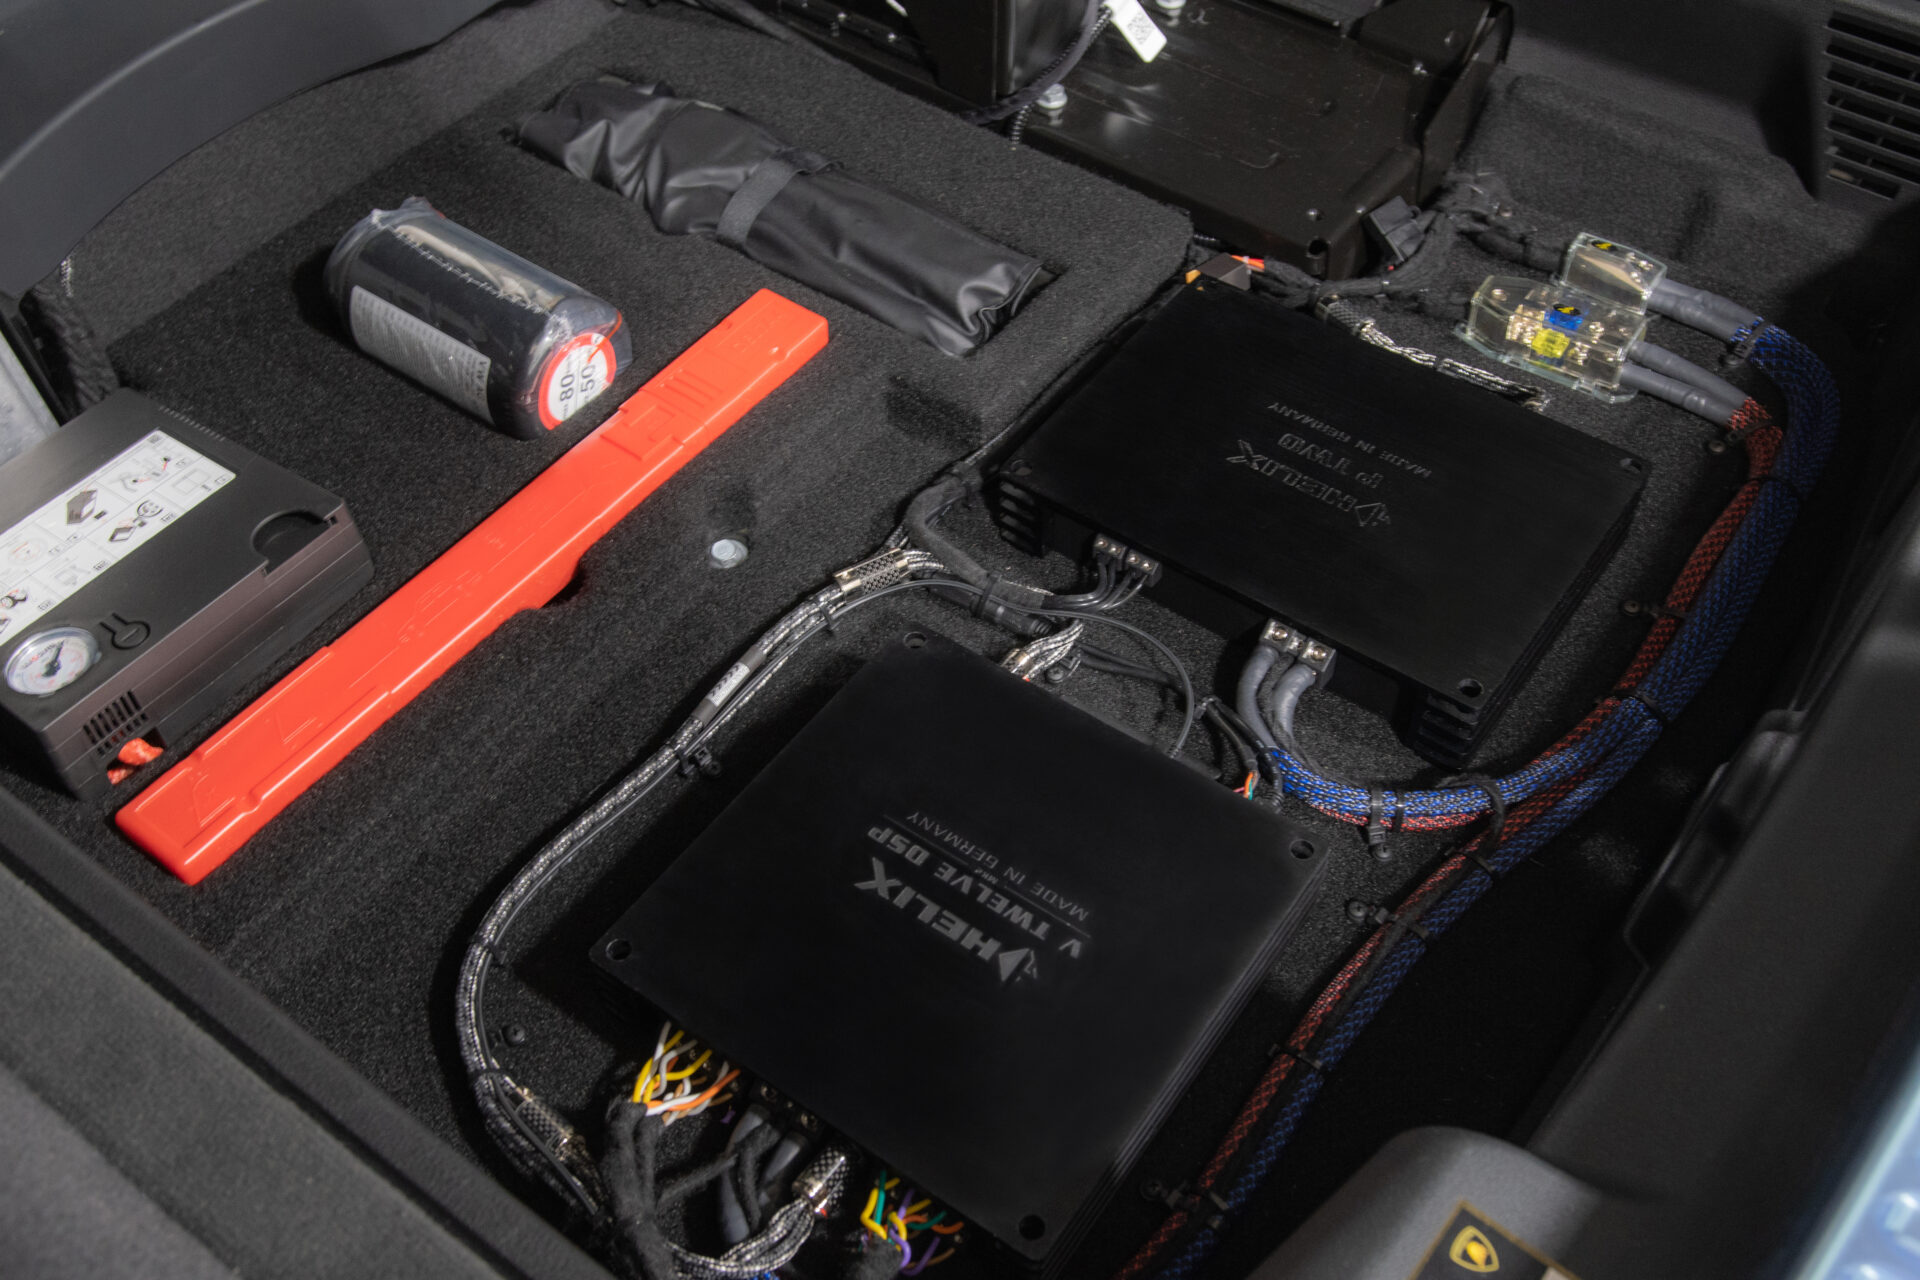
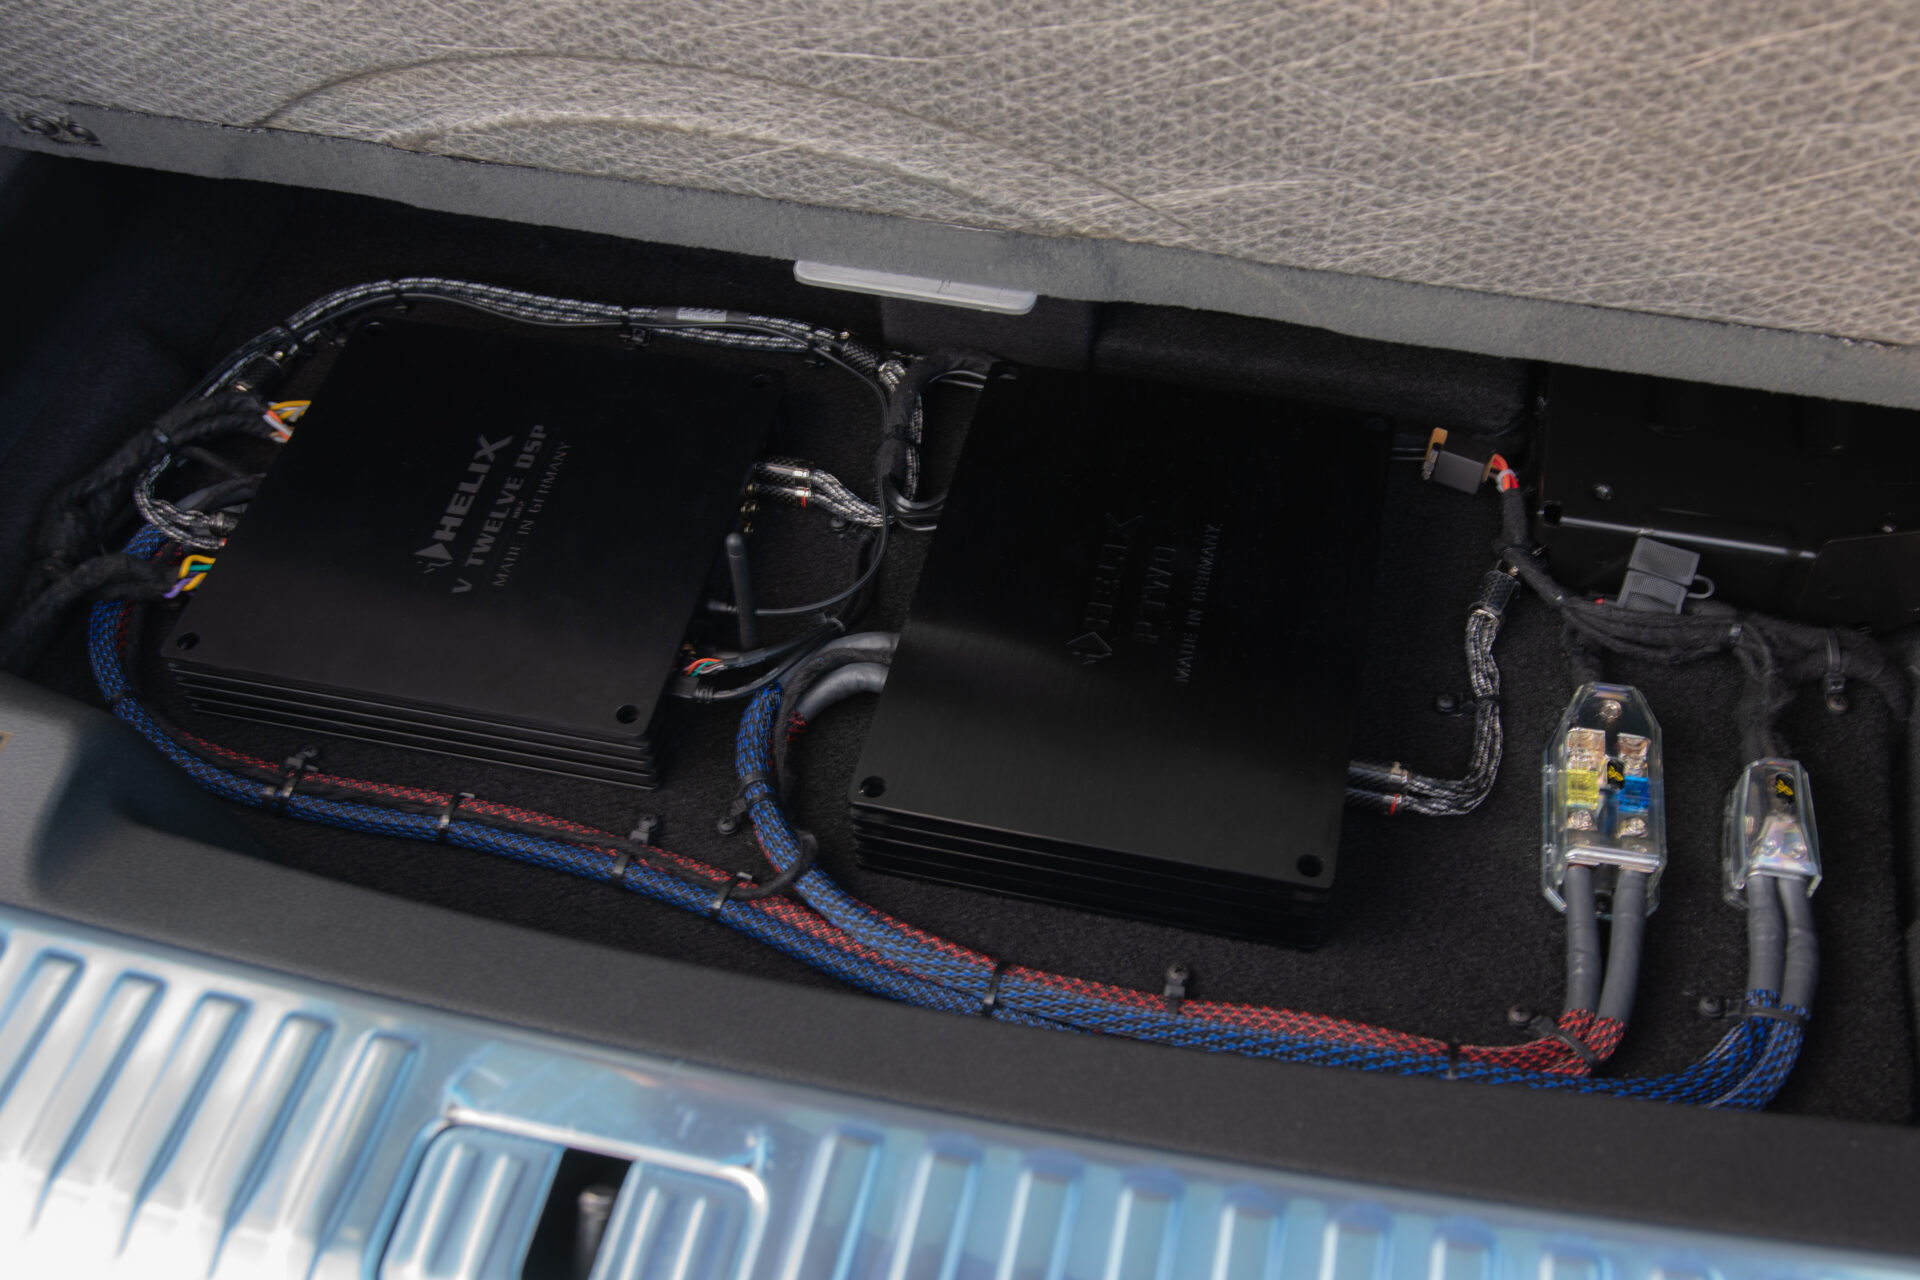
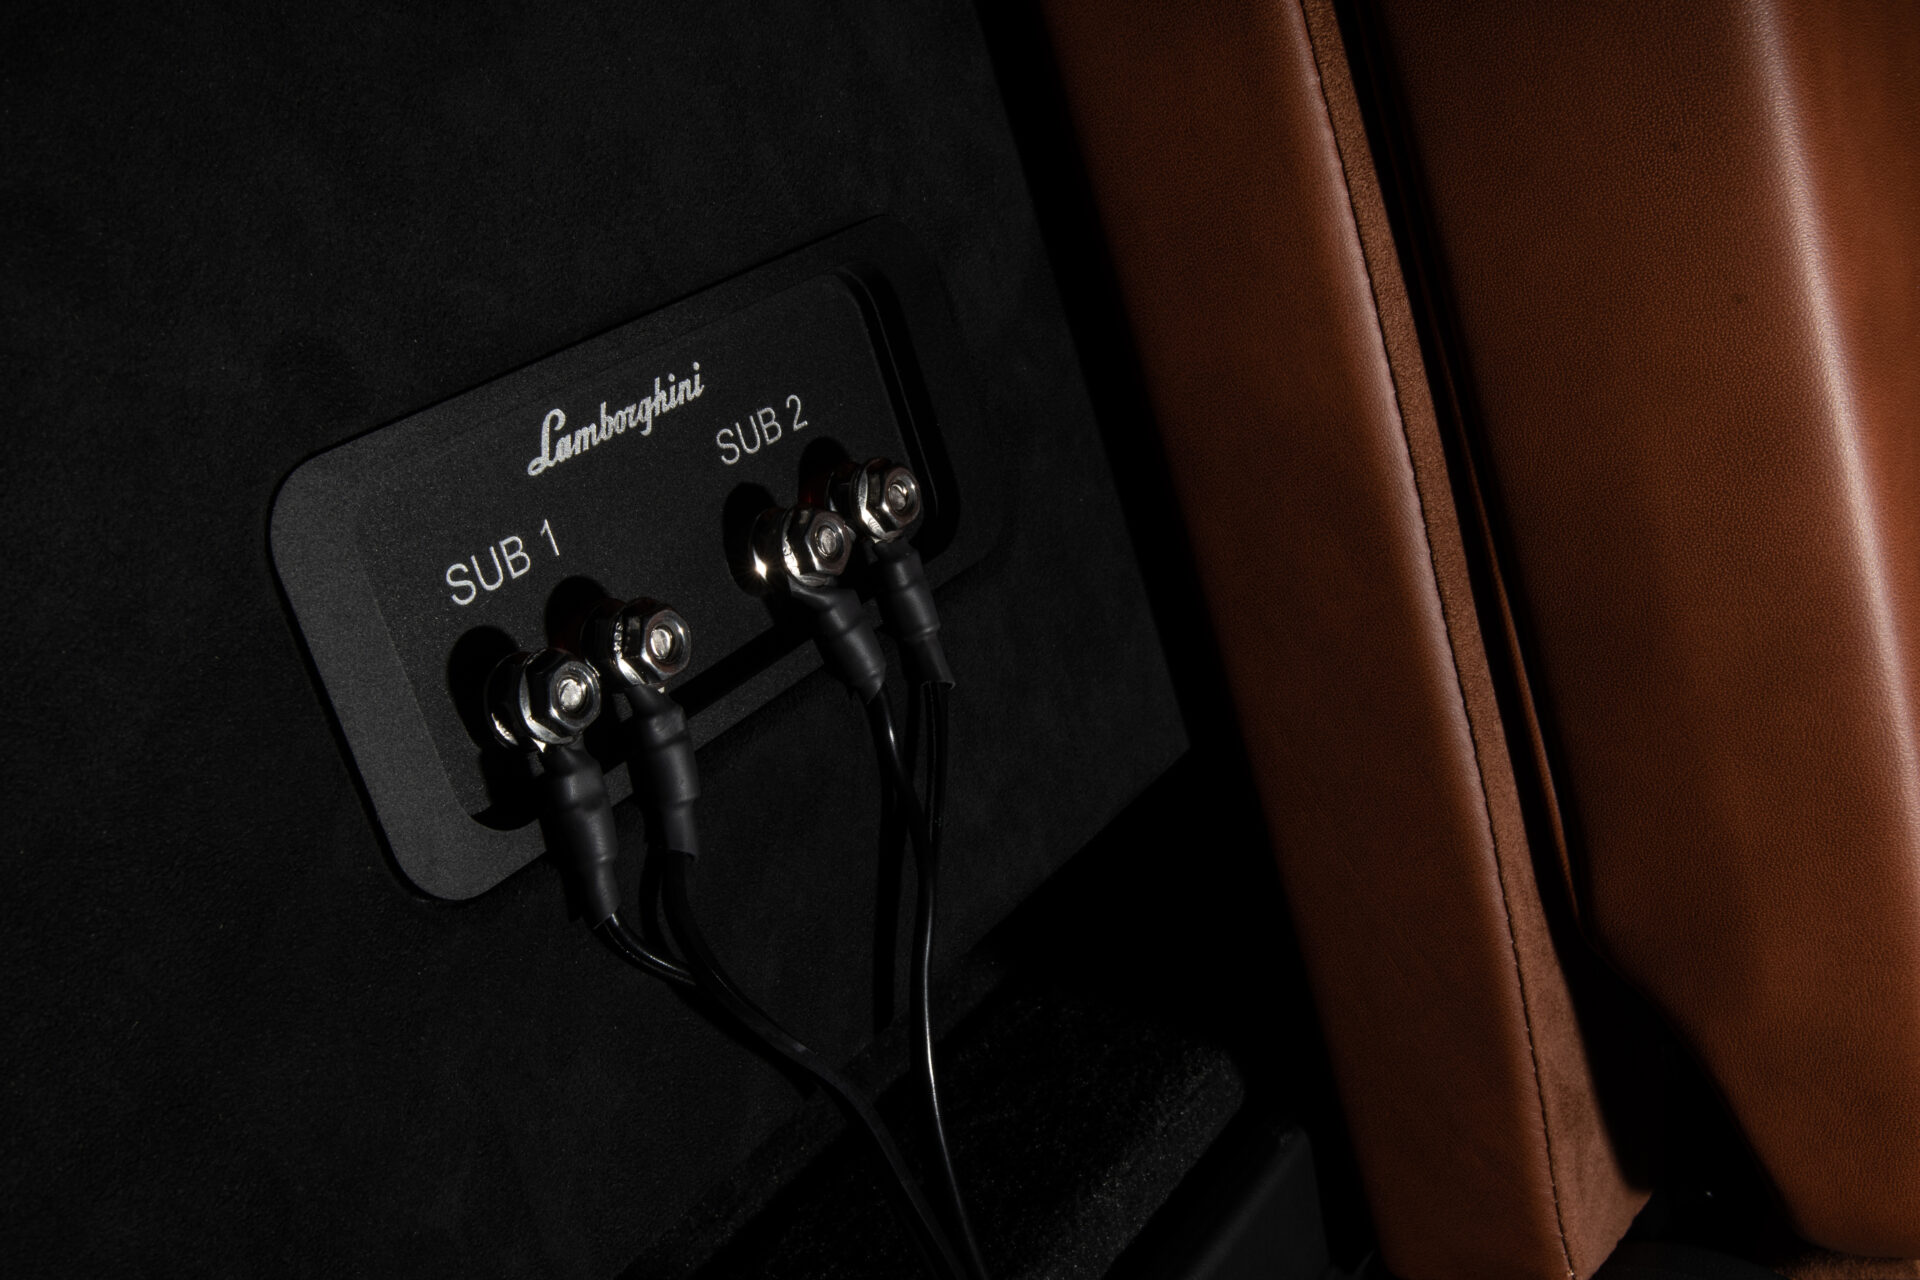
This one came all the way from our favorite sandbox (Arizona). Another large challenge given the amount of equipment we were installing.We got right to work and started to arrange the equipment that yielded us the most efficient space possible. Under the rear cargo floor has quite a bit of space. We created a rack that housed two XS Power Lithium Ion batteries, 5 amplifiers, Nav TV interface module, Brax DSP, and all fusing. 15 cooling fans and power distribution.
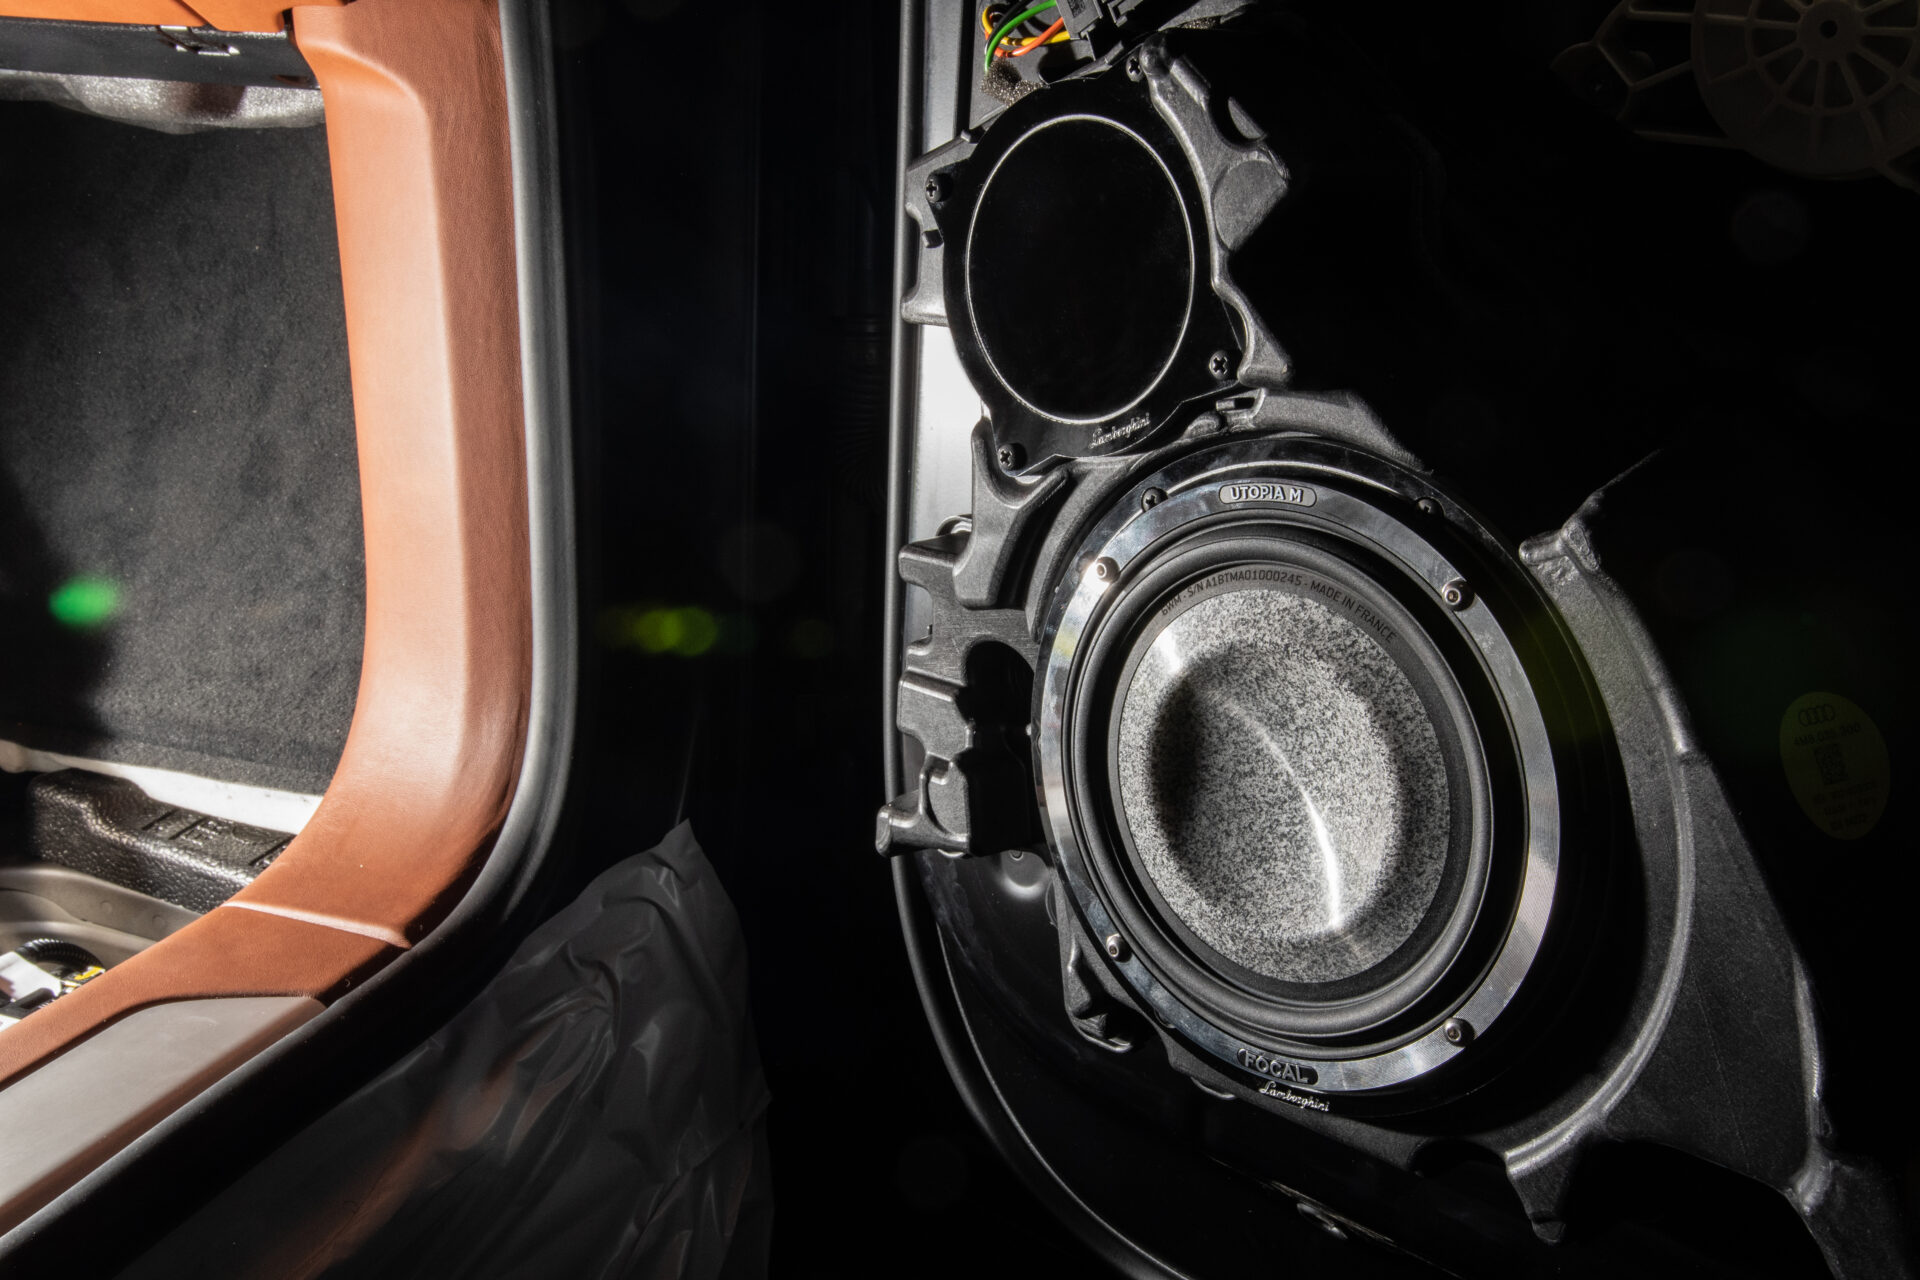
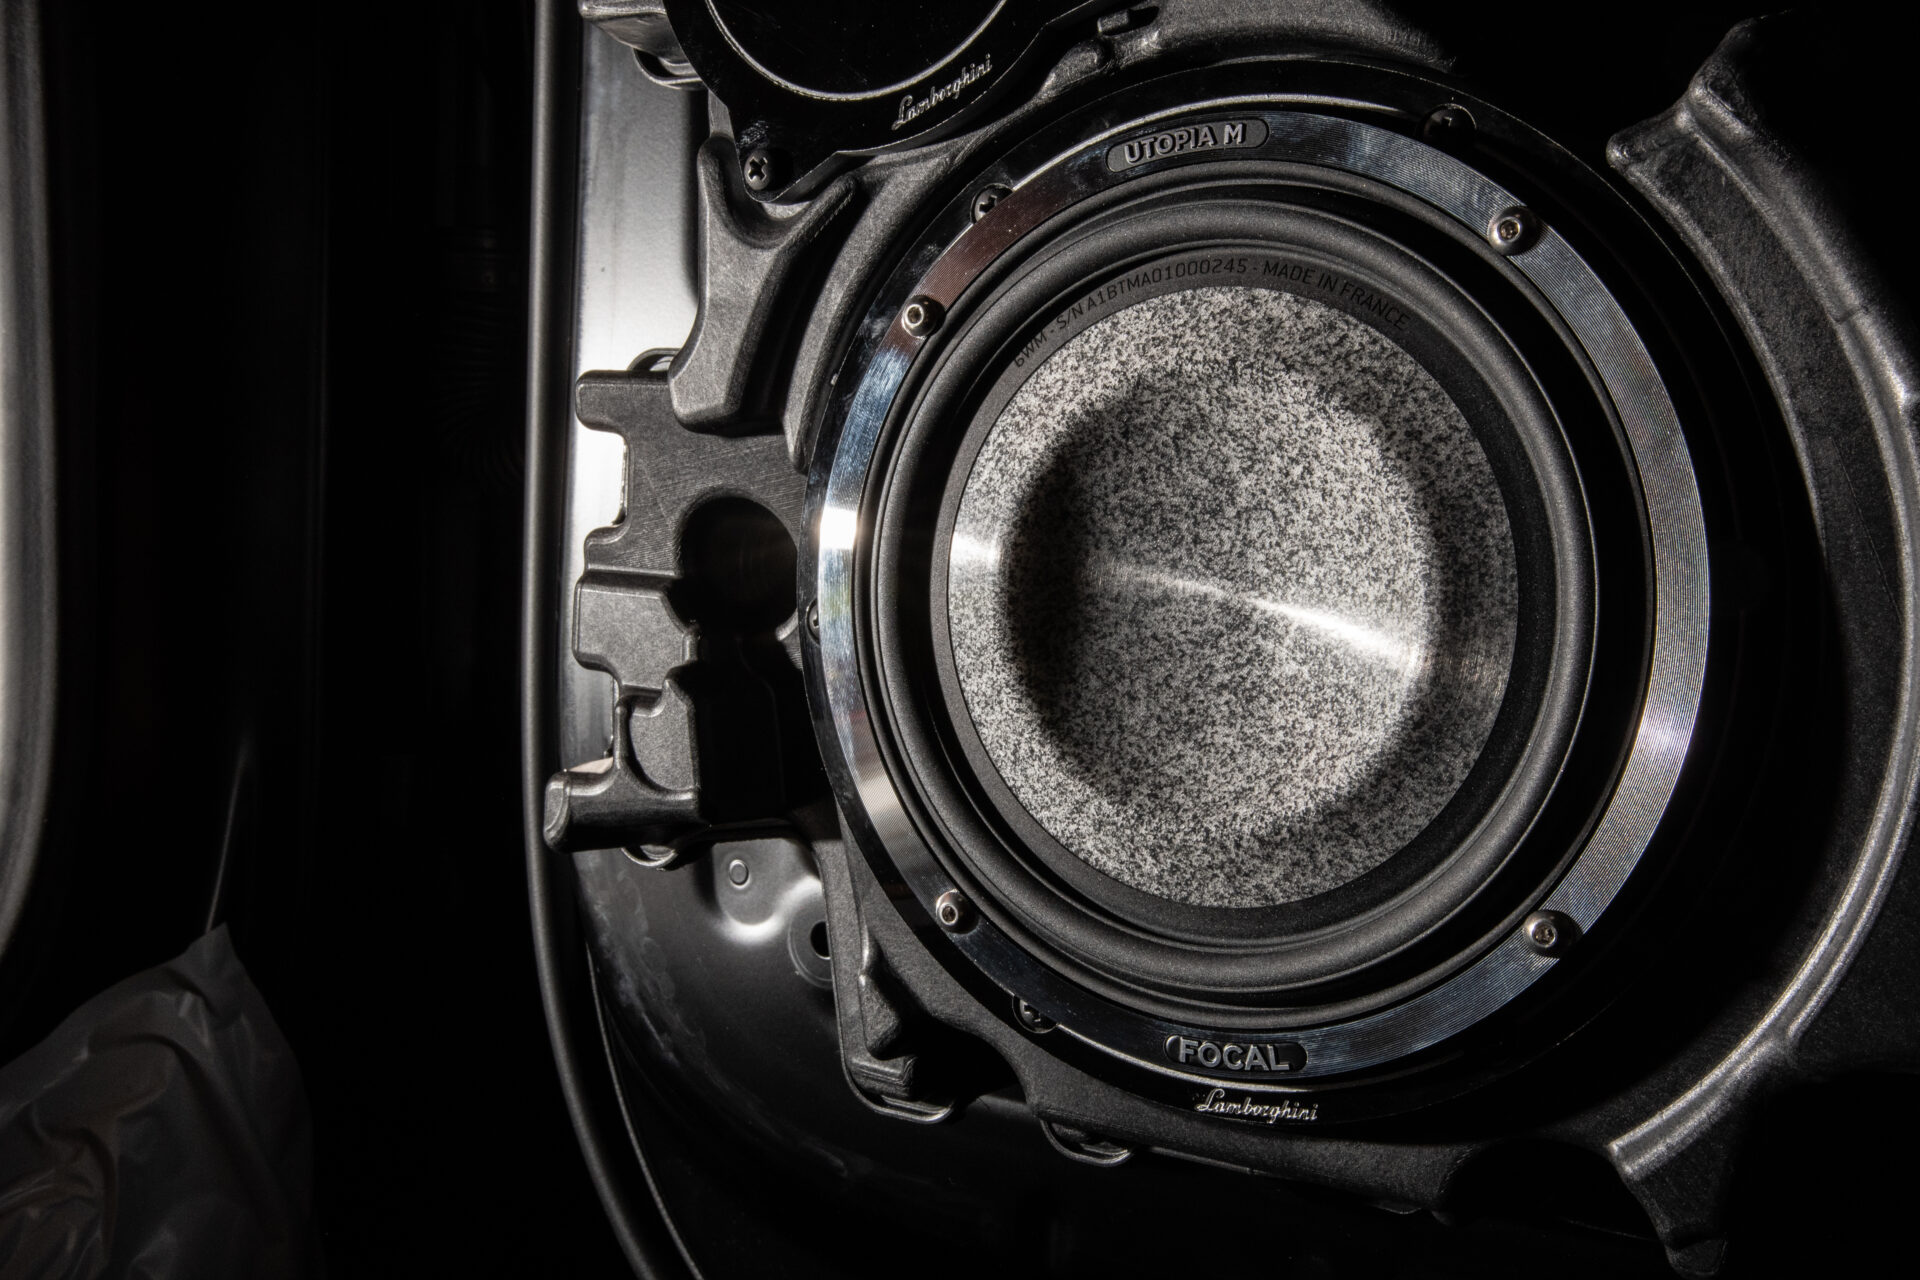
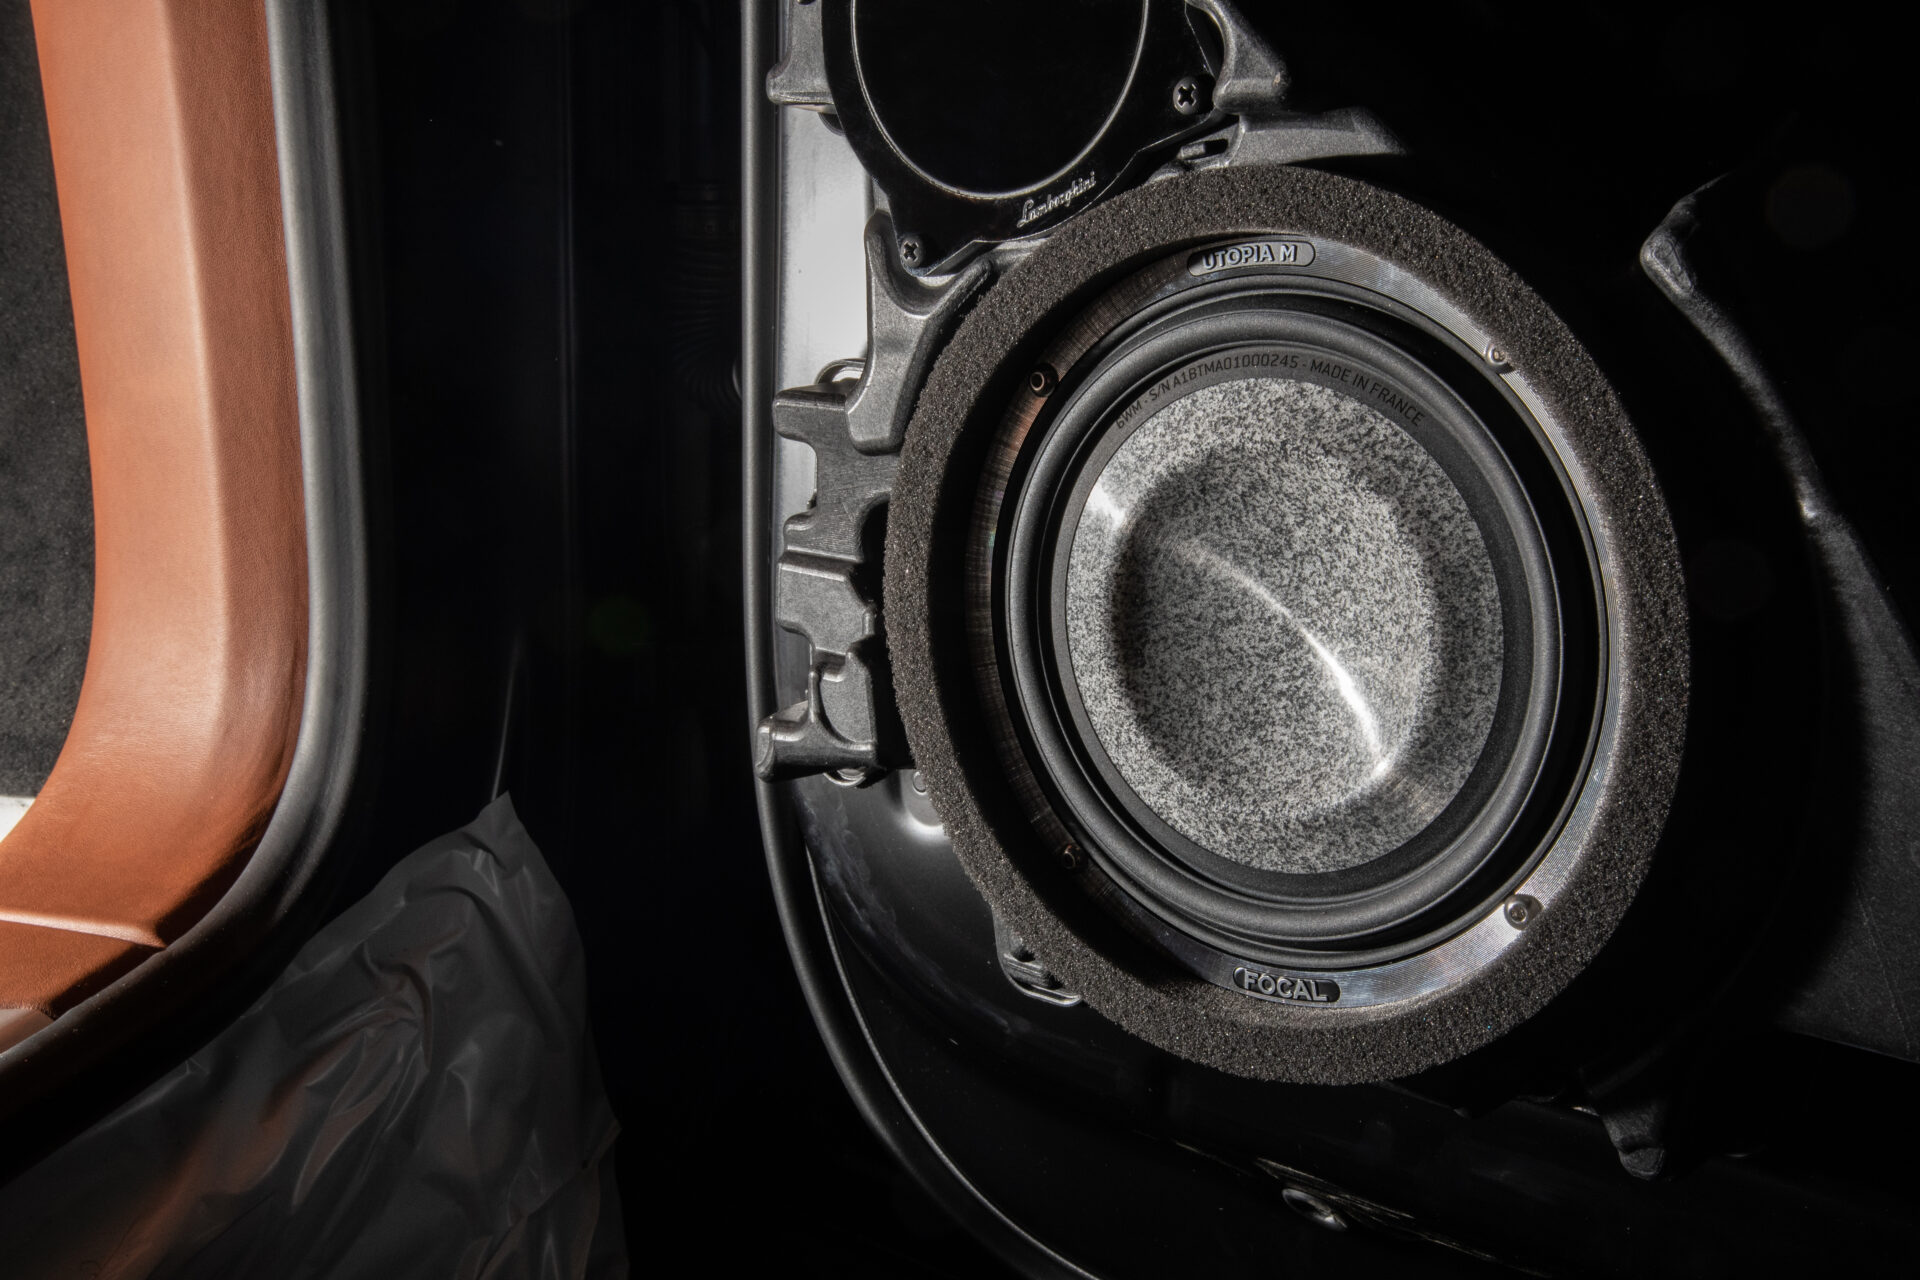
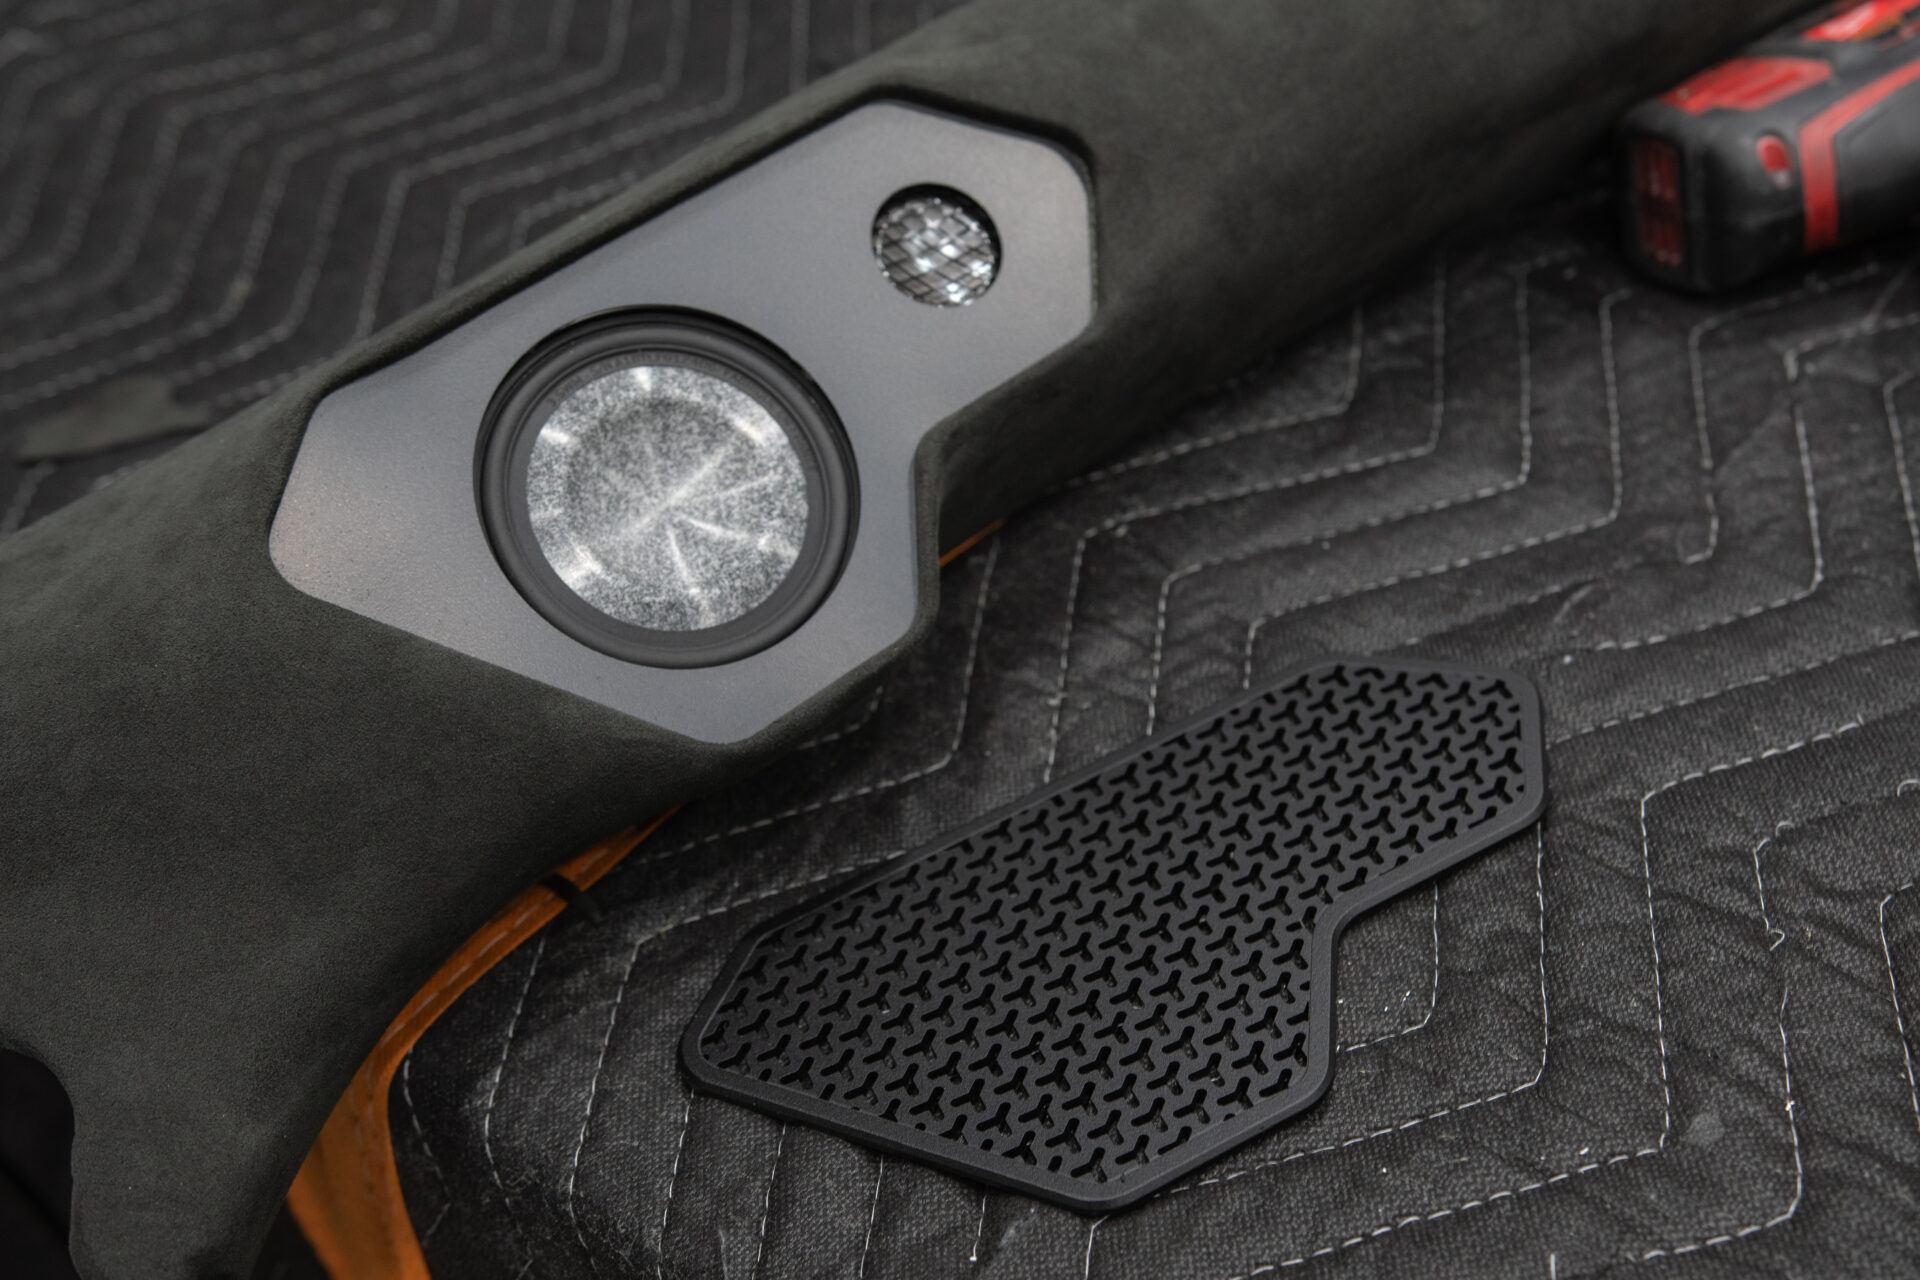
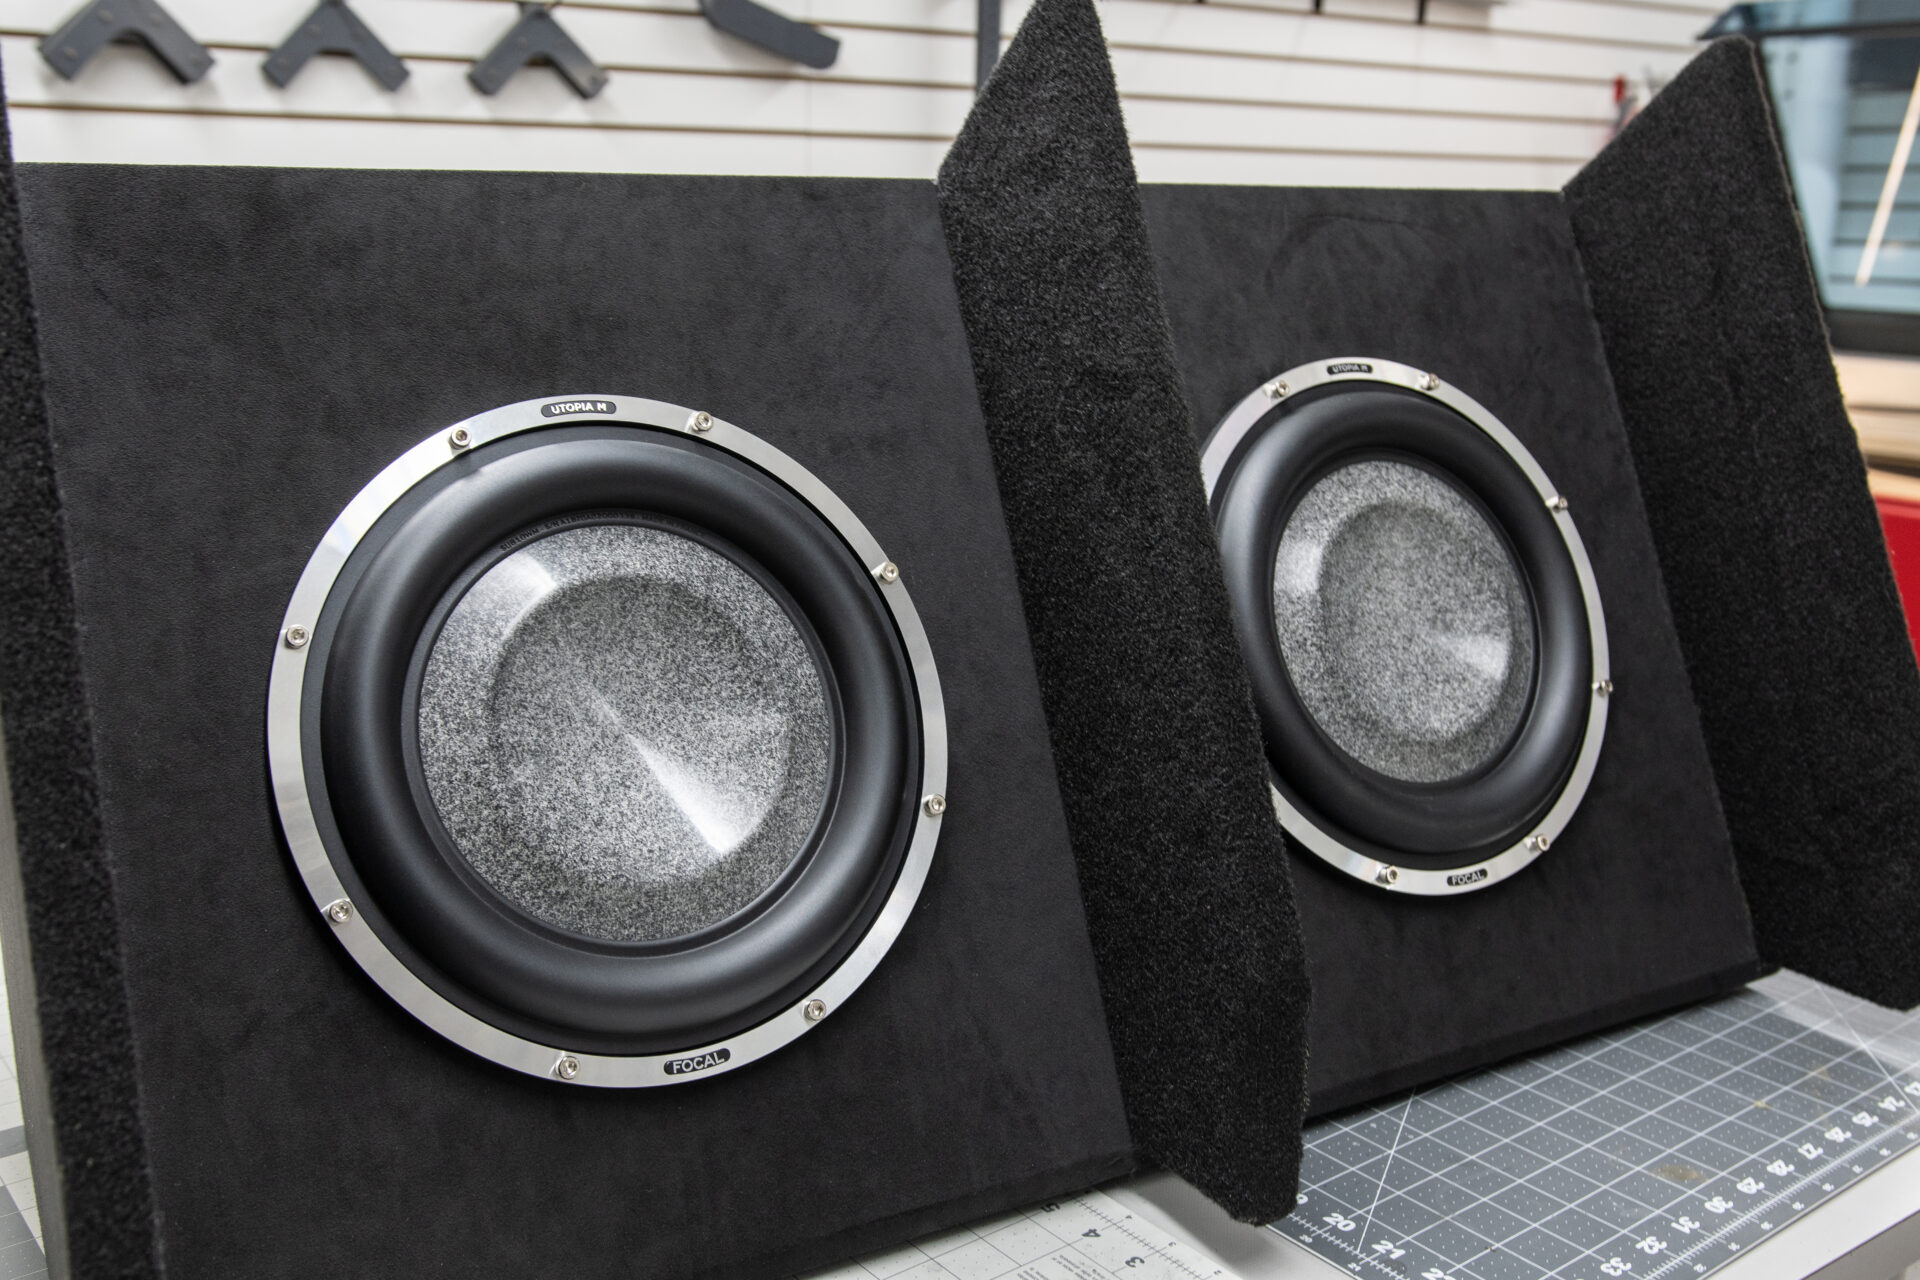
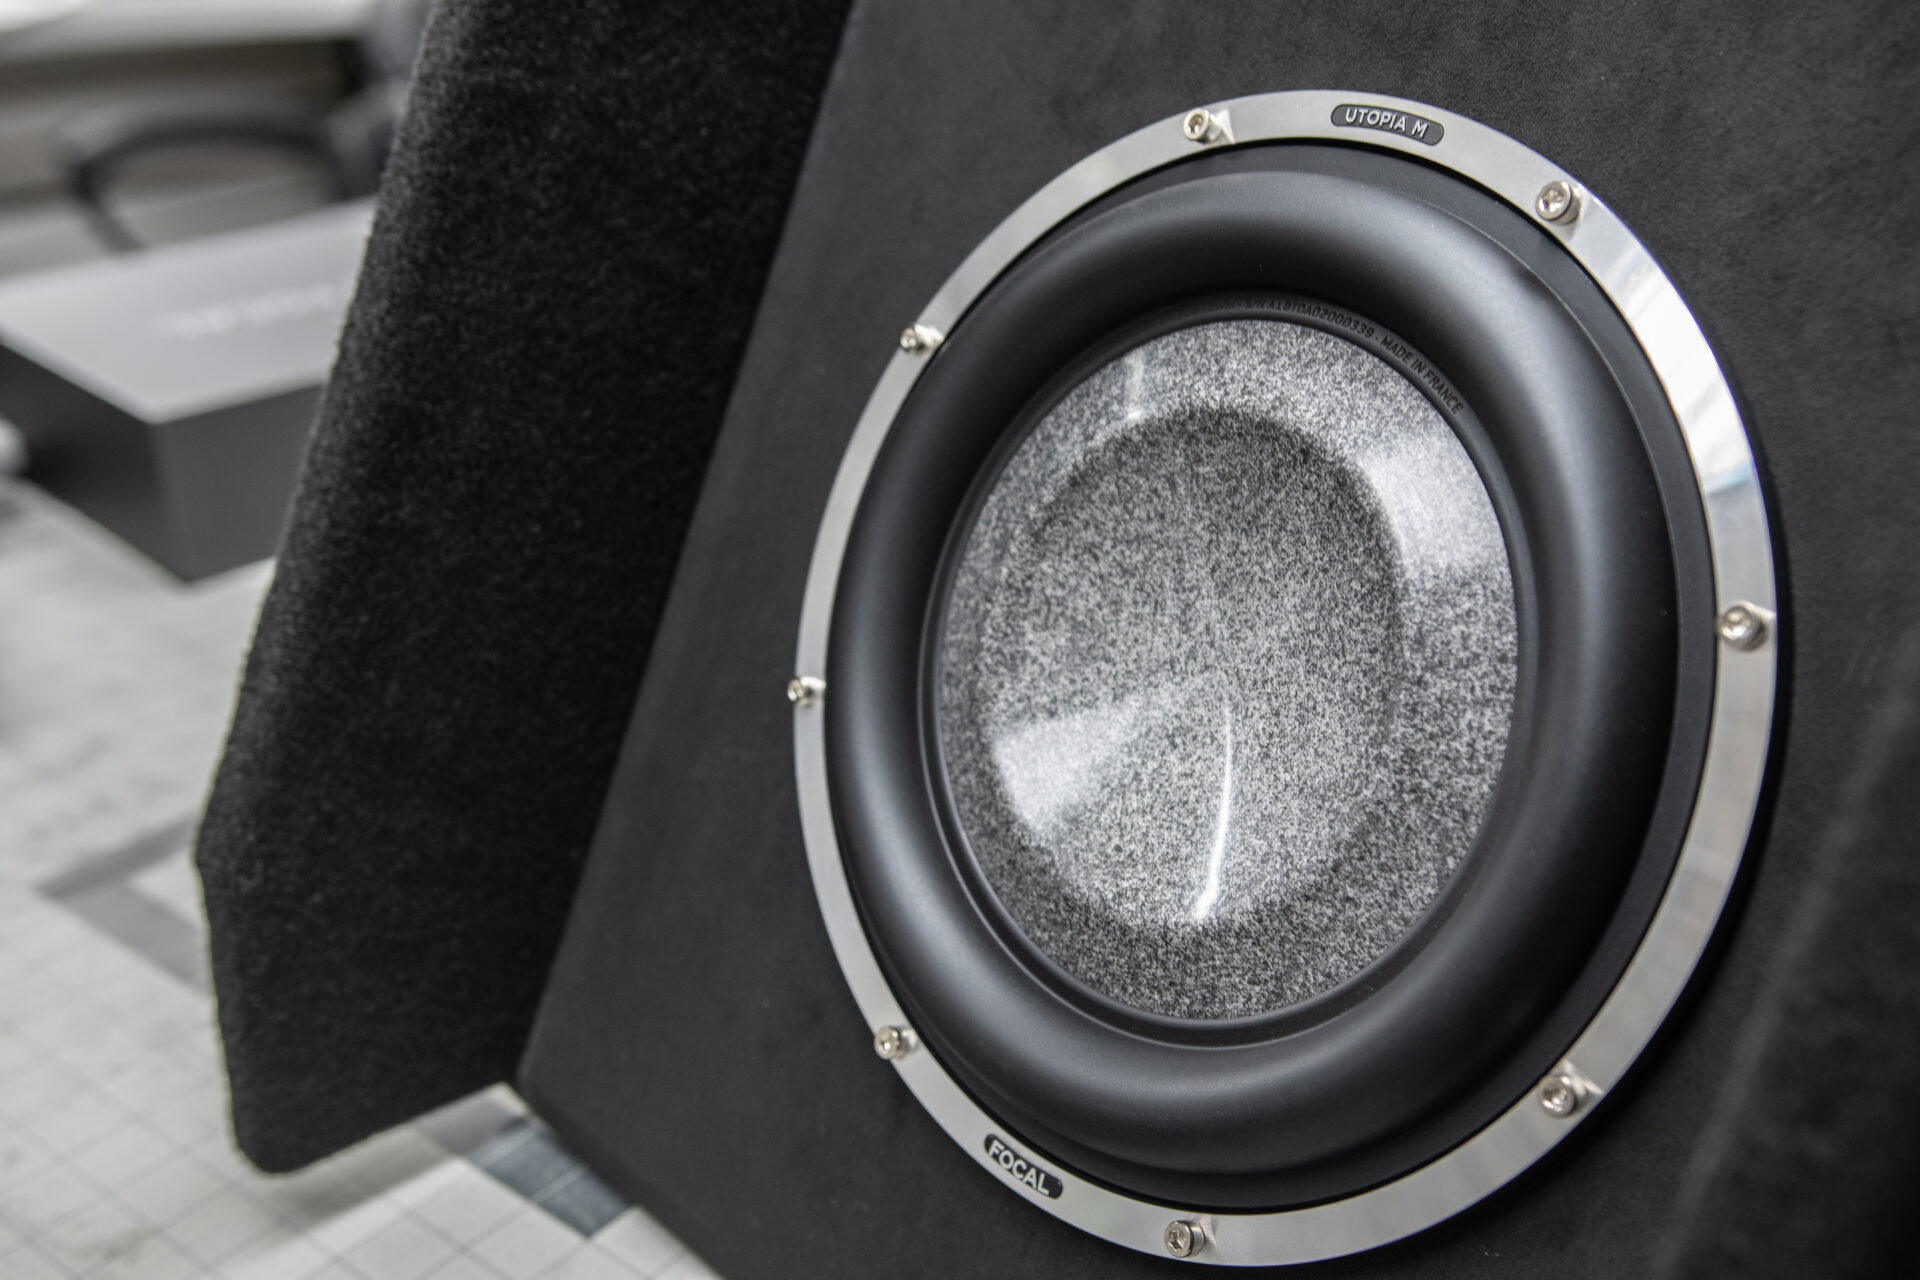
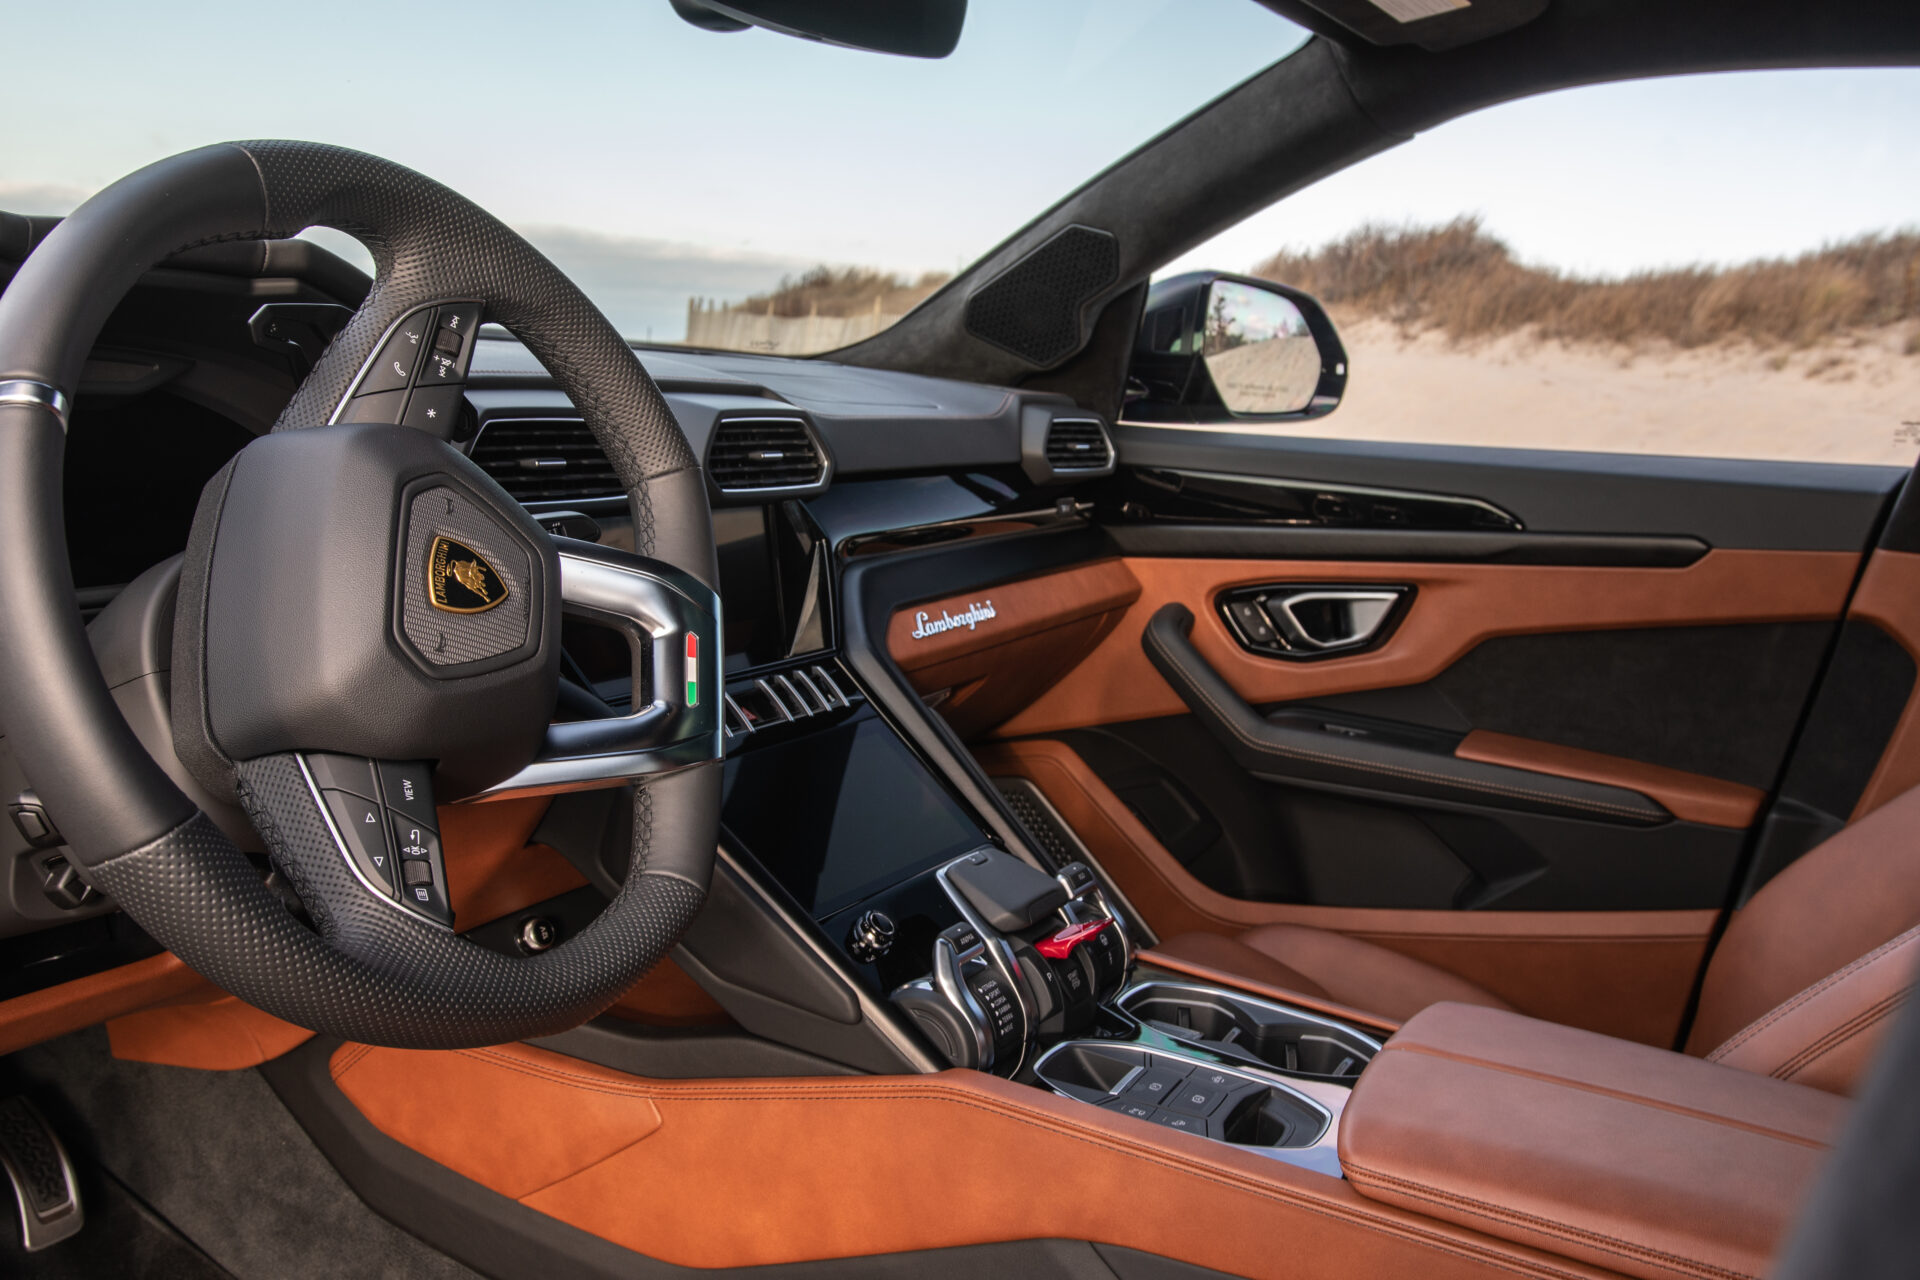
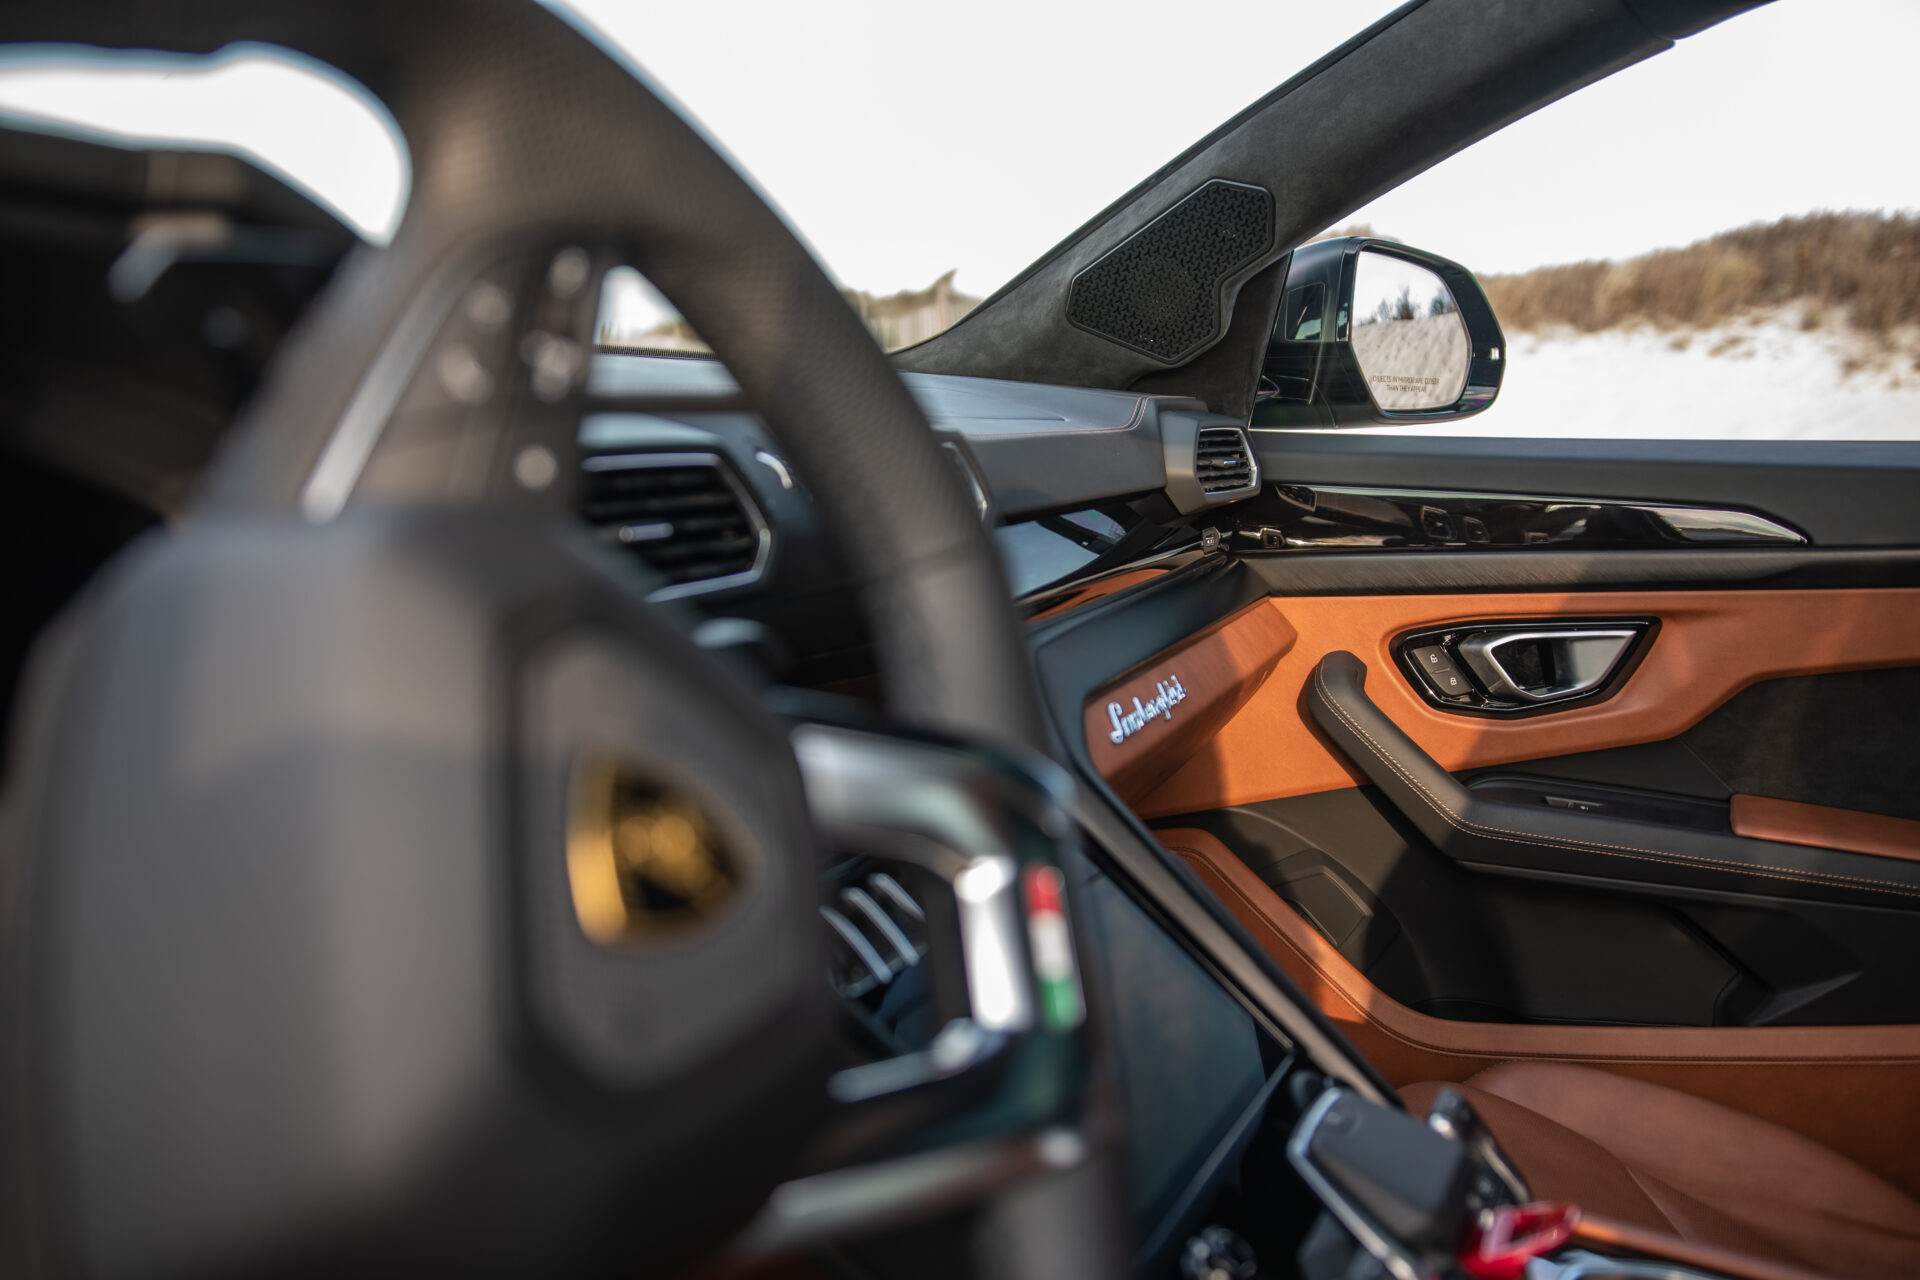
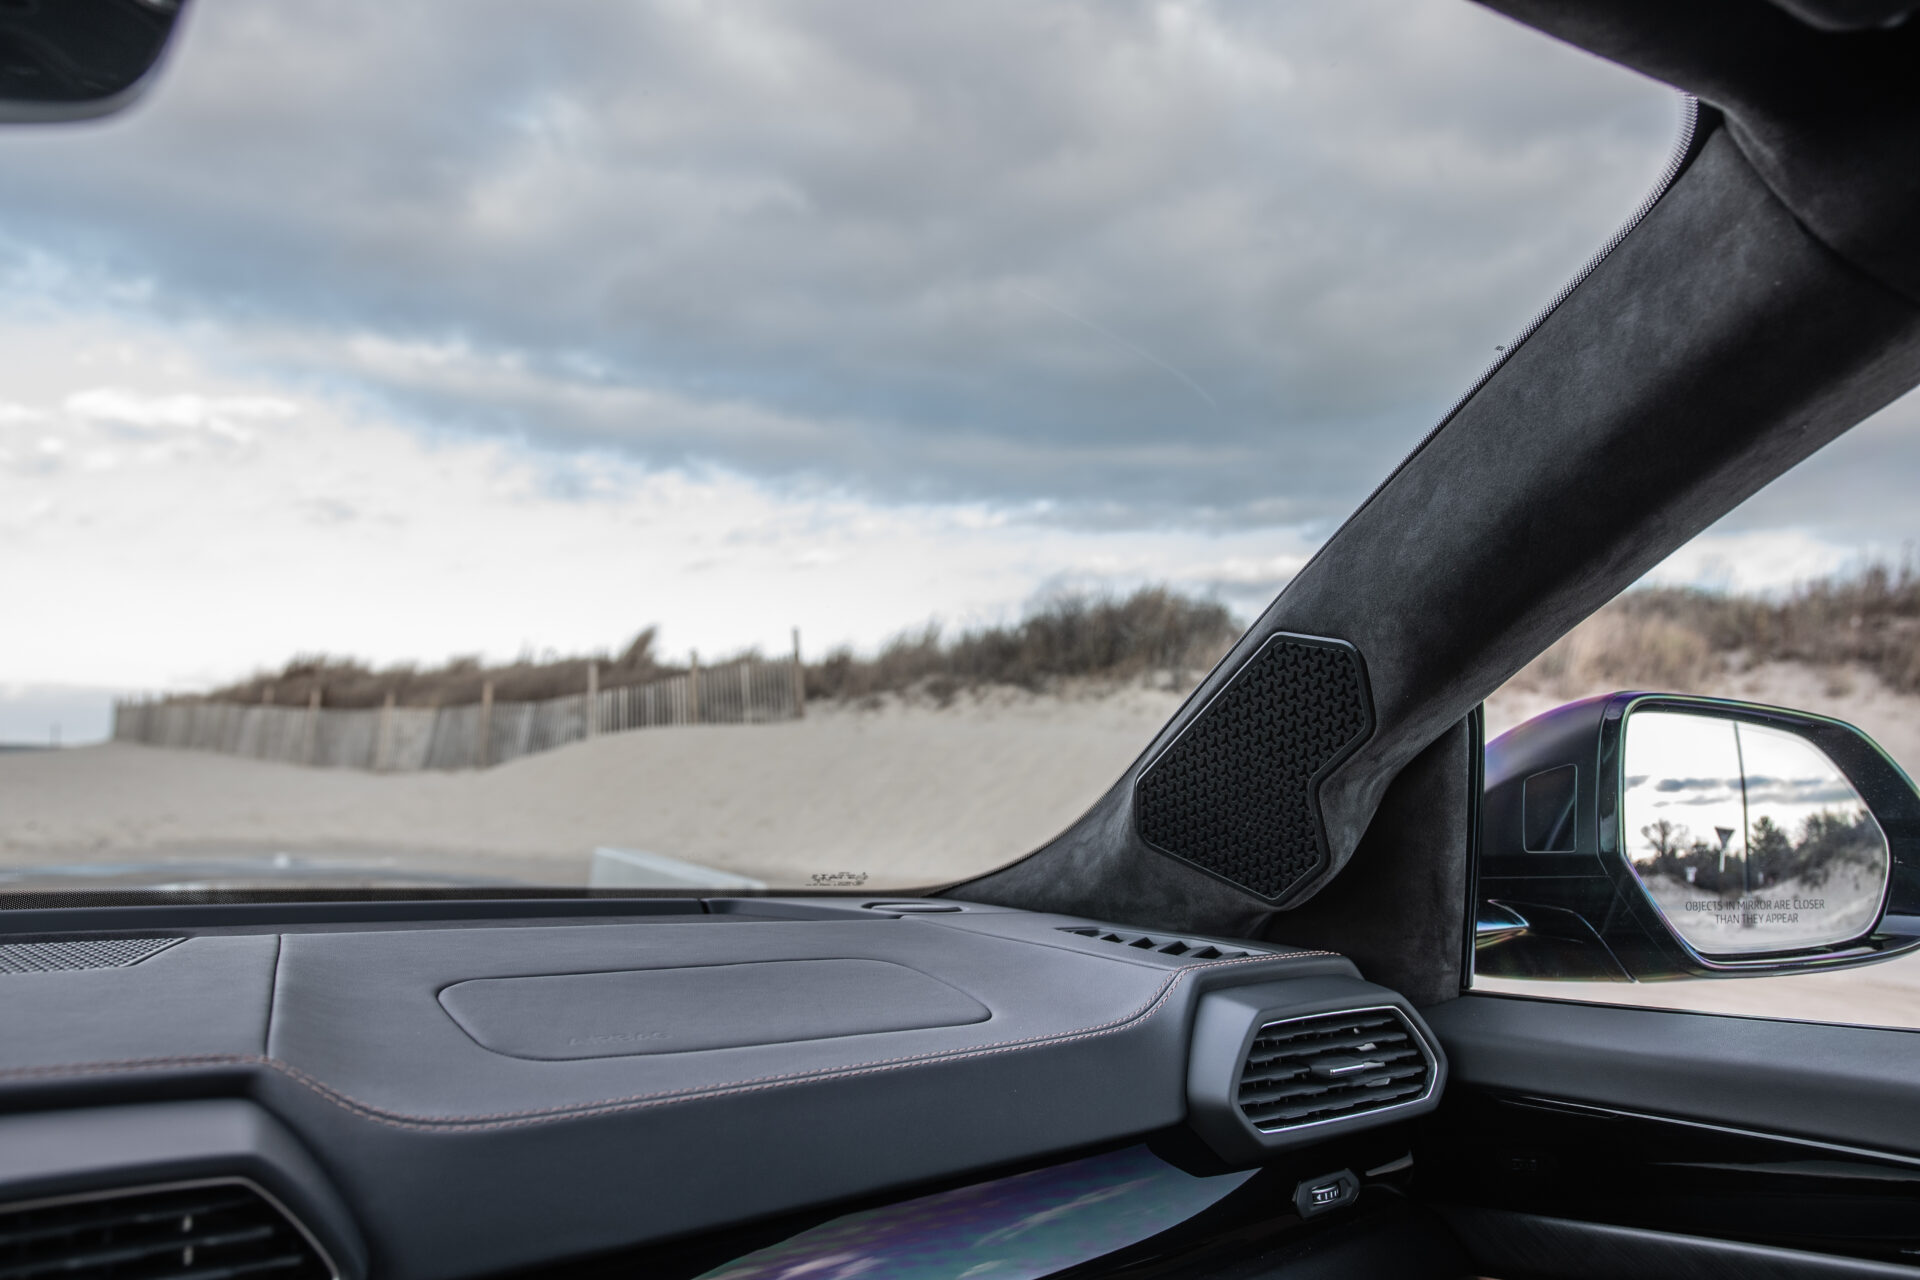
The front stage consists of Focal TBM tweeters and 3.5 Utopia M Midrange that reside in custom A-Pillars. We rewrapped the pillars in matching Alcantara suede and created a grille to match the OEM door grilles. We installed a 6″ Utopia M Midbass driver in the factory door location. The doors were fully sound treated with a combination of Hushmat and Soundshield. The front midrange and tweeter are powered by a Mosconi 4/30 class A amplifier. The front midbass is powered by a Mosconi Pro 2/10 amplifier. The rear stage consists of a 165WXP Utopia 2 way set that is powered from a Mosconi Atamo 4 amplifier.
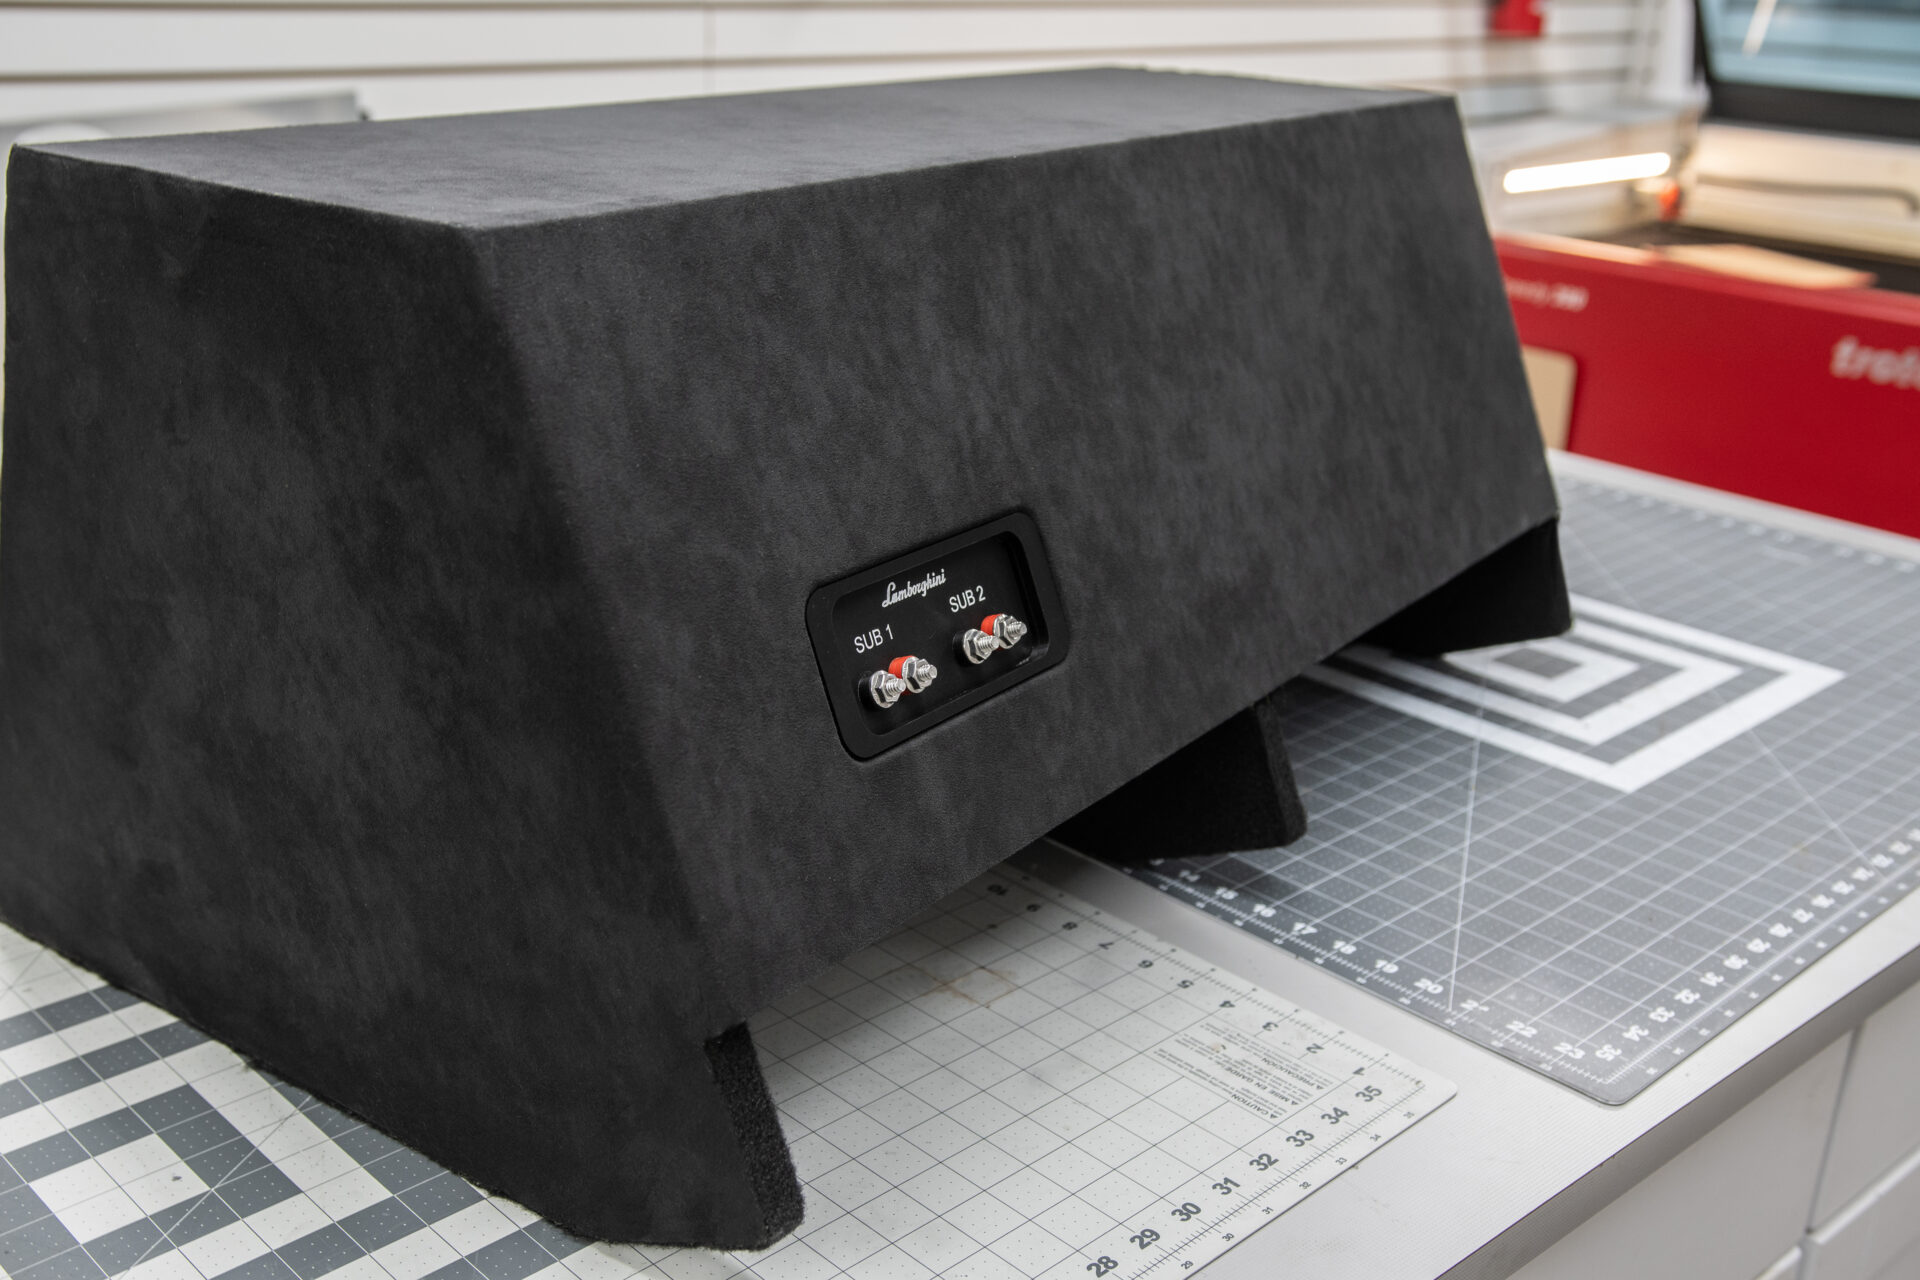
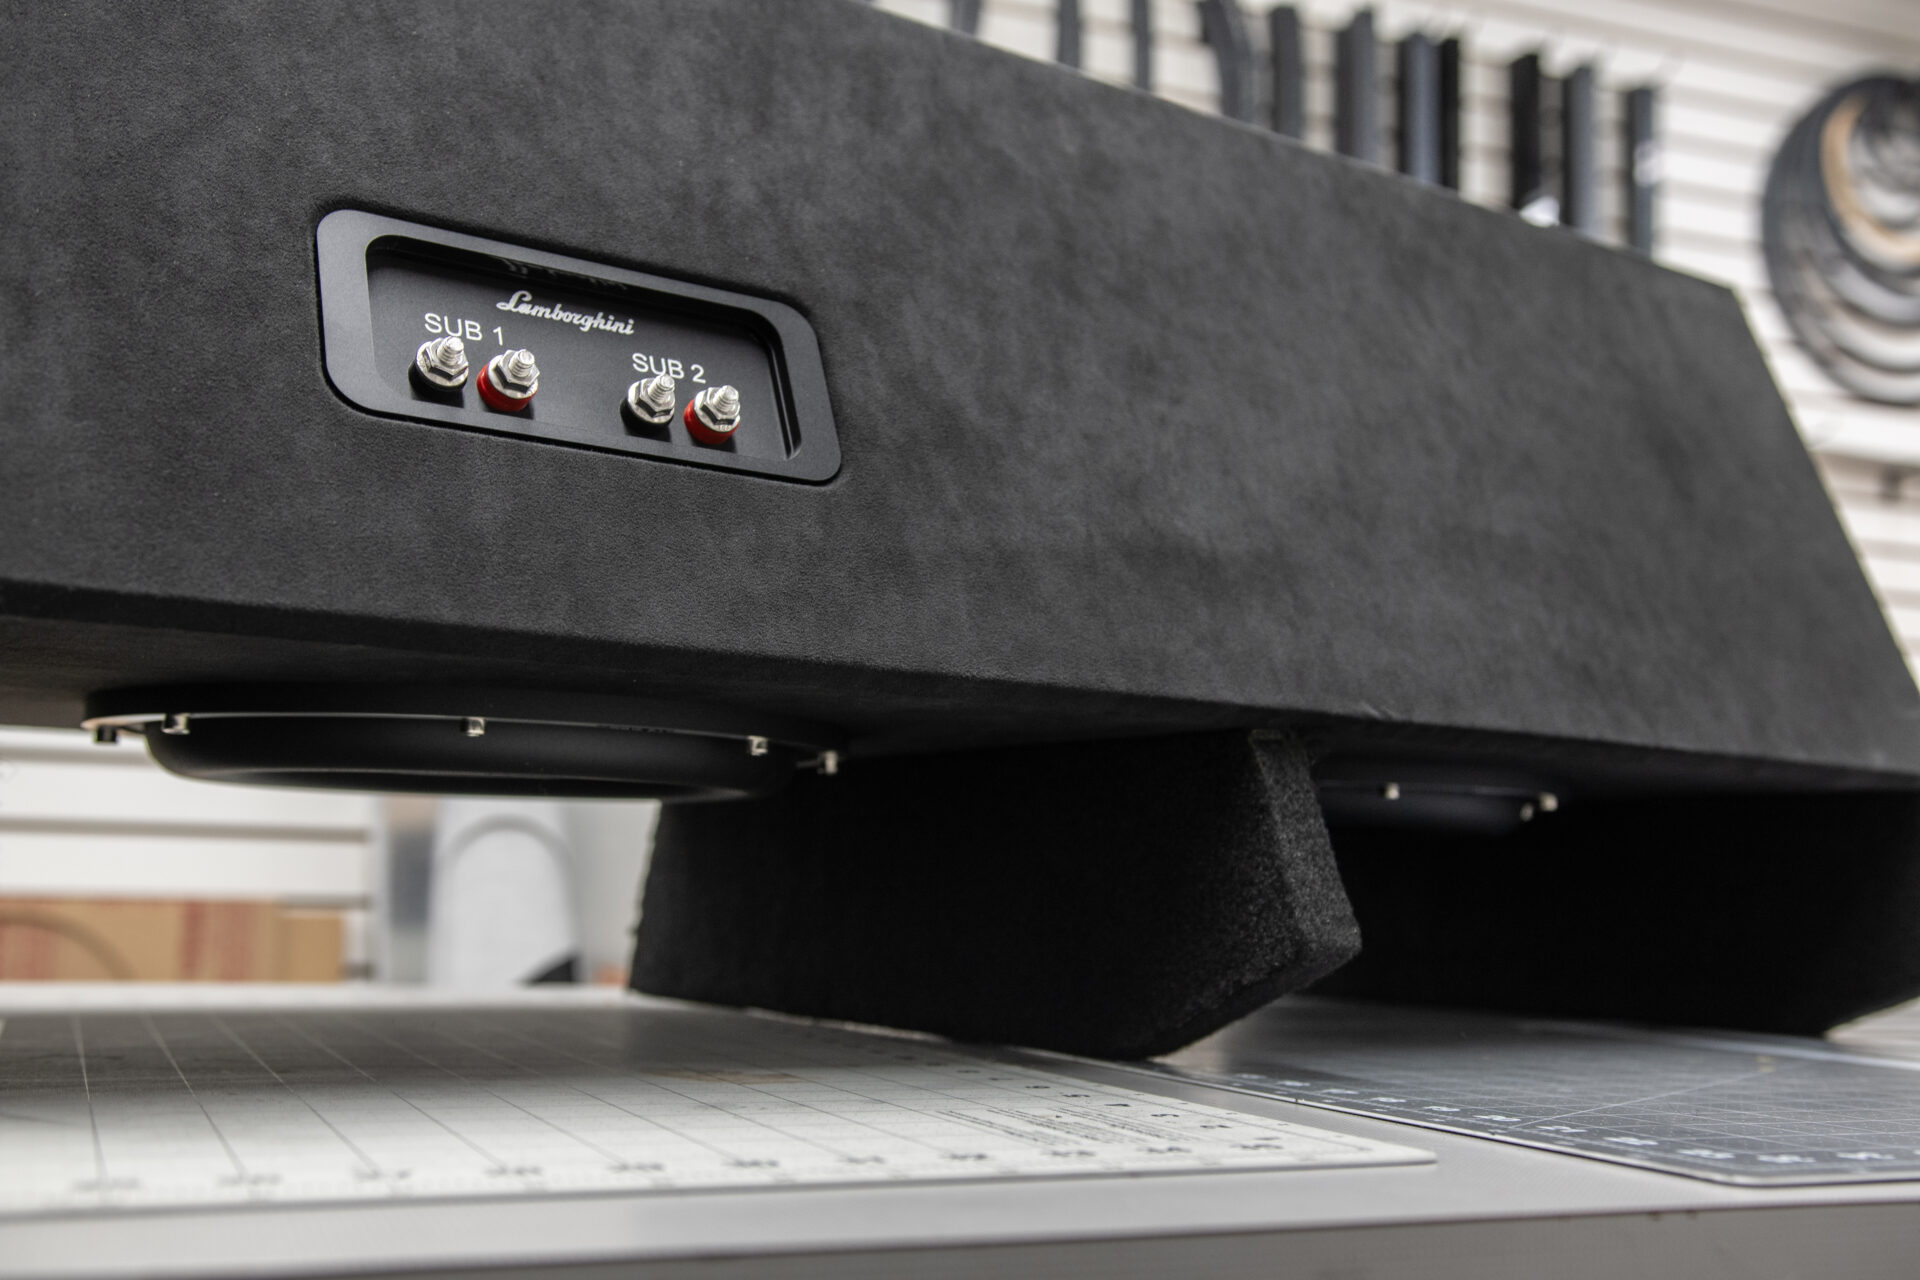
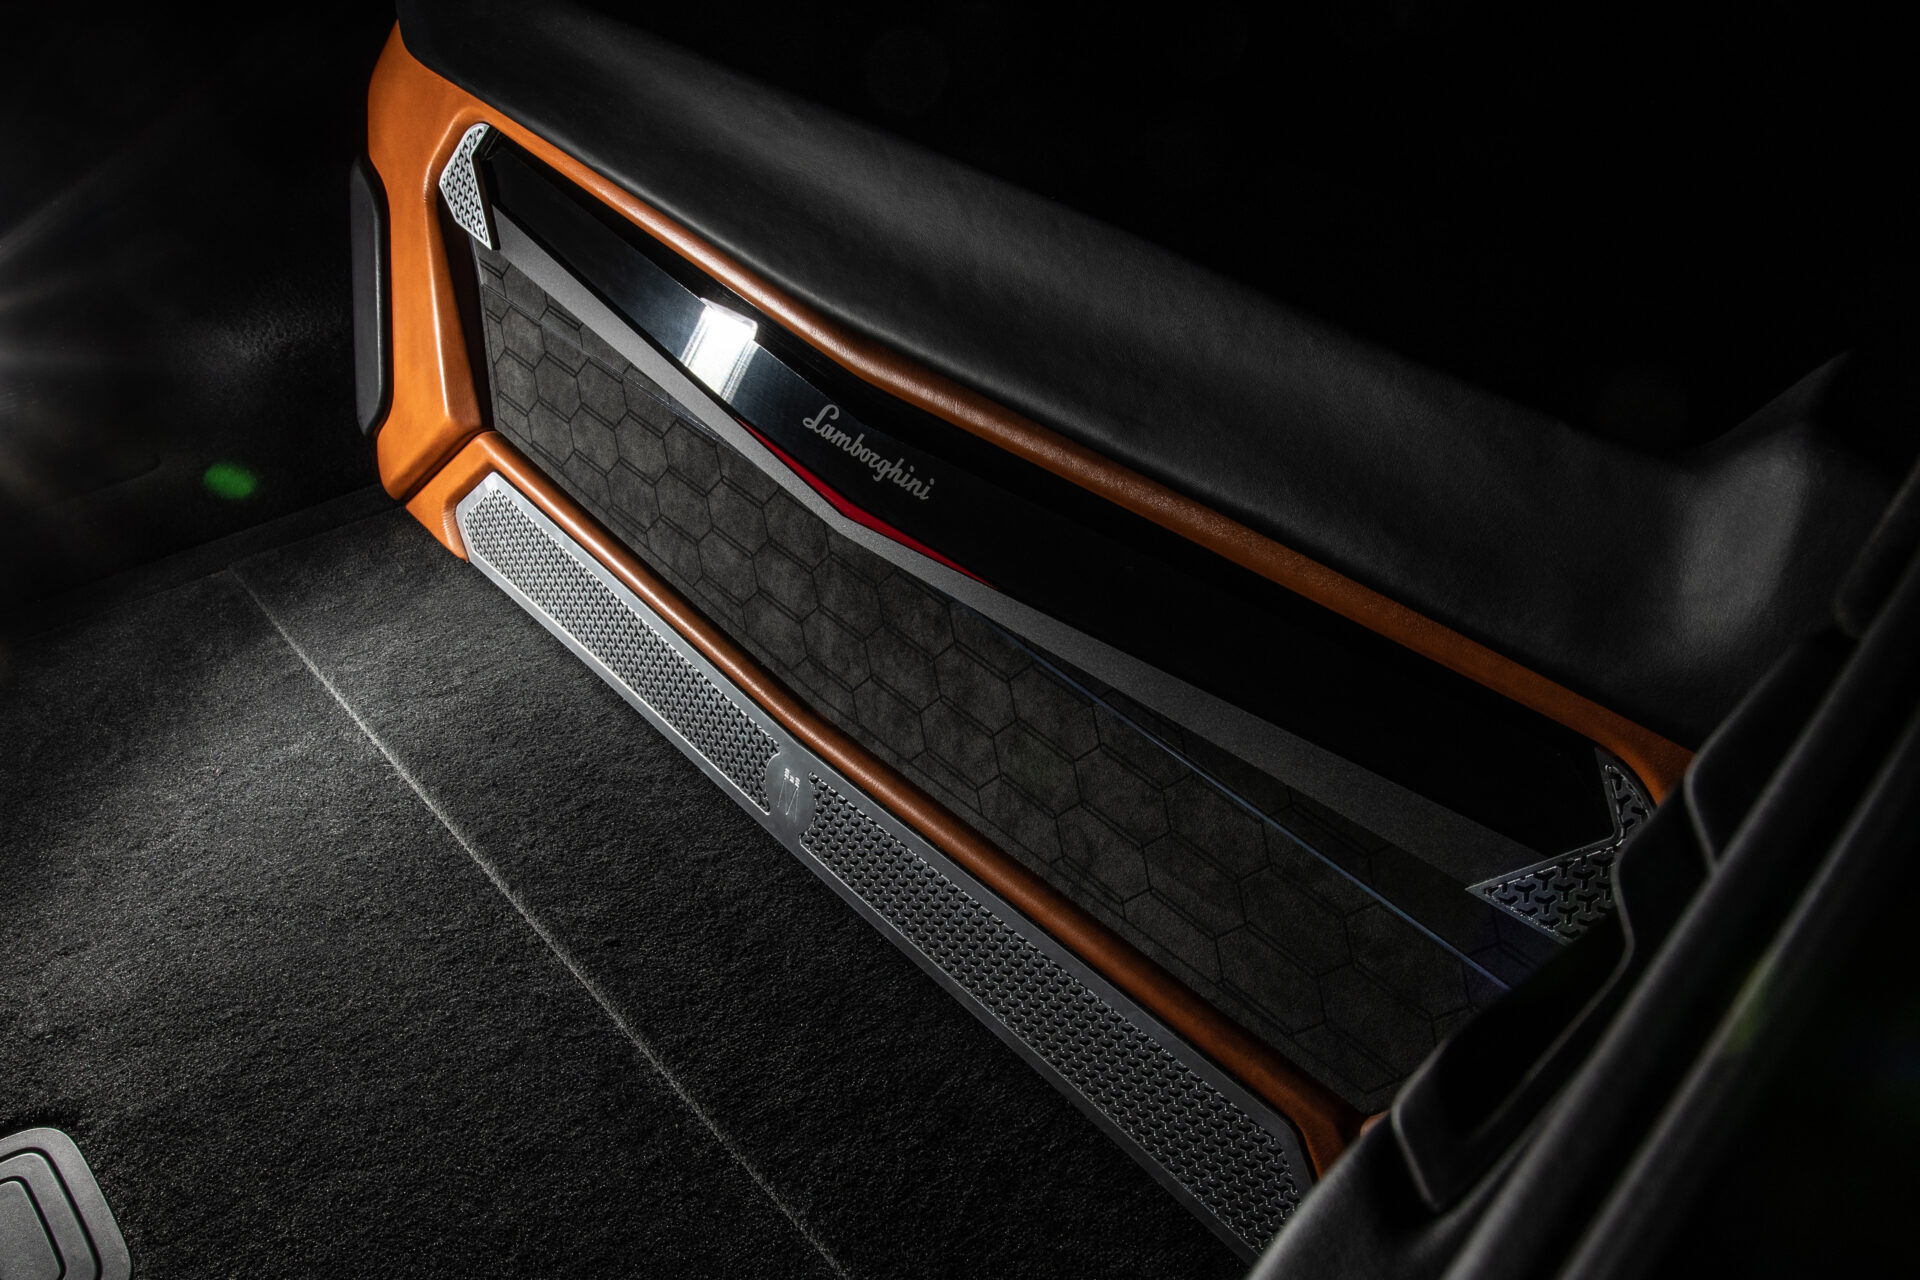
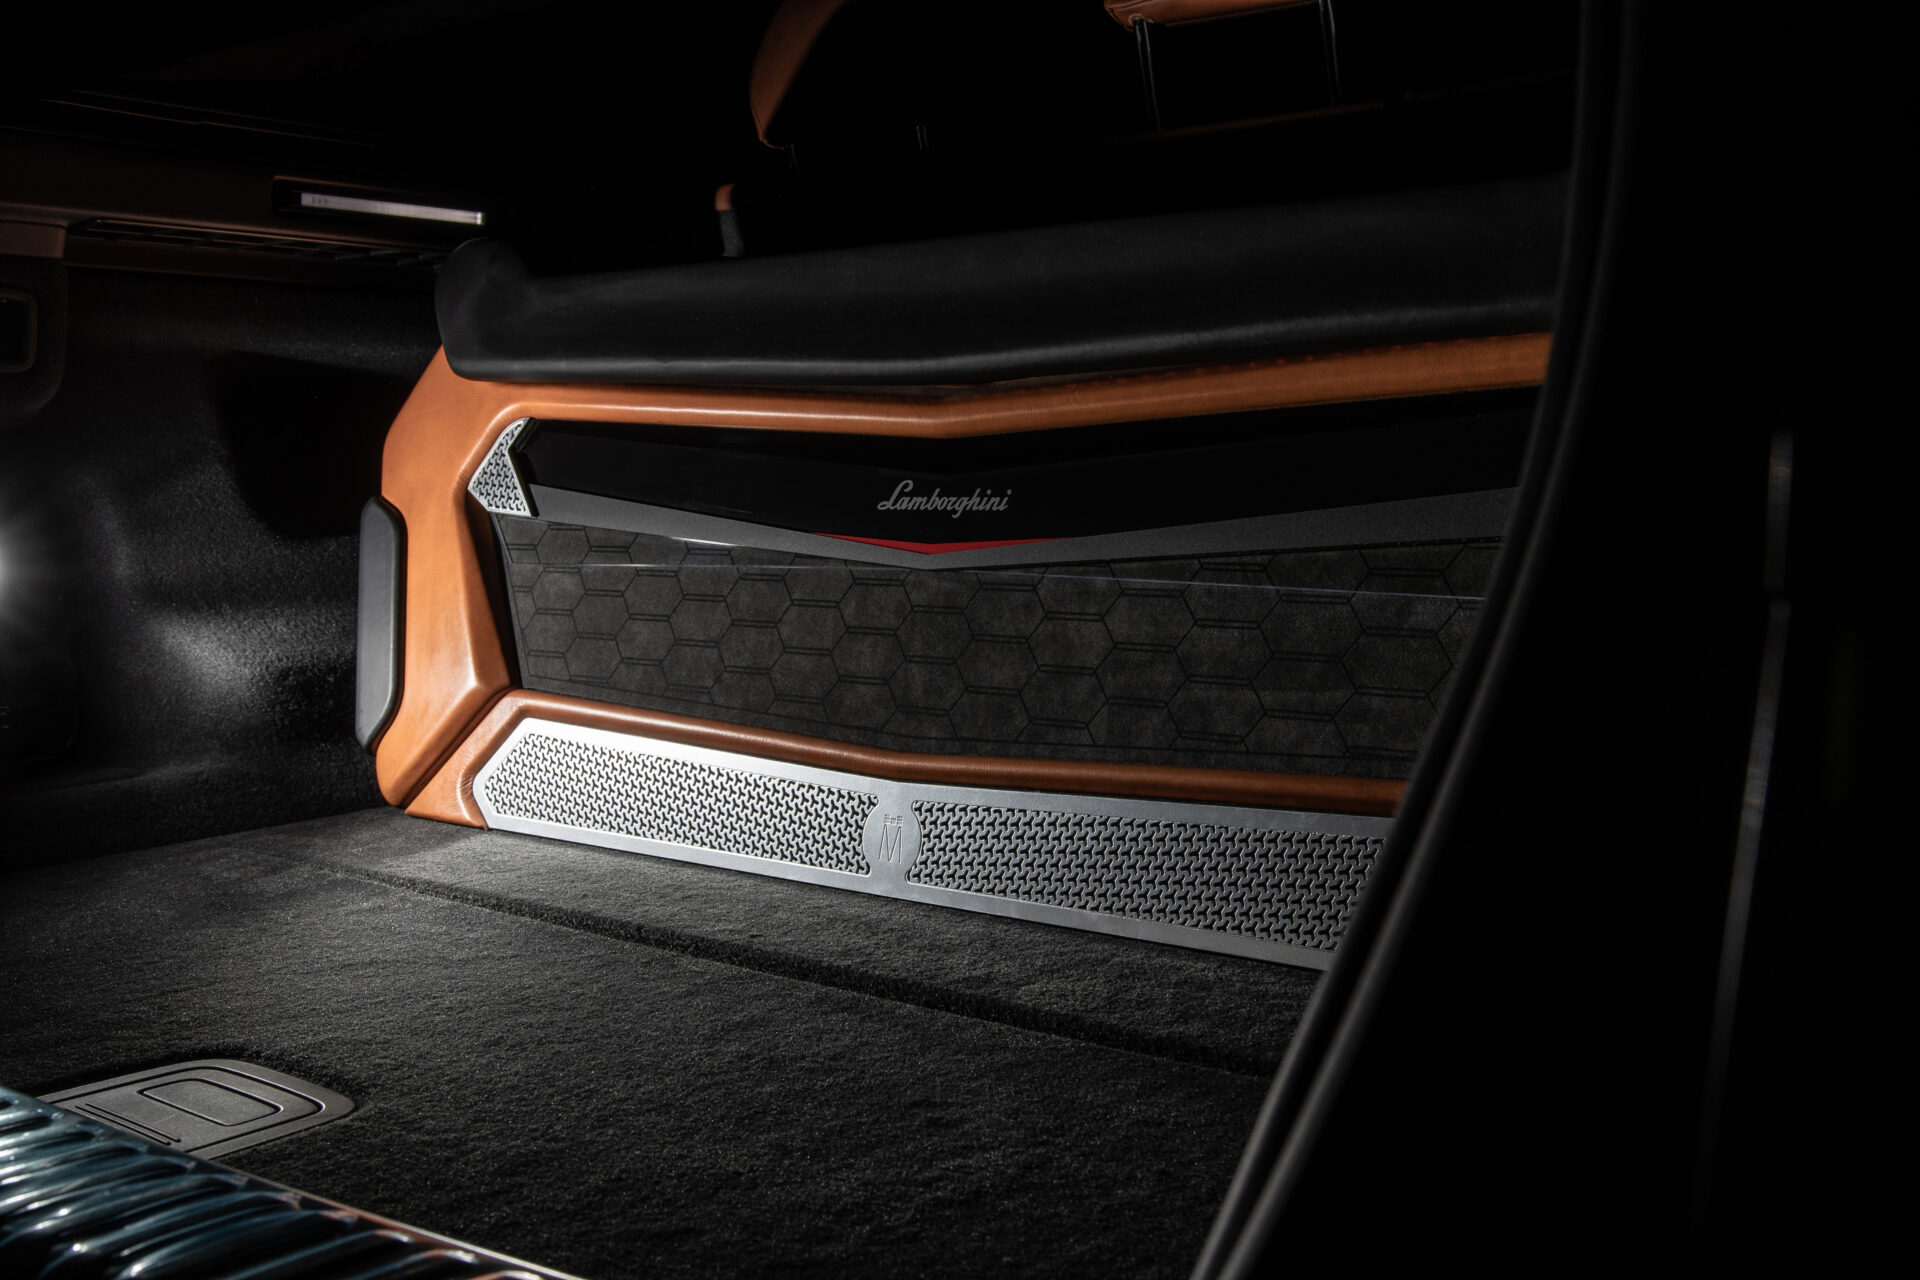
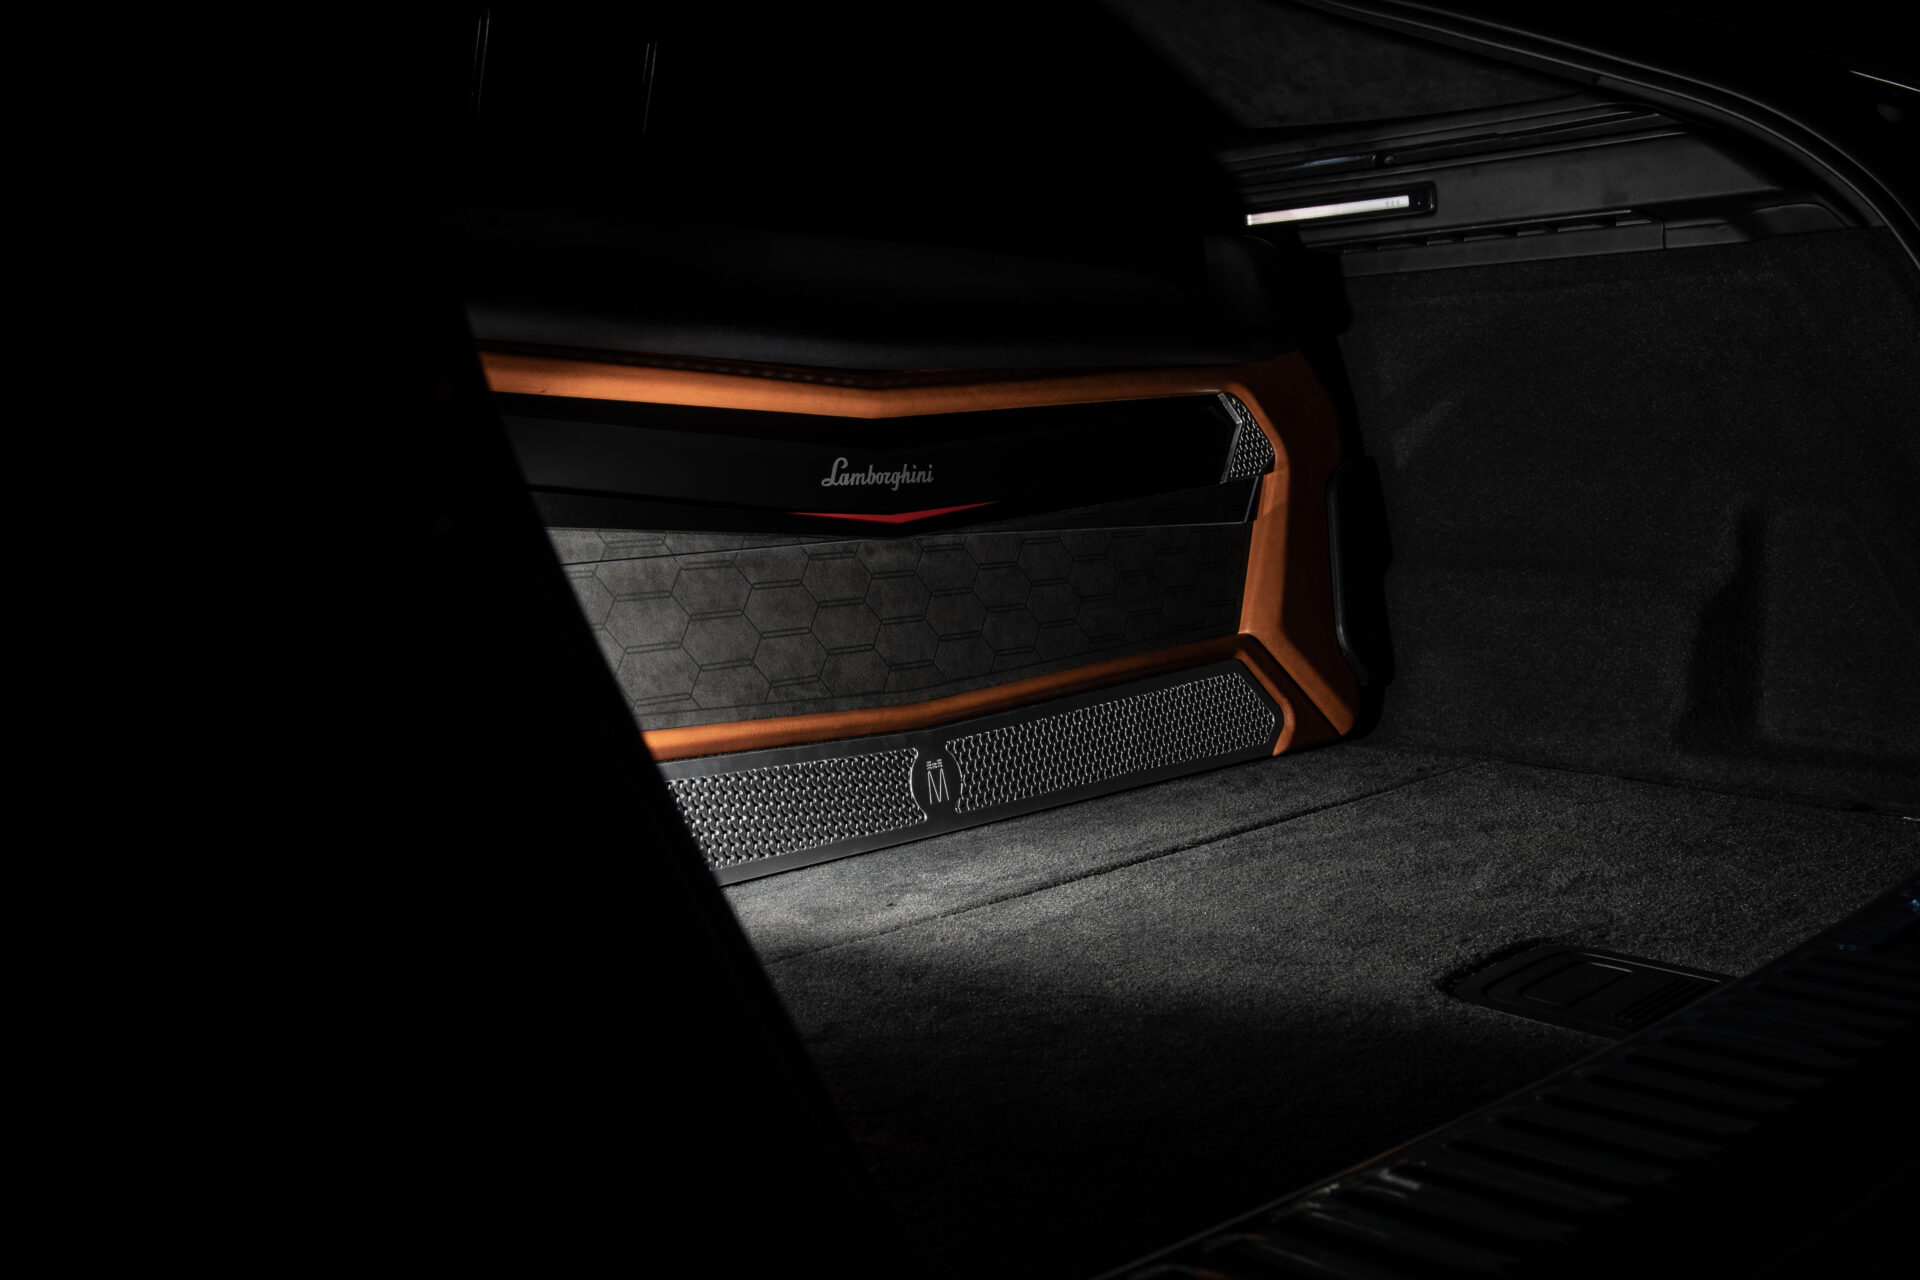
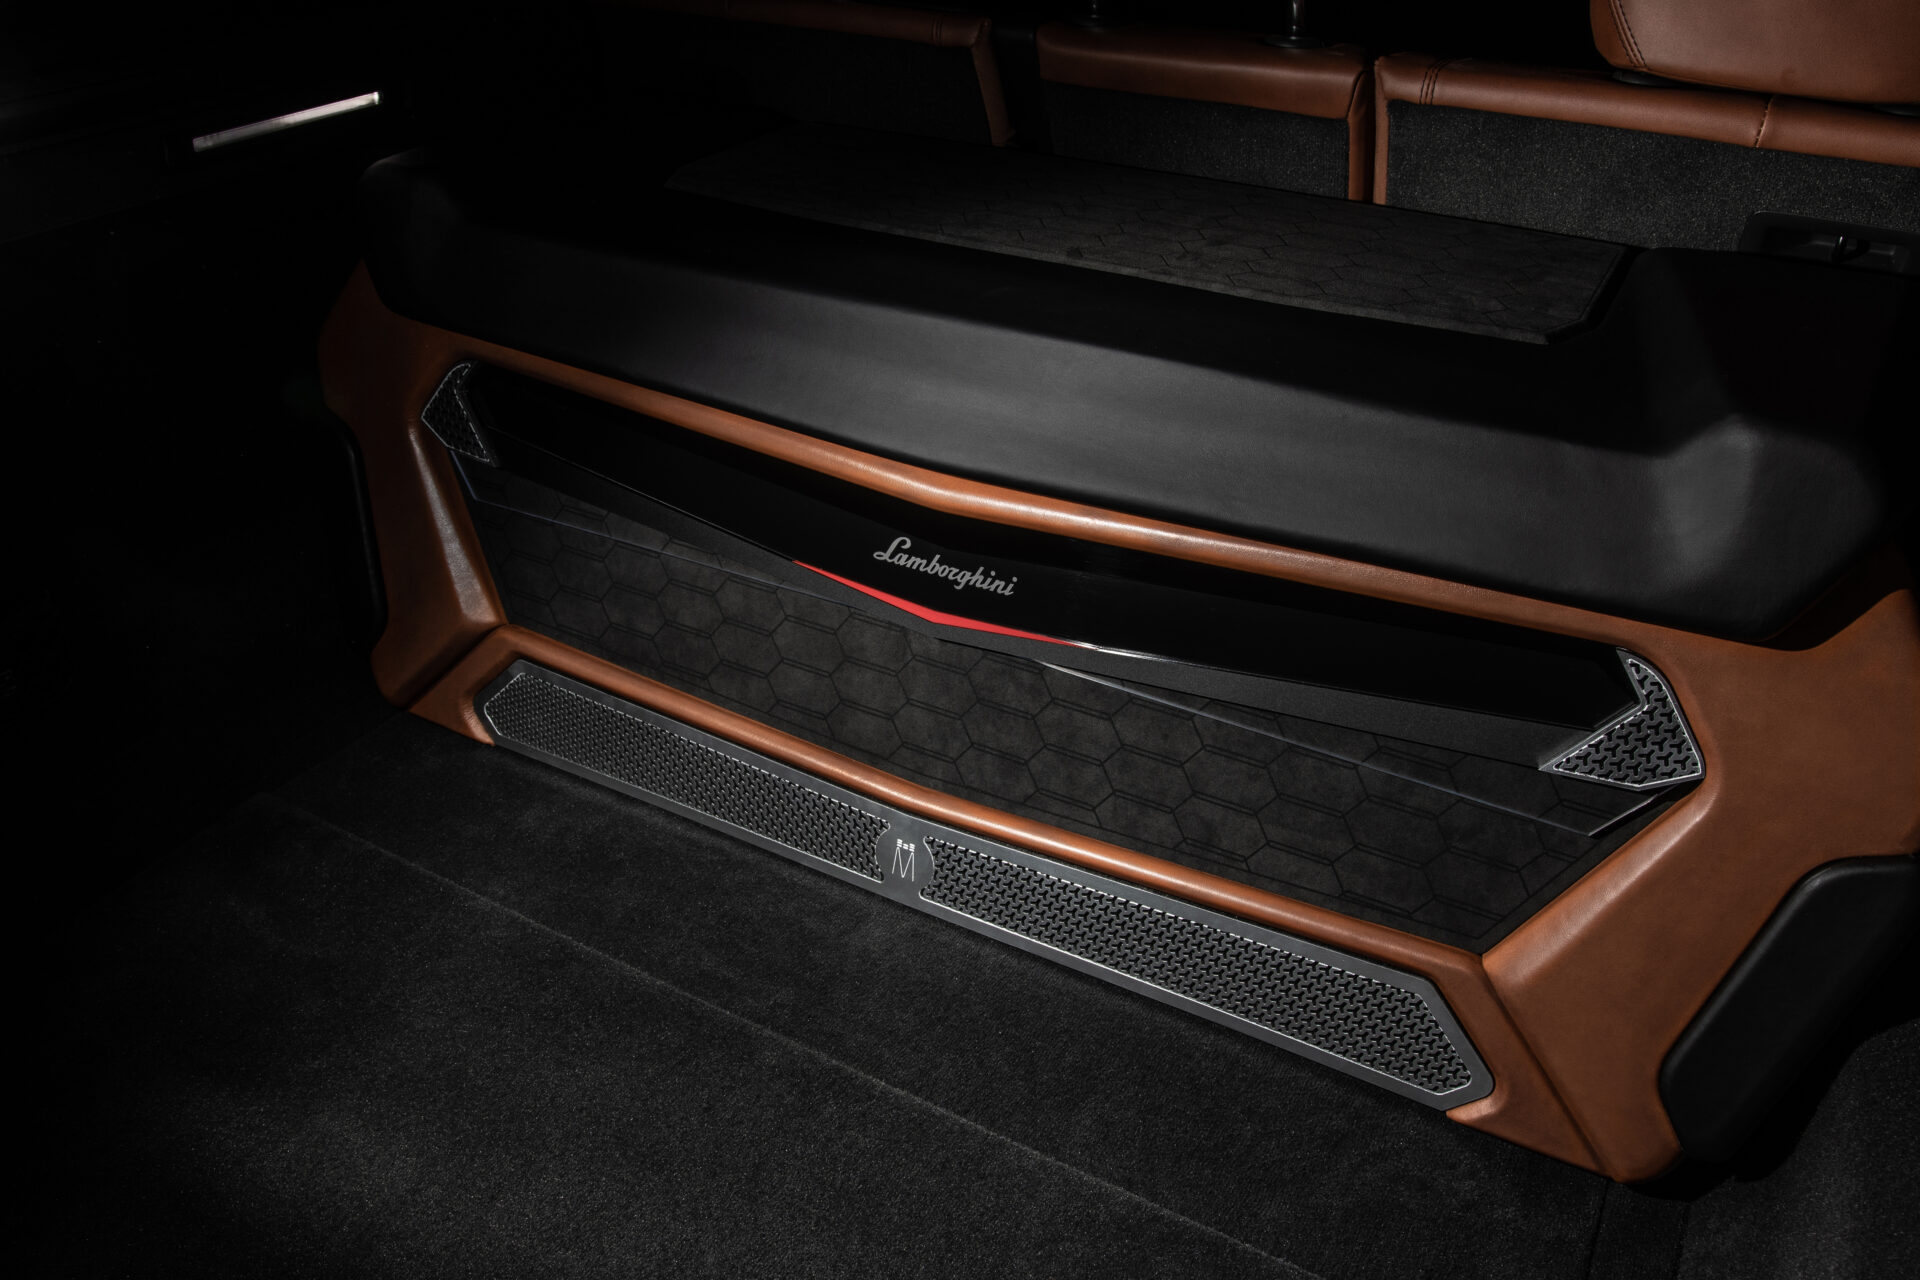
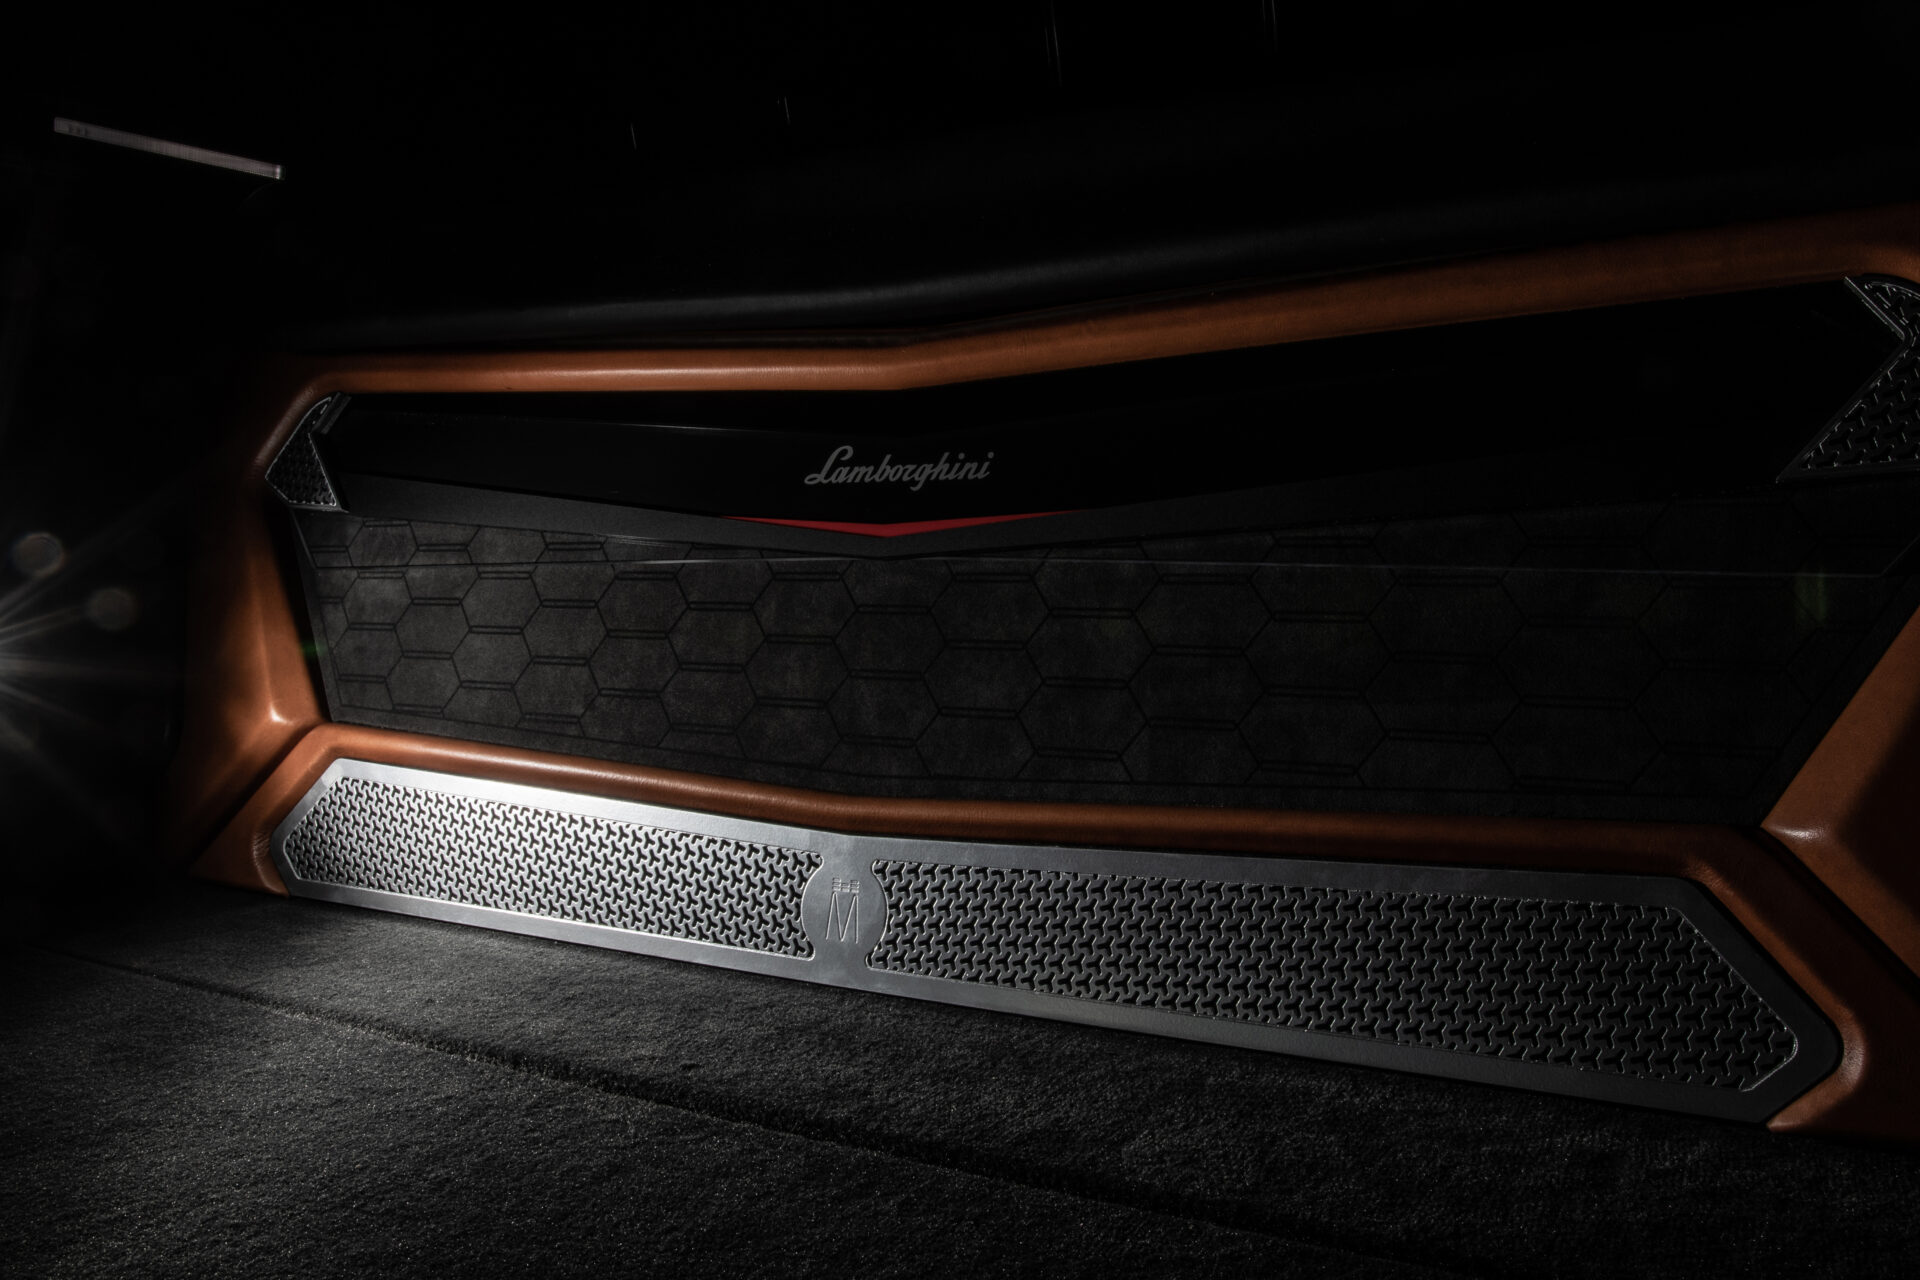
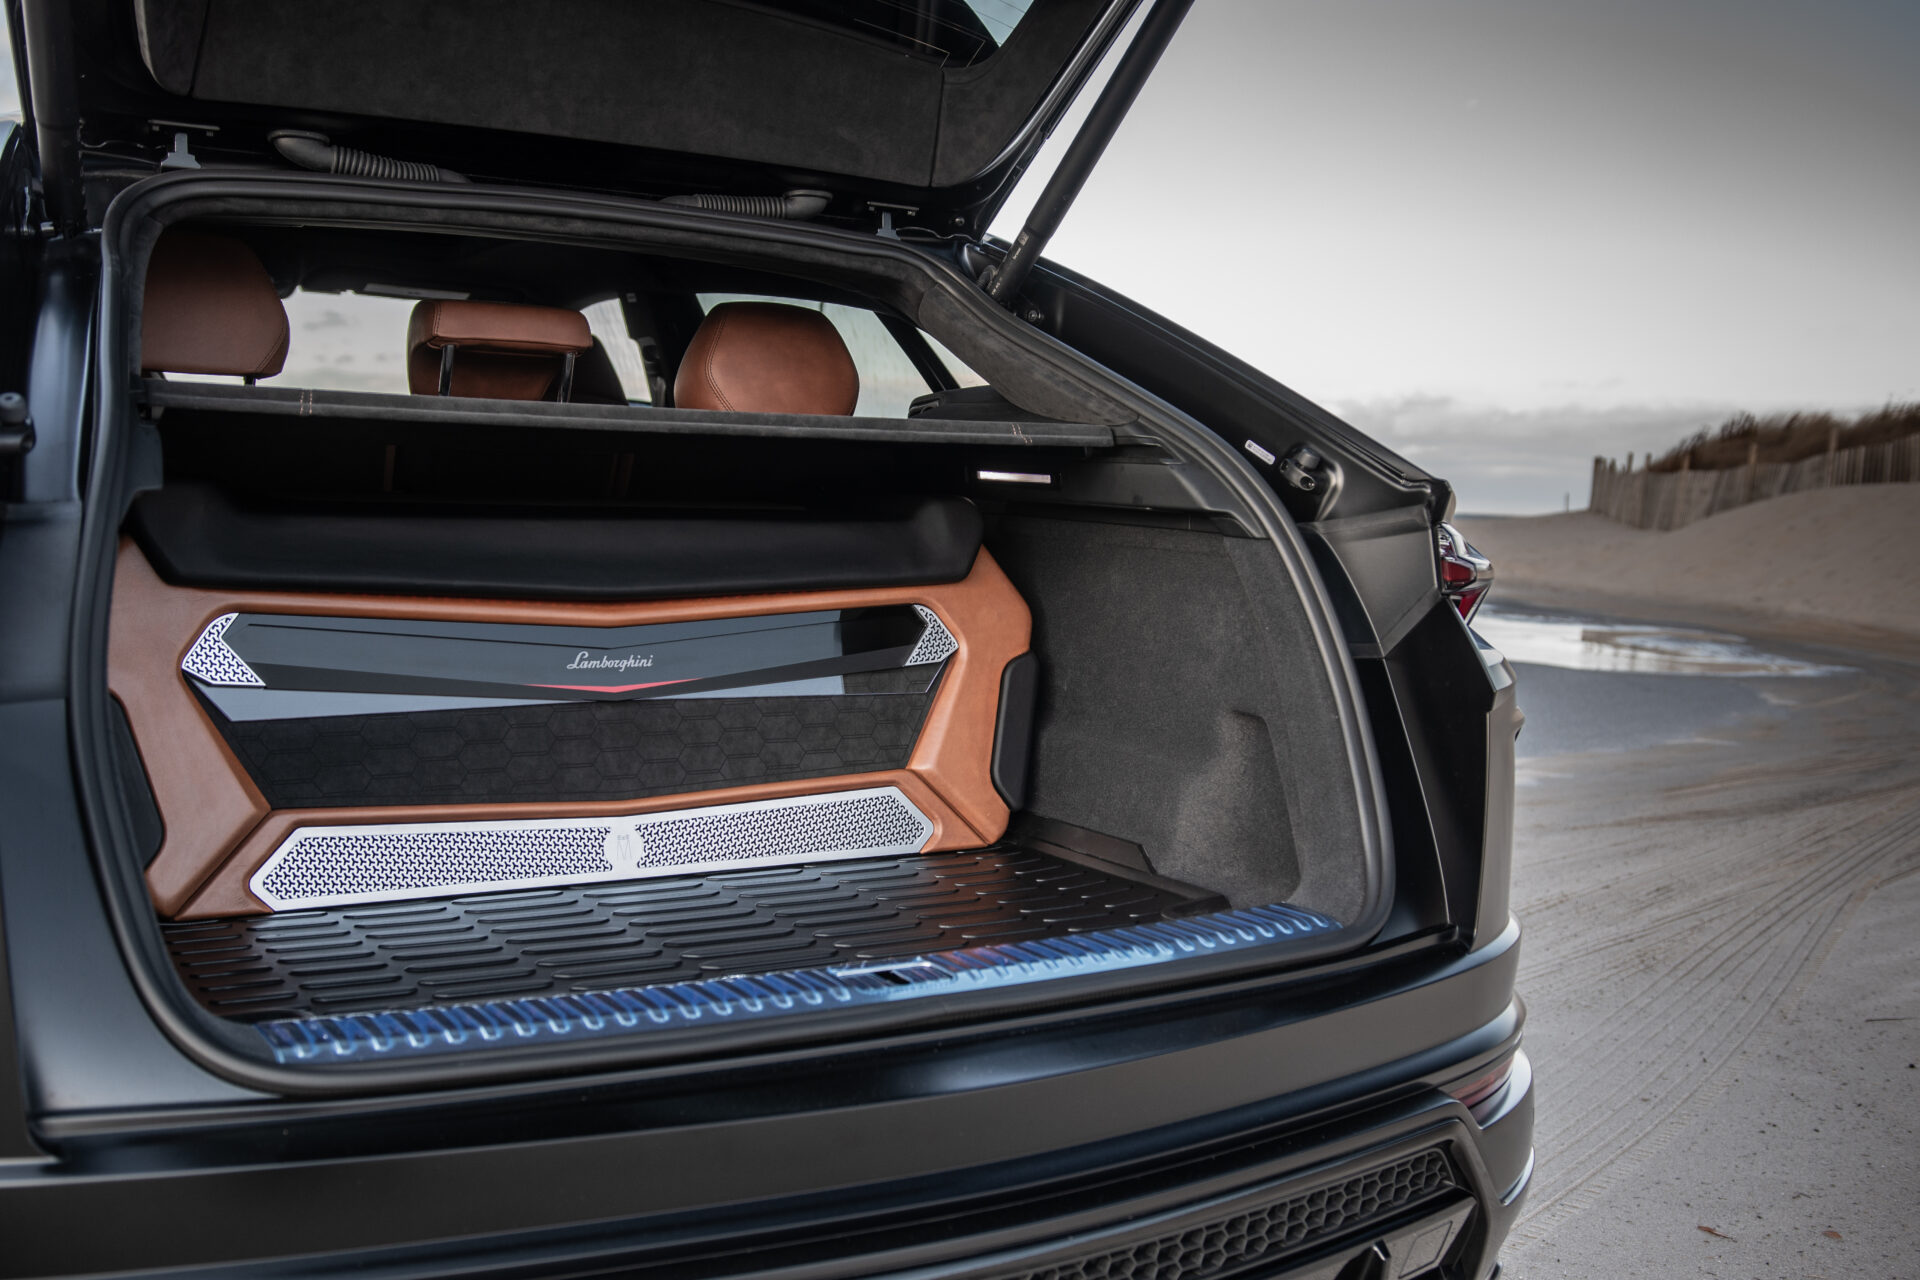
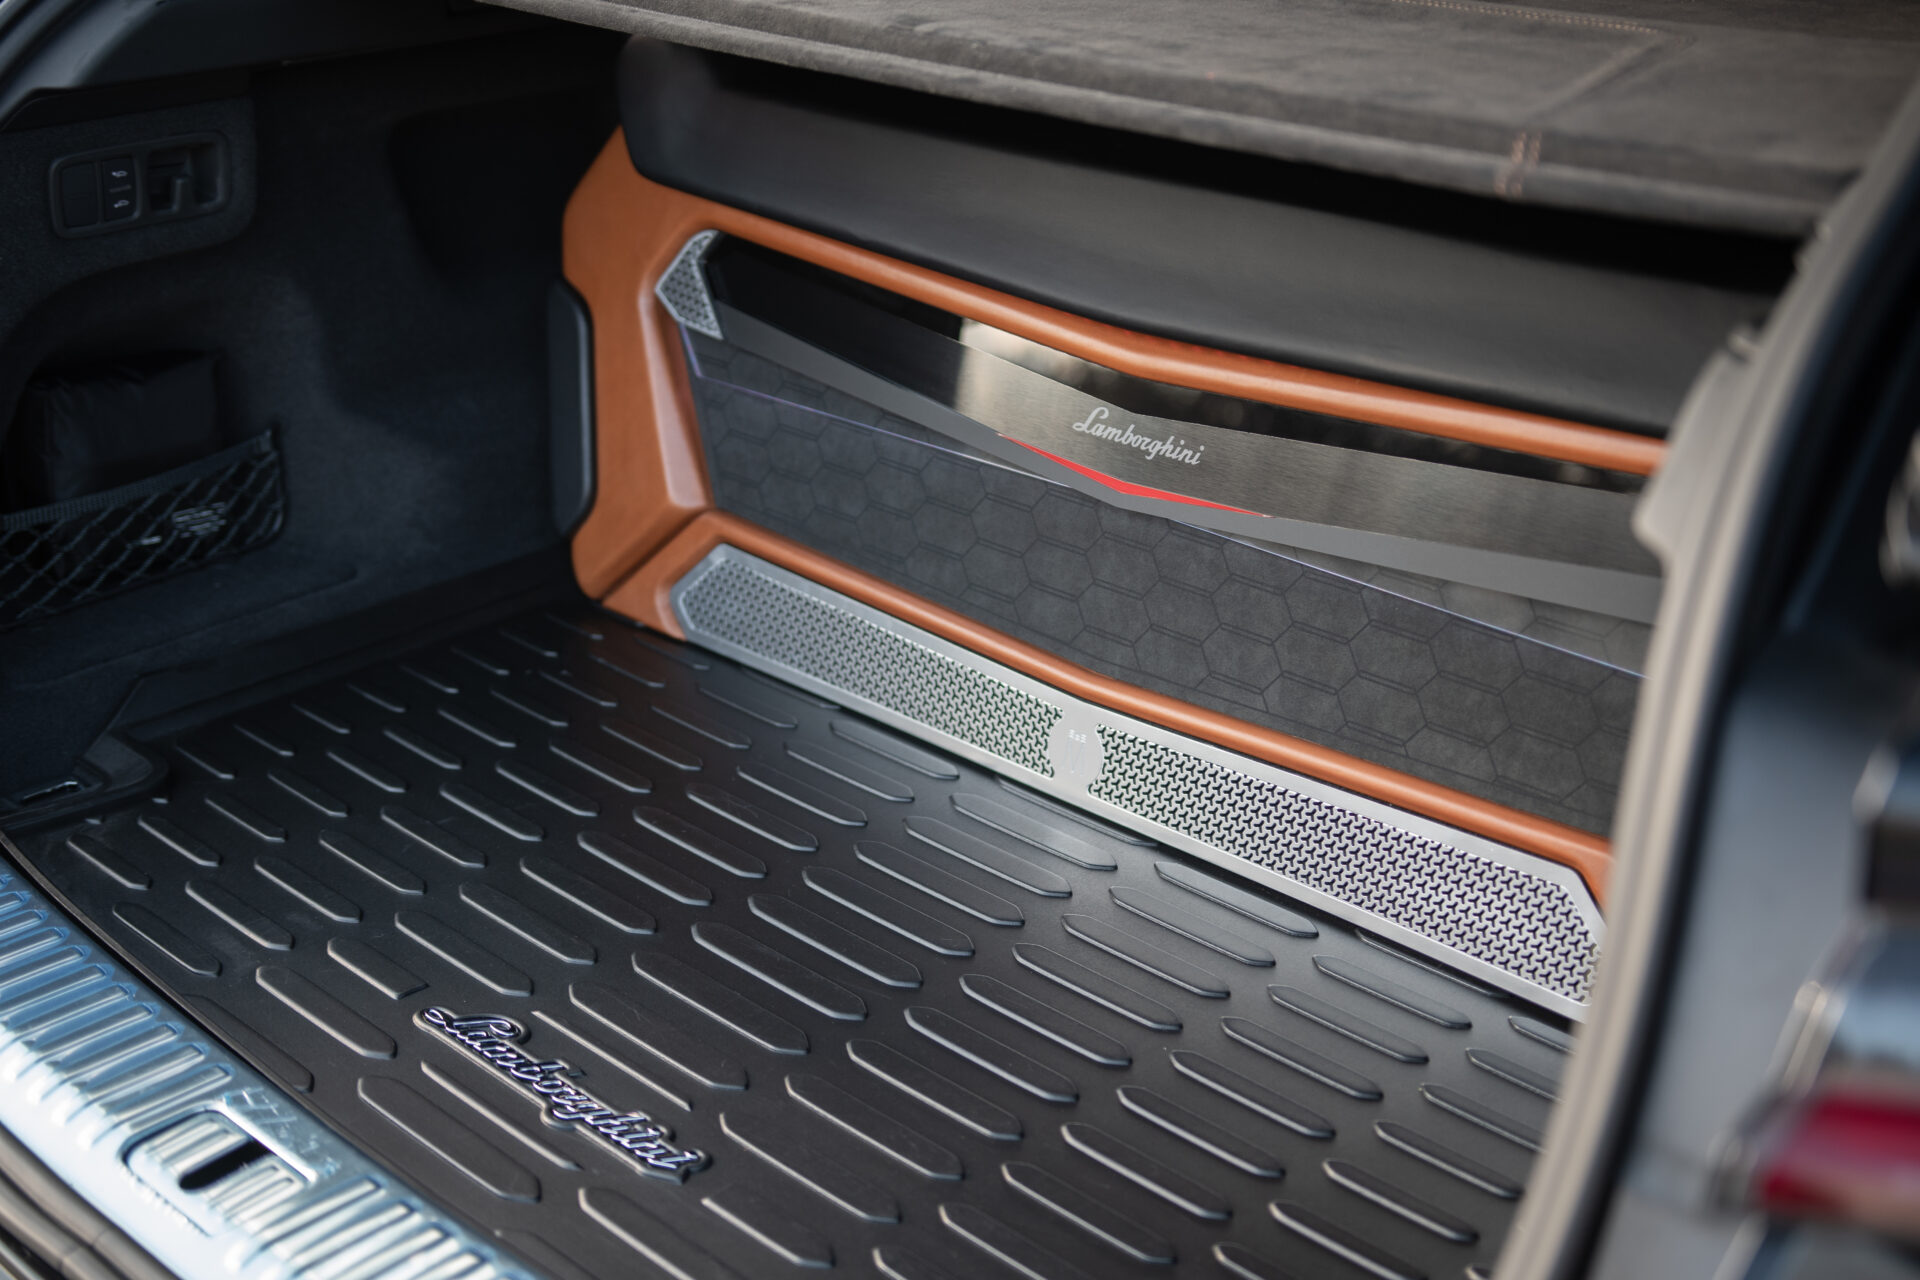
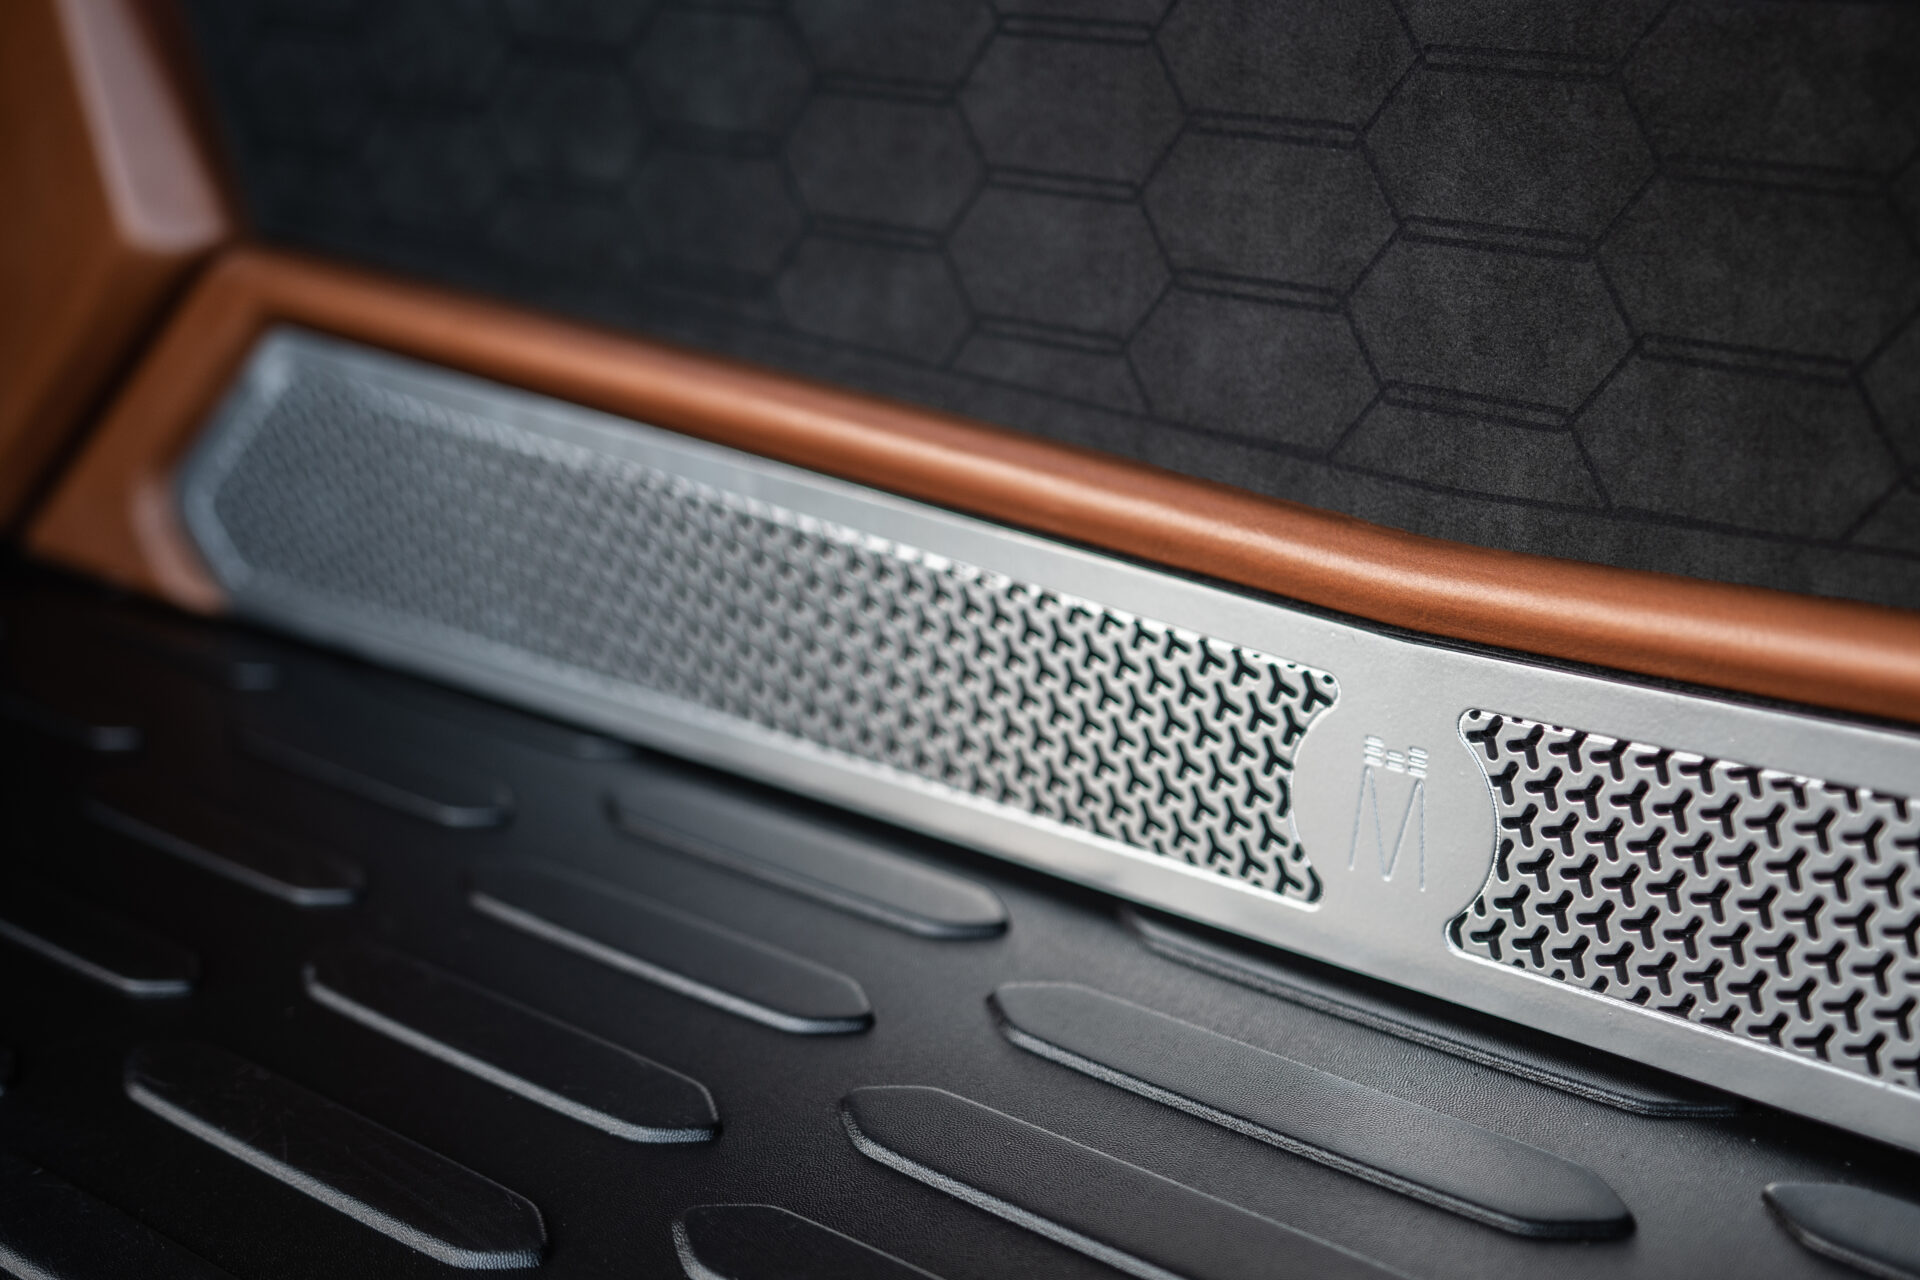
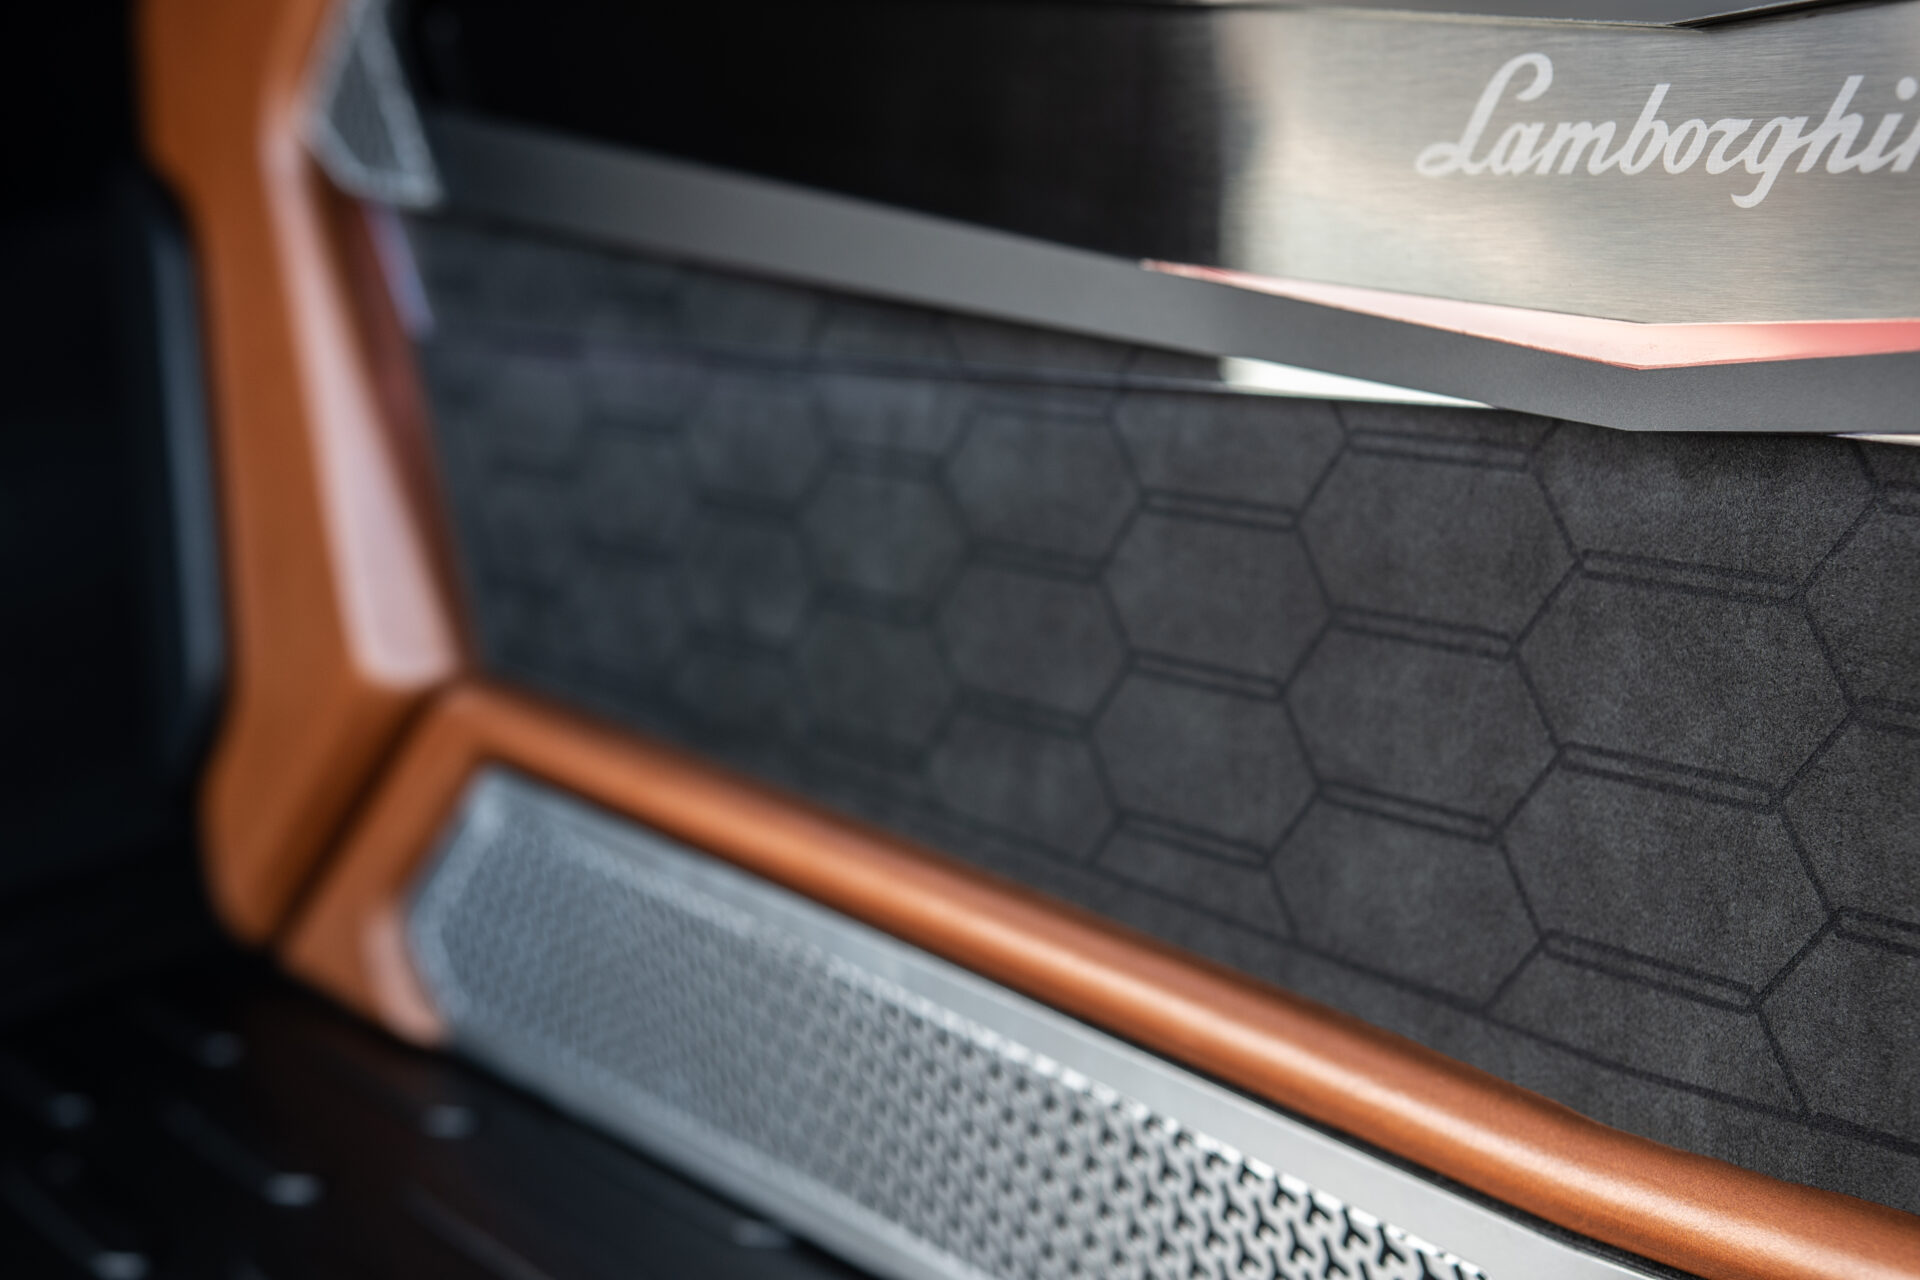
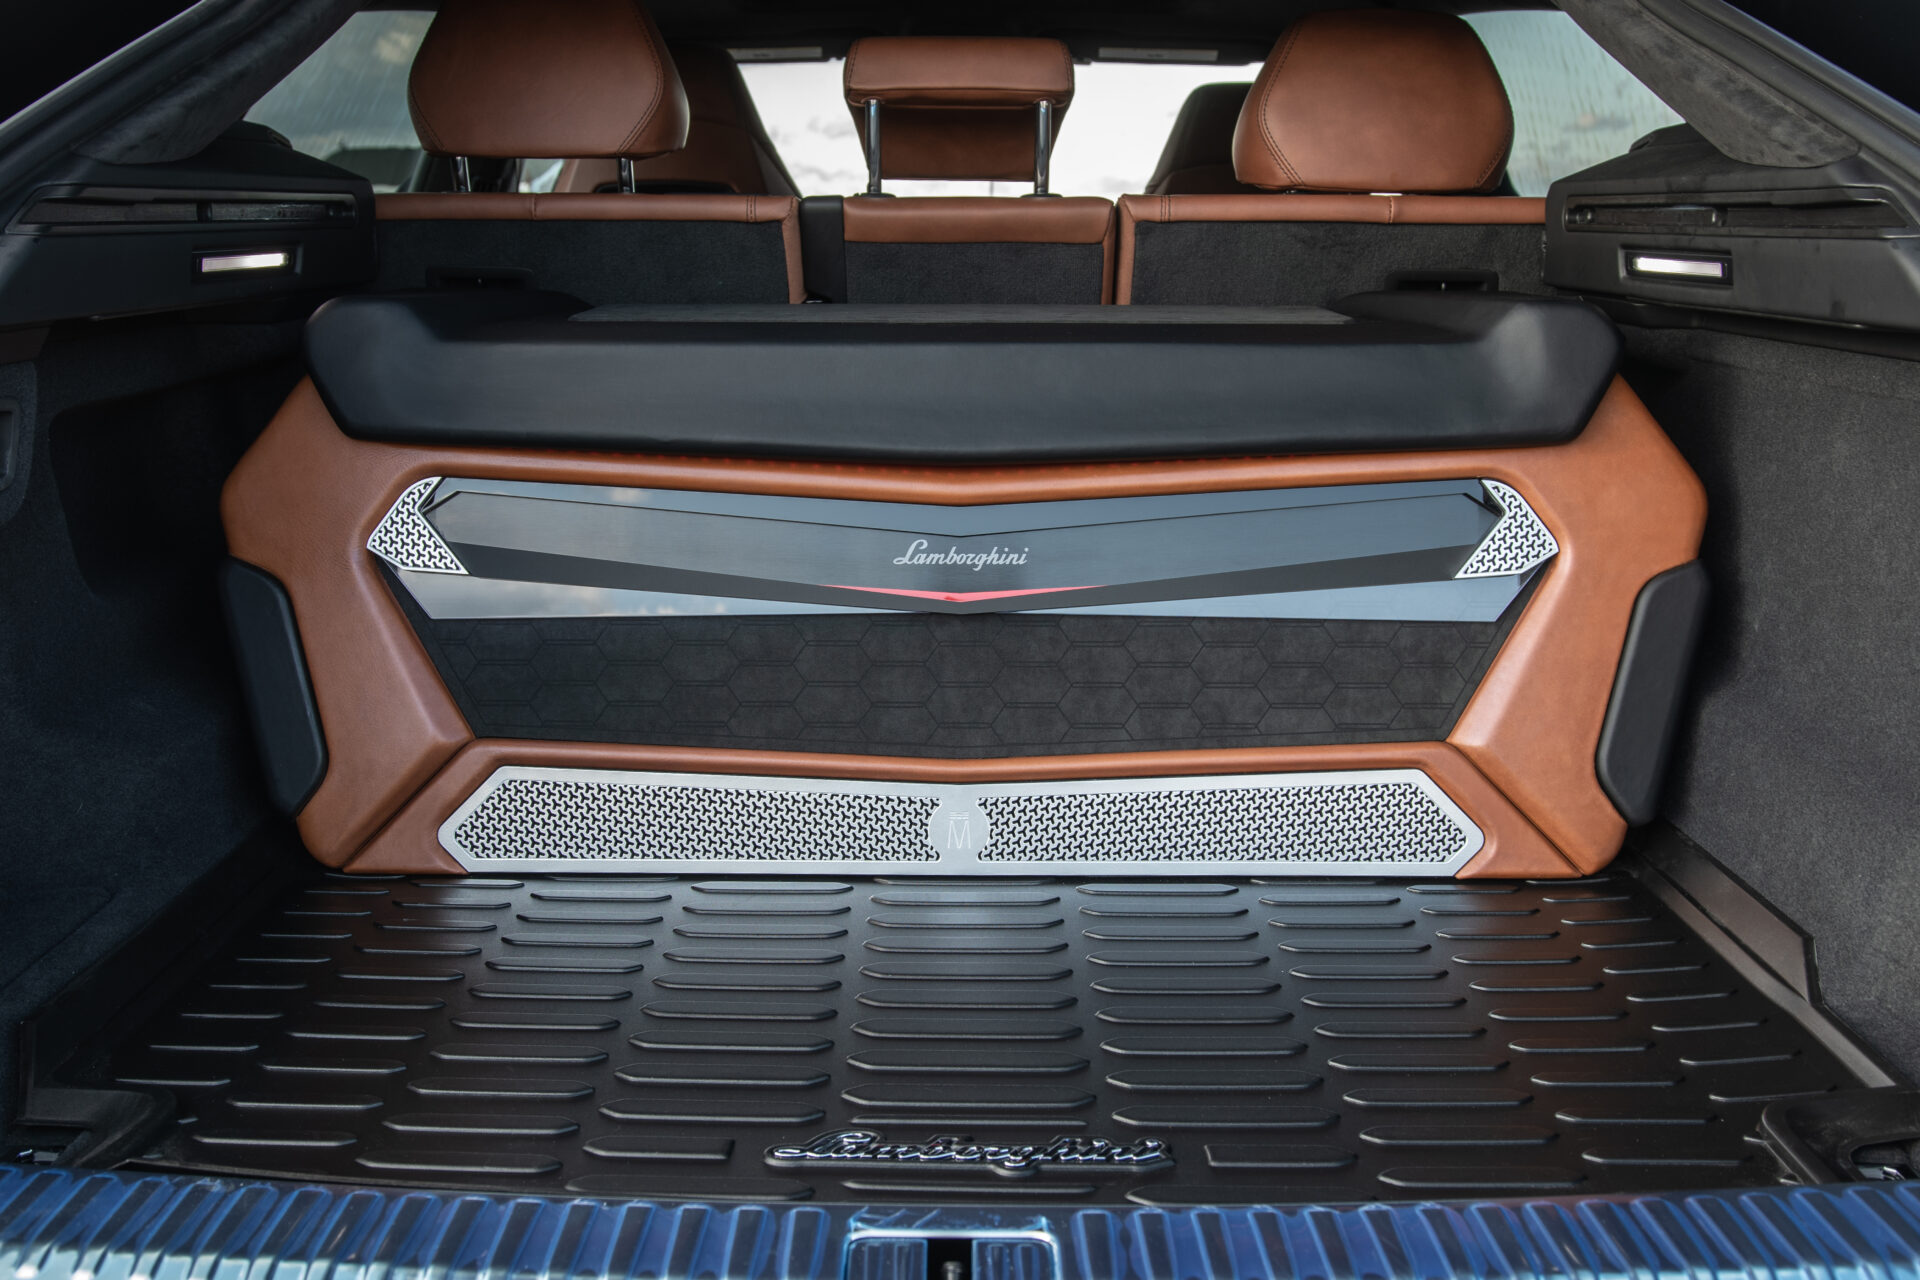
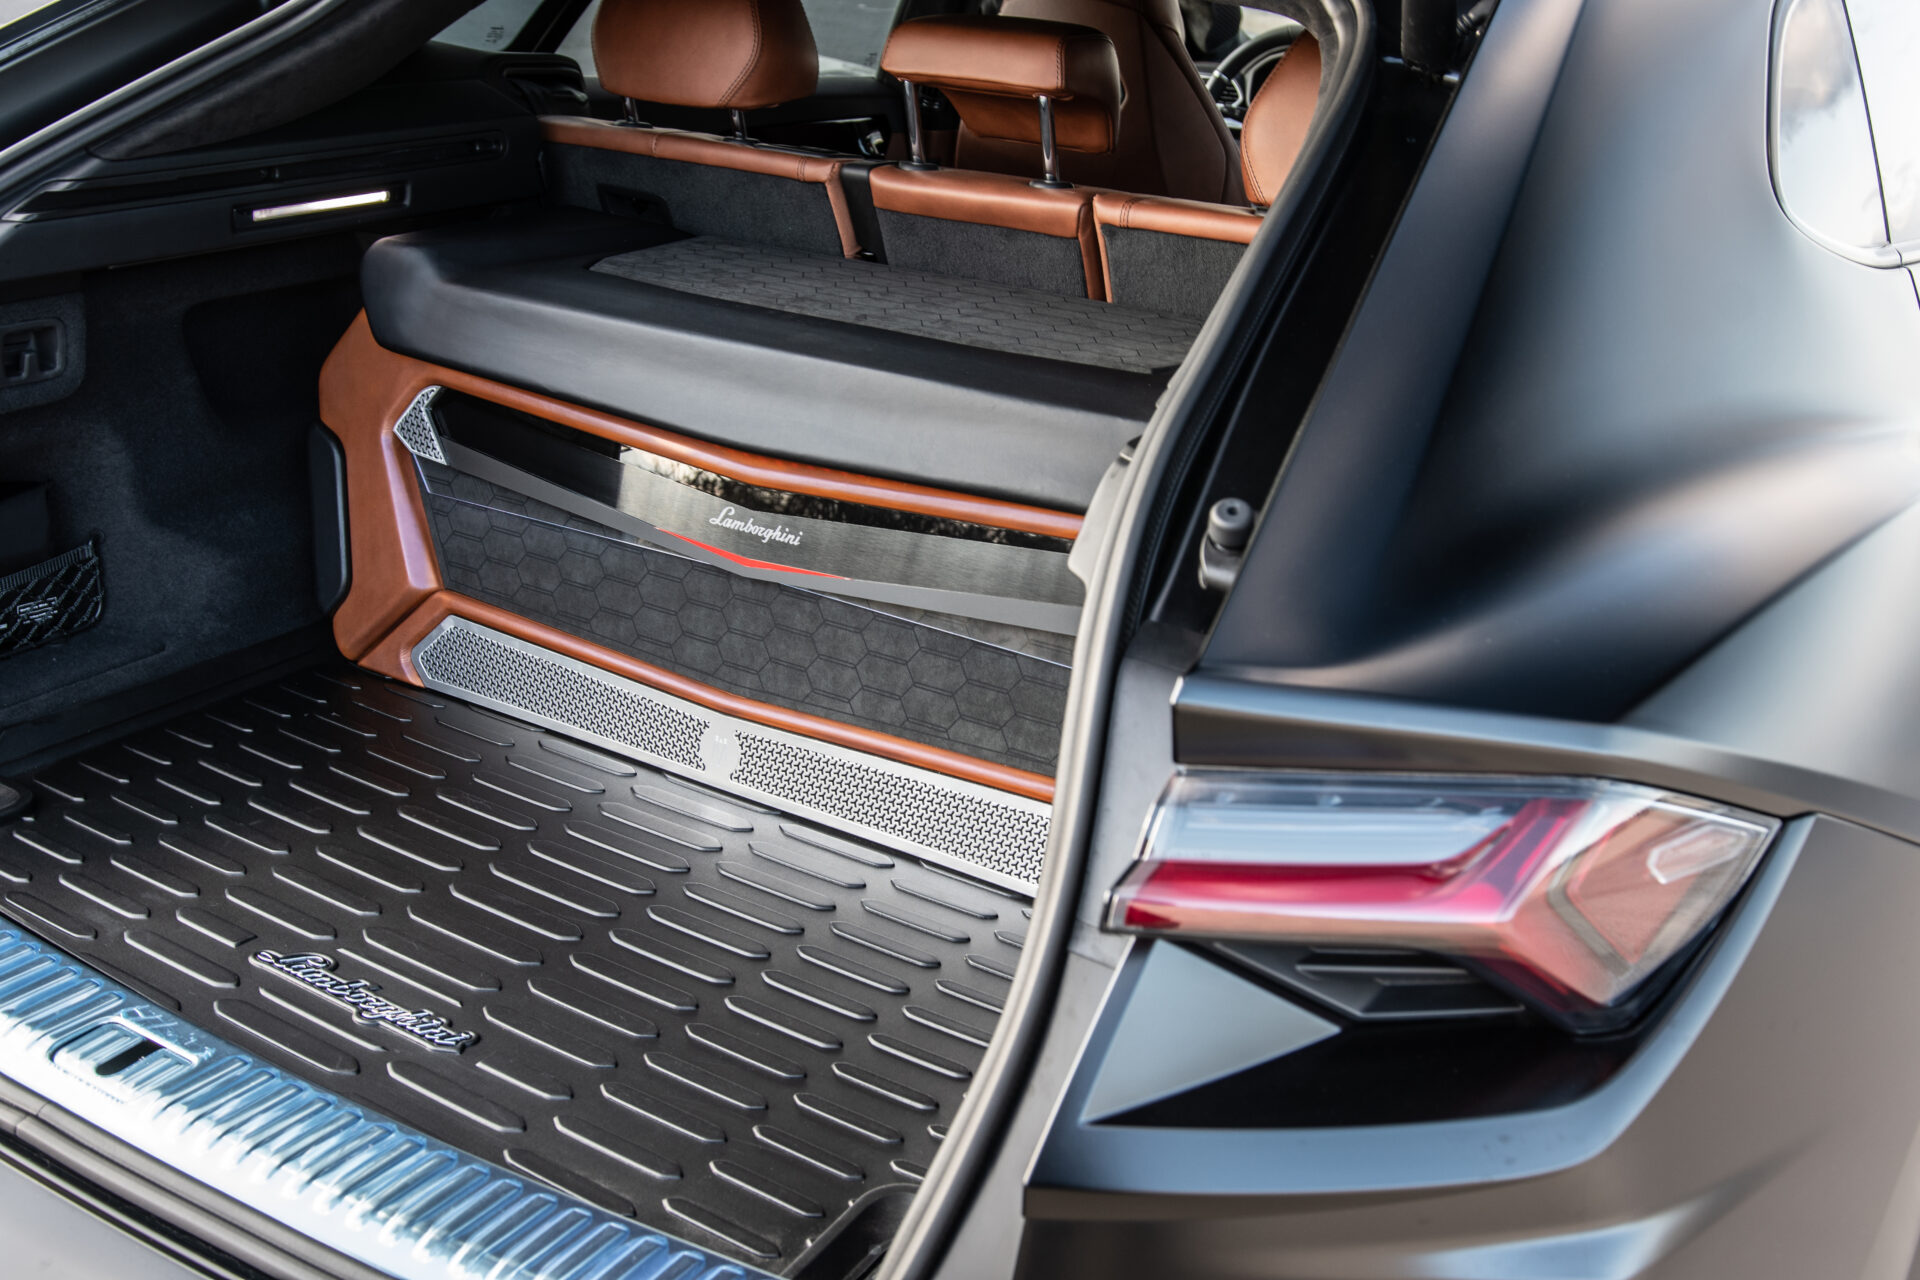
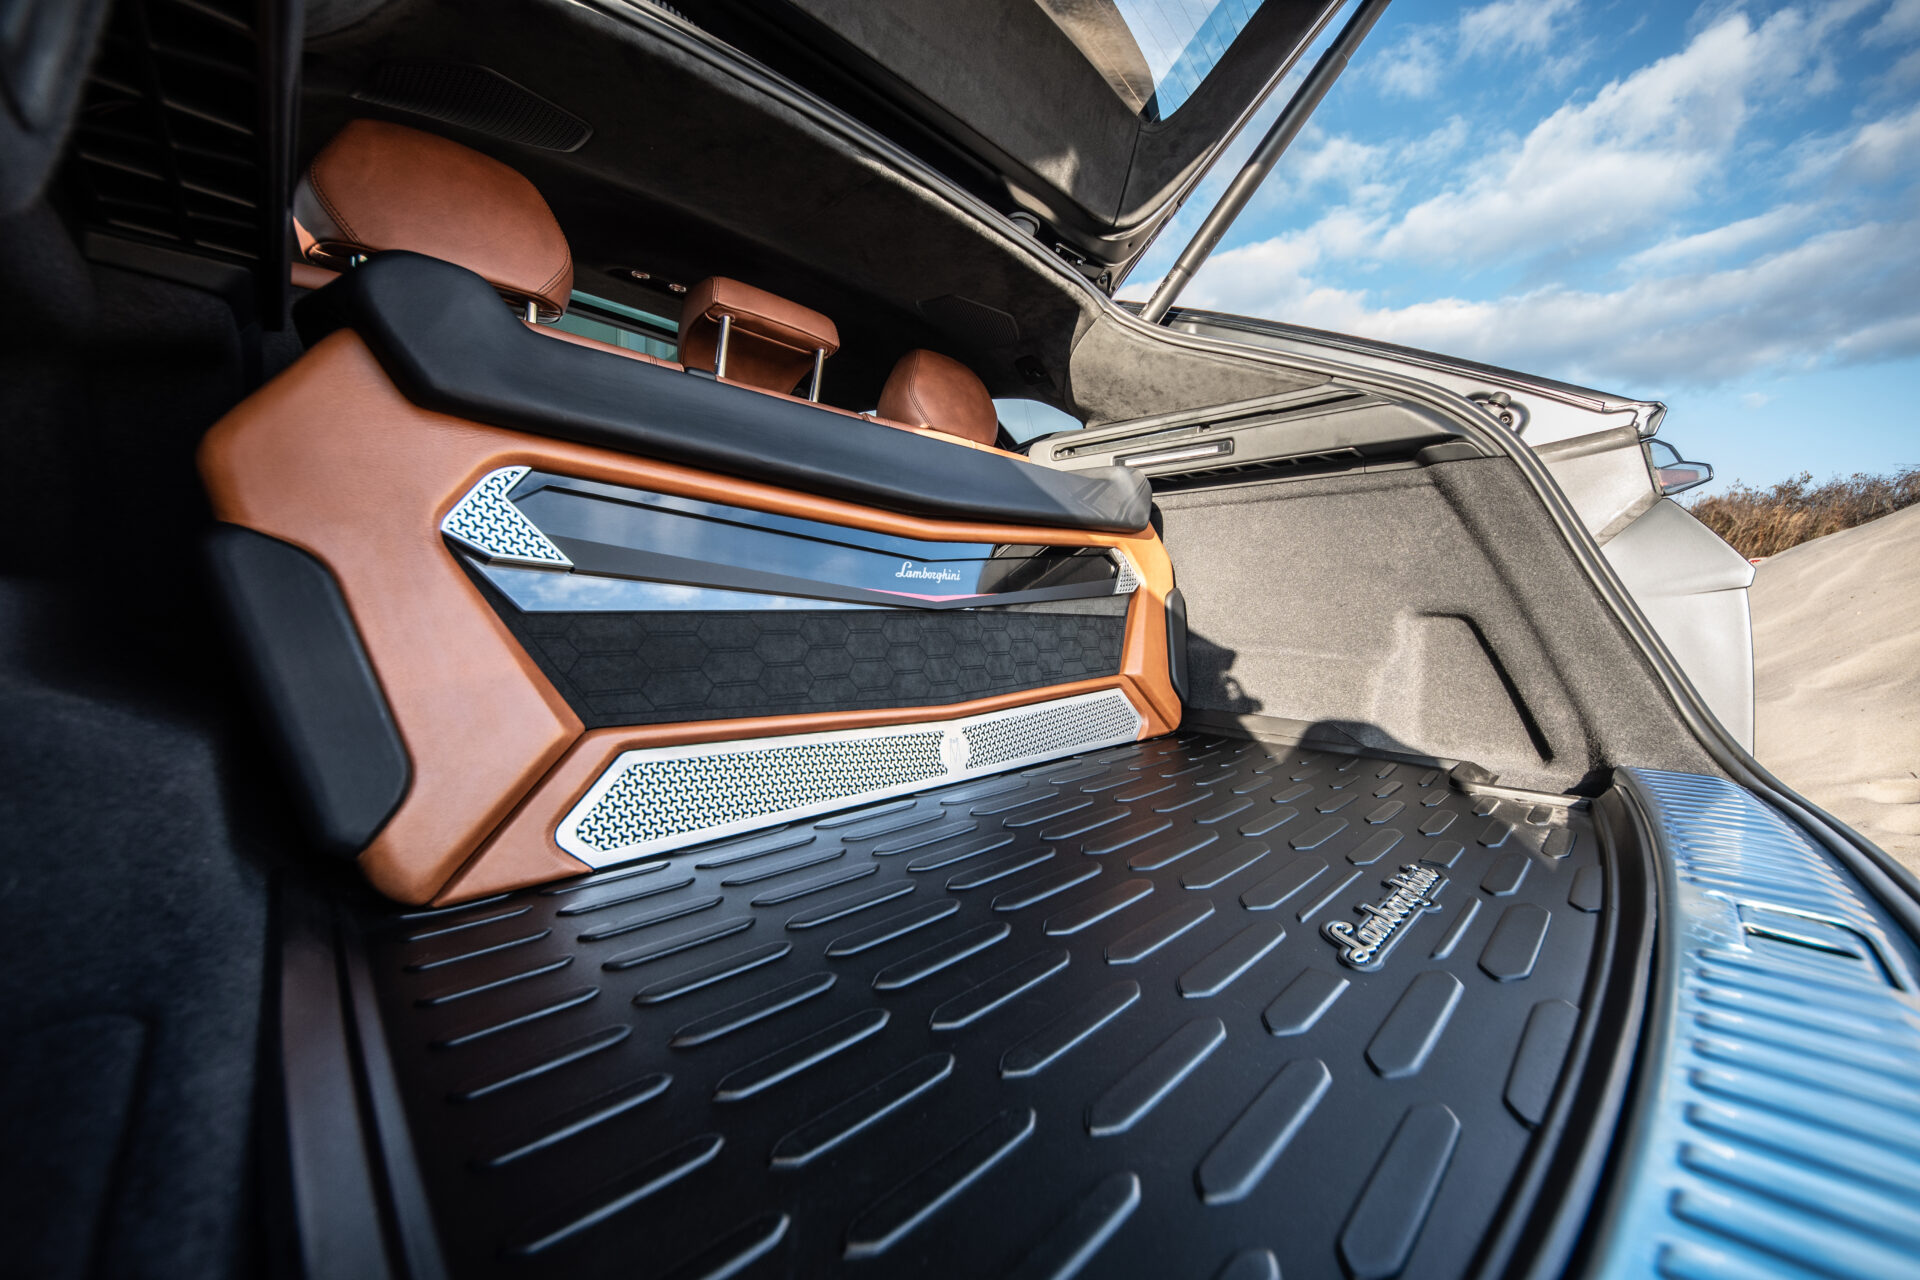
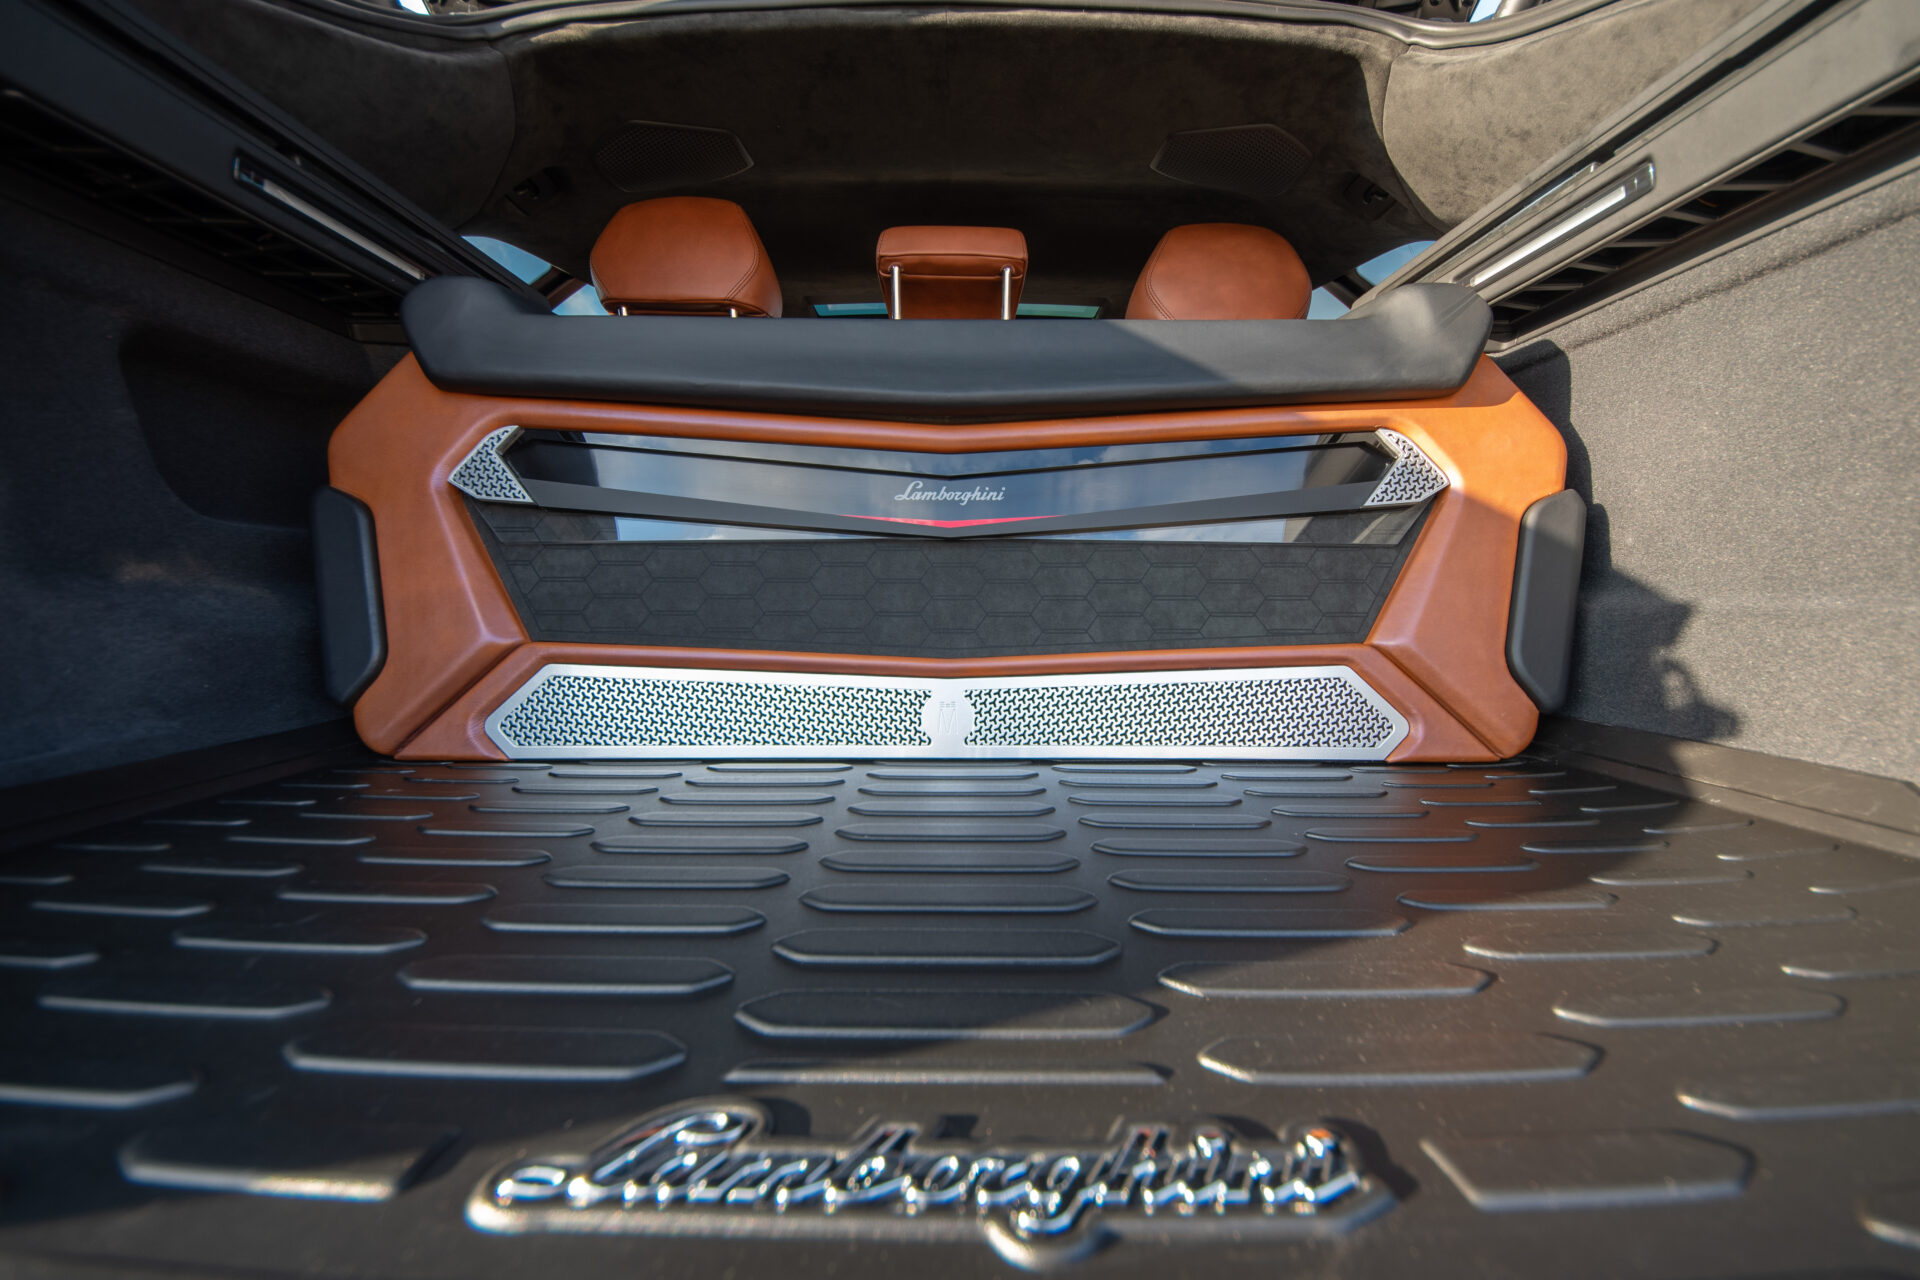
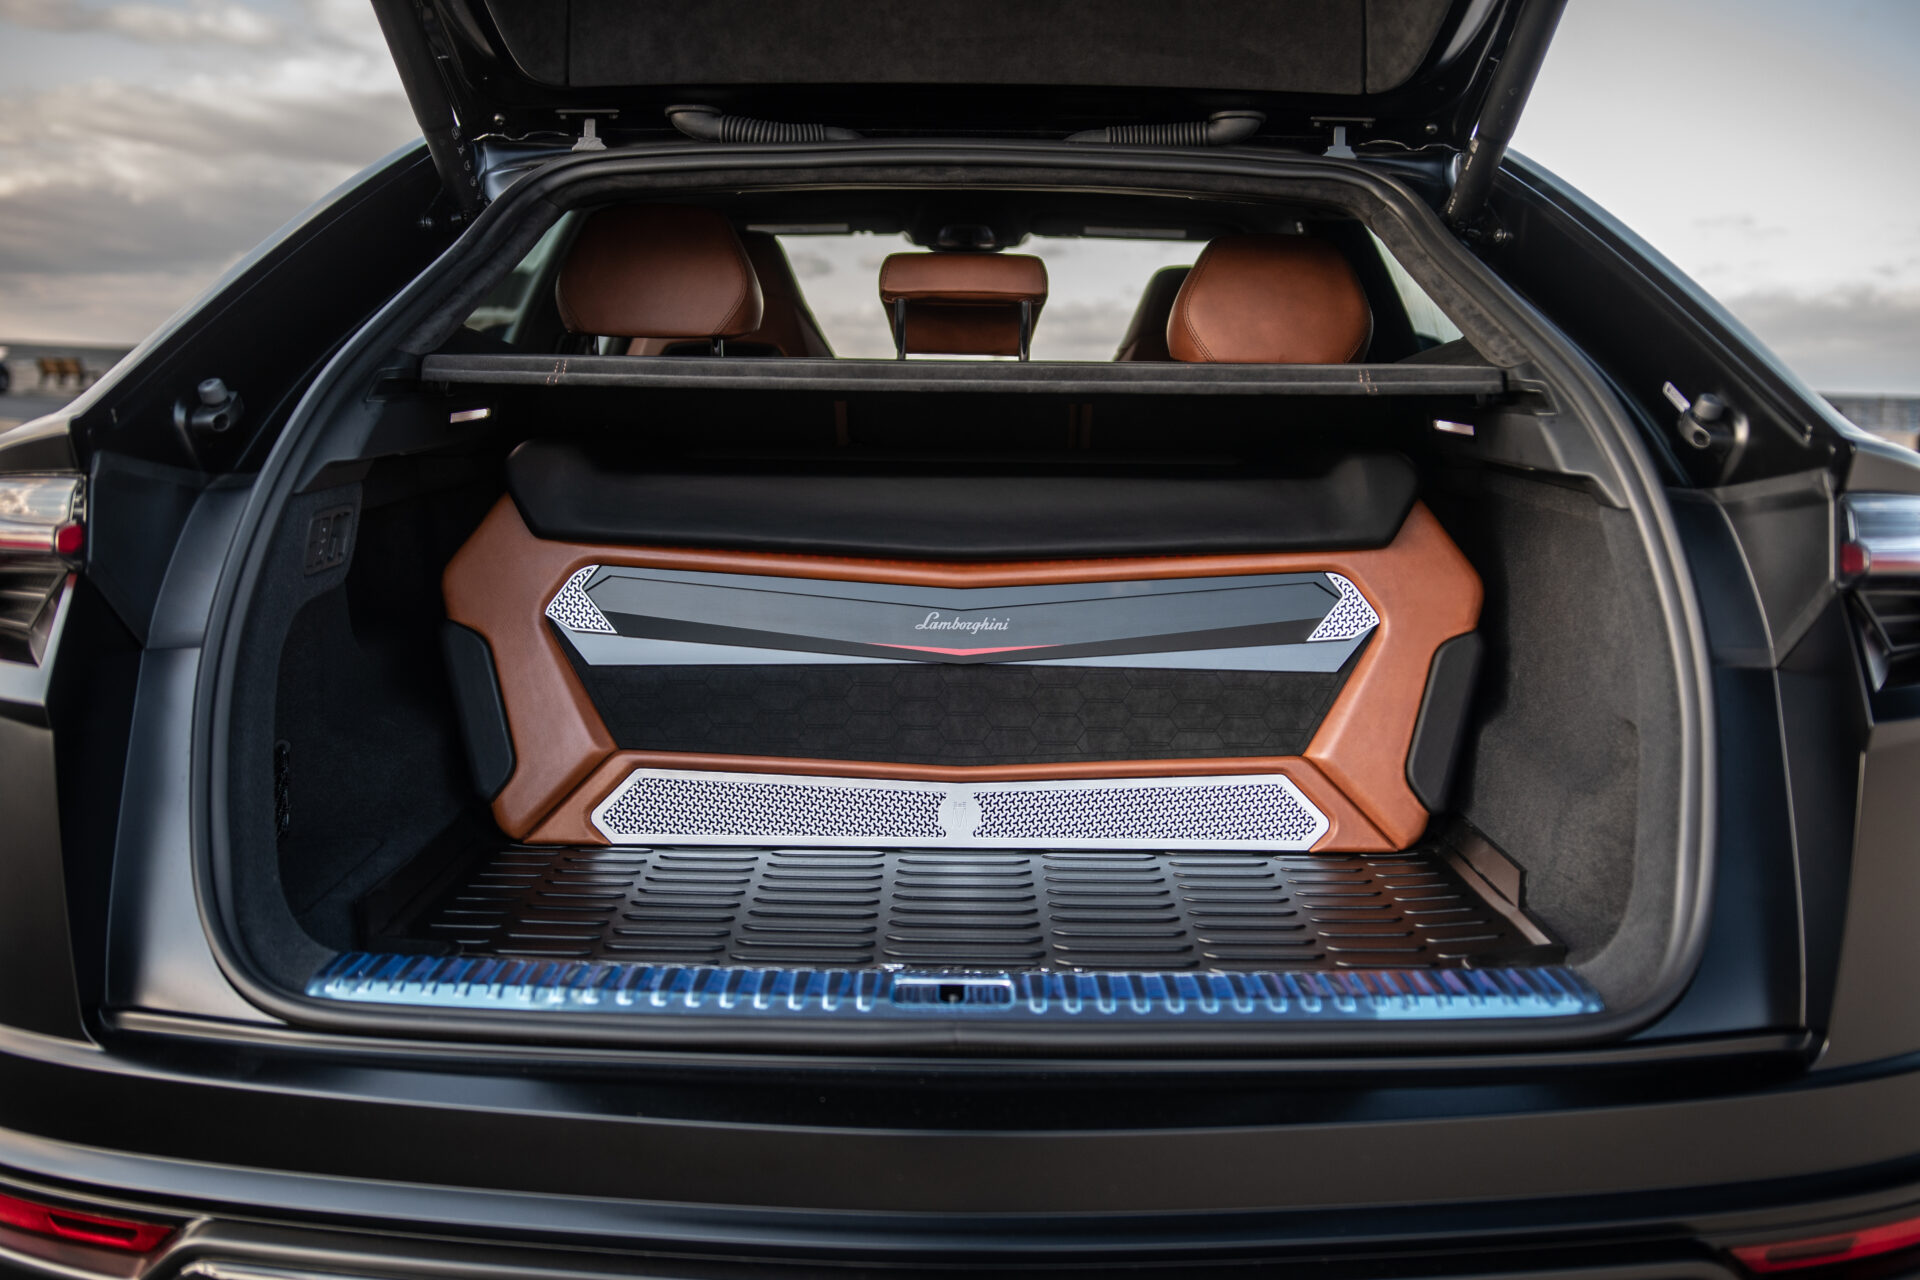
We created a down firing subwoofer enclosure that bolts into the factory tie down location right behind the rear seats. We created a full shell to completely conceal the subwoofer enclosure. We utilized factory materials, such as 13k 2×2 twill carbon fiber, matching black and linen leather, Alcantara suede and silver trim. We took the DNA from the door panels to create our design for the enclosure. The enclosure used 12v LED cob lighting to give an even bright glow to match the OEM ambient lighting.
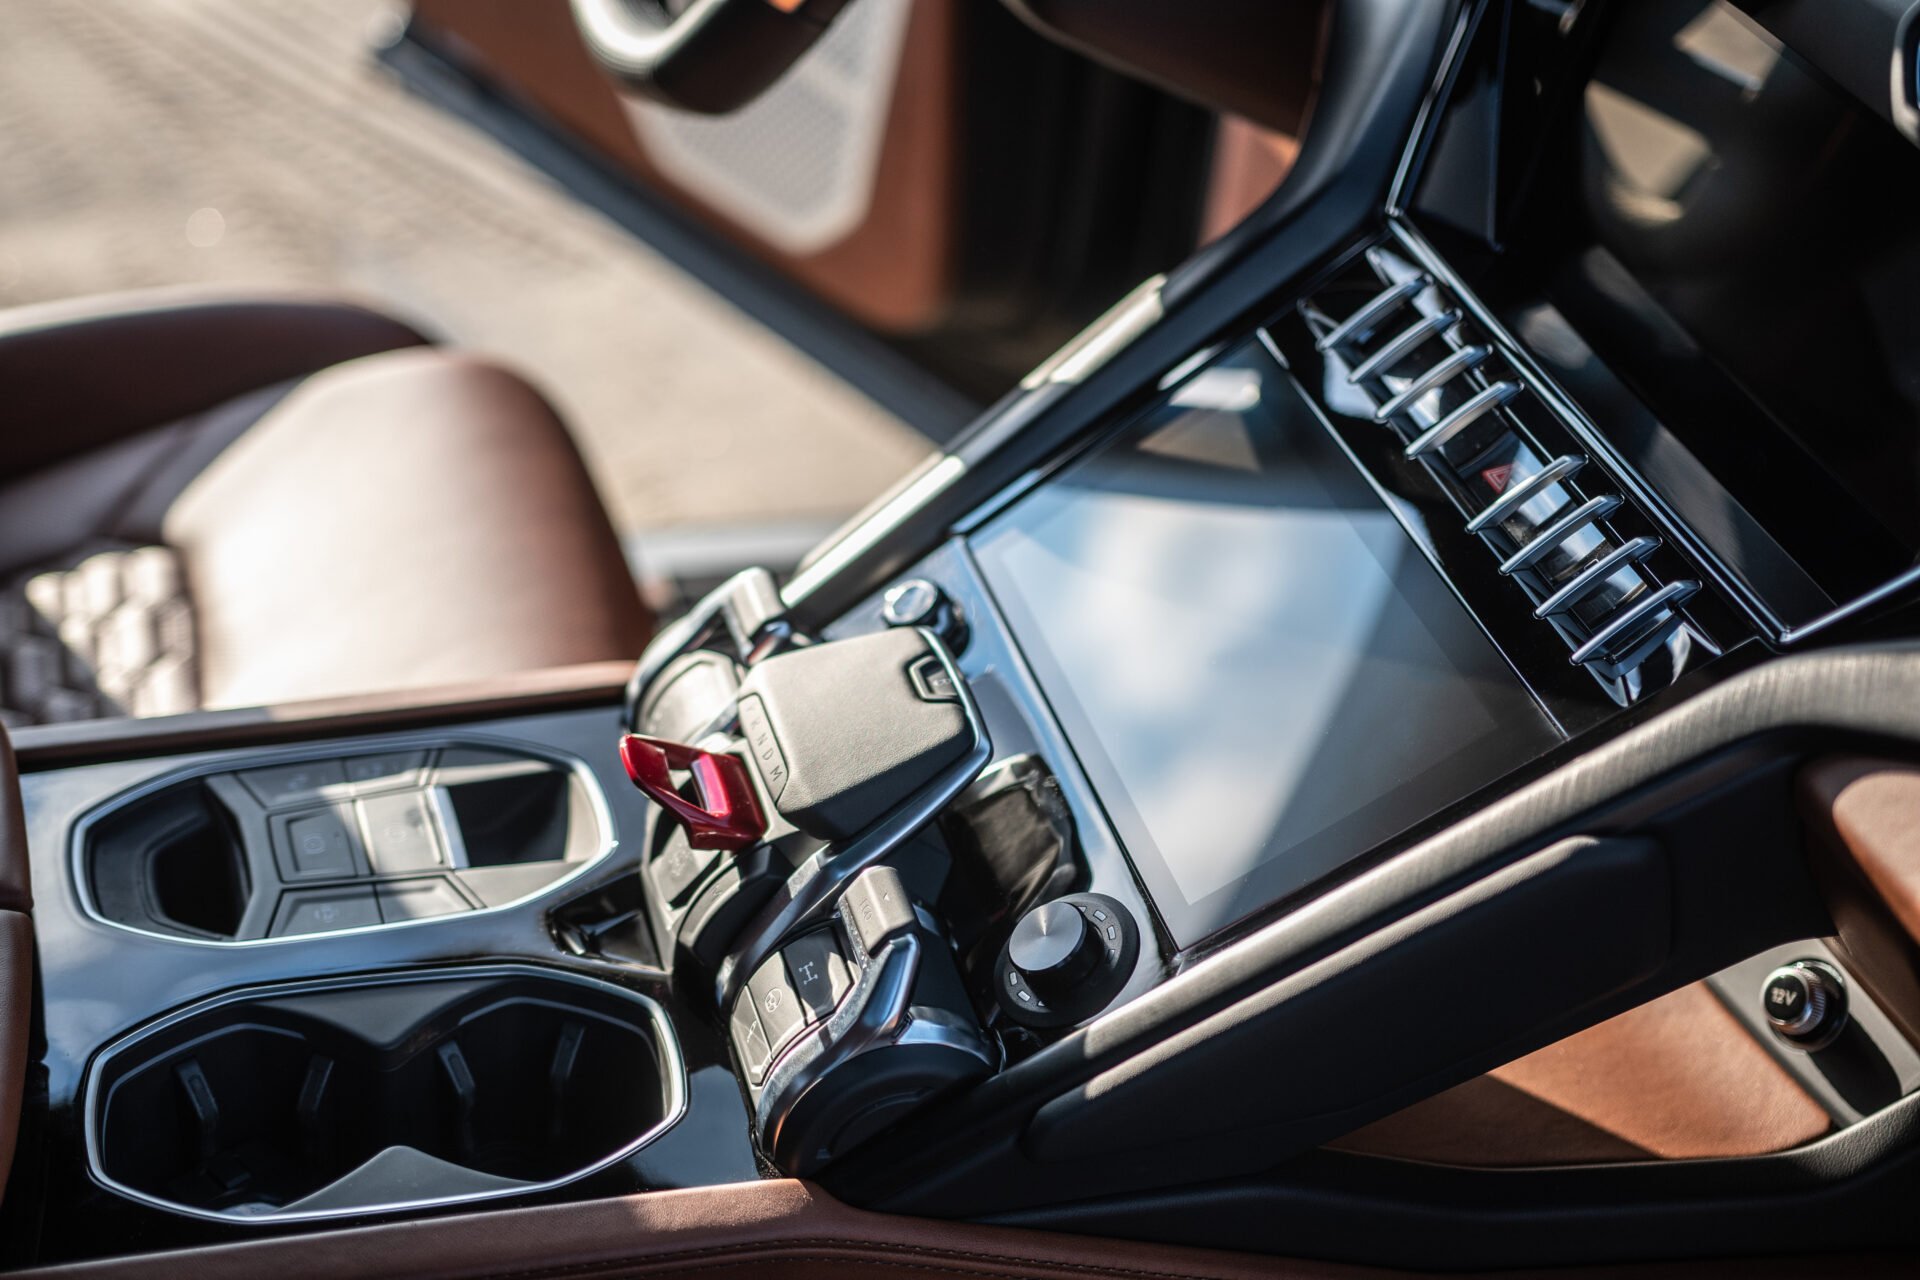
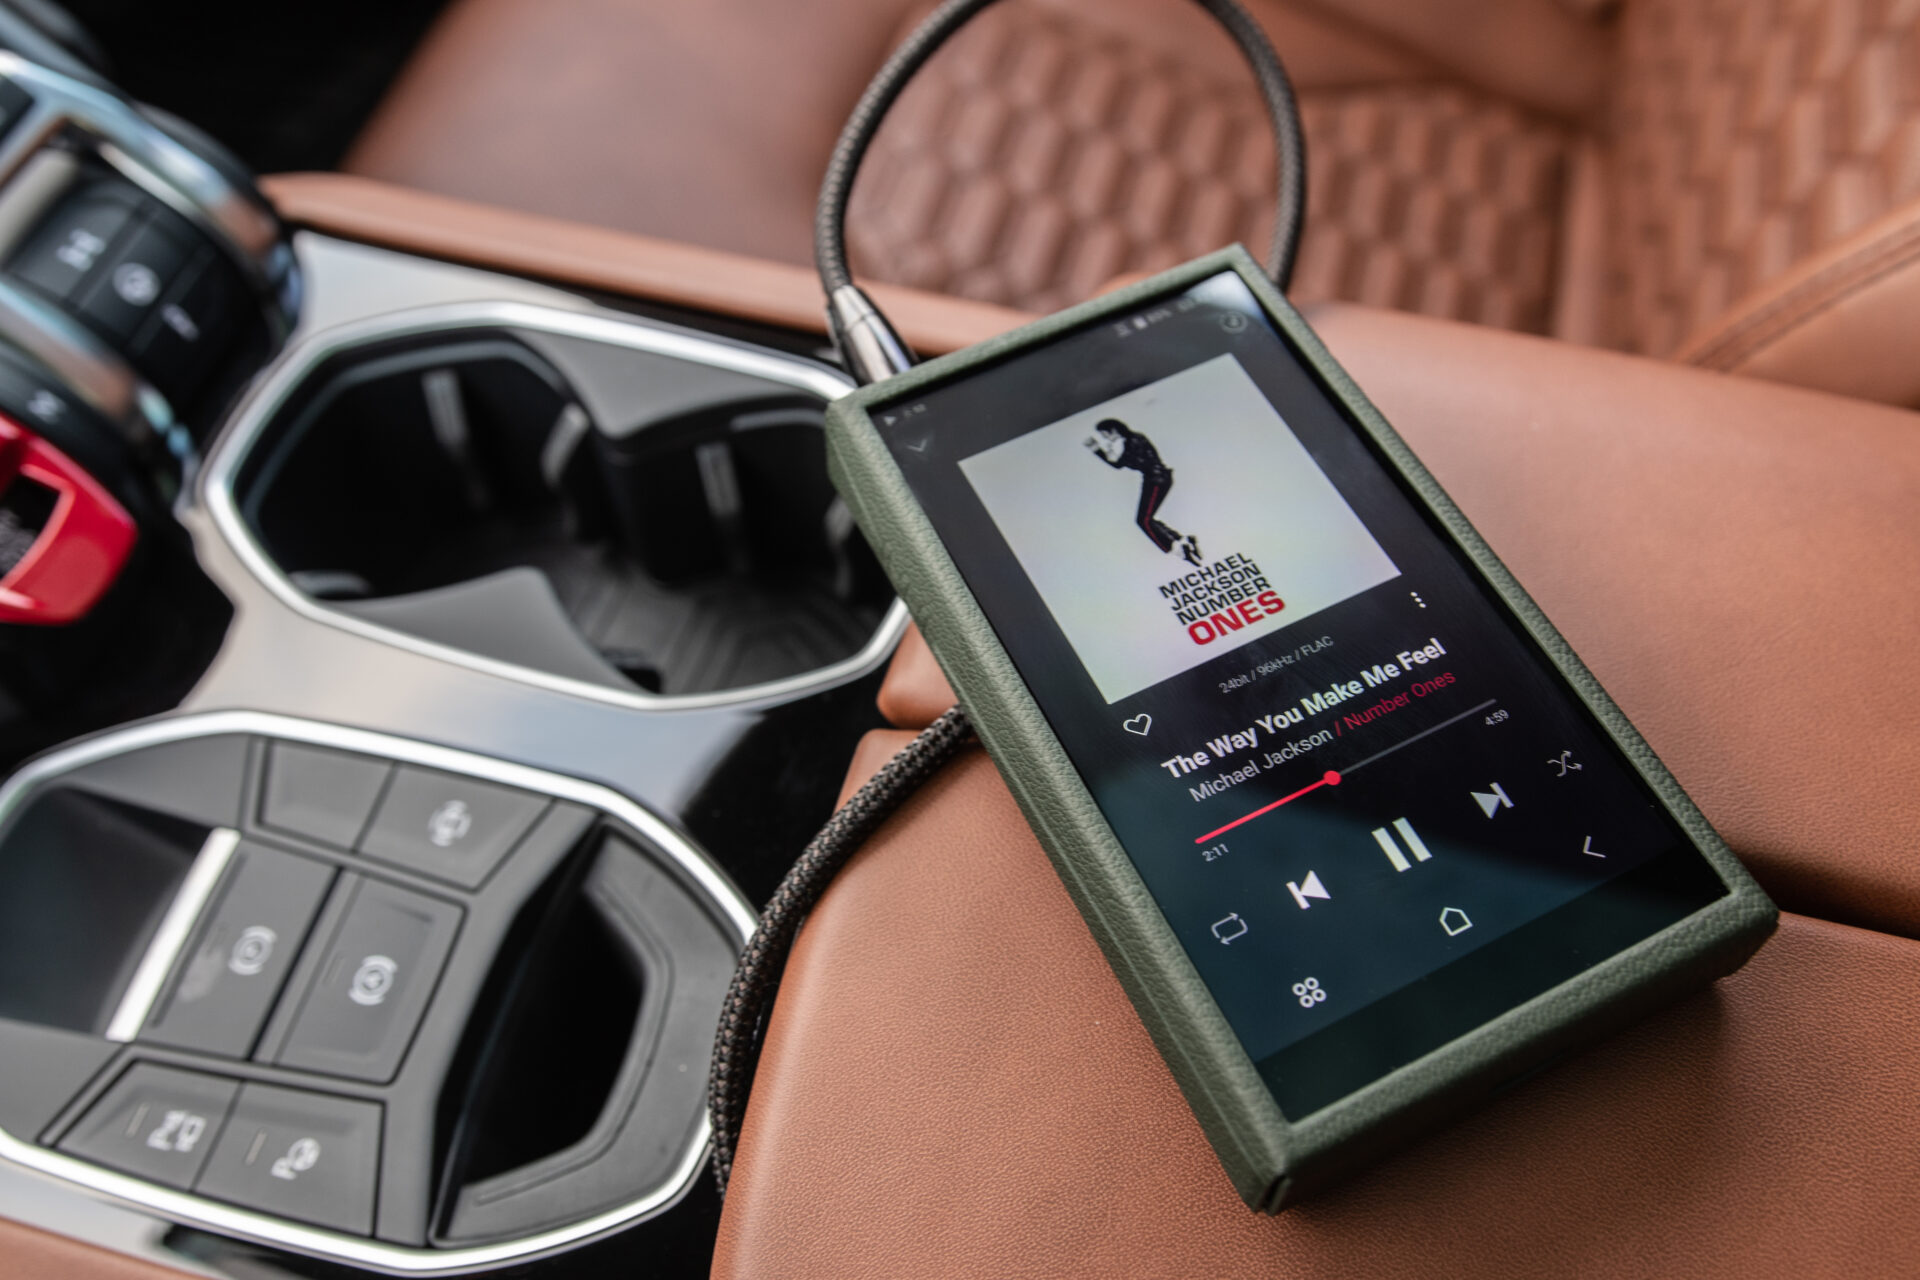
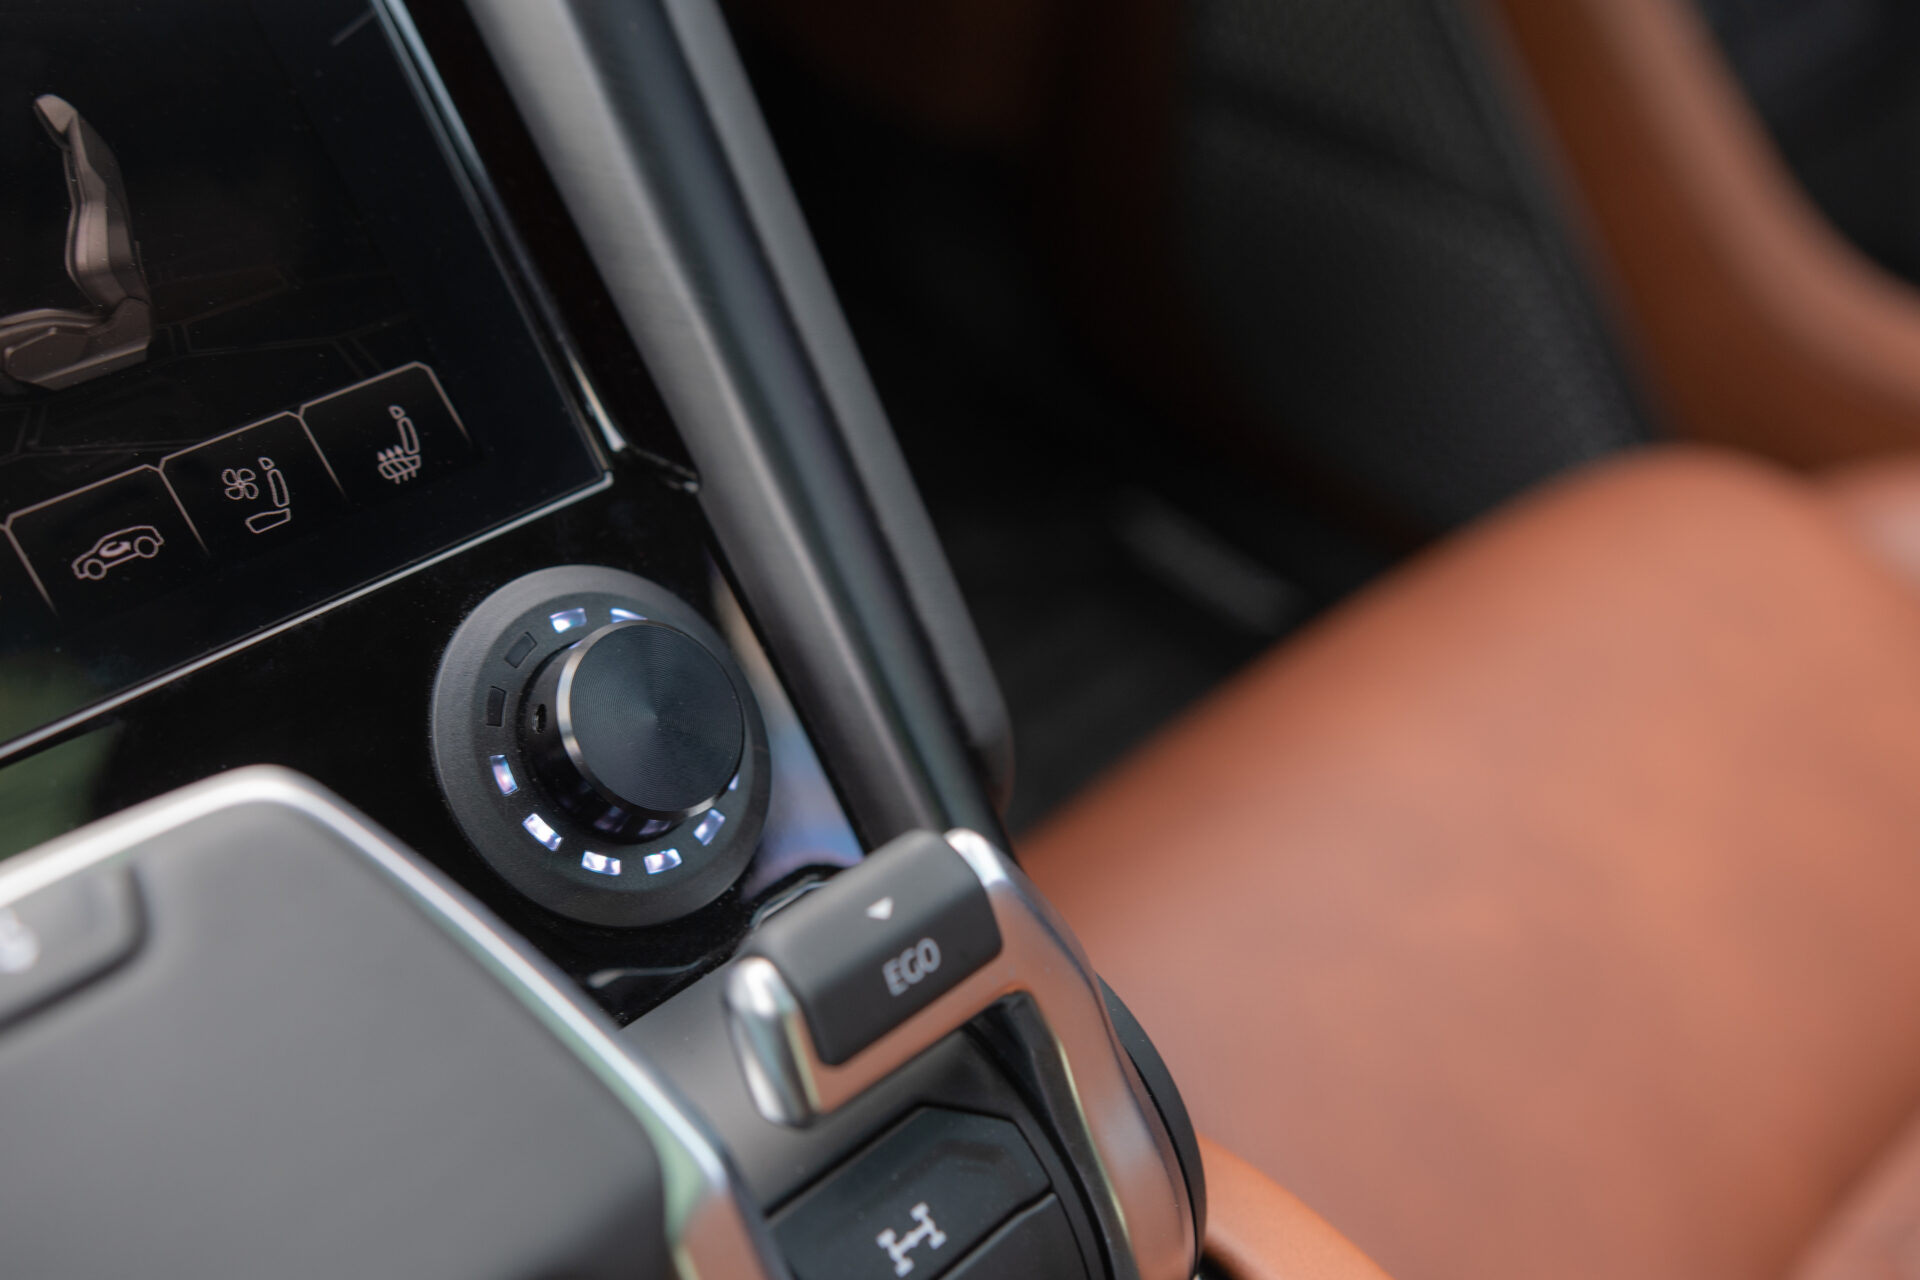
The brains behind our entire audio system consists of a Brax DSP. This DSP runs our front 3 way, rear 2 way and dual subwoofers fully active. We integrated the Conductor controller right under the OEM touchscreen on the opposite side of the OEM knob. We finished off the knob with a cap to match the OEM knob. We set up the audio system with 3 separate presets. Preset 1 runs the OEM system which integrates through a Nav-TV amplifier interface. The fiber network of the car runs into our interface which in turn, gives us a perfect digital signal into our Brax DSP. Preset 2 utilizes a HD BT chip that is docked into our Brax DSP. This allows us an even more pure signal directly into our DSP (bypassing OEM equipment). This can still work in conjunction with the factory radio to use Carplay or to see any album art work or data on the radio. Preset 3 is run to our Astell & Kern SP3000 DAP input to give us the best listening experience possible.
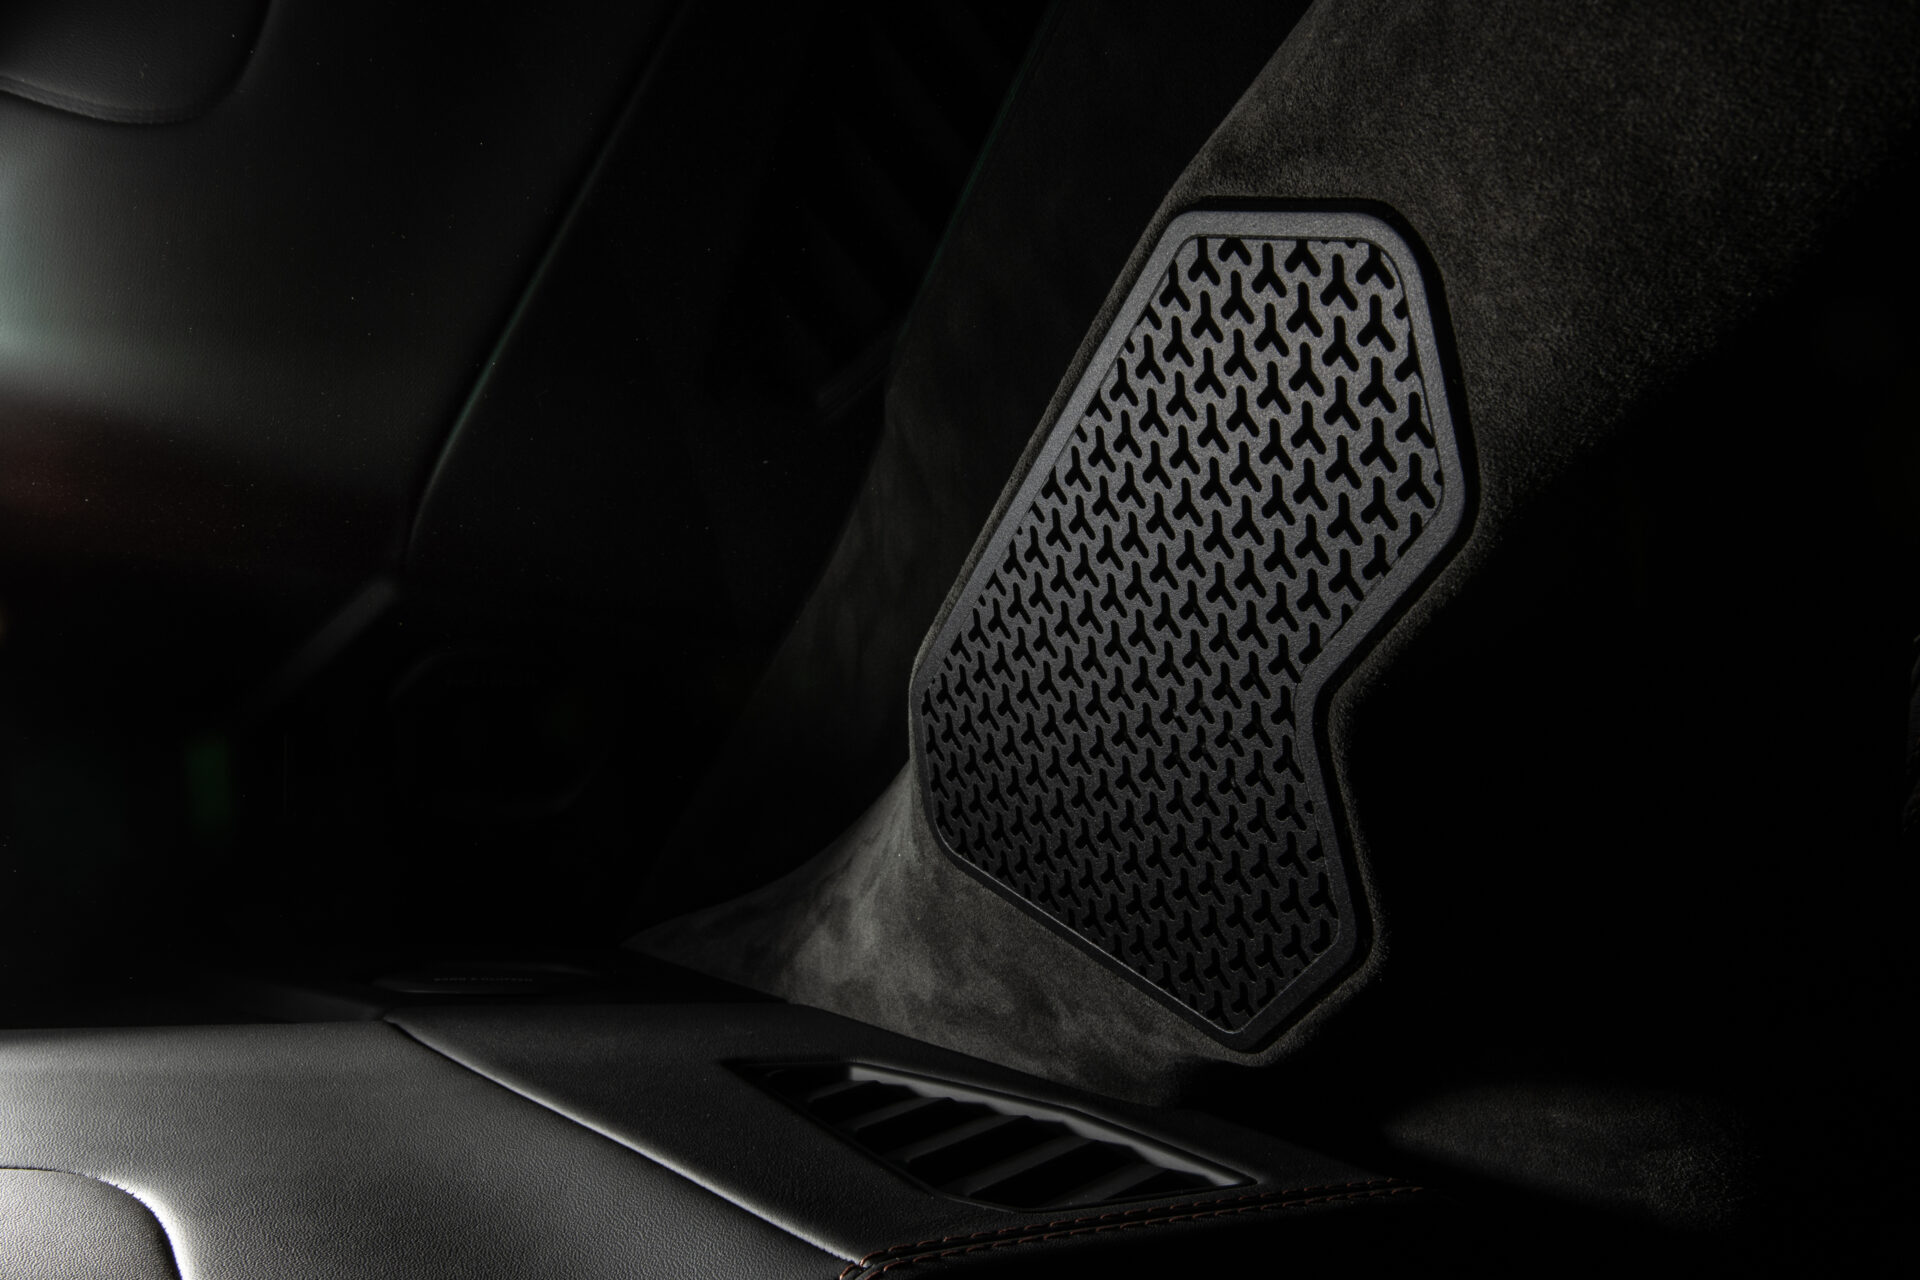
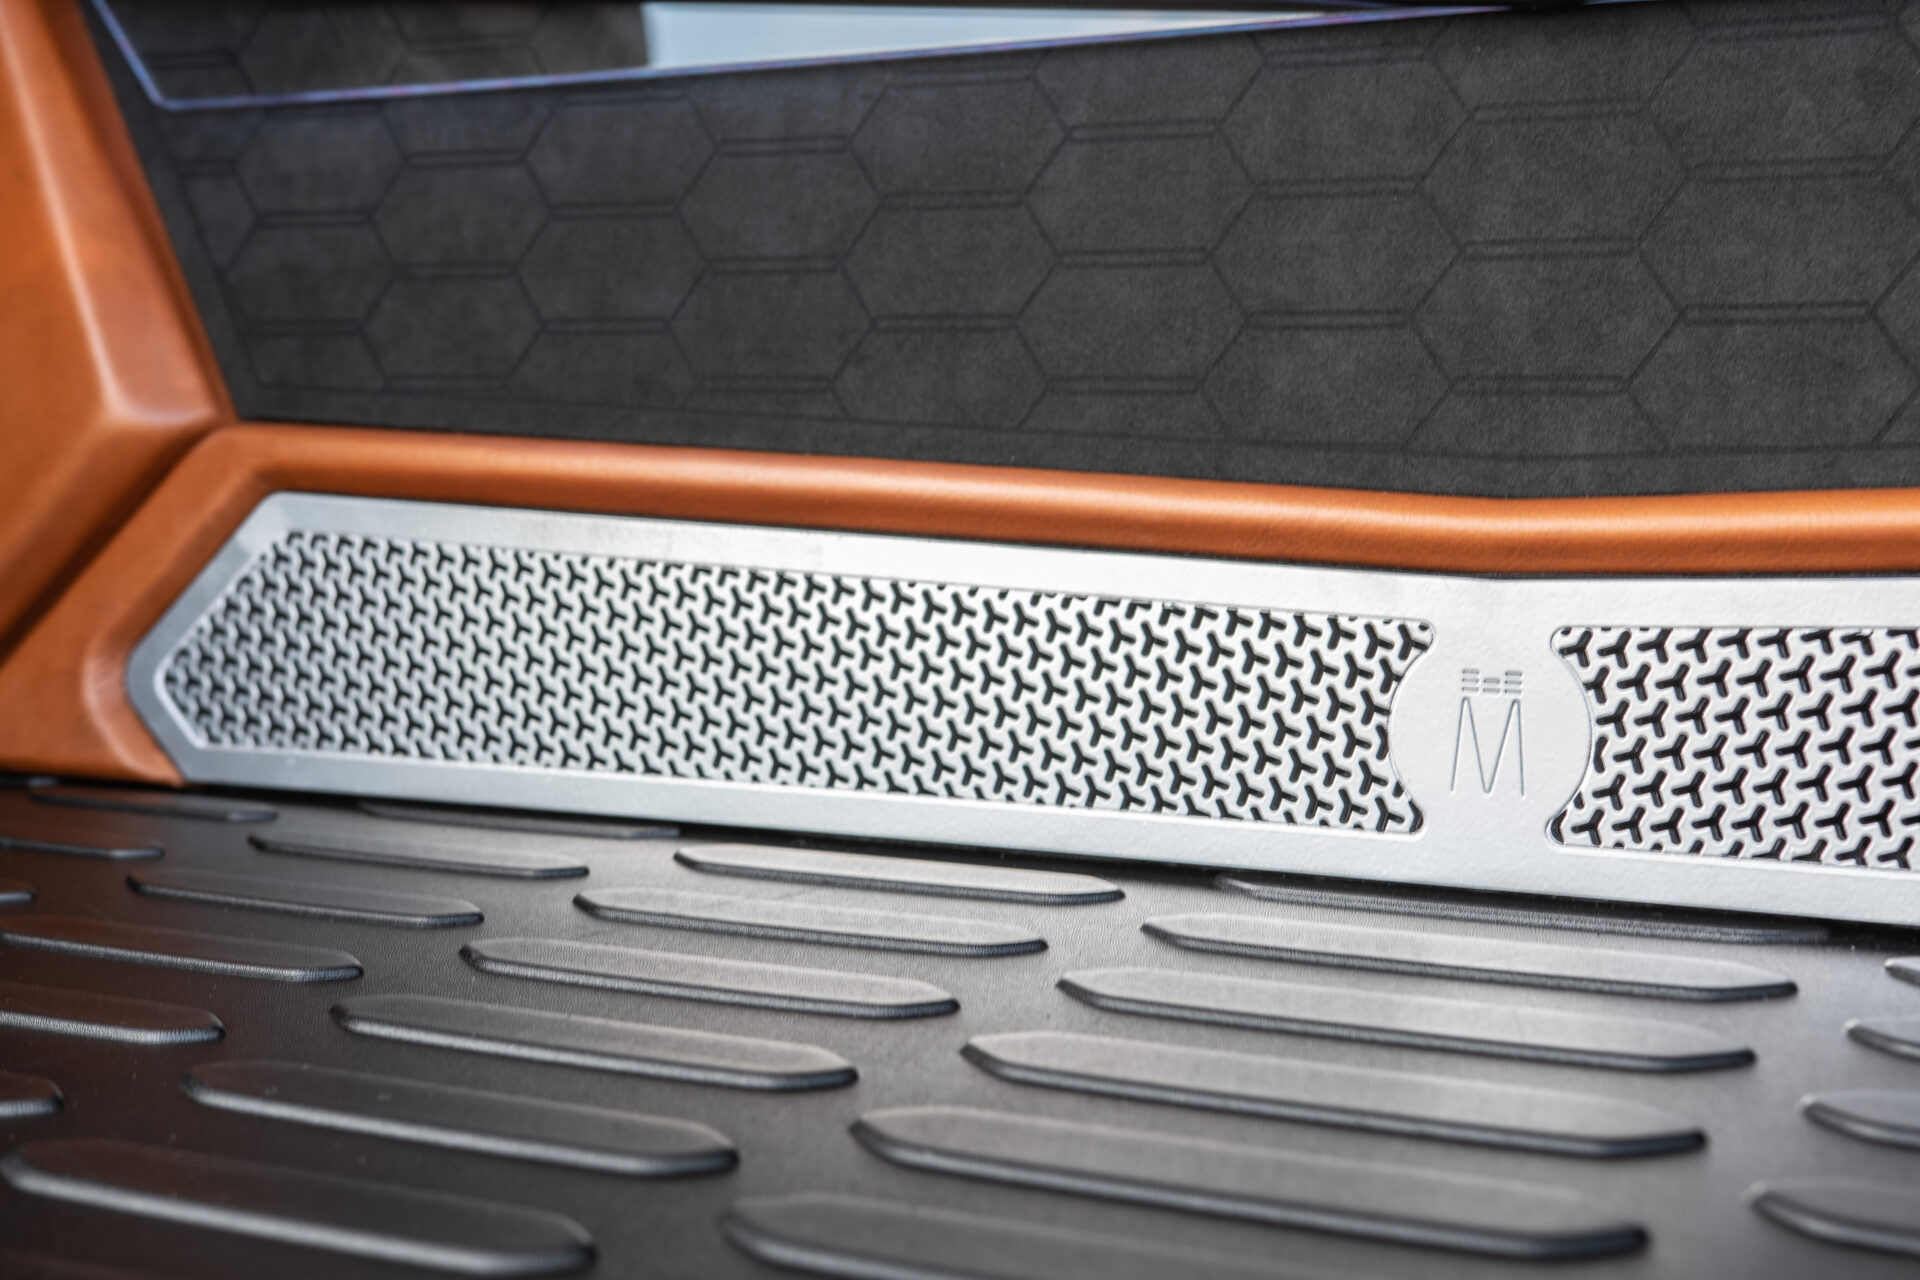
Since this is an Arizona car and class A amps are involved, we wanted to ensure that there was more than enough airflow to circulate under the factory floor. There is an OEM panel with grille openings behind the base of the rear seats to allow the OEM components to breathe. We utilized the space behind these grilles to install 4 fans. One side has two that push and one side has two that pull. This gives a way for air to enter and exit below our floor. There are 11 more fans that direct air from the enter area to the exit area of the amp rack. This moves air around all of our equipment in a circle back to its exit point. Our class A amp has 5 dedicated fans to ensure it stays cool even on the hottest of days. A carbon fiber insert panel was created to trim the DSP under the rear floor cover. This also has a grille integrated in to allow additional airflow with the top floor removed.
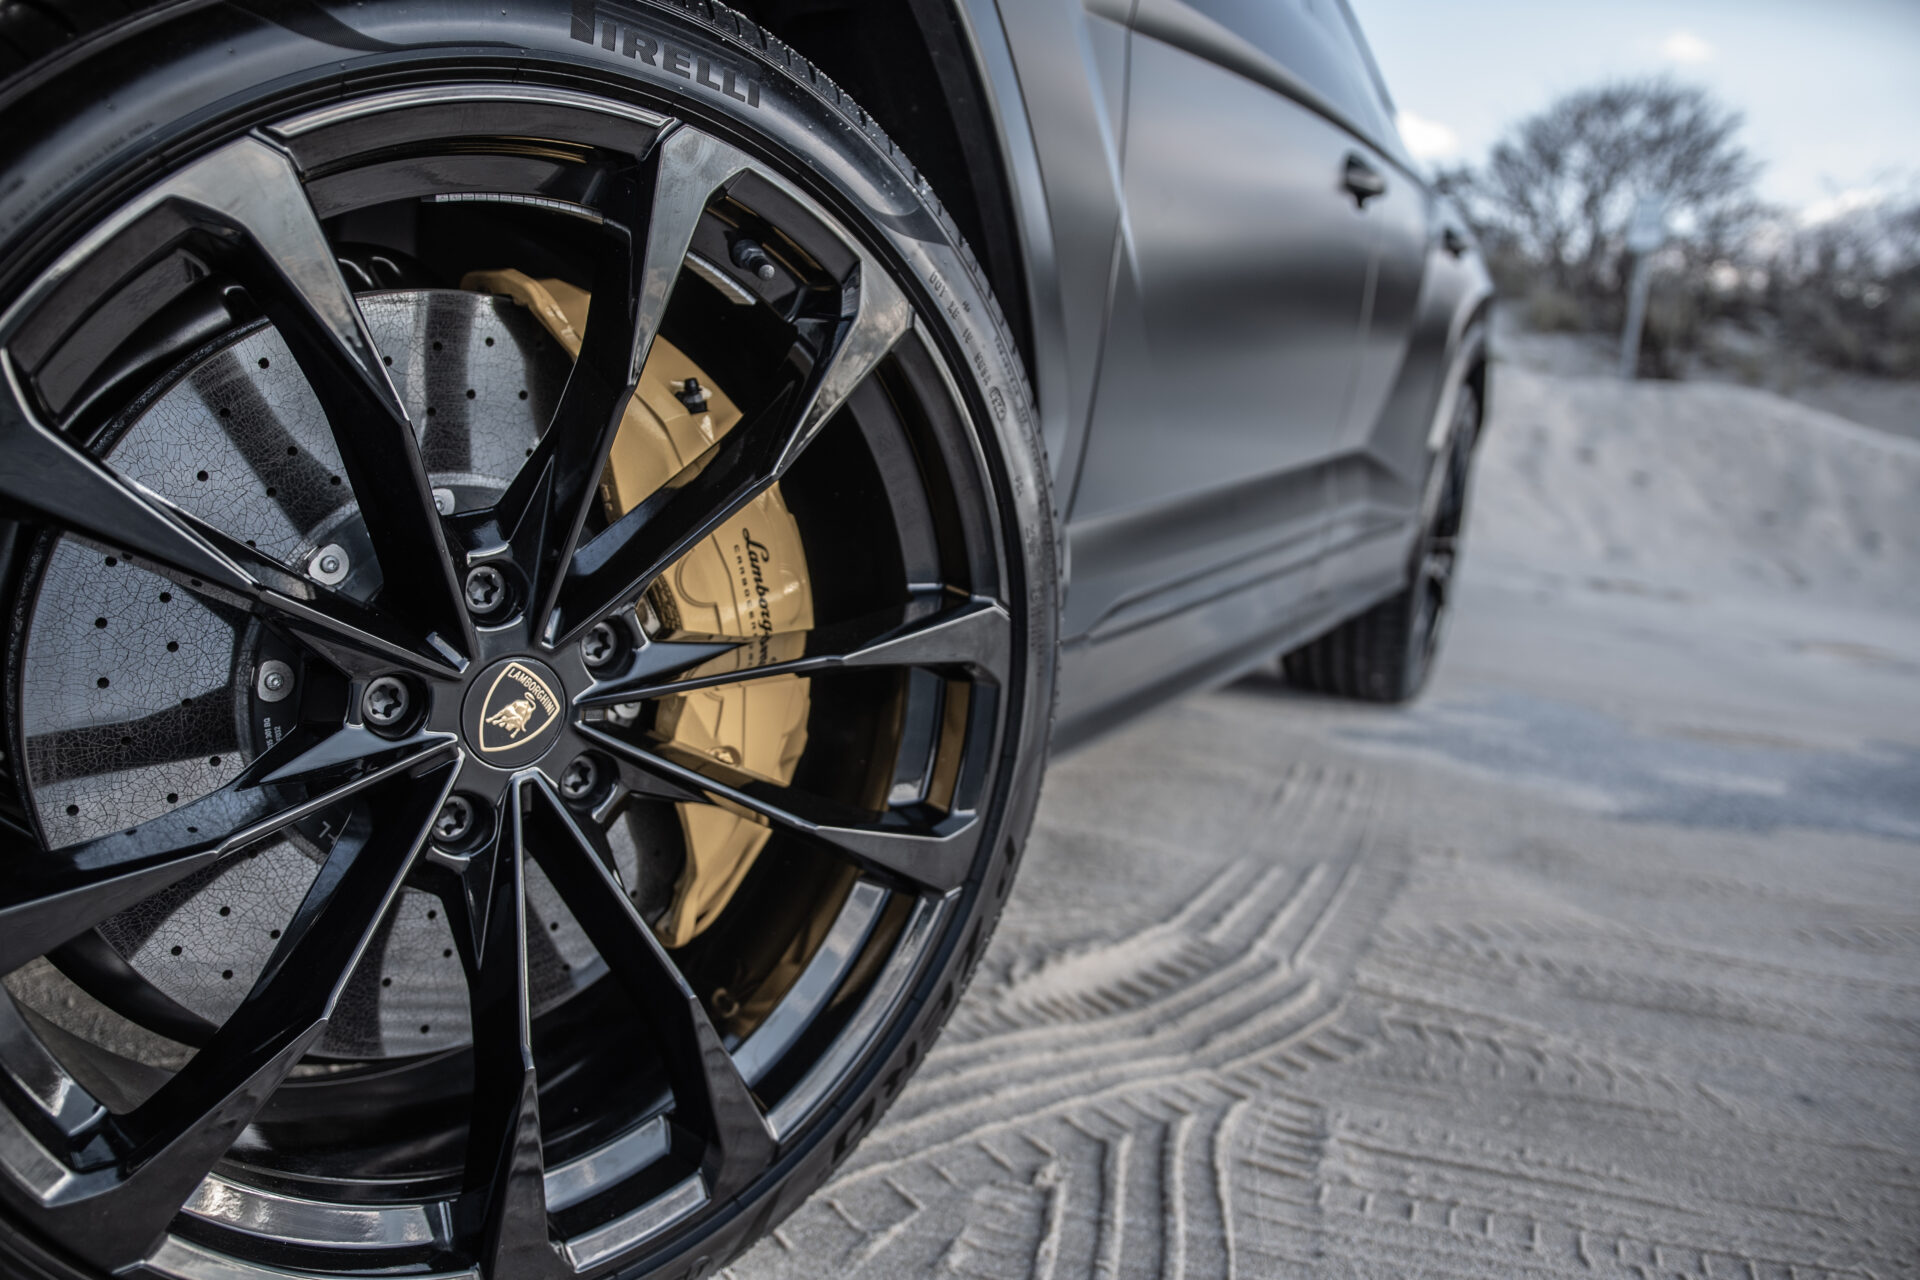
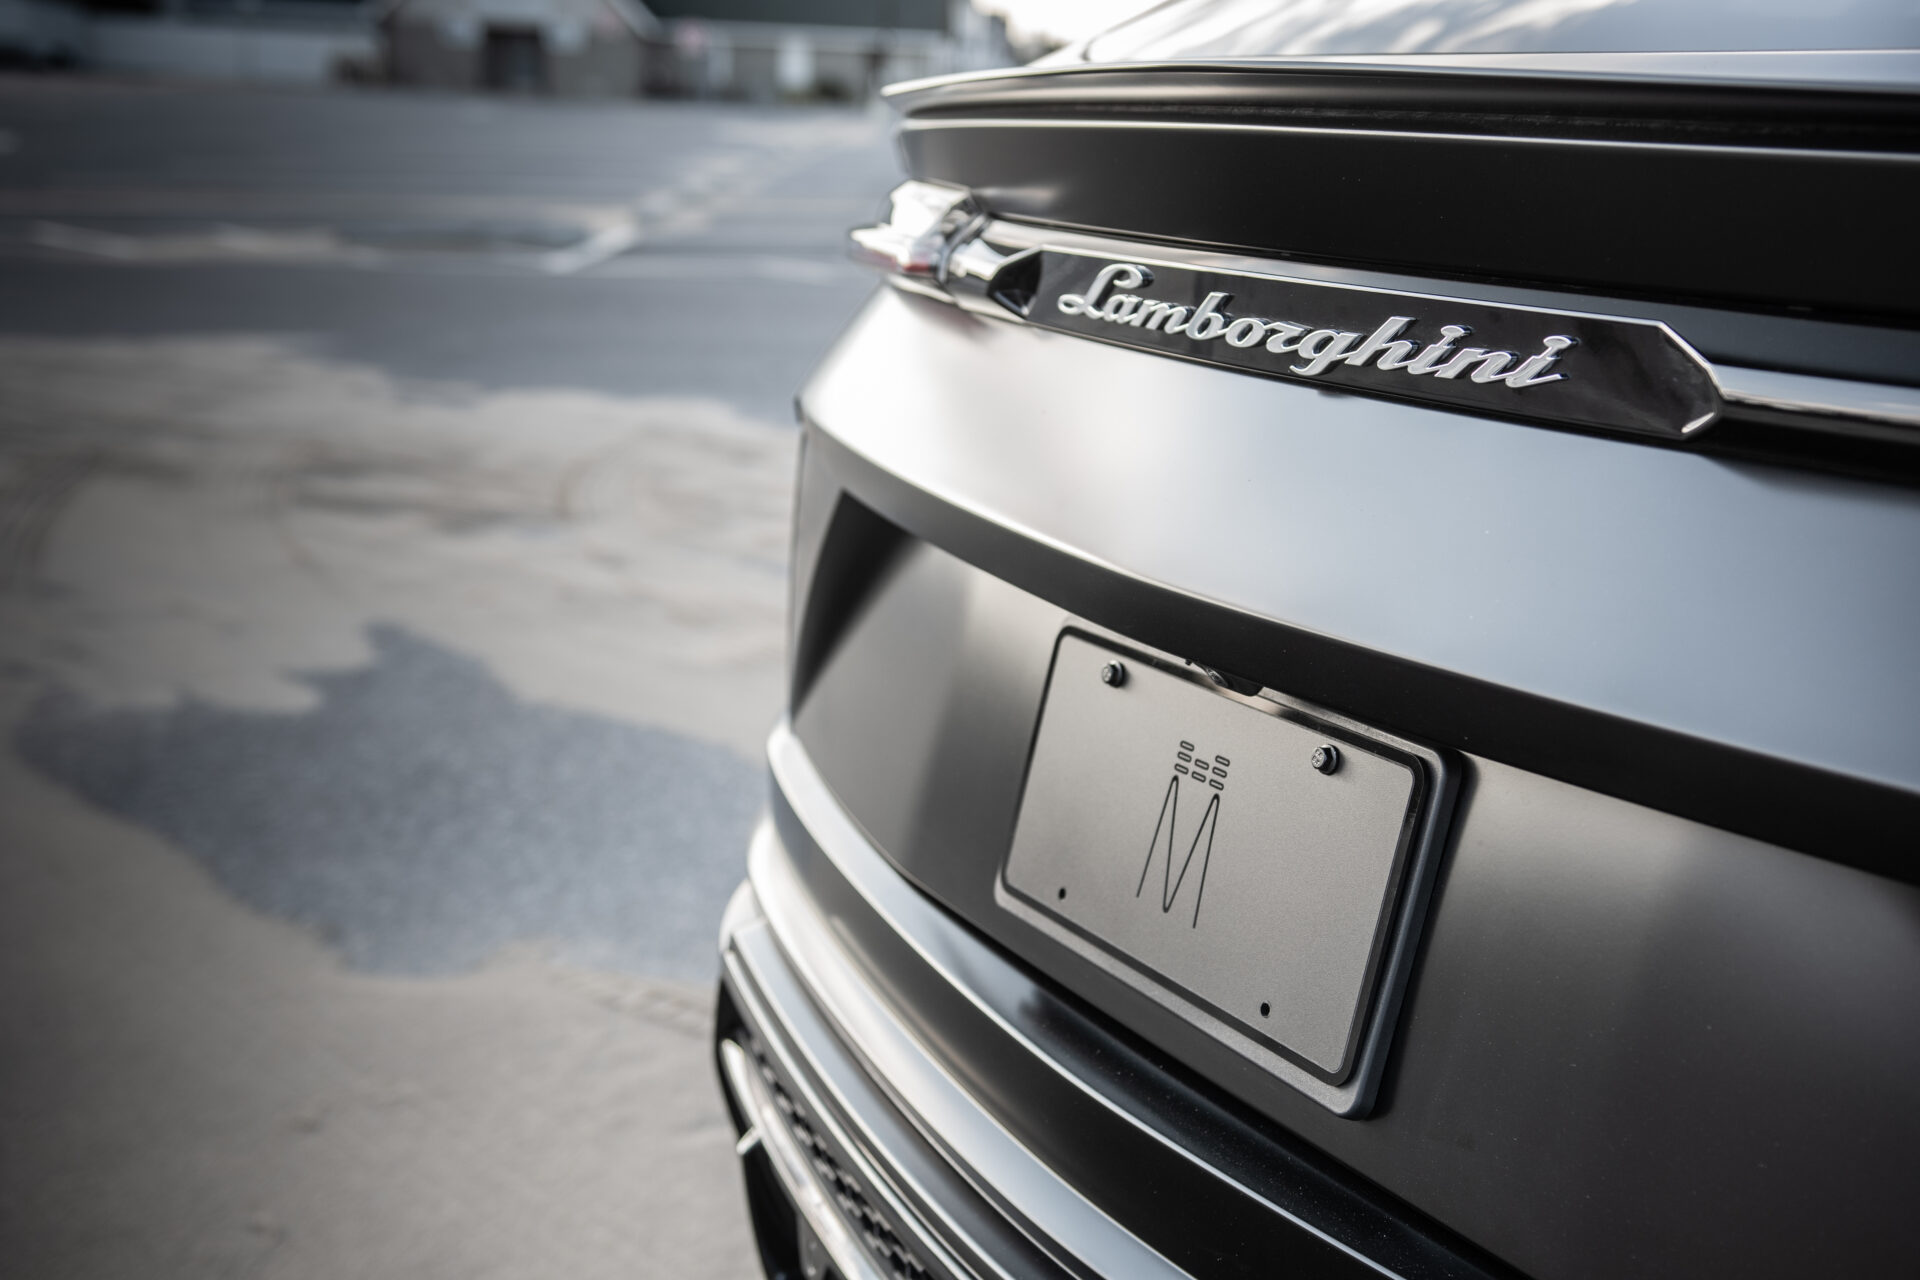
To protect the vehicle against potential speeding tickets, we equipped it with the new Escort Redline 360 for front and rear radar protection and used AL Priority for front and rear laser defense. We created 4 housing in the front to hold our two RX sensors and two TX sensors. These were created and designed to blend into the grille. Each pod is finished off with a light emitting acrylic to allow the light transmission through while concealing the sensor. In the rear we used two RX sensors and a center TX sensor. This ensures we are fully protected against VPR lidar guns in the front and rear. Pods were created and mounted into the bumper, retaining the same geometric shapes that you see in the grille.
We created a pod to house the Escort display and AL Priority LED to fit seamlessly in the gauge cluster. The face of the pod is finished off with smoked acrylic to give an OEM display finish. When the system is powered off, this display turns solid black and looks like an OEM display. We installed our ALP and Escort controller in the center console, which also has a magnetic carbon fiber cover to conceal the system.