HiFi 3
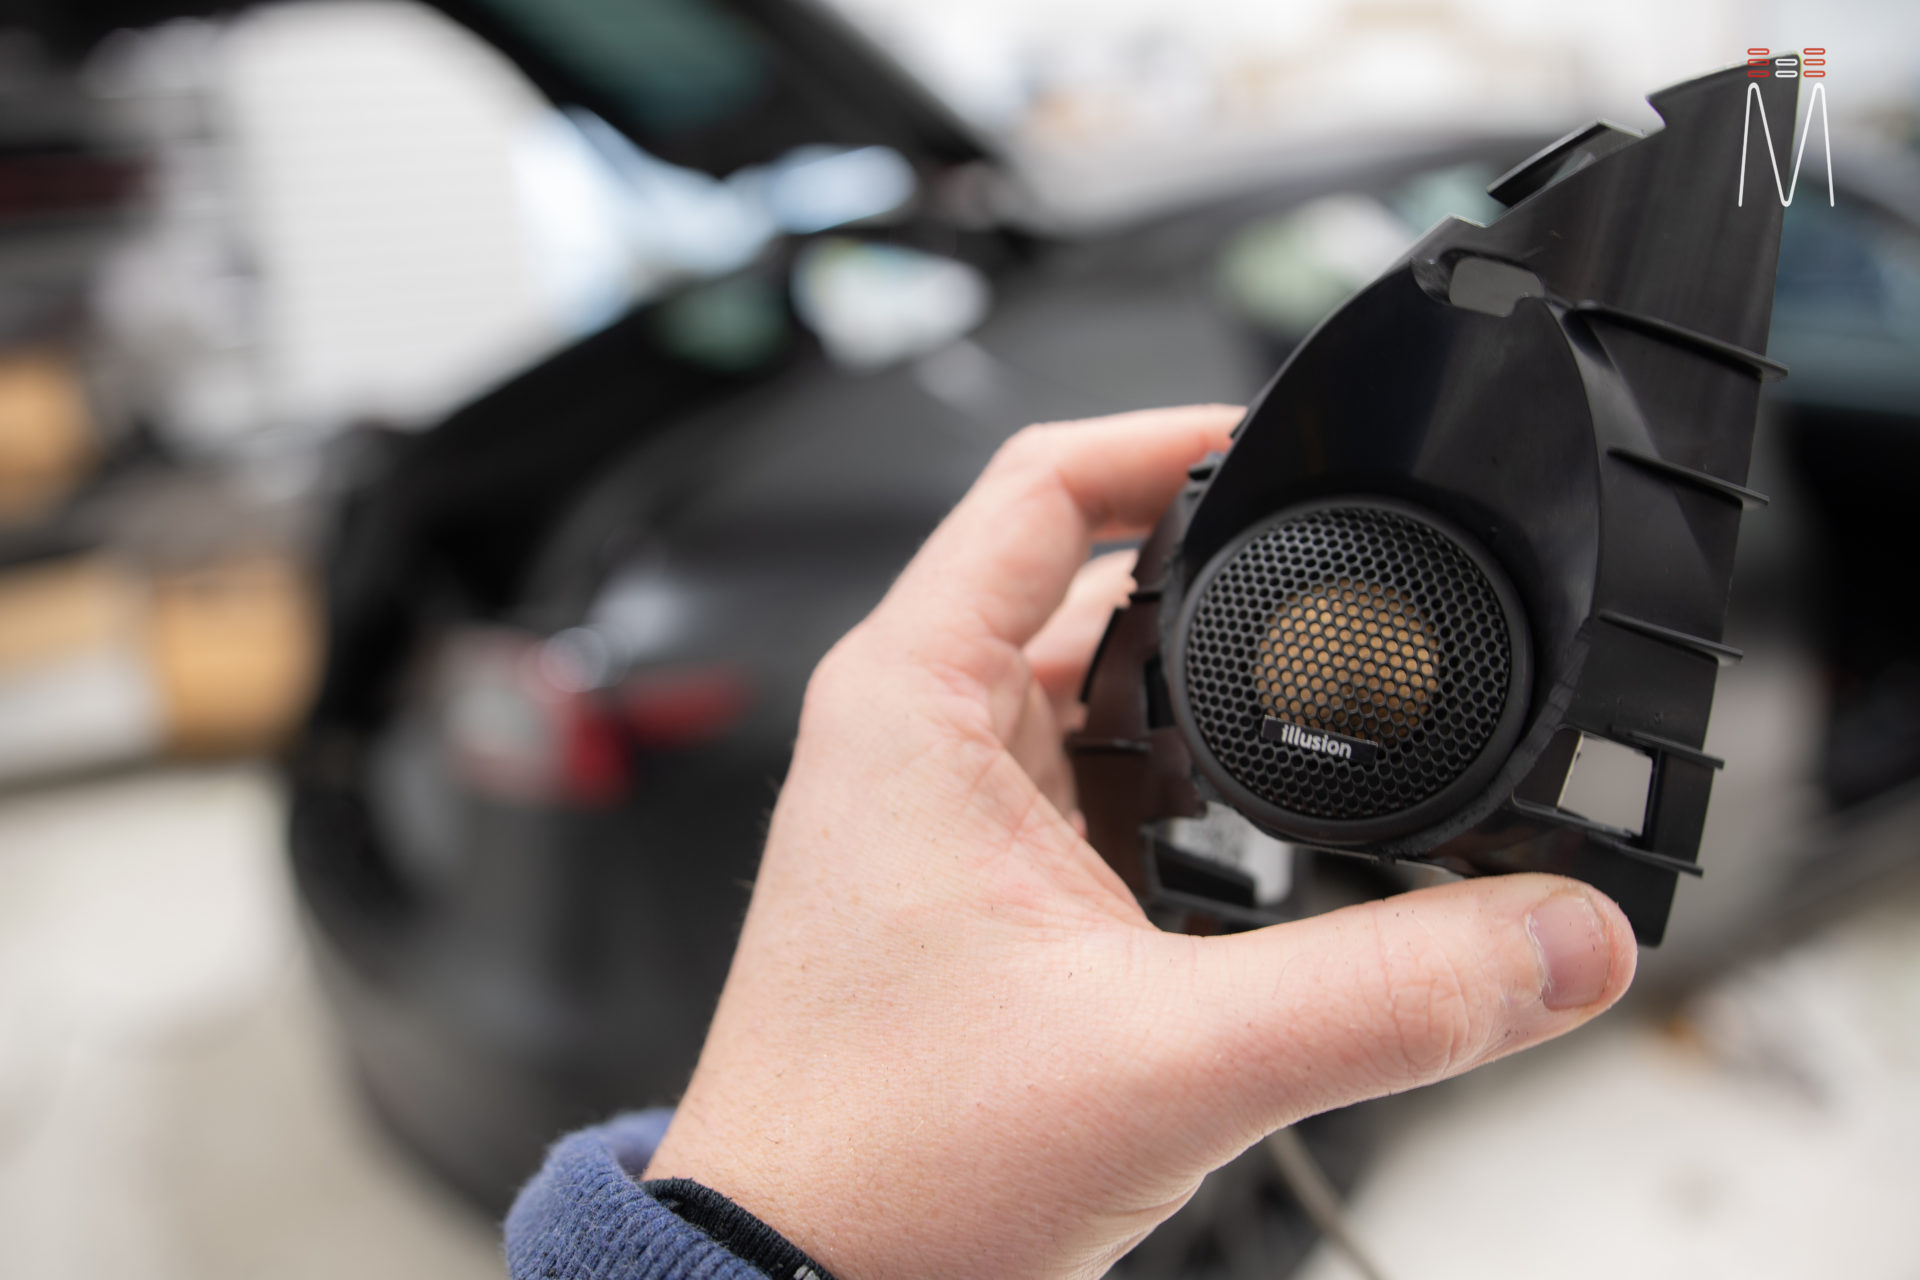
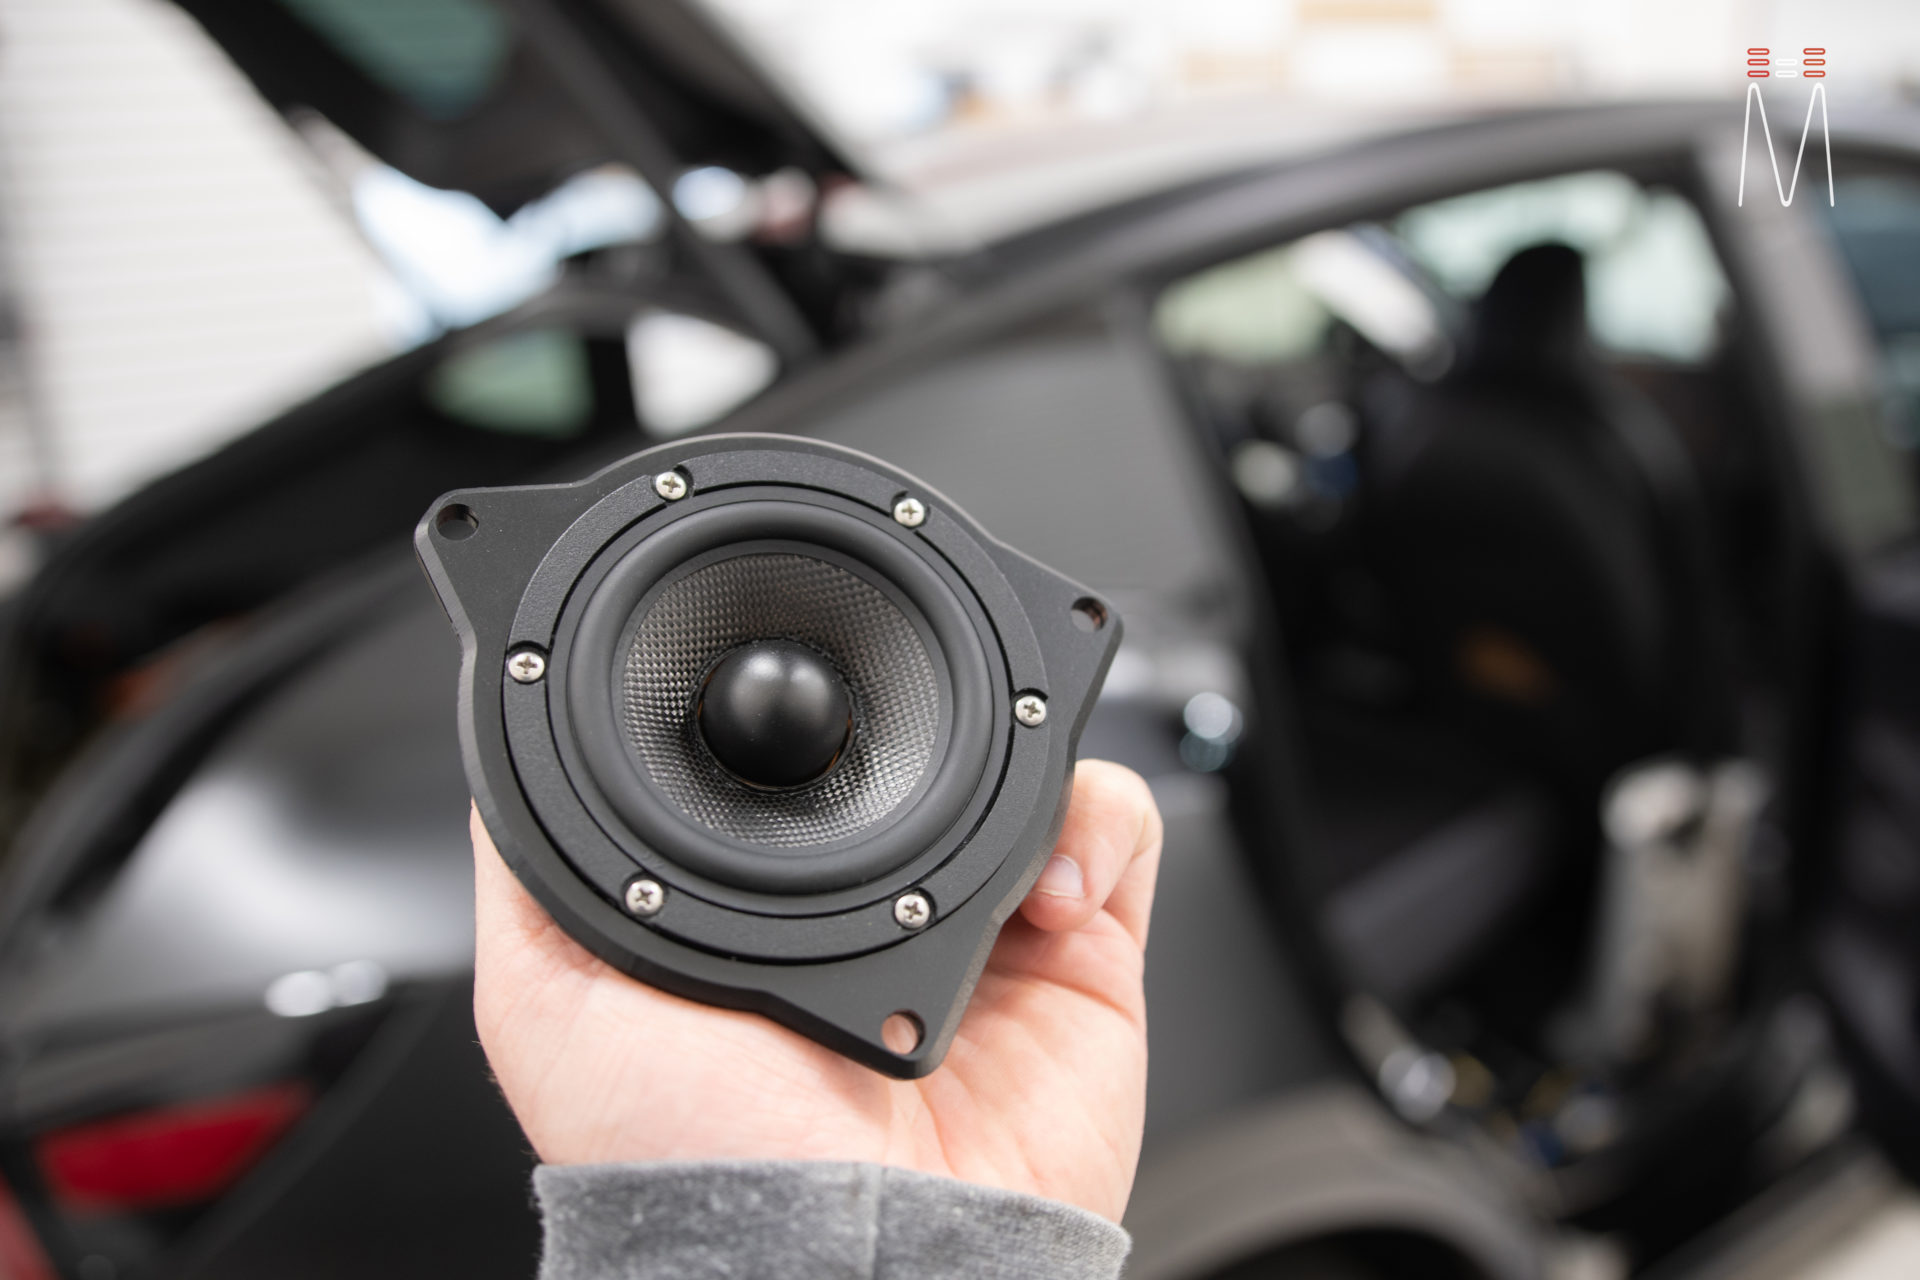
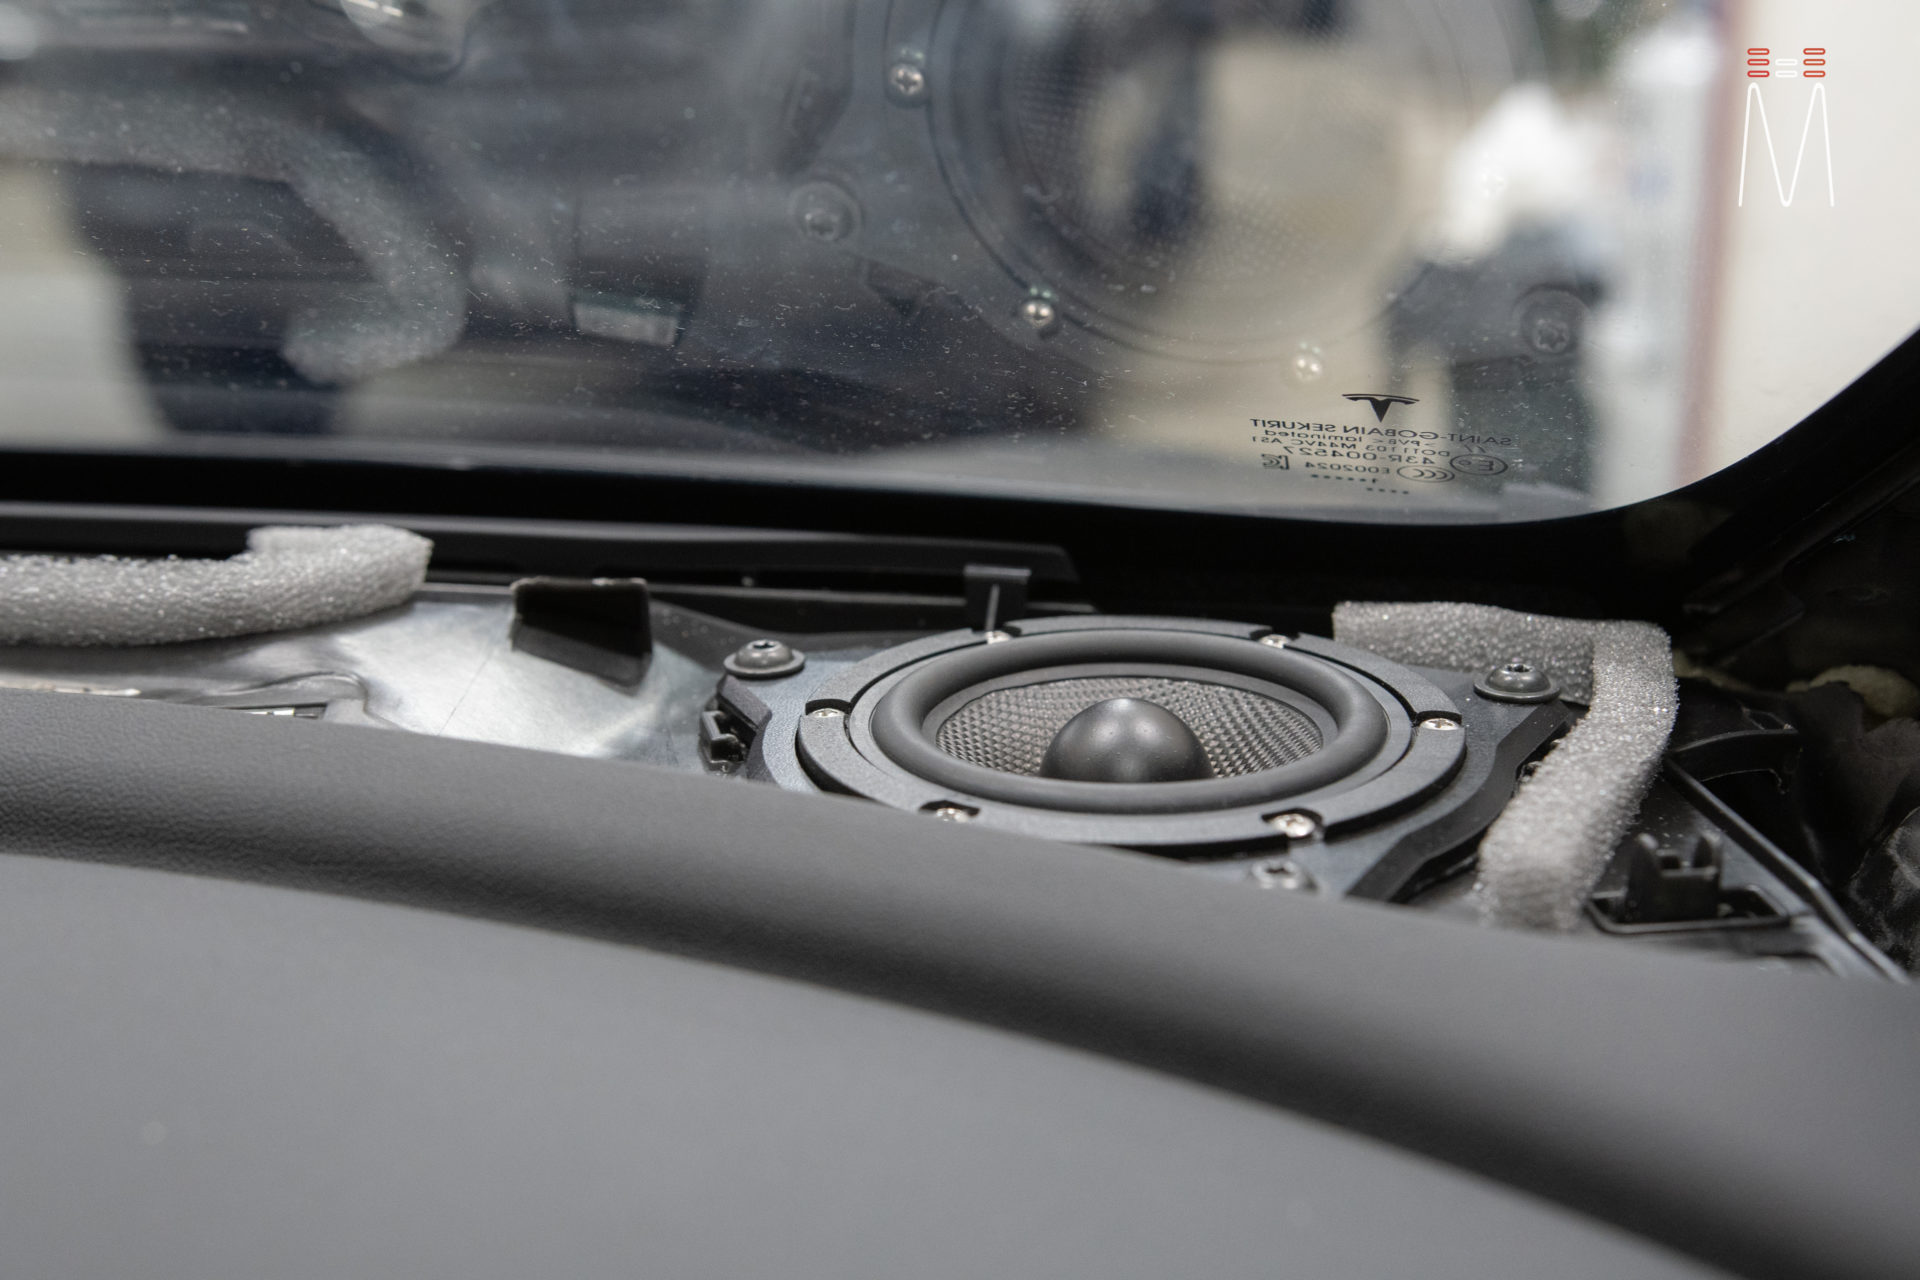
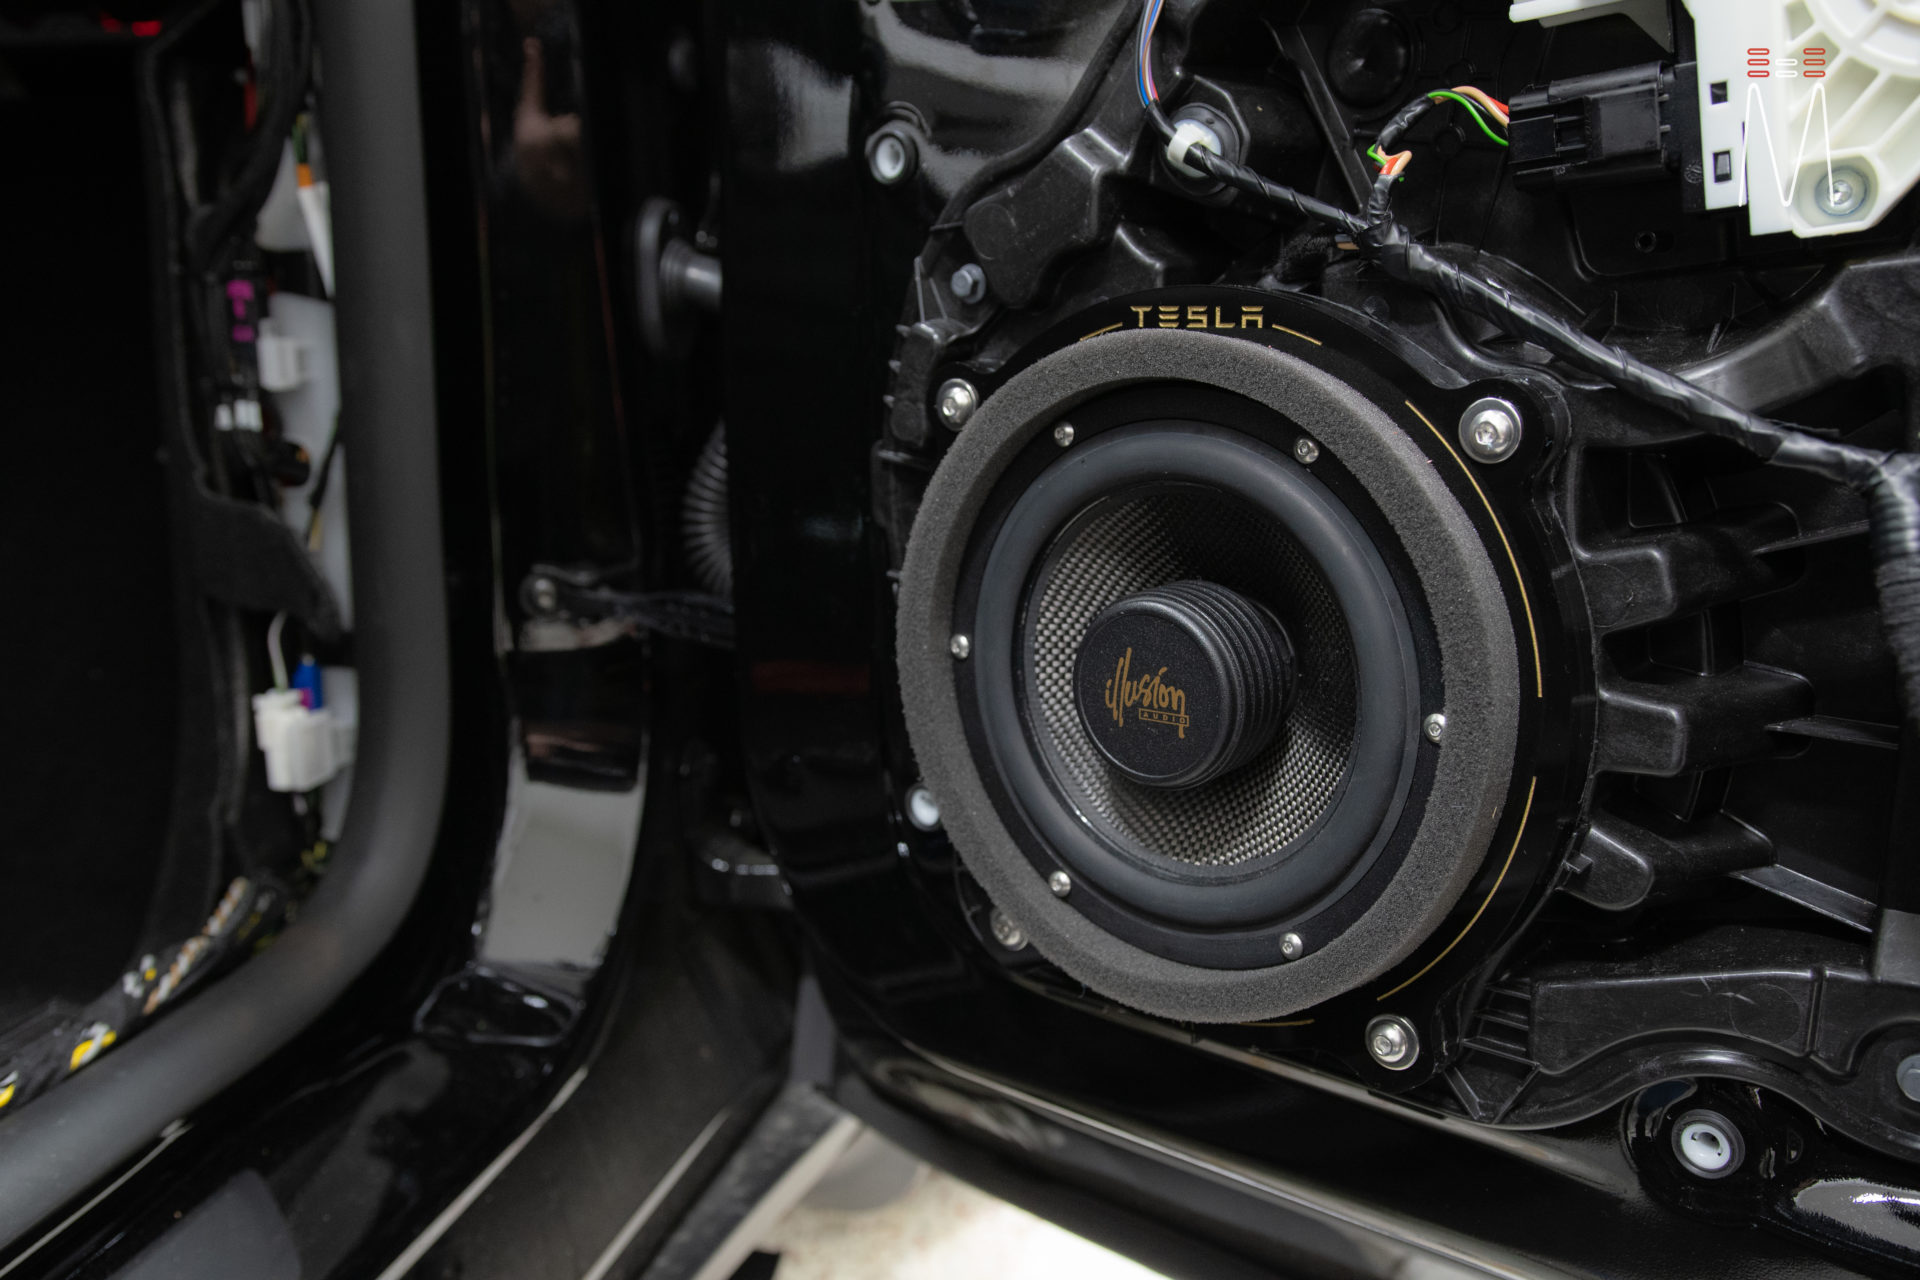
These are my favorite type of builds. Straight forward, one week jobs, with some OE integration cosmetics. Starting with the front speakers, we used a set of Illusion C6 mid bass woofers in the doors. The window was completely removed so we could fully sound treat the door. A combination of SoundShield and Hushmat were used for sound treatment. Acrylic plates were made to create a OEM way to mount the new speaker. A set of Illusion C3S was used to complete the front stage. The tweeters were installed in the OEM sail panels while the midrange were housed in the OEM location on the dash.
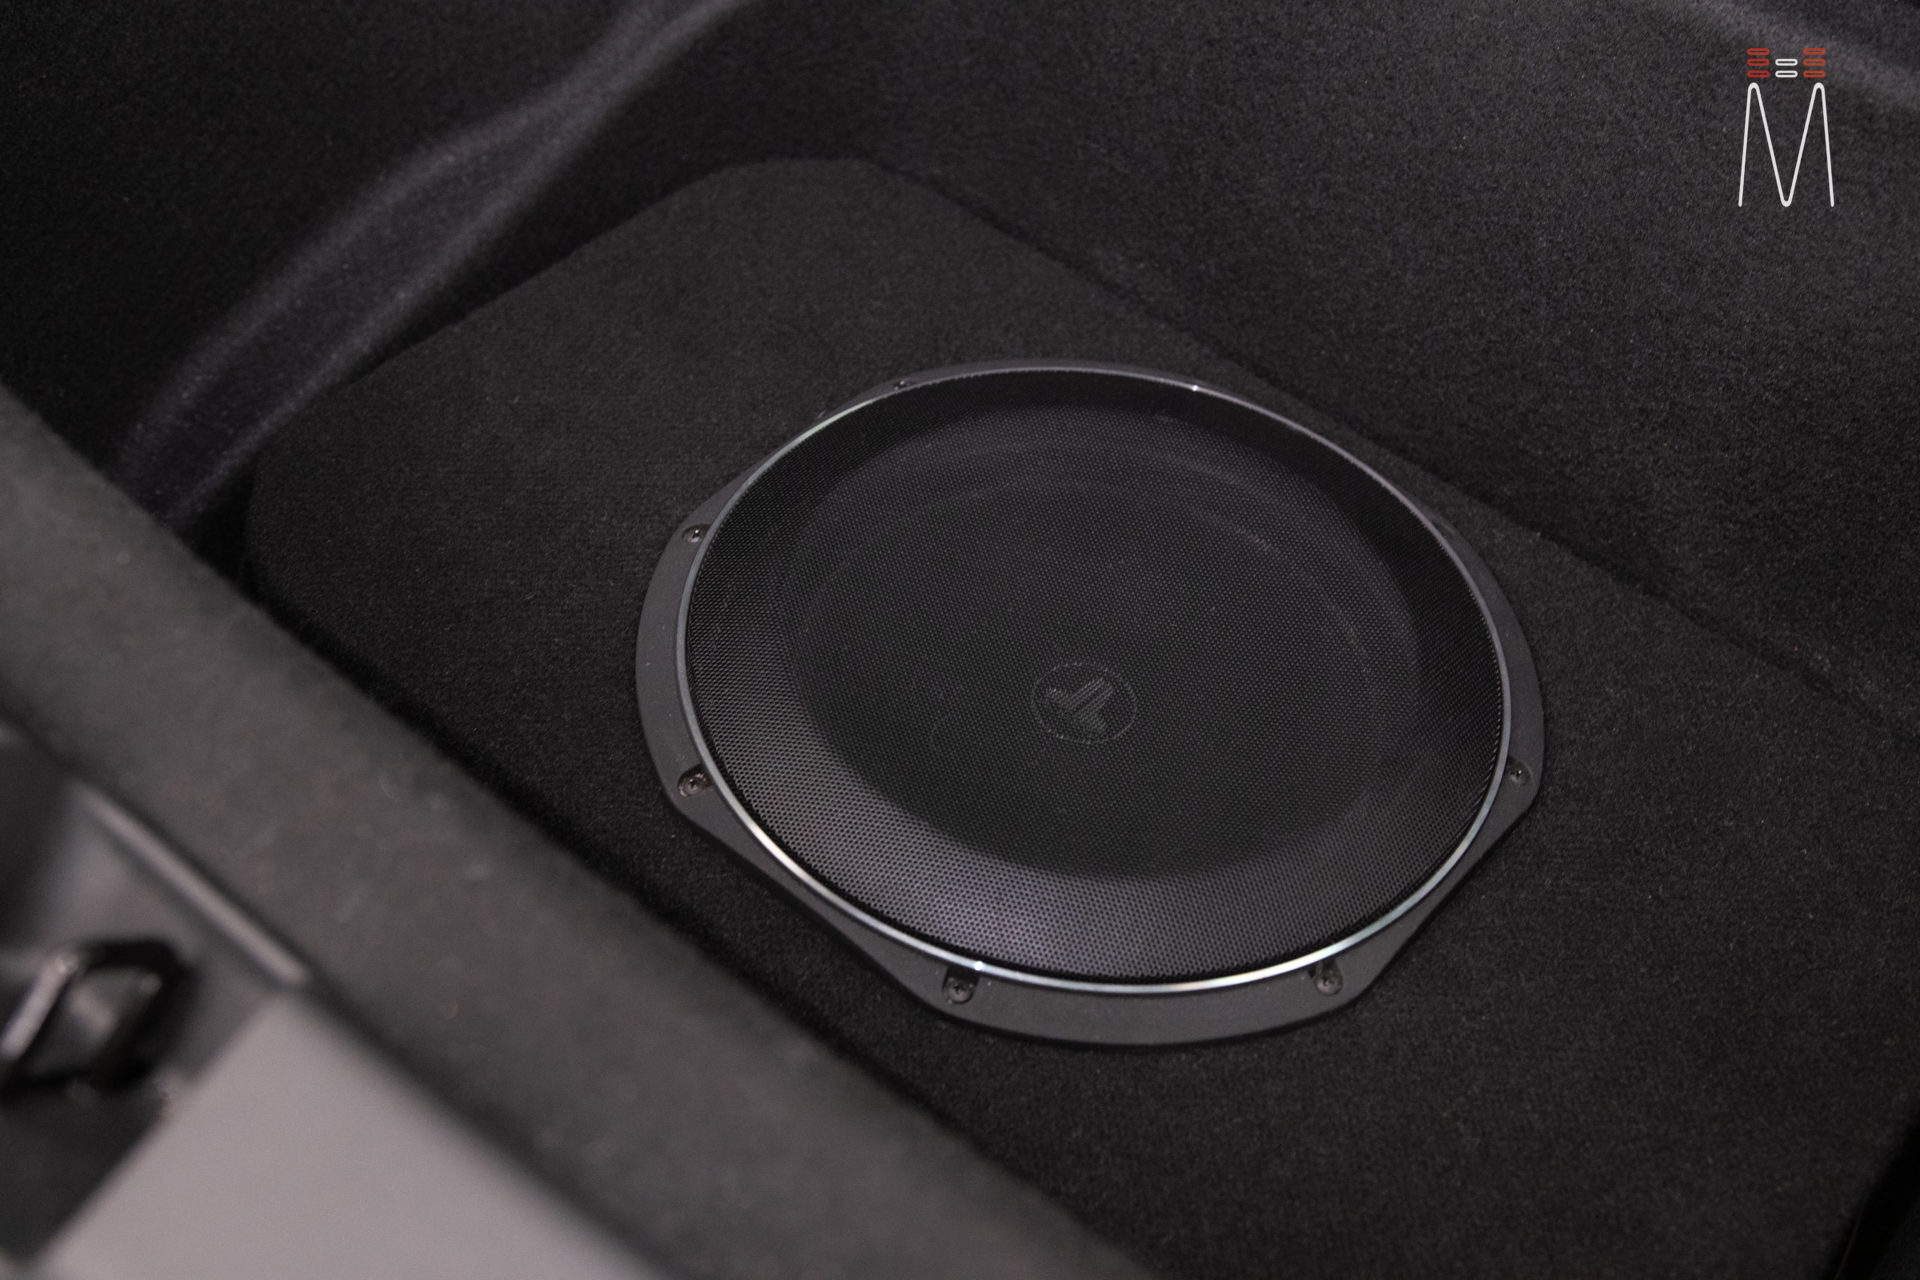
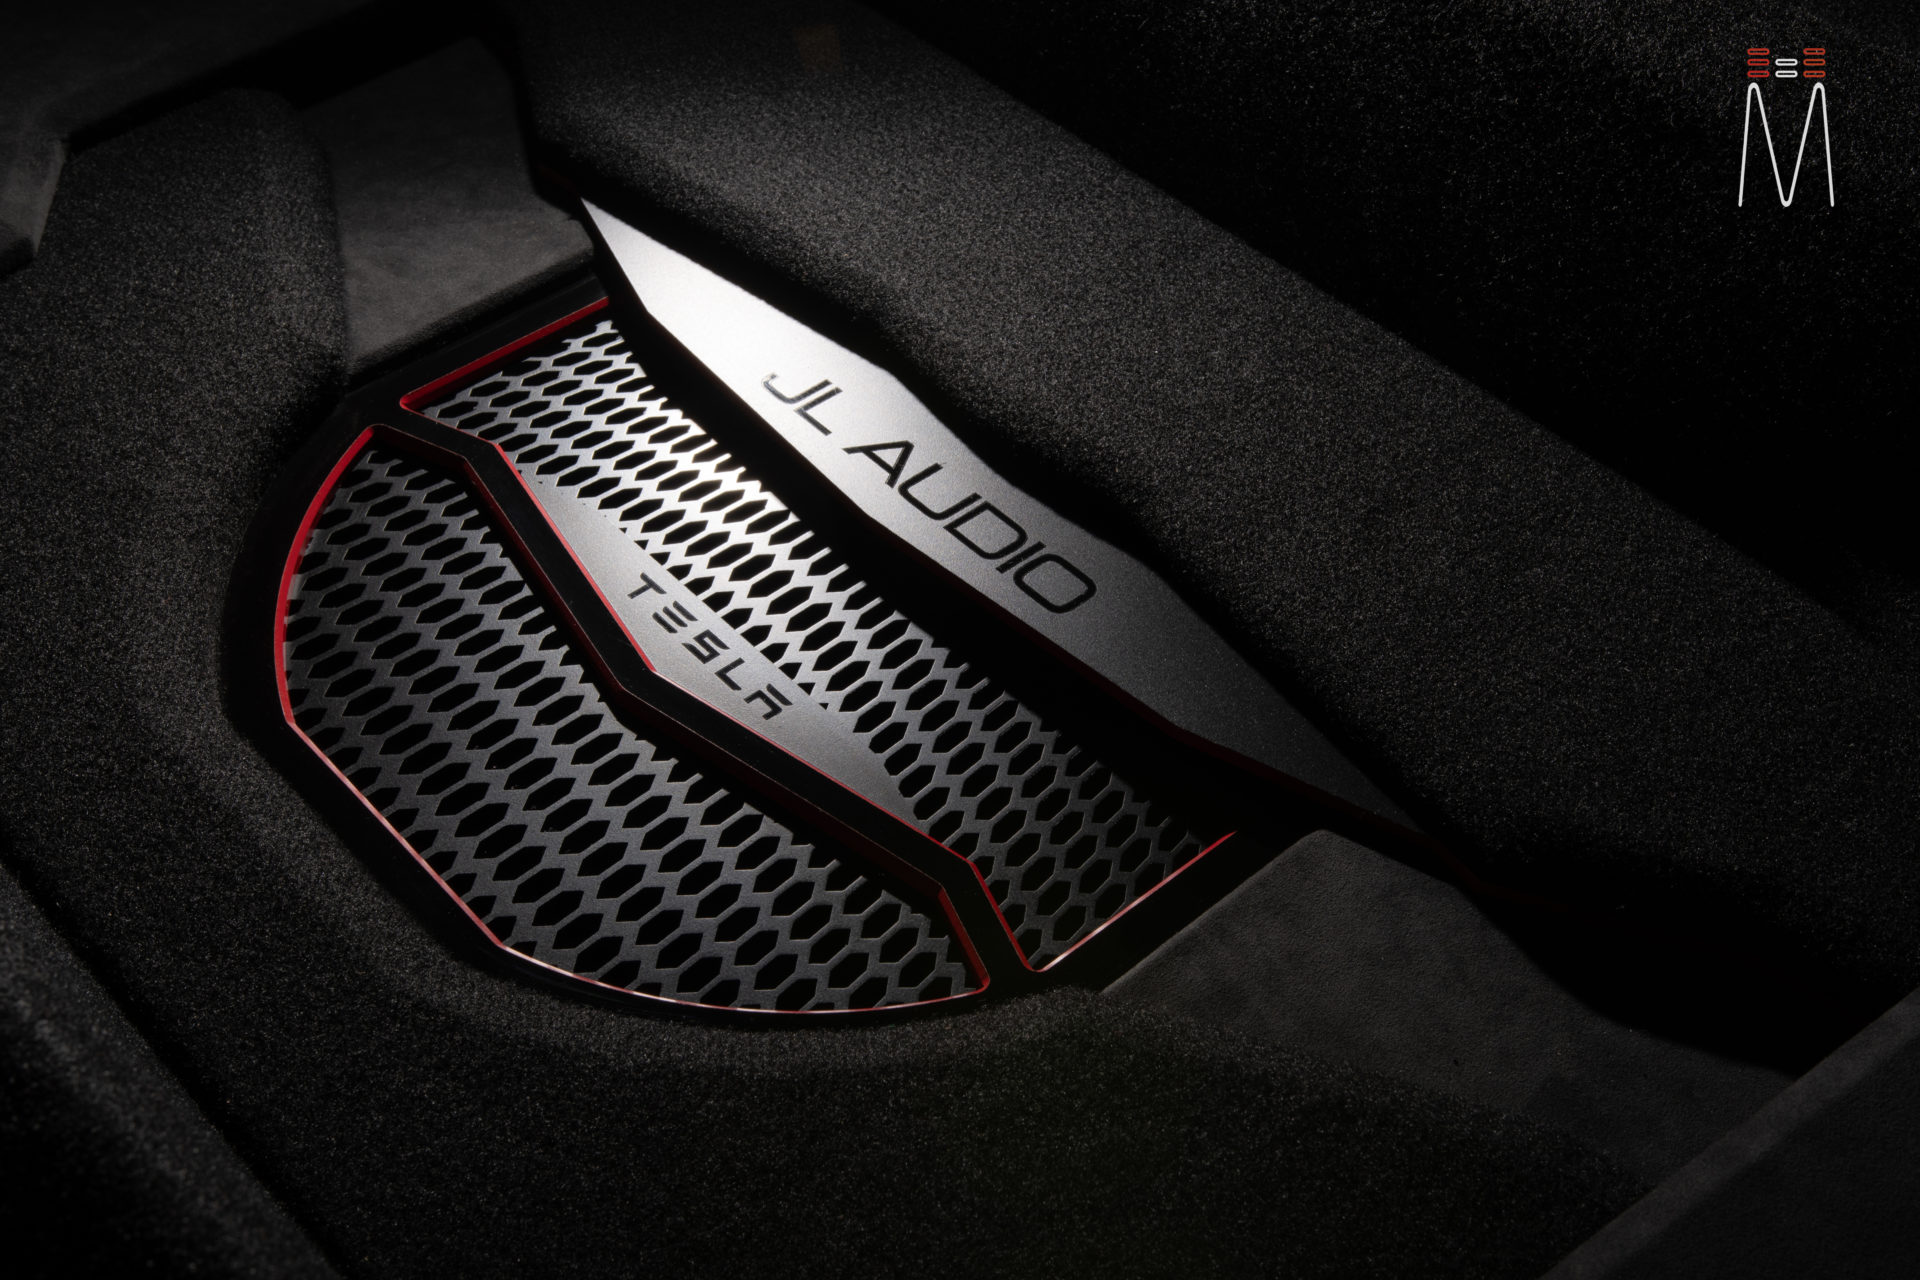
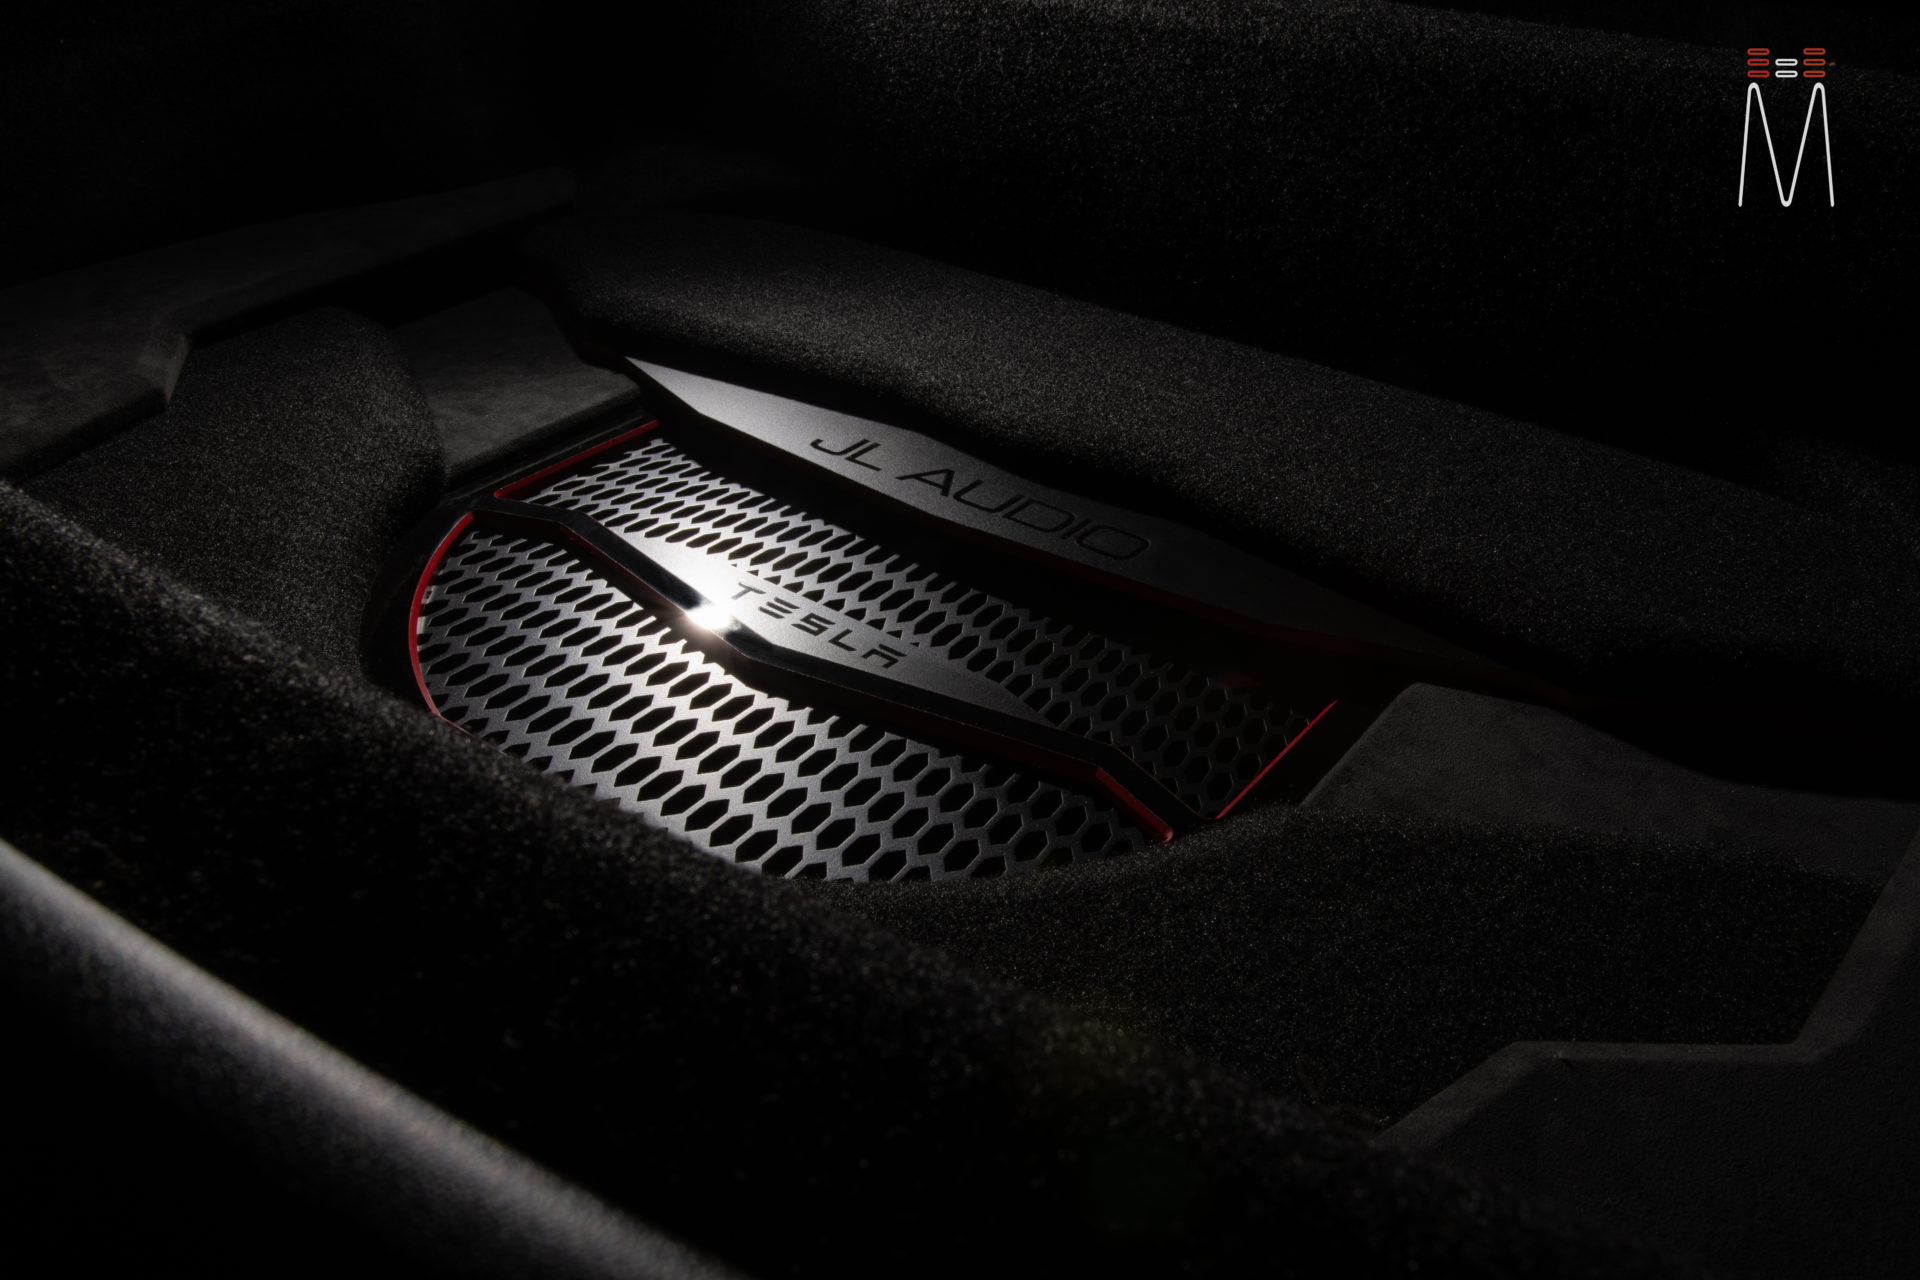
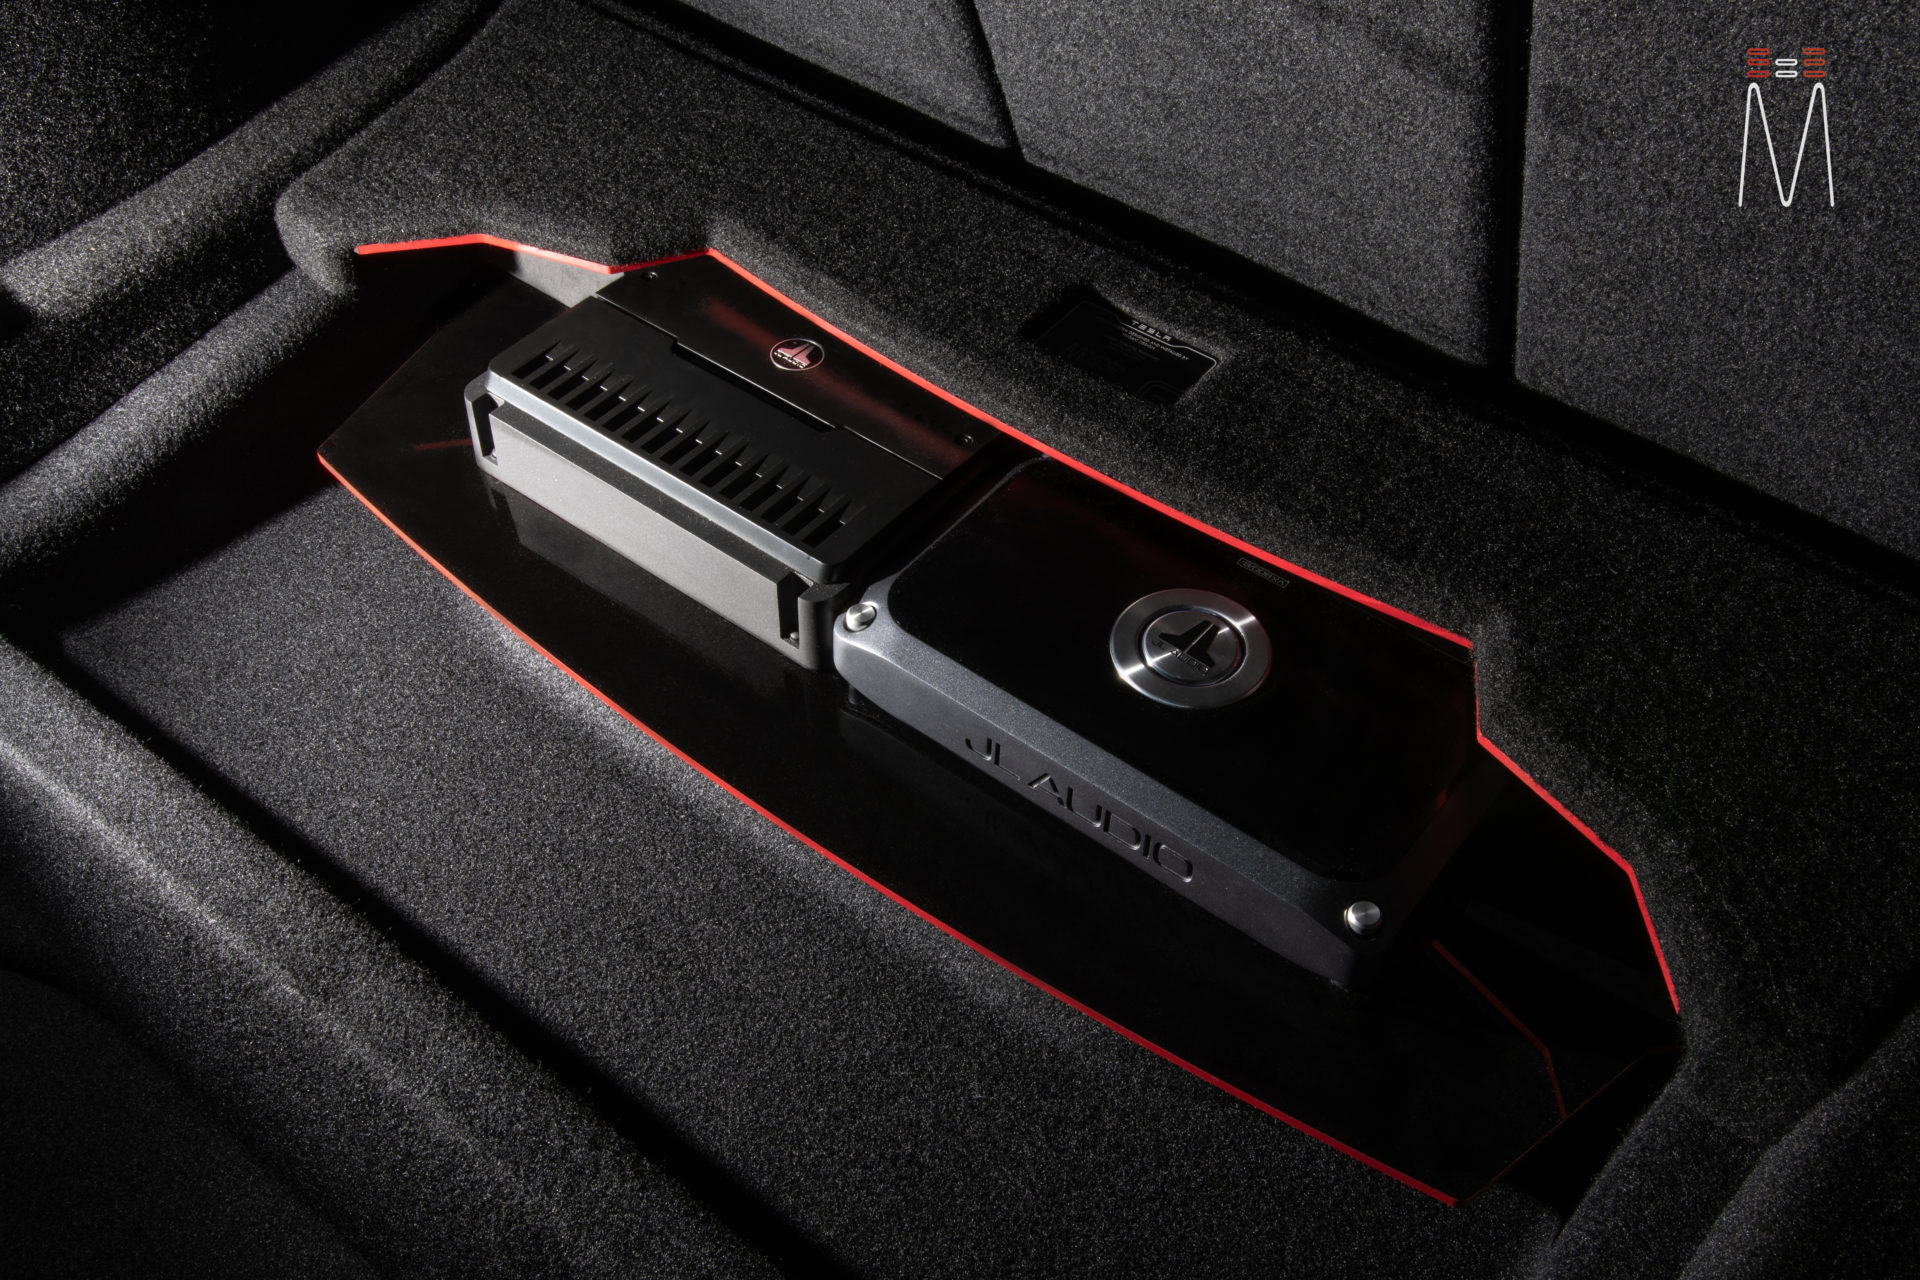
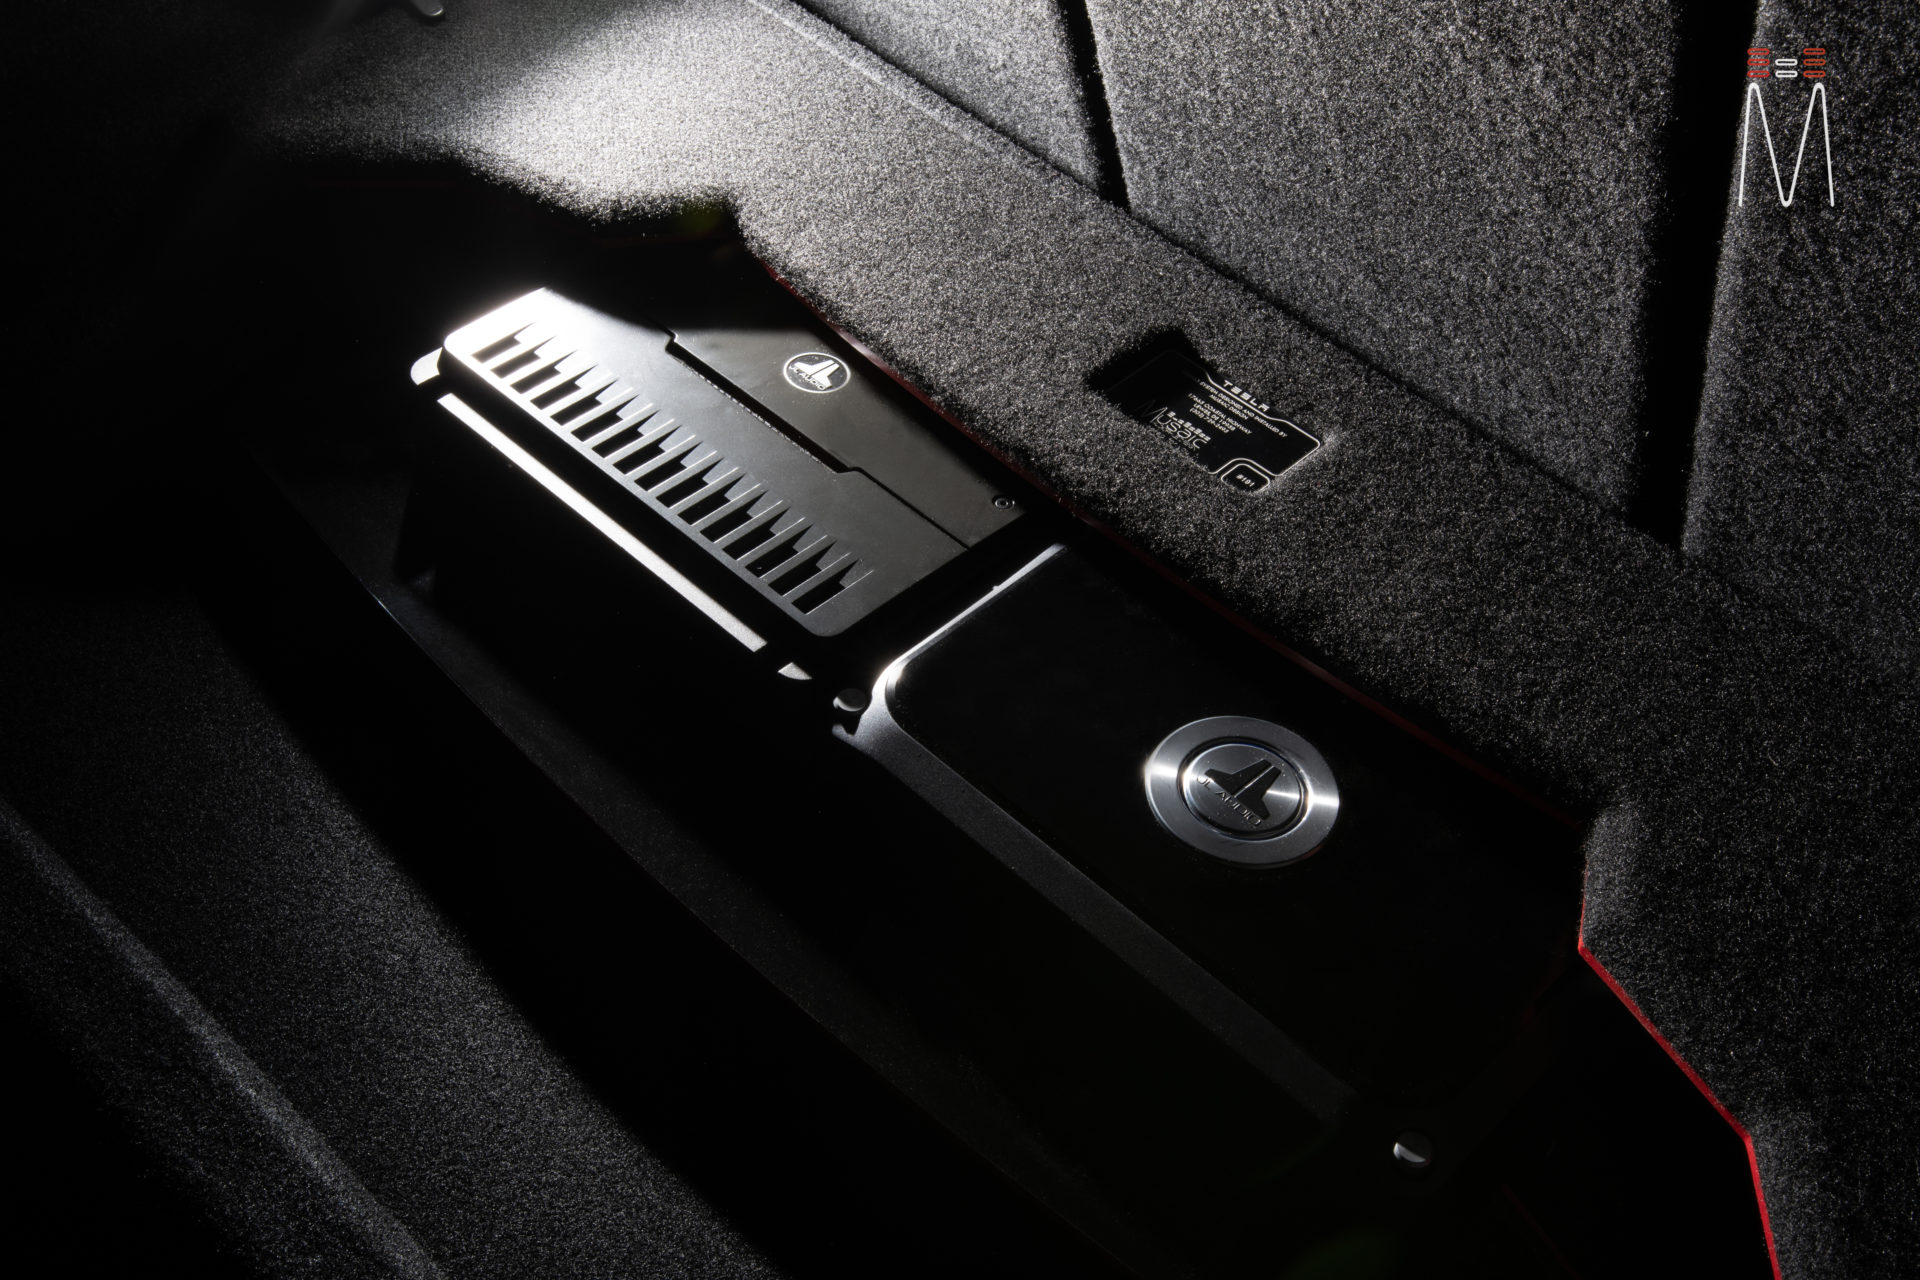
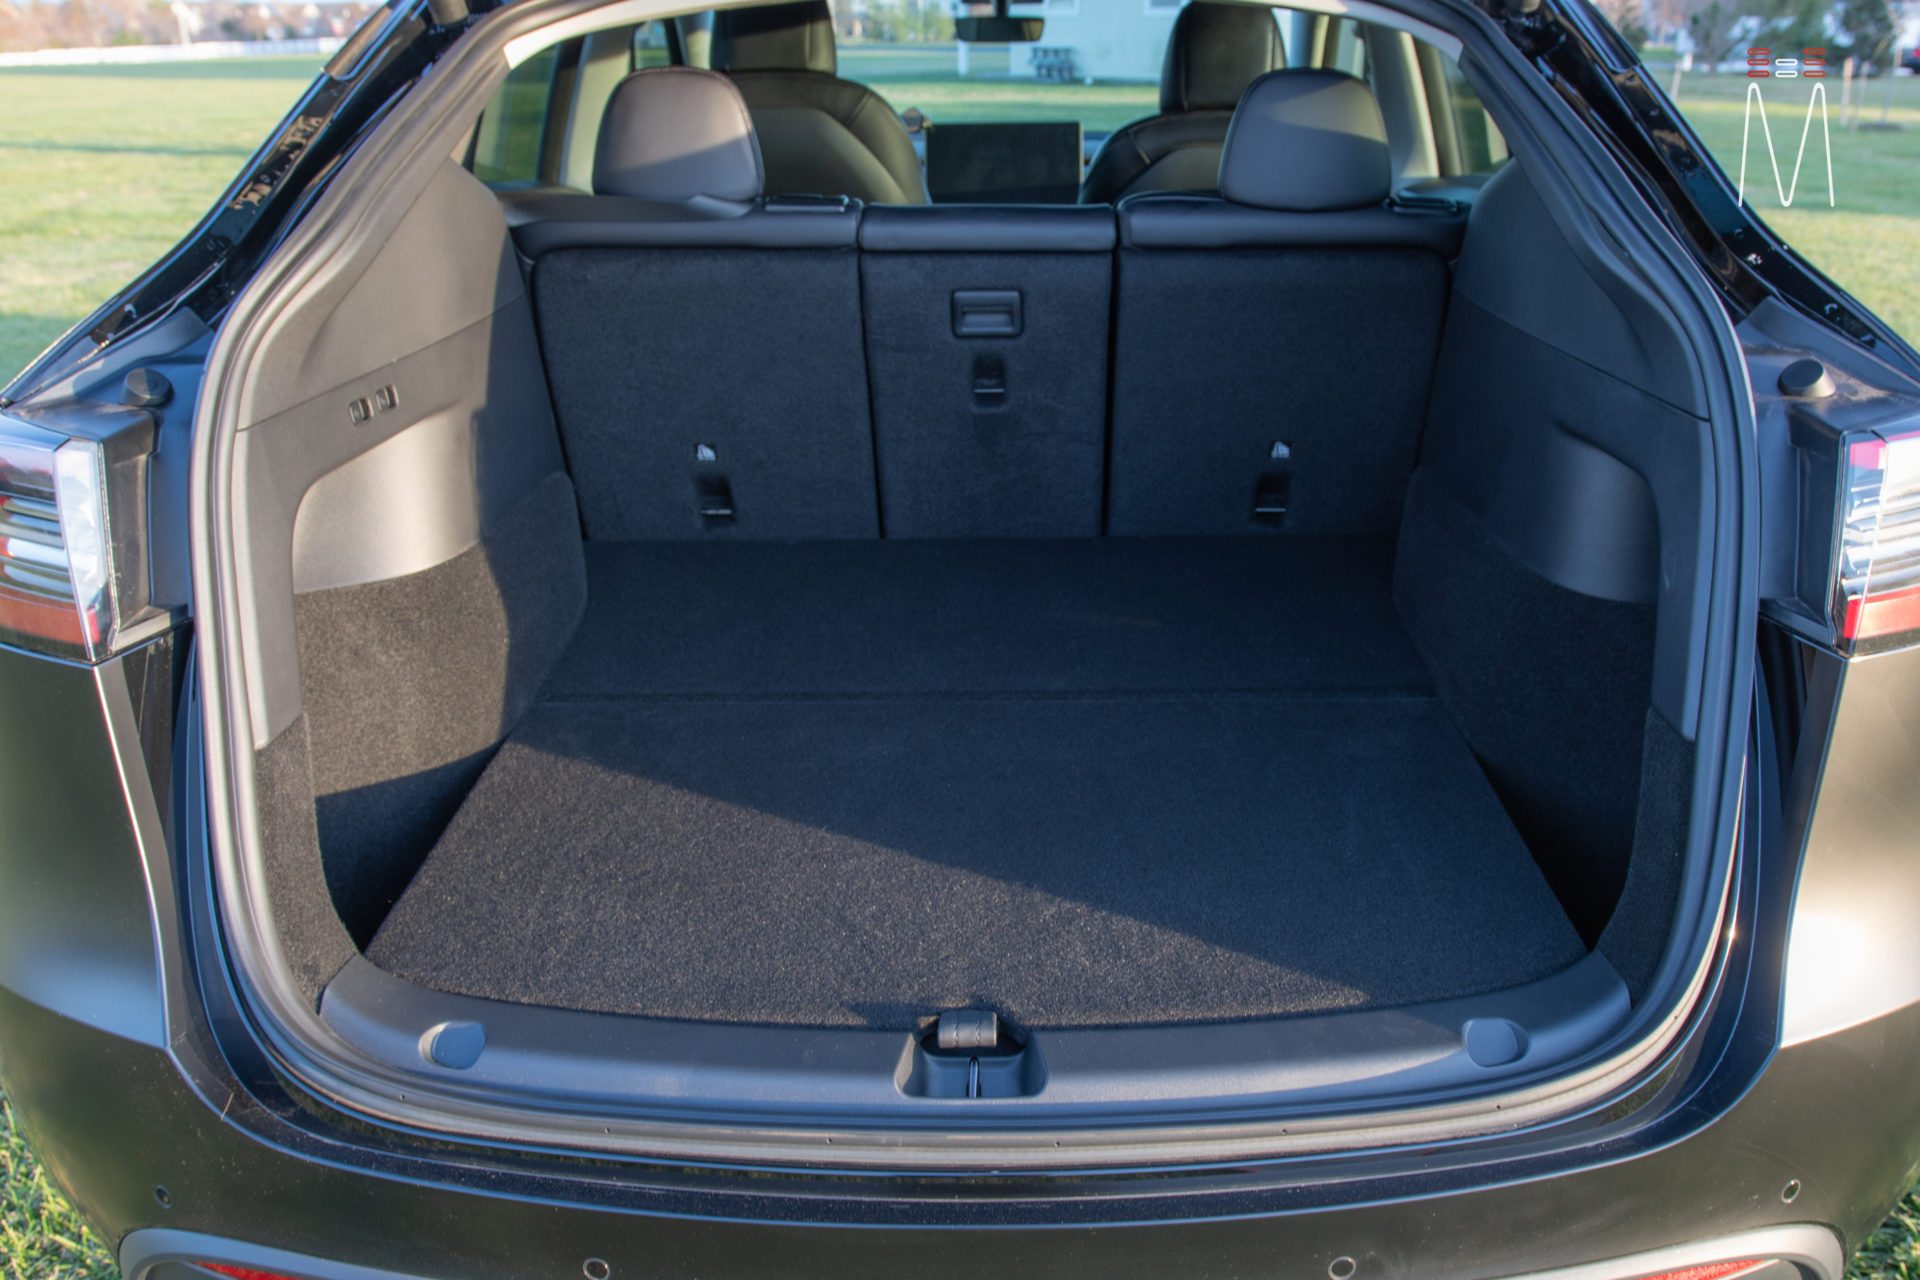
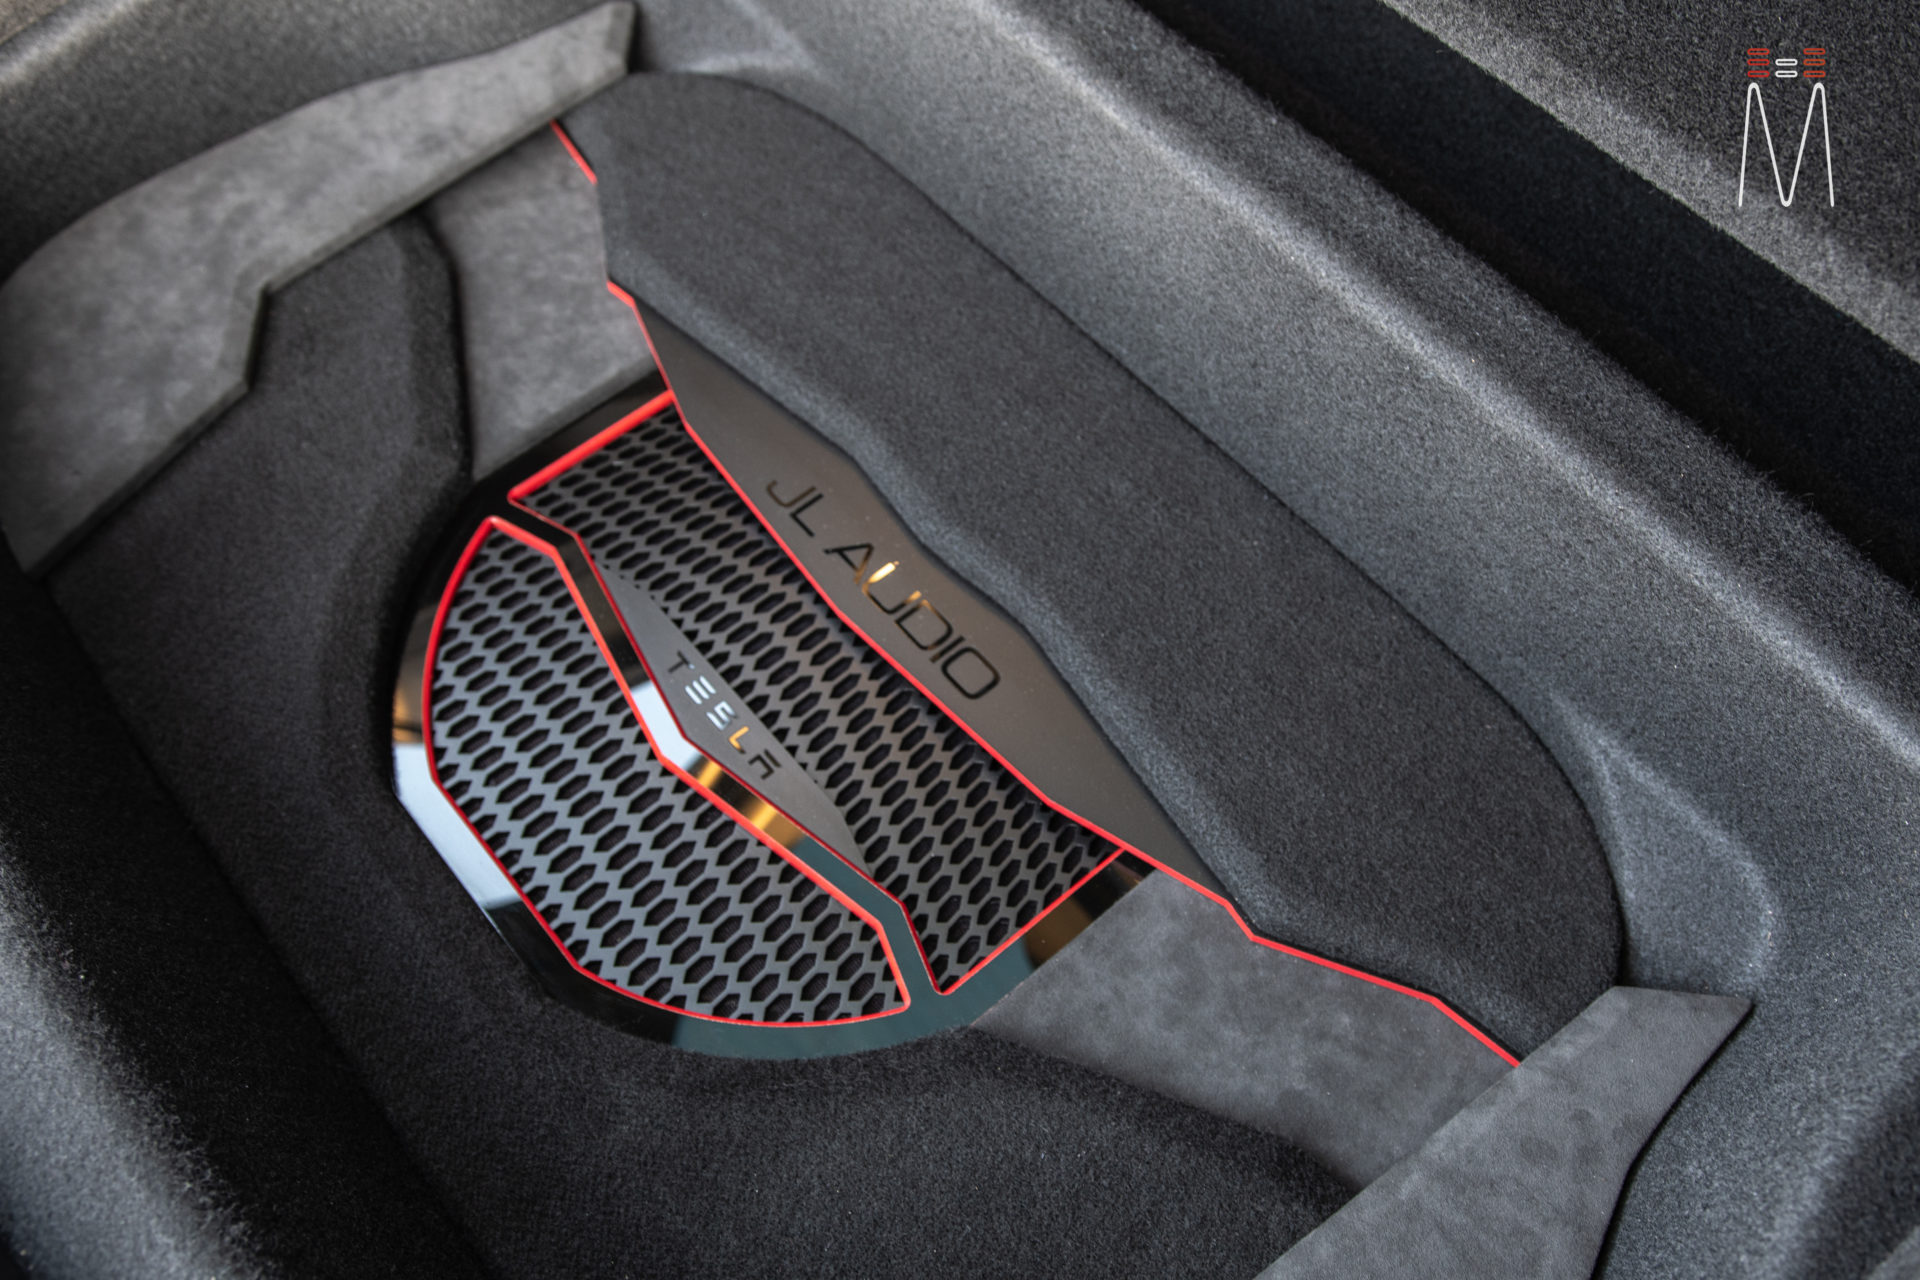
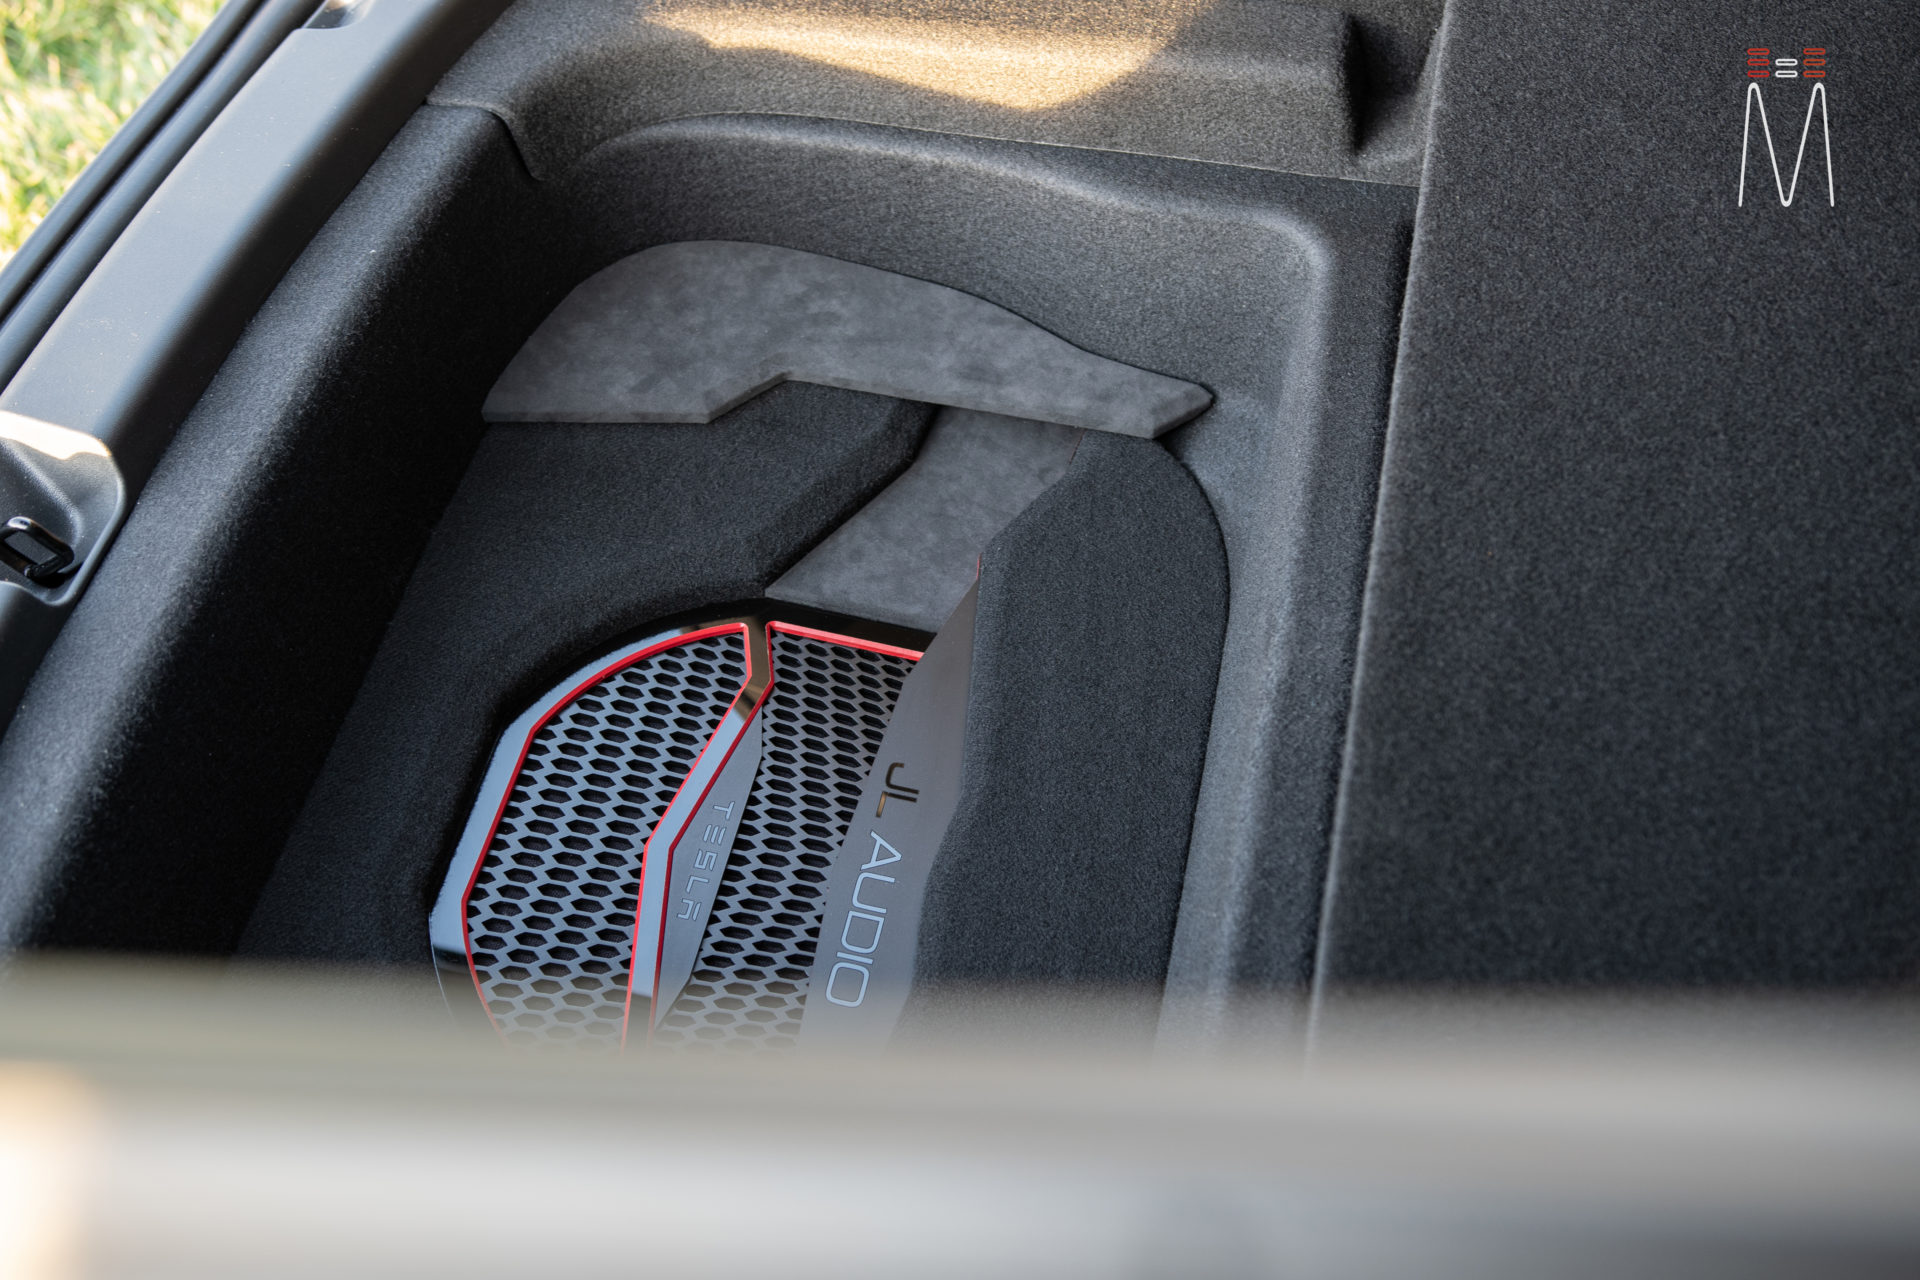
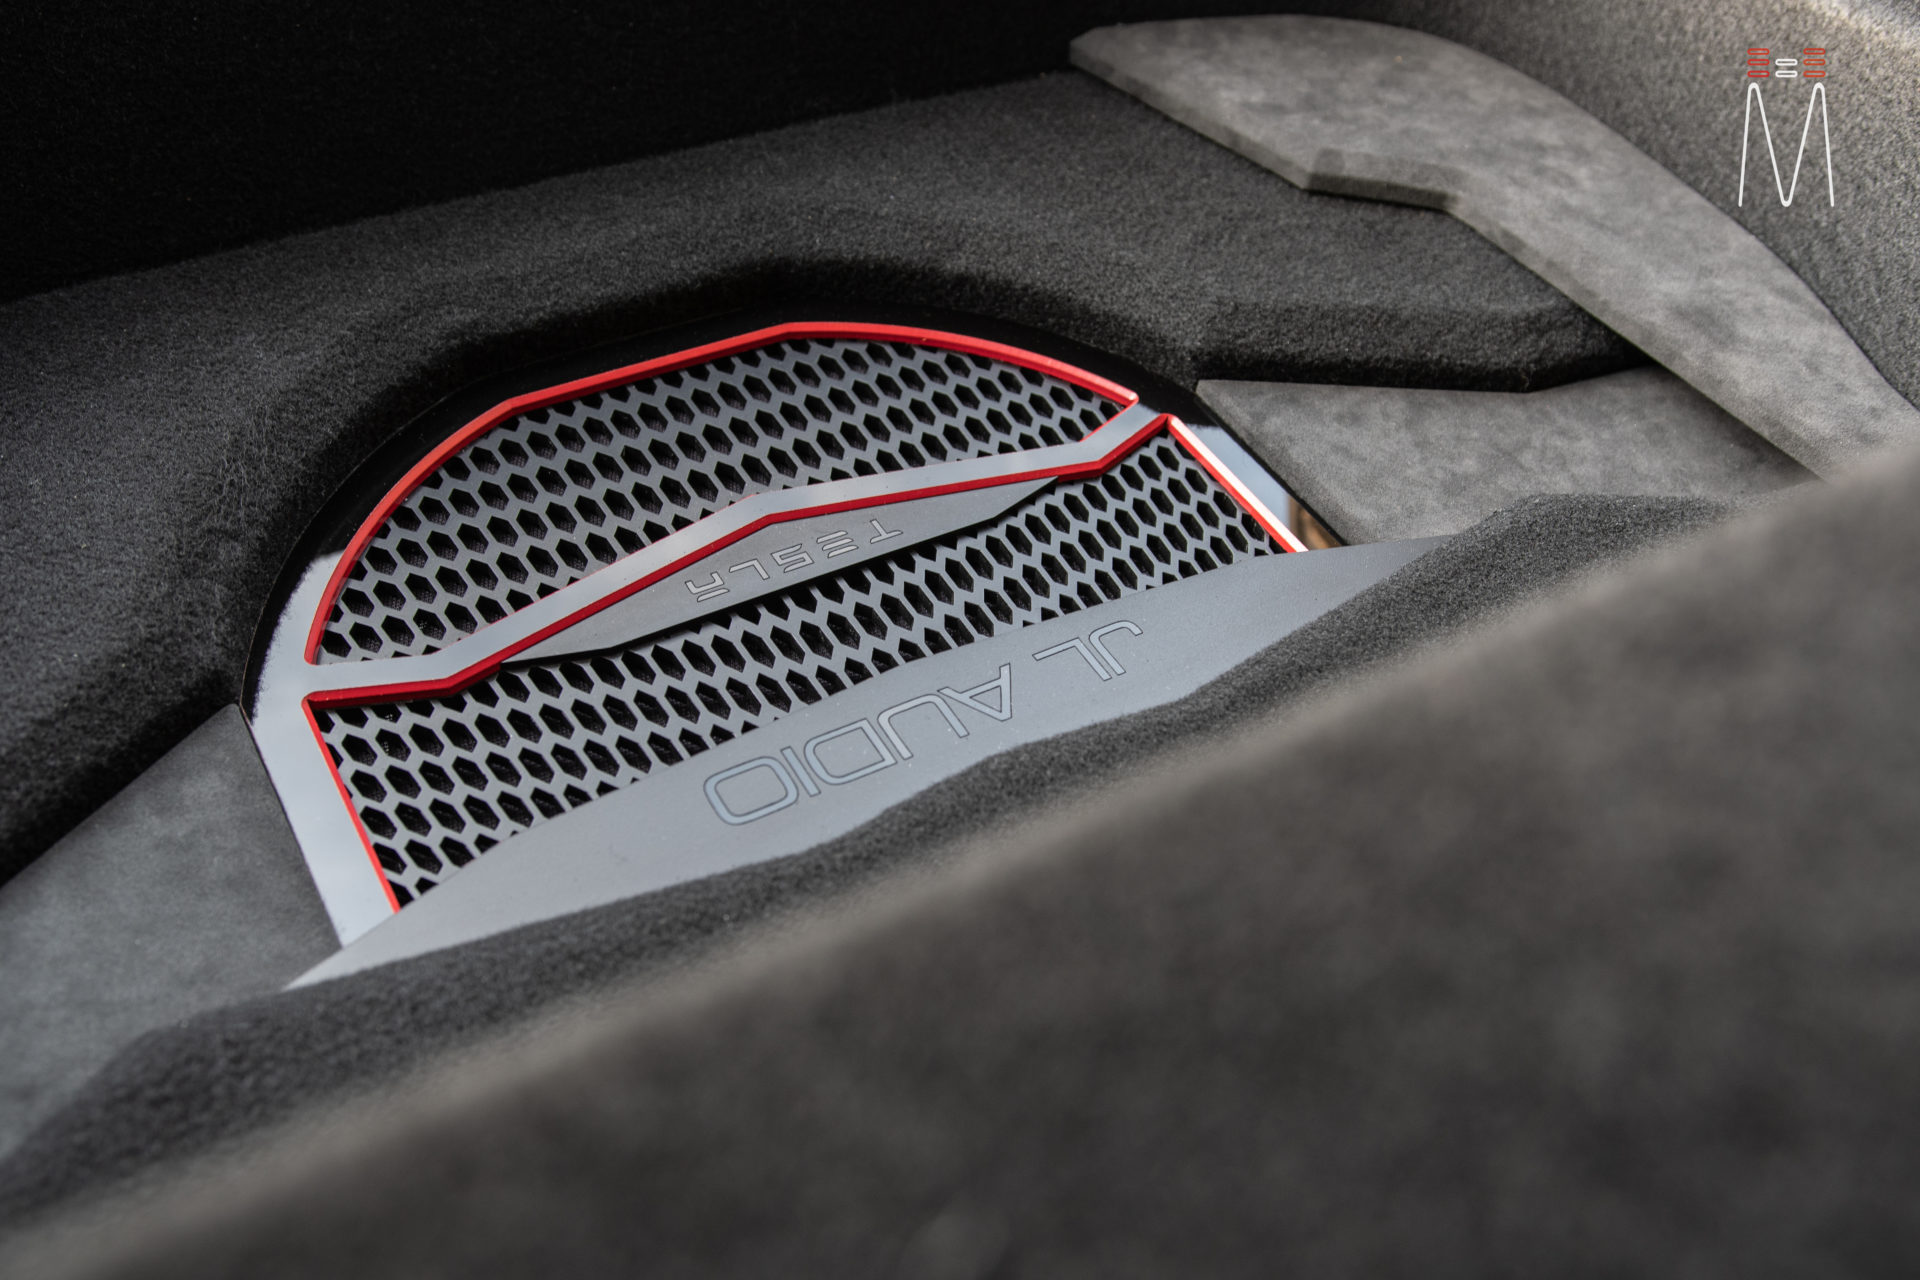
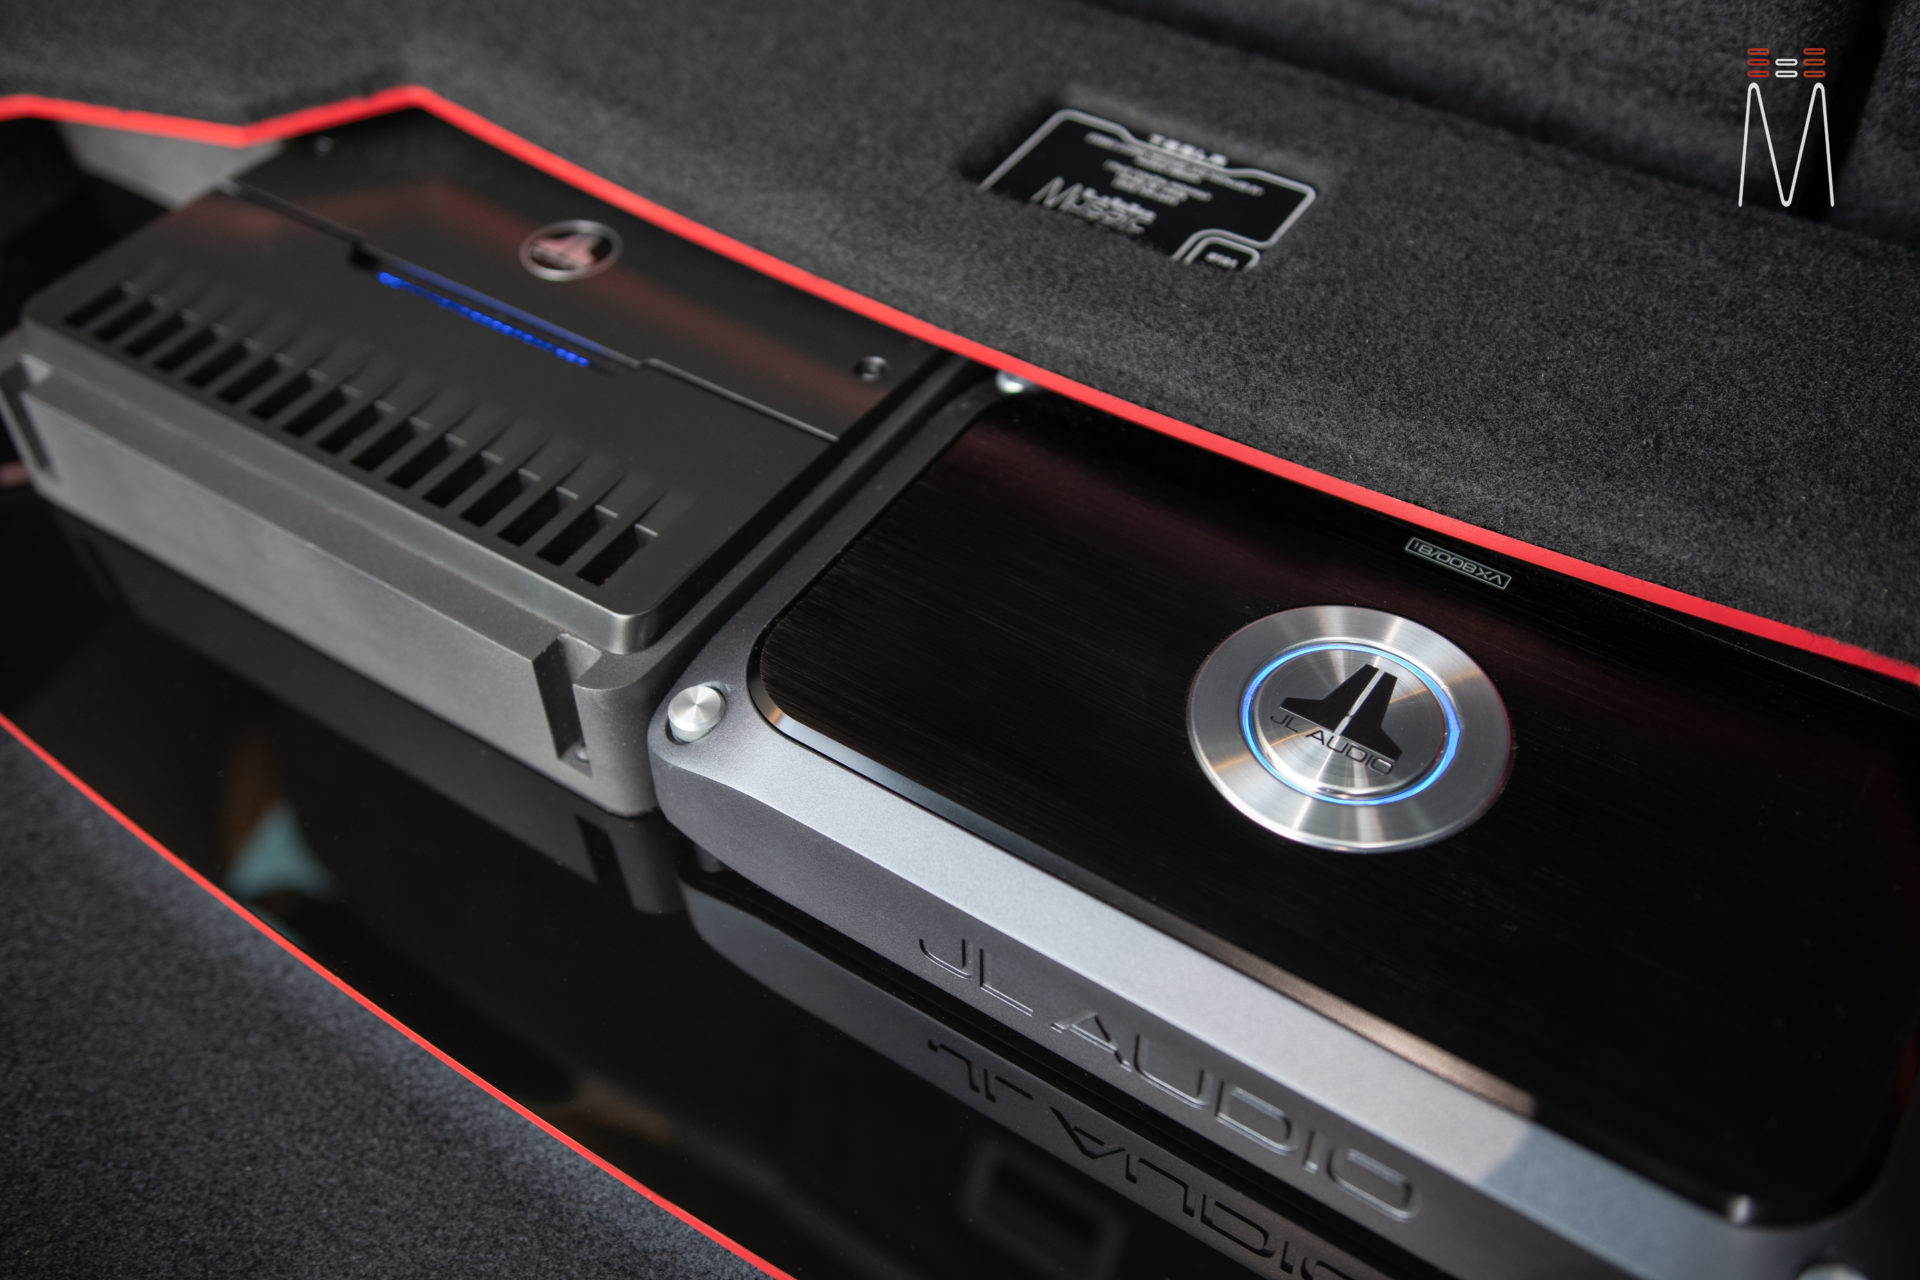
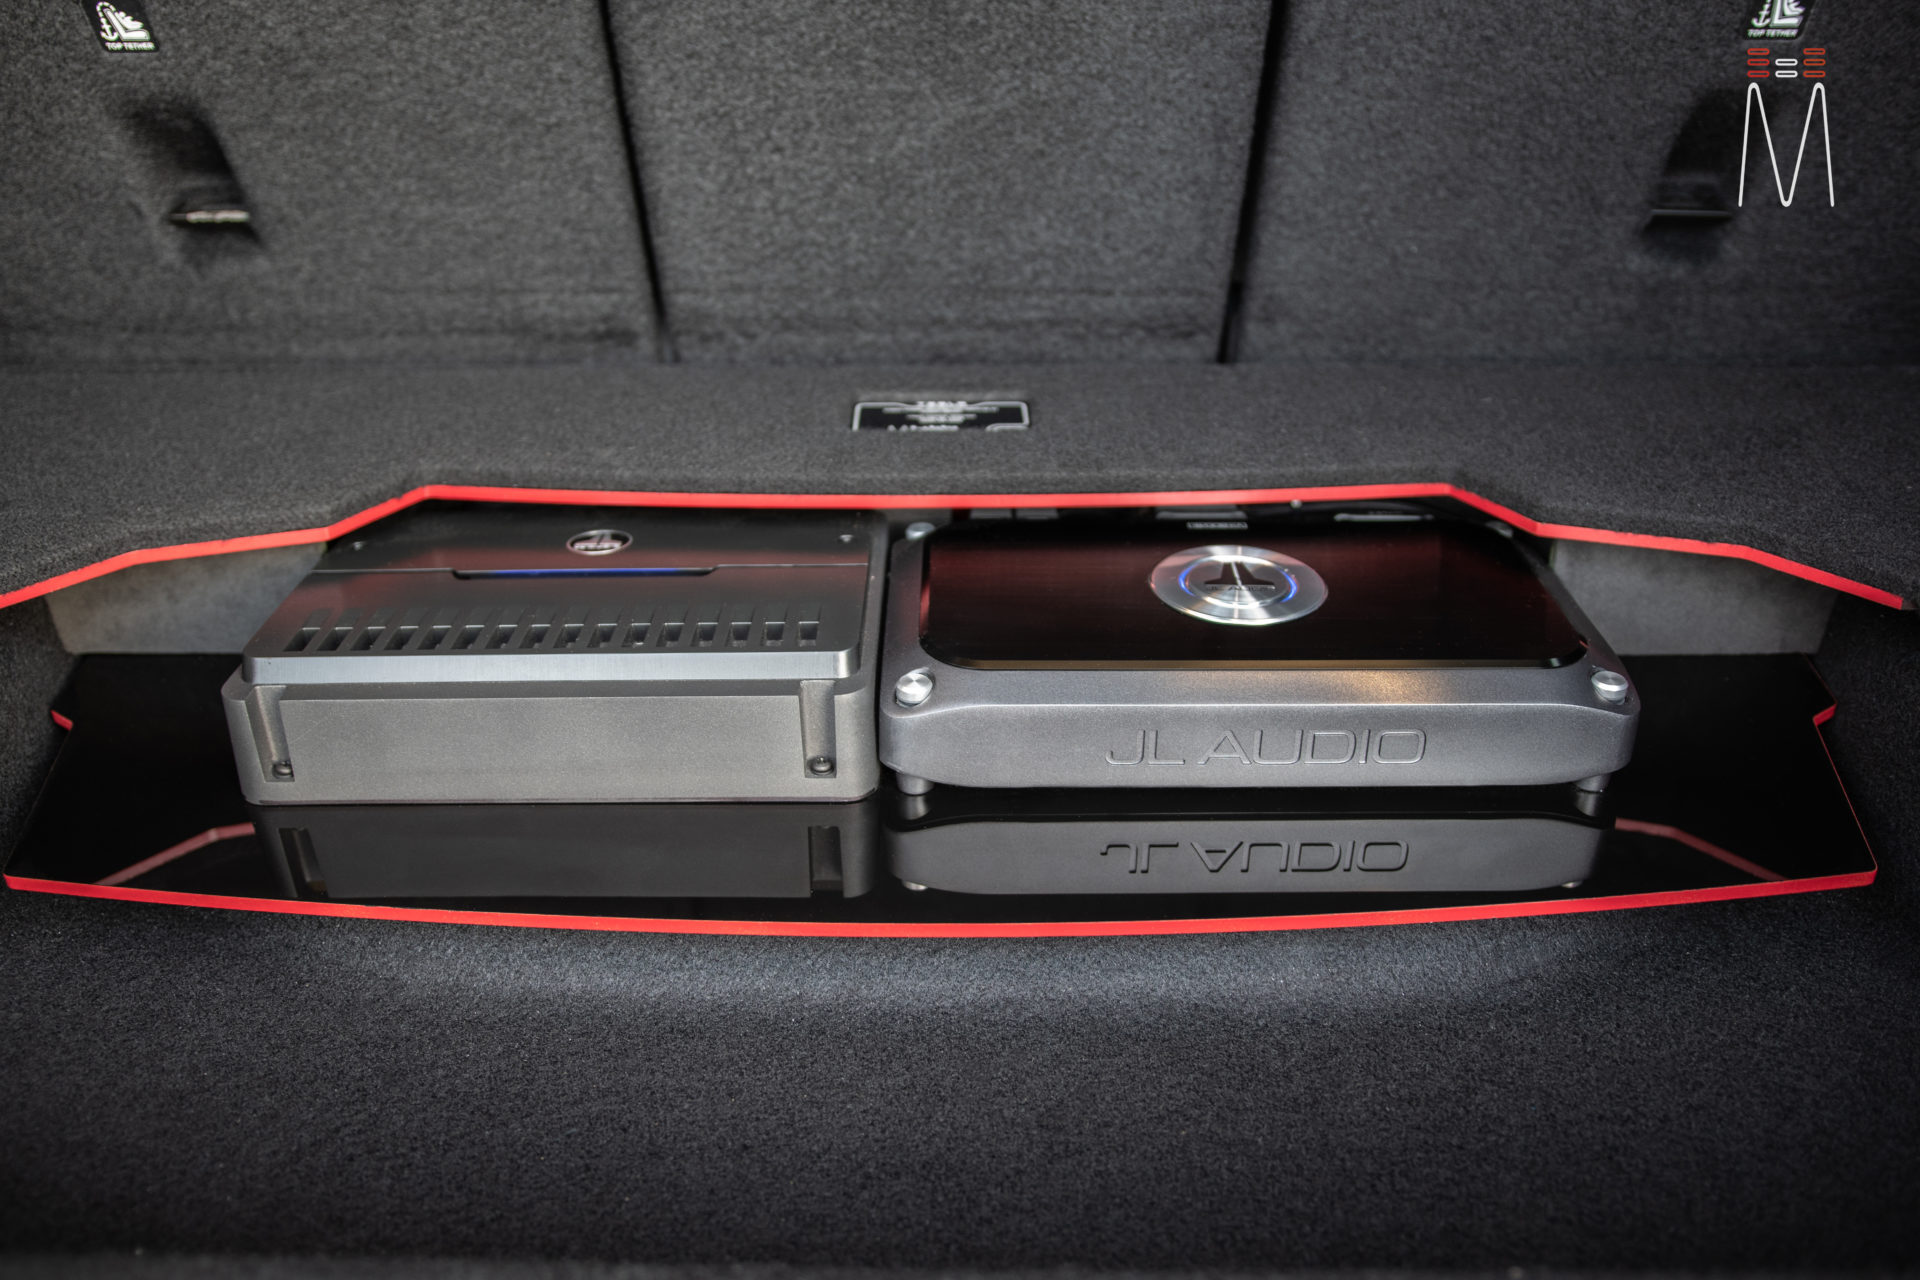
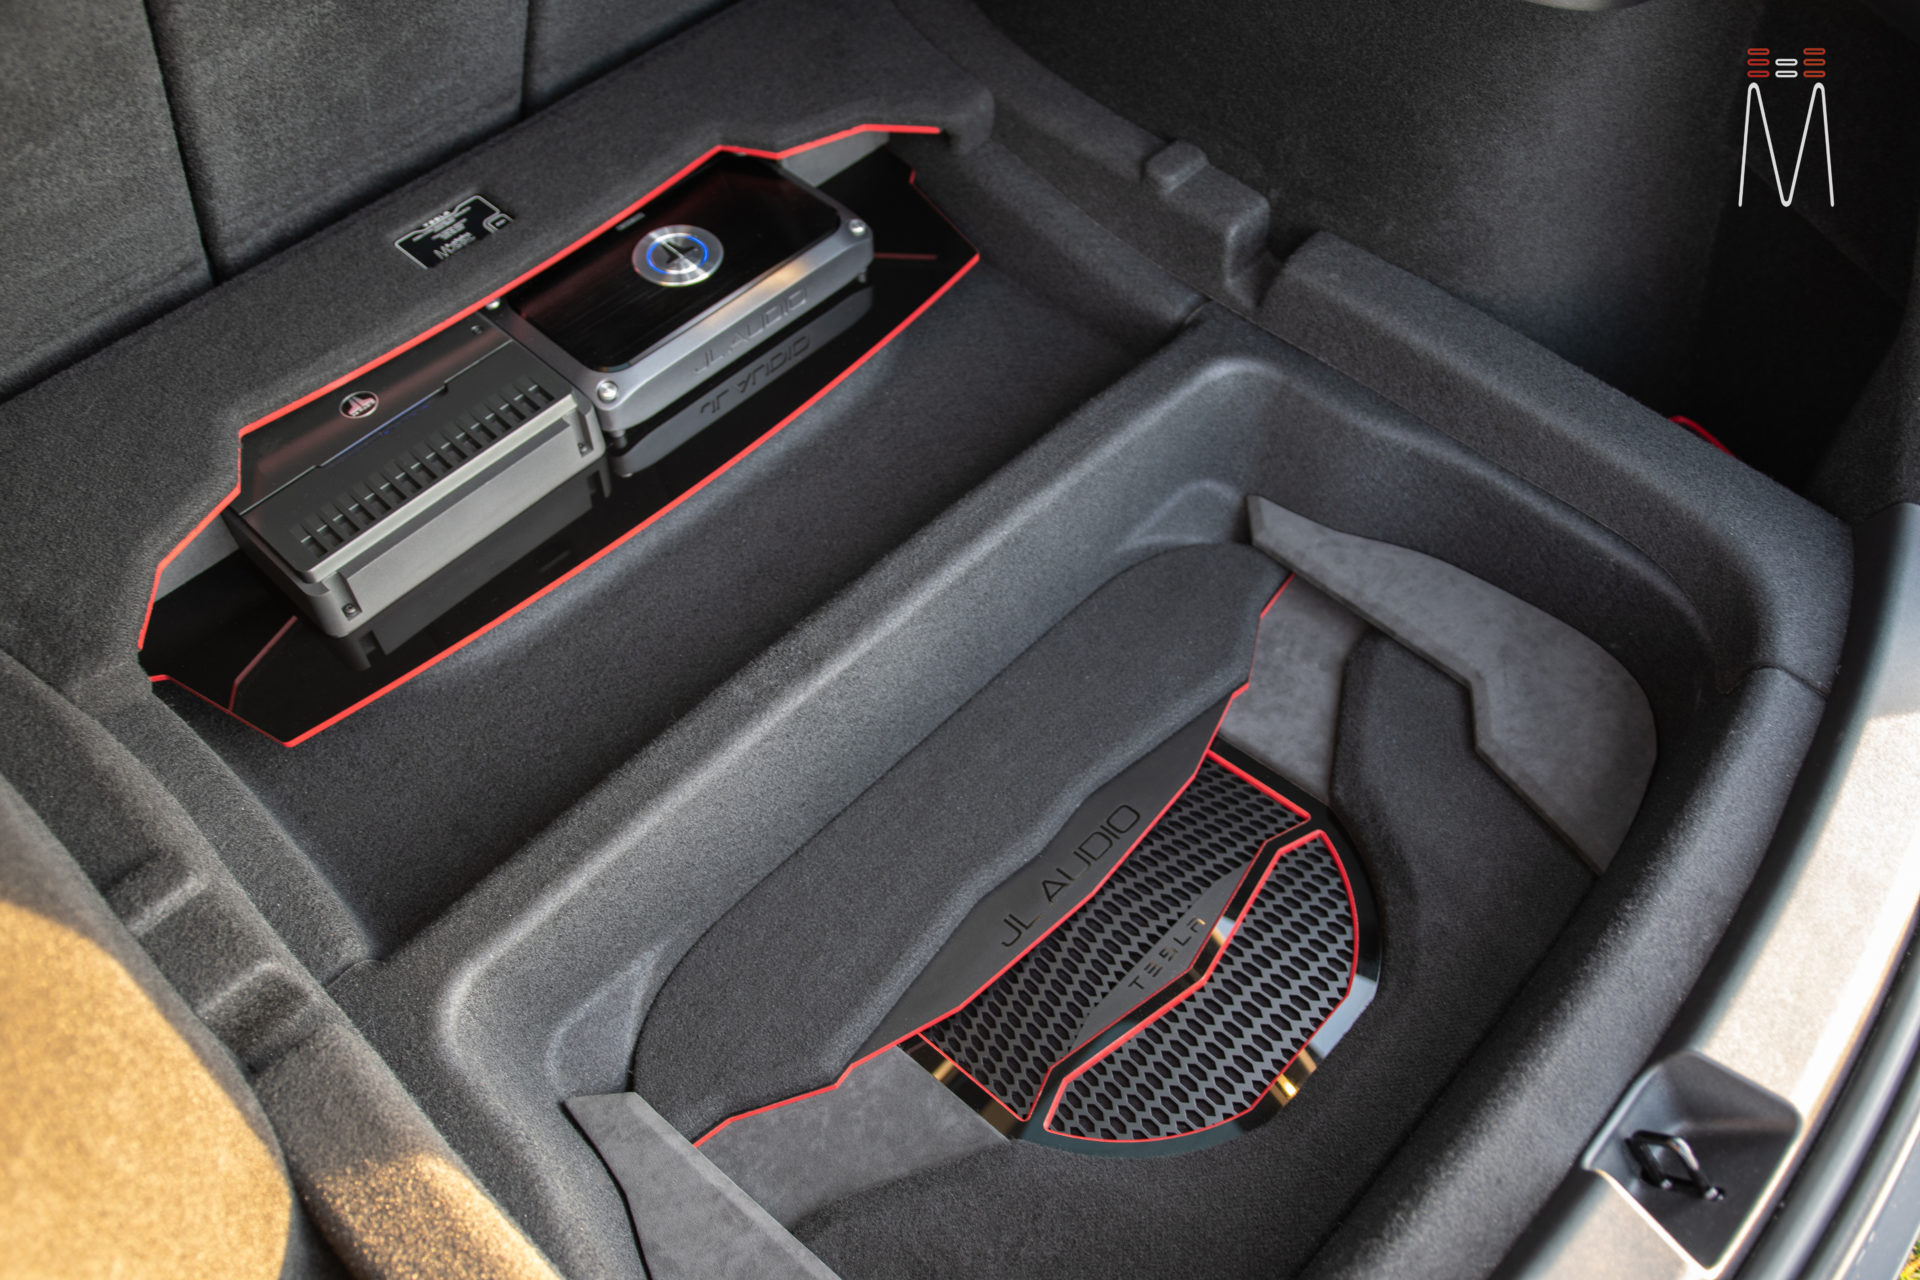
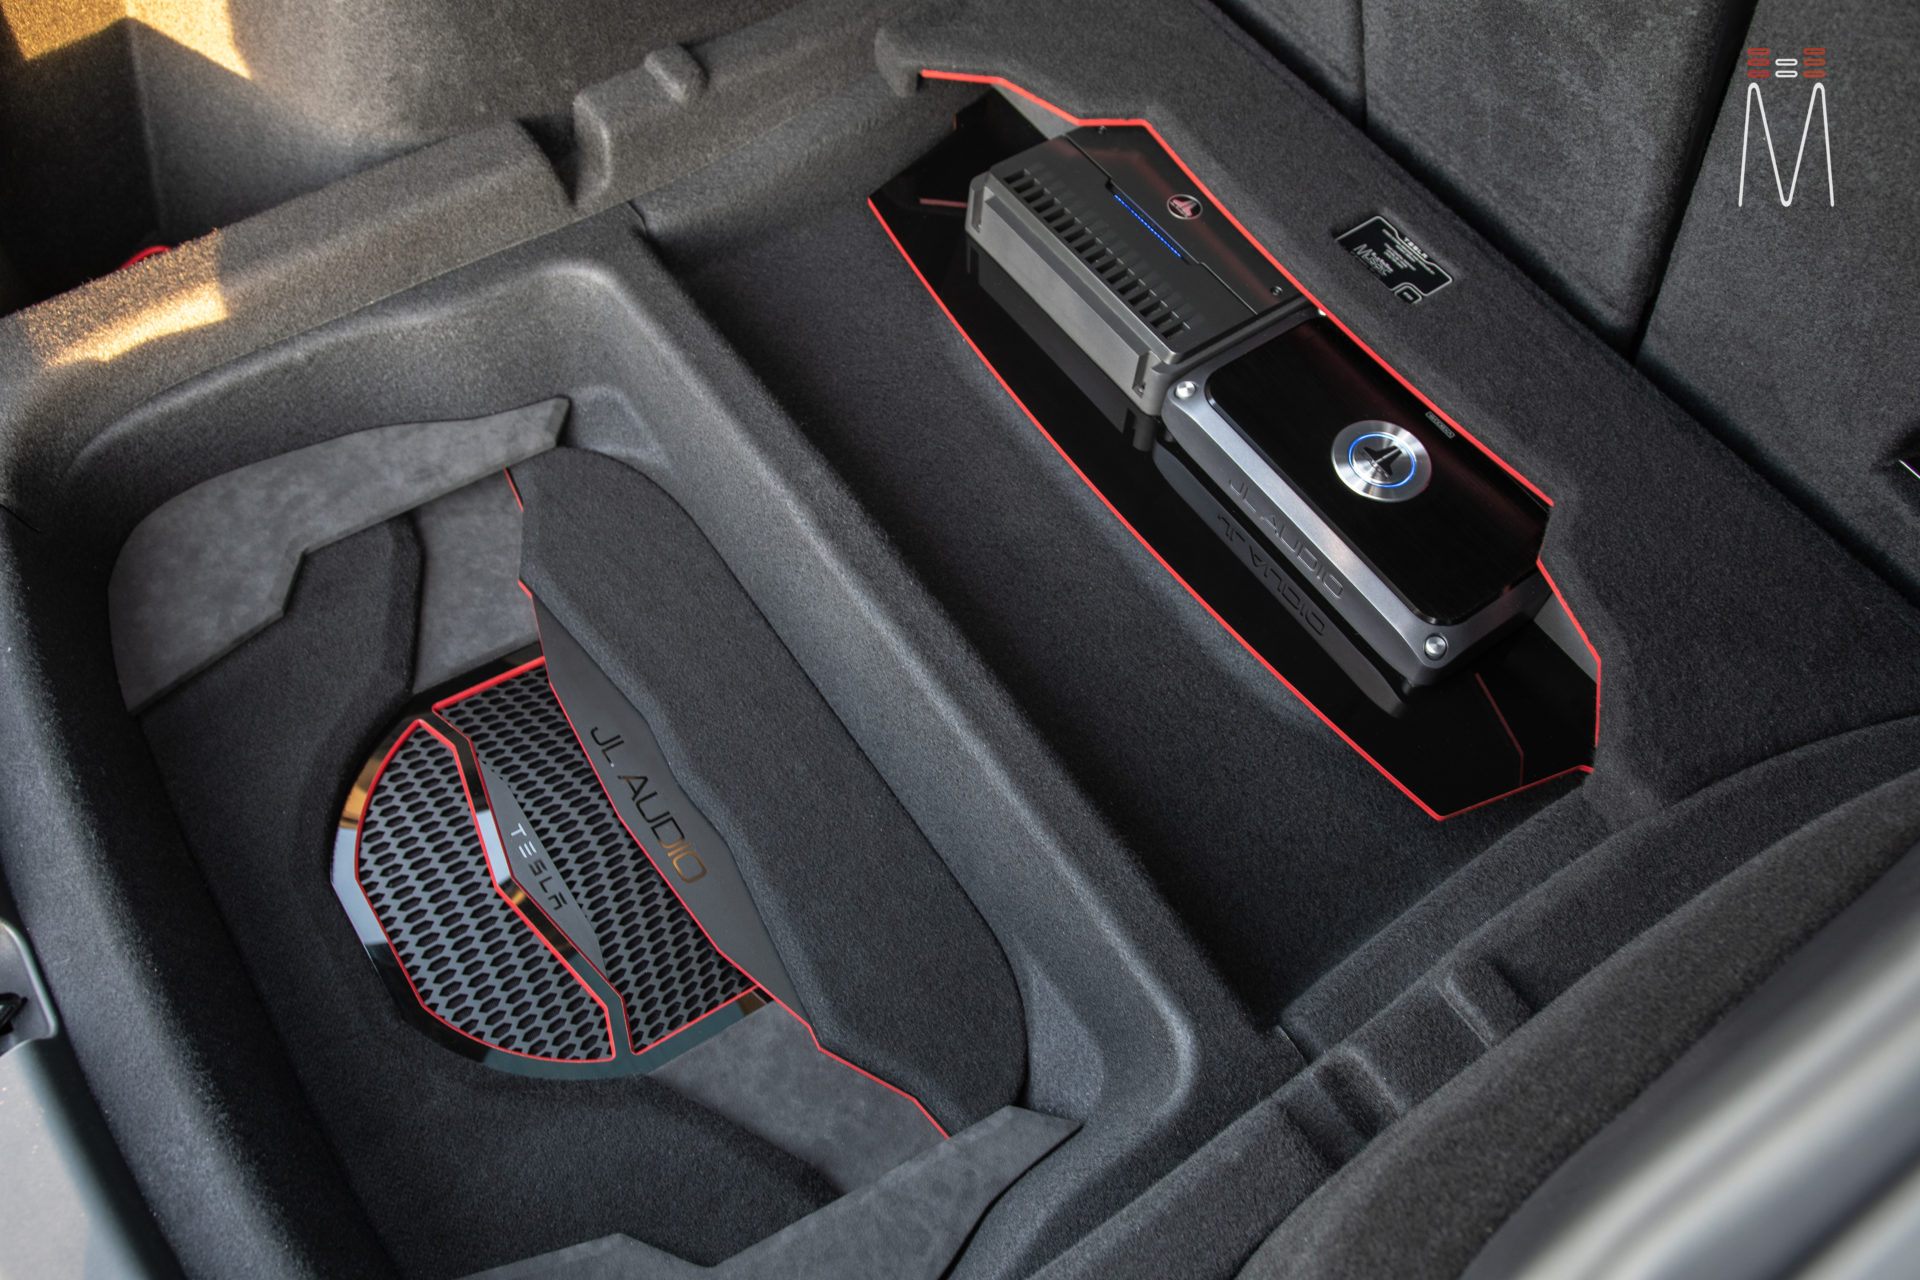
We utilized a JL Audio VX800/8i DSP amplifier for the signal integration. The front 3 ways were run fully active while the rear OEM speakers were amplified off the last two channels. A JL RD 500/1 was used to power a single JL Audio 12TW1 subwoofer. The VX800/8i has two tunable pre amp outputs which controlled the signal to our RD500/1. A very clean enclosure was built and trimmed out to conceal the JL Subwoofer for a factory appearance. We designed the grille and implemented multiple materials which
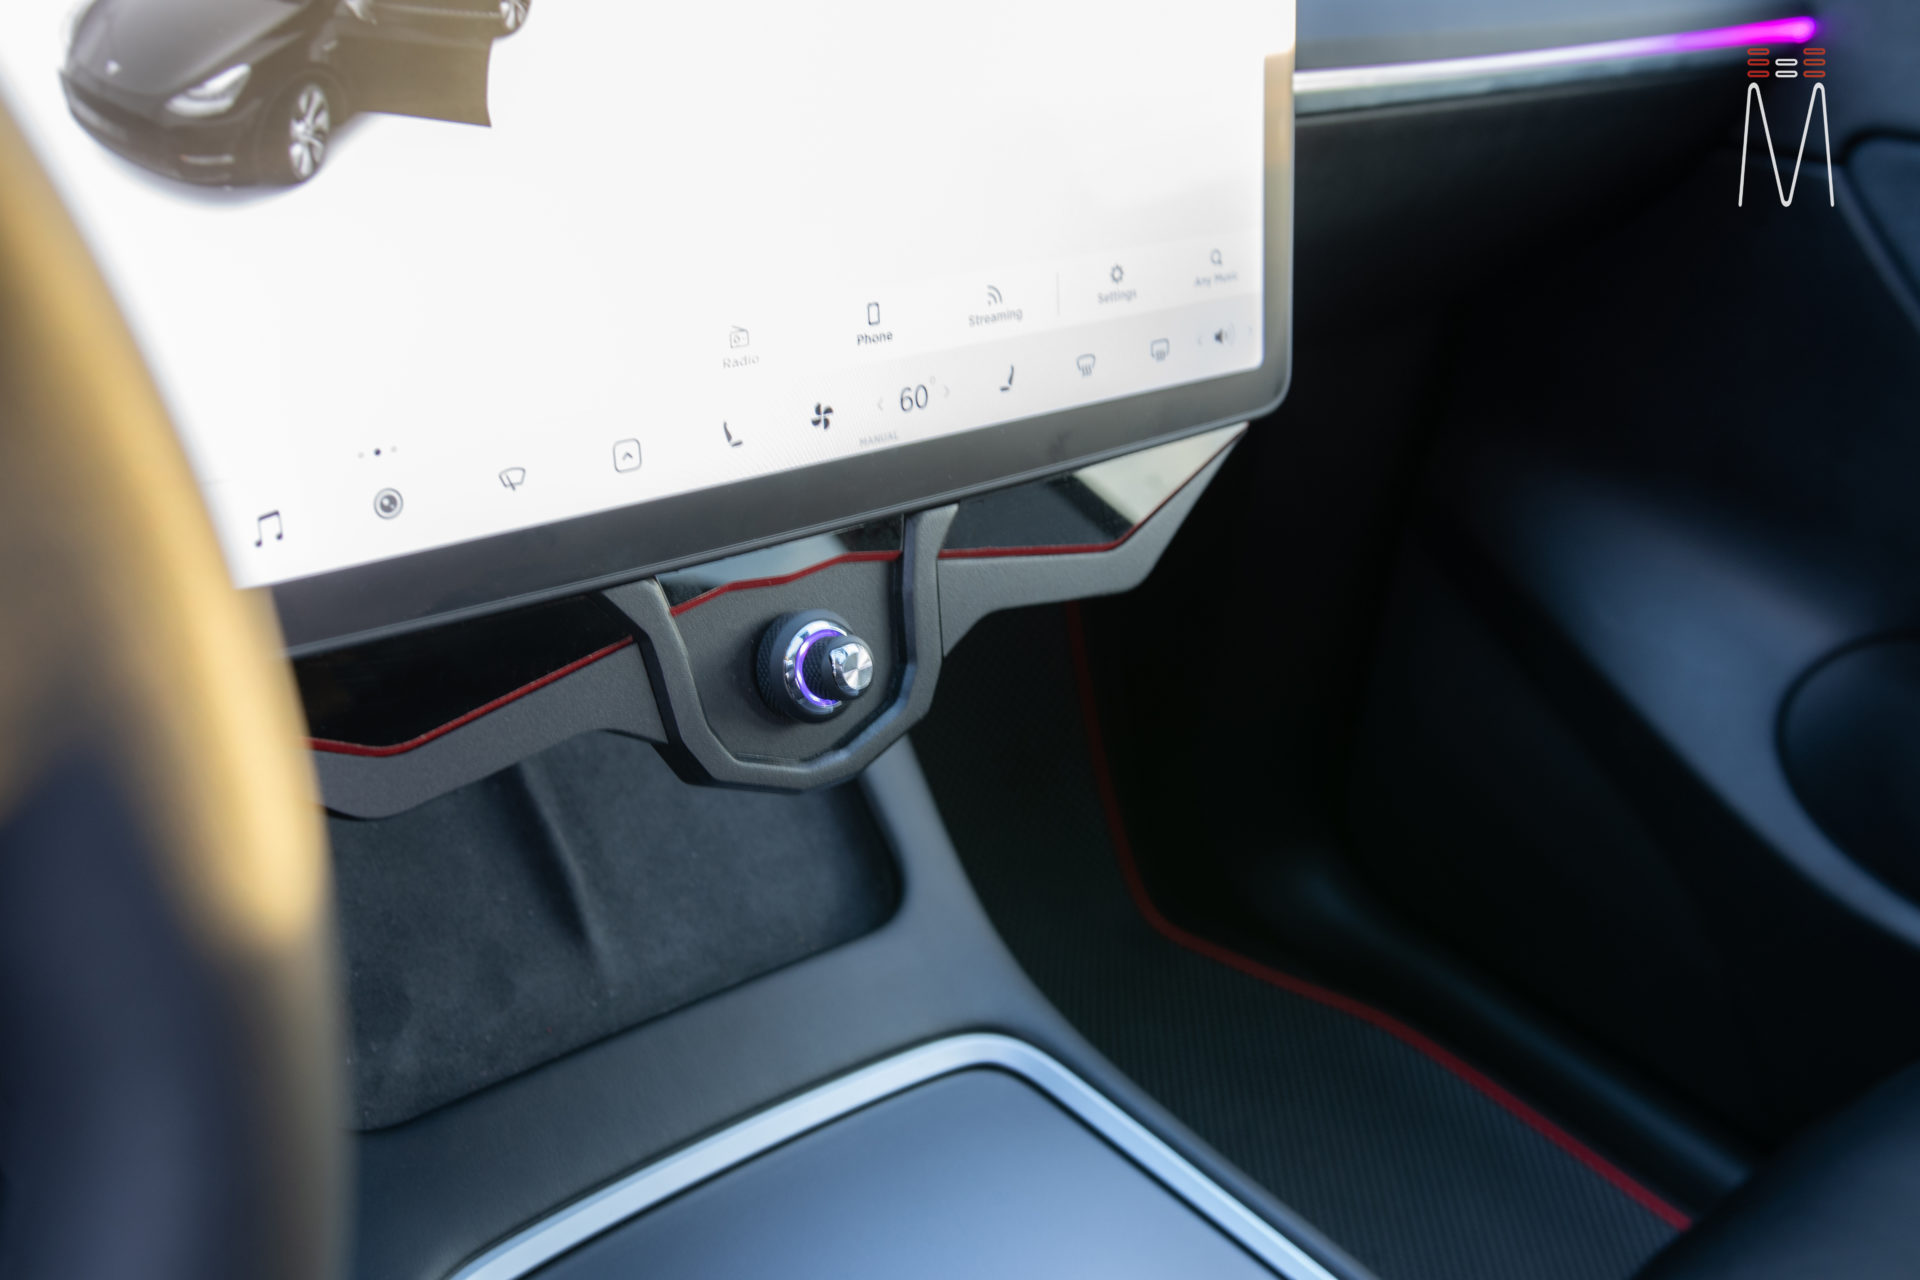
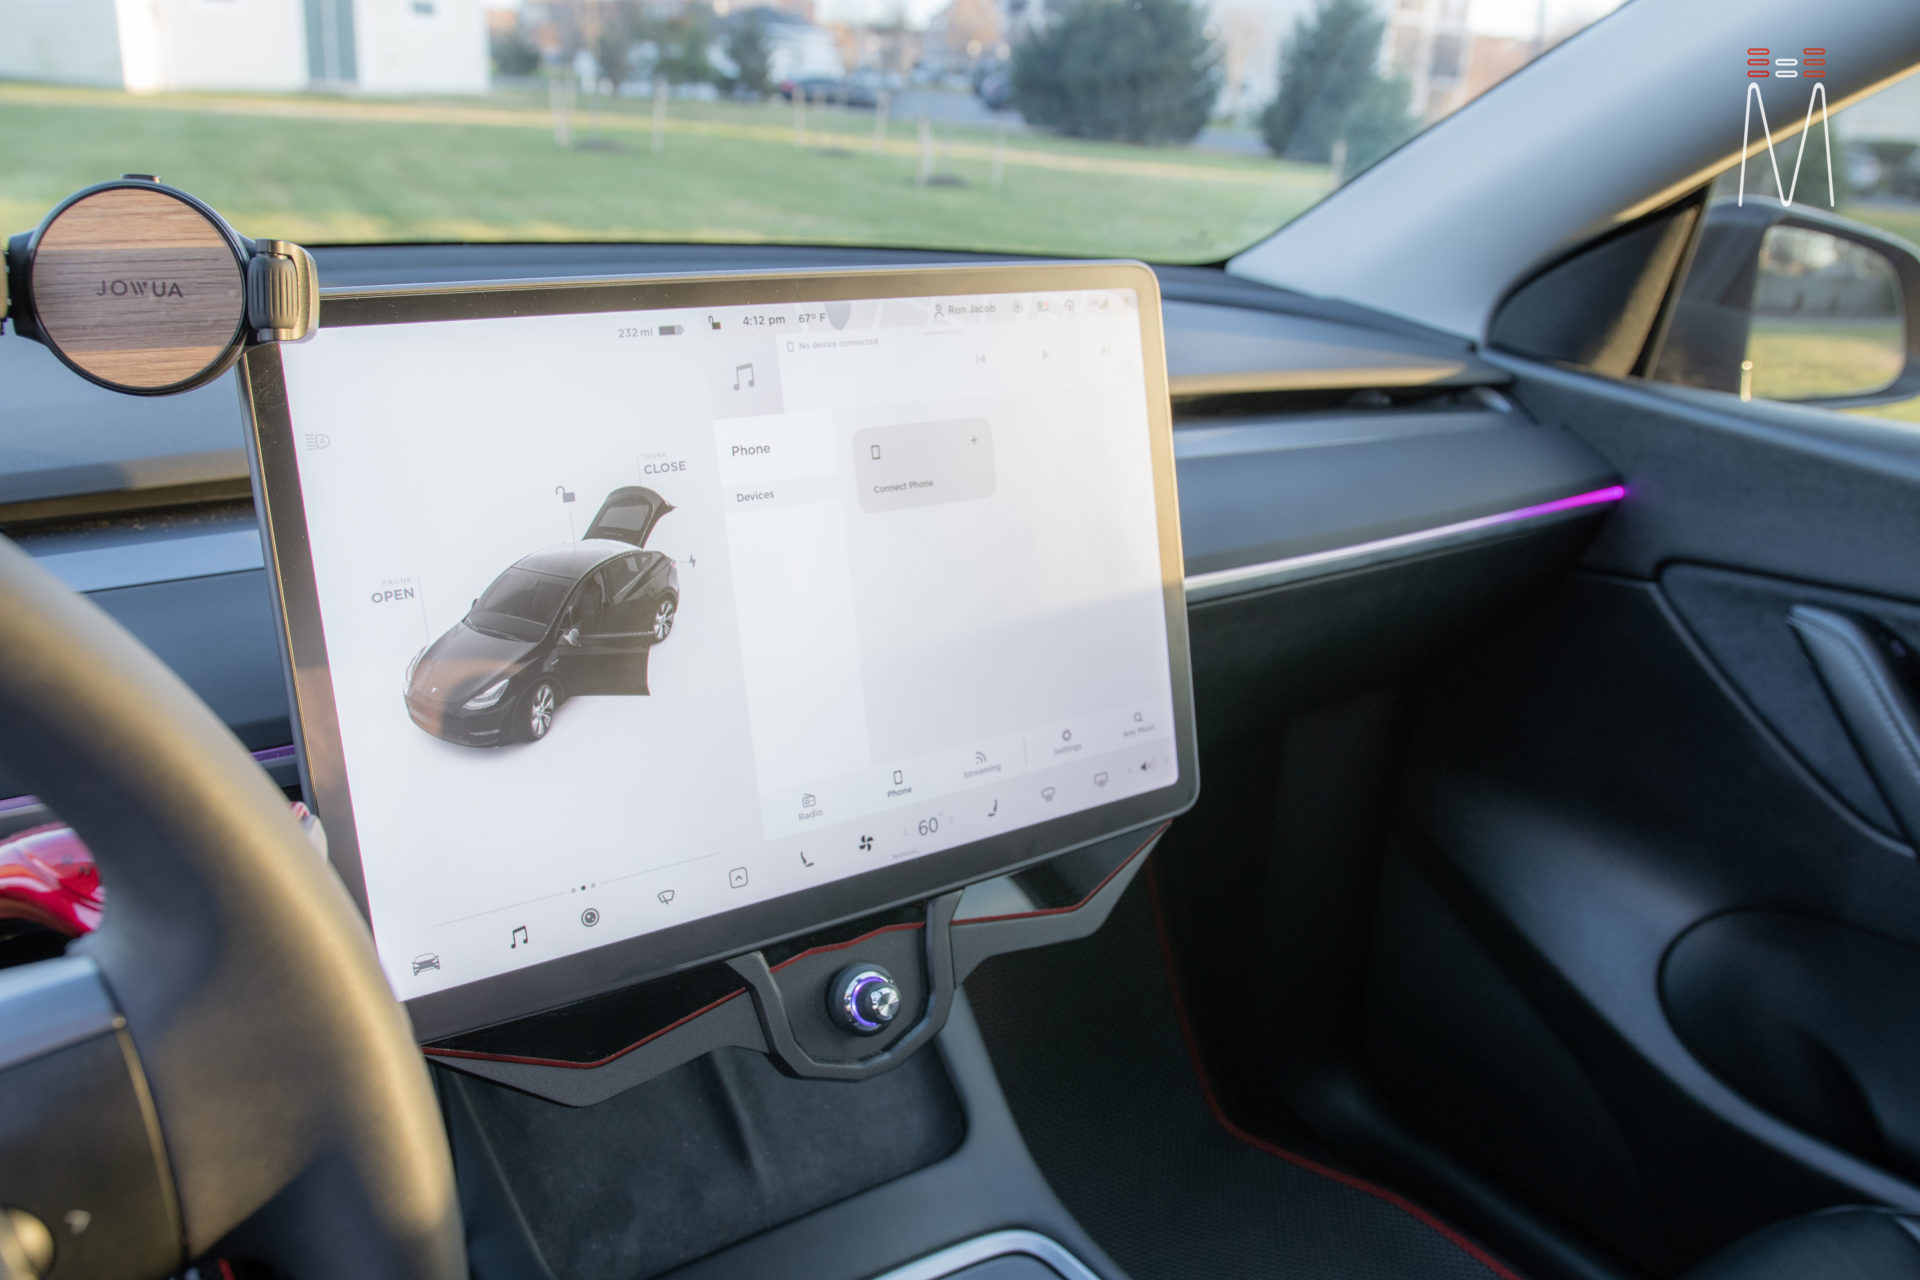
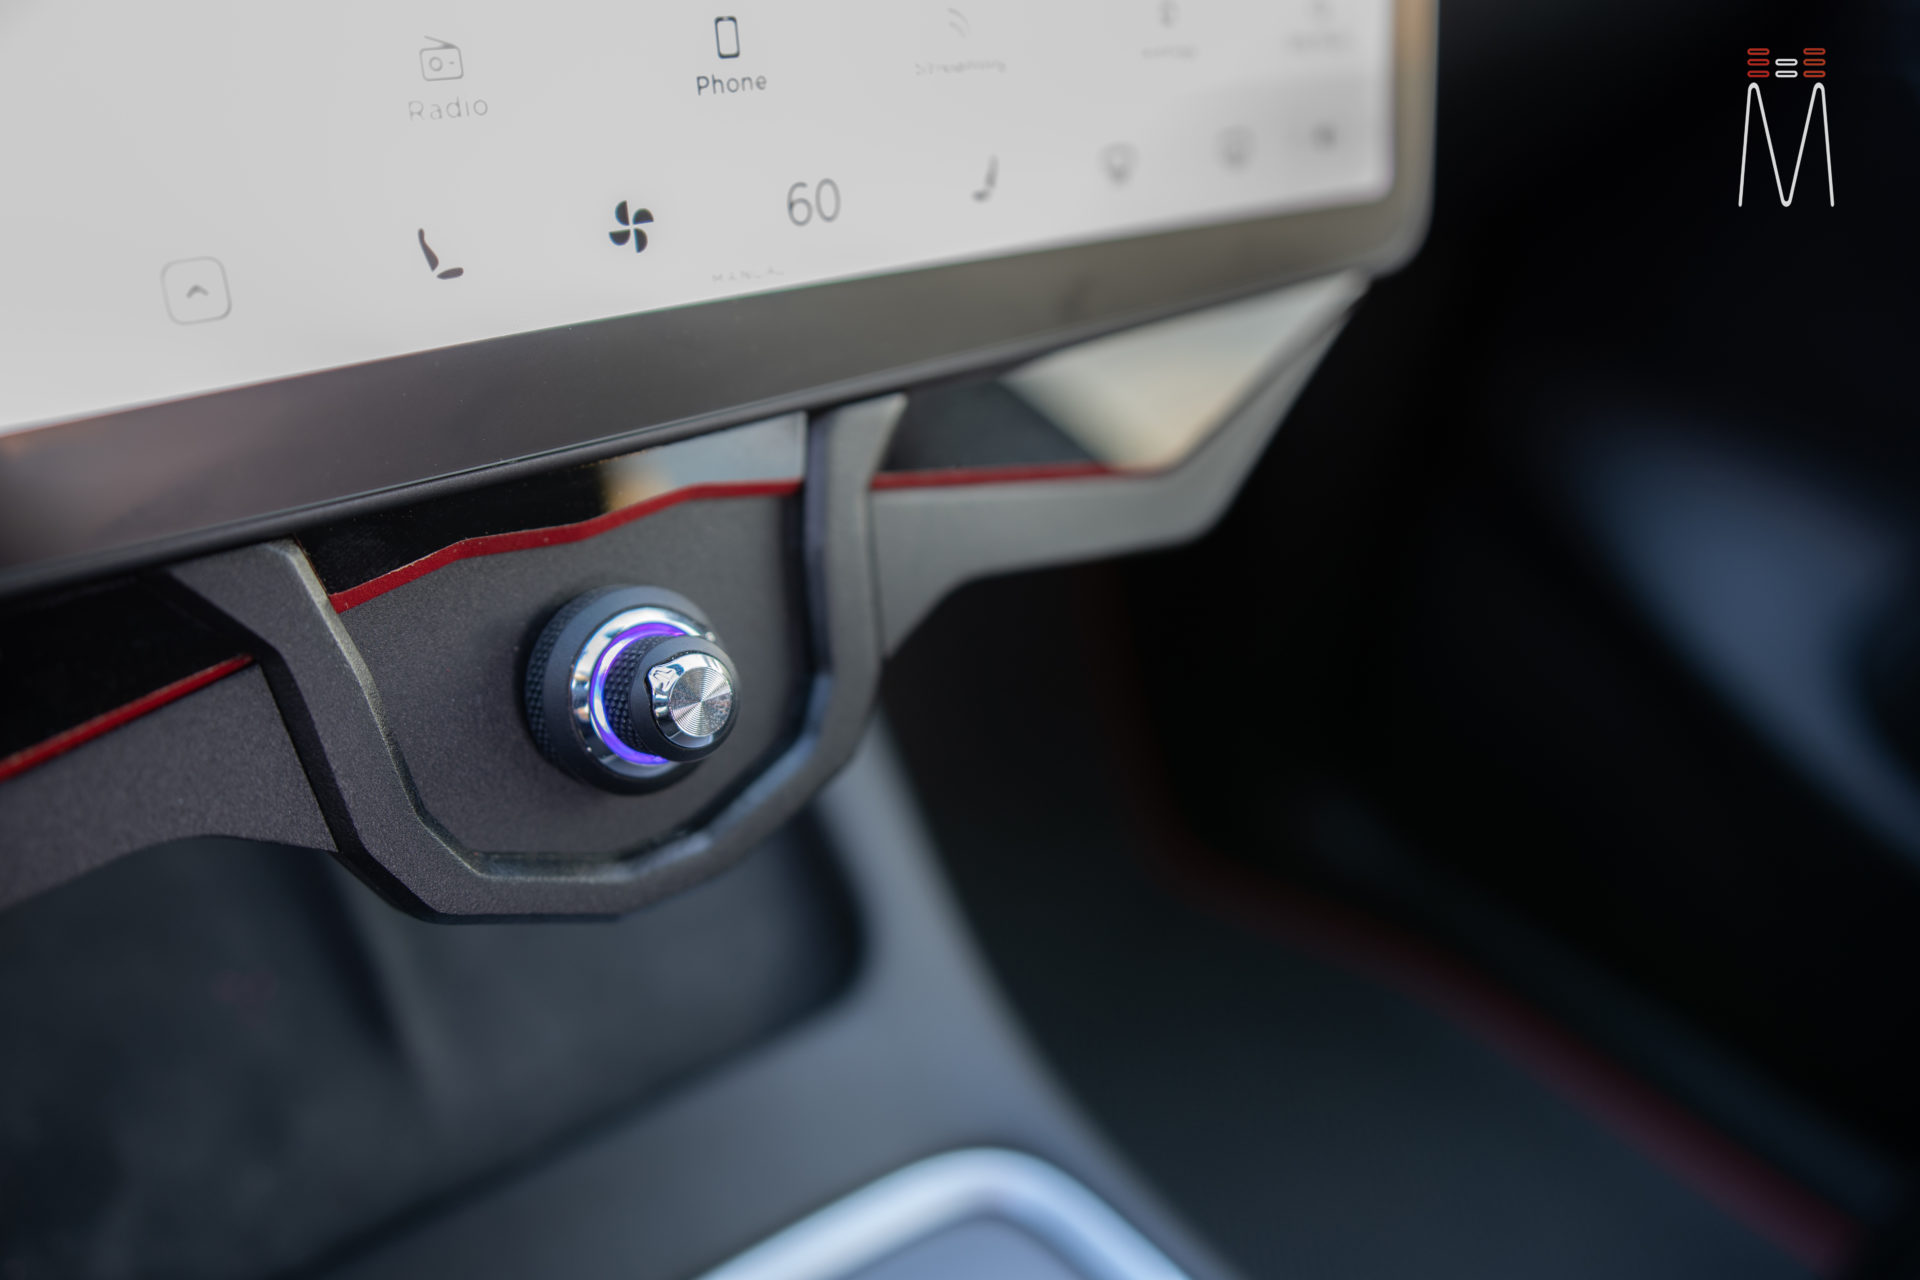
are found within the vehicle. A simple but functional amp rack was created to house both amps, while giving quick access to wiring for easy serviceability. We created an extension to the bottom of the MCU display to house the JL Vxi controller. This gave the best functionality to use our added volume knob. We had two presets in total. Preset 1 controls the MCU as was intended from the factory. No settings or features were compromised. Preset 2 uses a Mosconi AMAS96K for the best bluetooth connection to the users phone. This offers a flat, full range, digital uncompressed signal which you simply cannot obtain from the MCU.
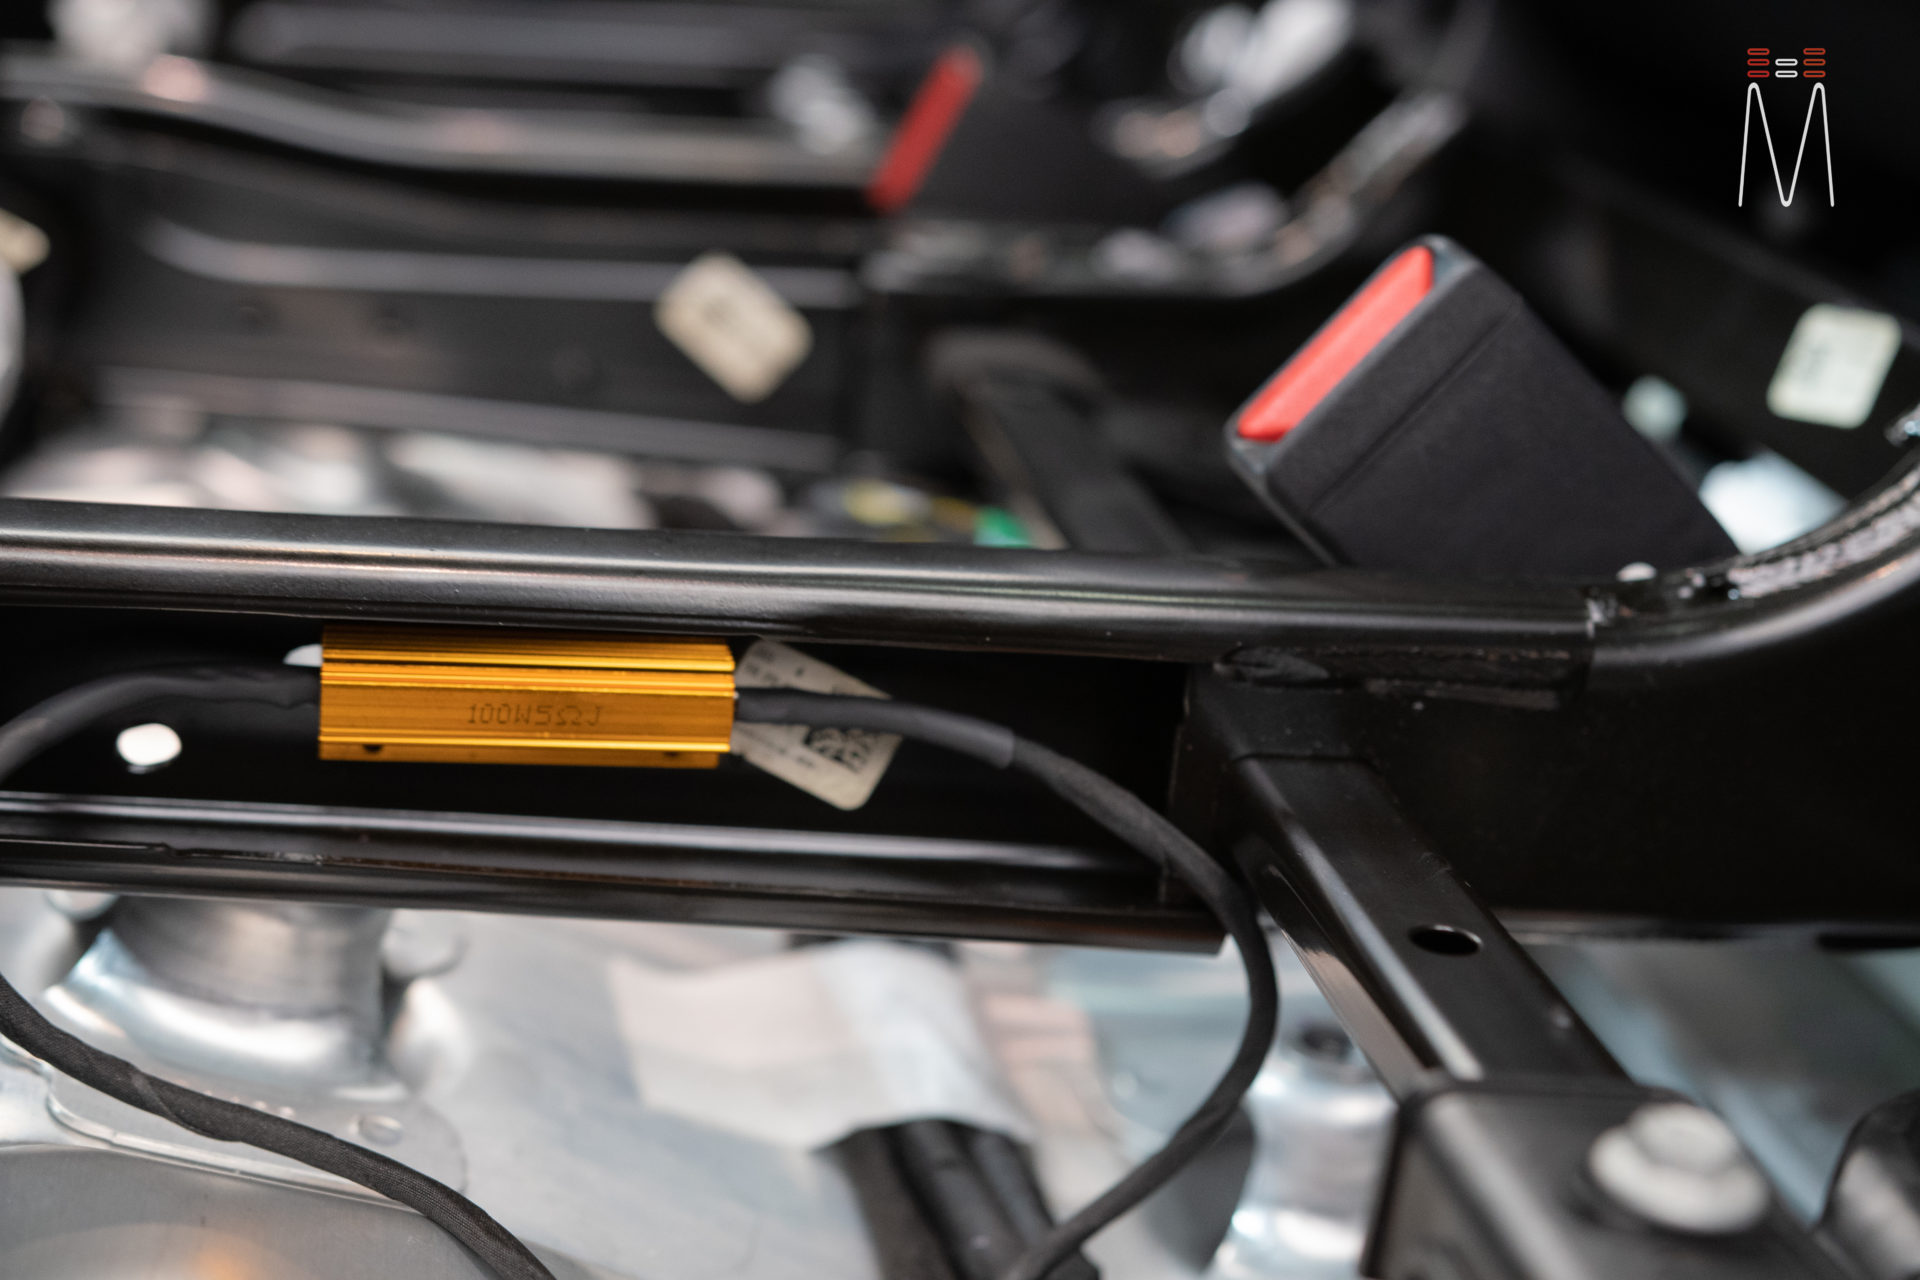
The fusing for the amplifiers, battery isolator, resistors for the electrical integration can all be found under the rear seat. The Tesla Model 3, Model Y, and Model S refresh take extra steps in order to integrate into its electrical system.