Conversion 2
Who says you can’t do high end audio in classic cars?
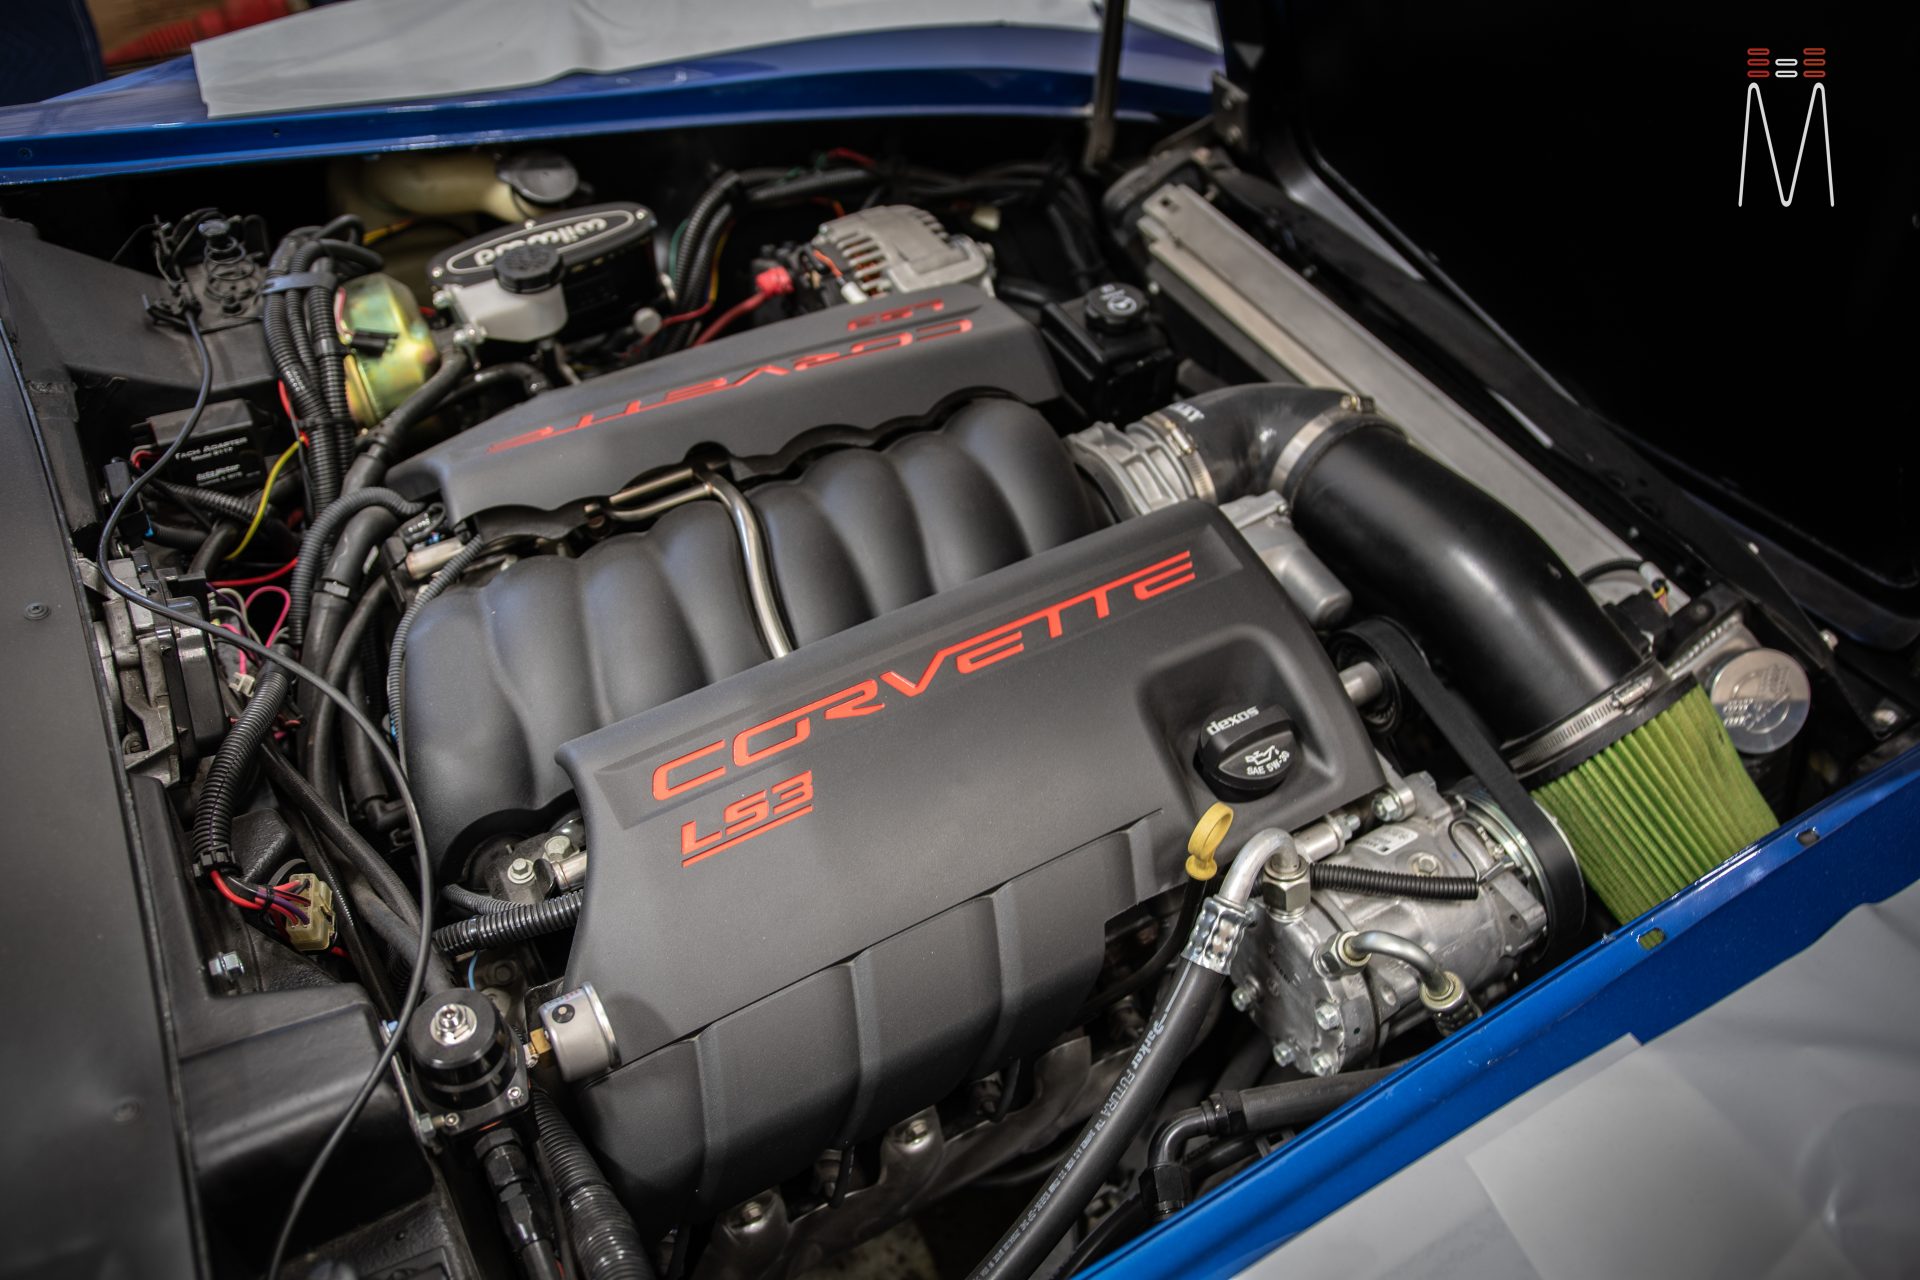
The way this project started seemed very simple. It was to modify the retro console and try and make it fit better. Since most of these retro interior replacement parts are thin and non-seamless, I got the call to see what I could do to make it better. Seeing the car for the first time, I was blown away with the paint quality and LS3 engine swap. The car looked immaculate except for the interior. The client was after a modern Stingray feel, but still wanted to respect the classic era. I proposed that we just redo the console, and add modernize the interior while we are at it. At the point of fabricating a center console, we might as well go all in and do a really stellar audio system. So that is exactly what we did.
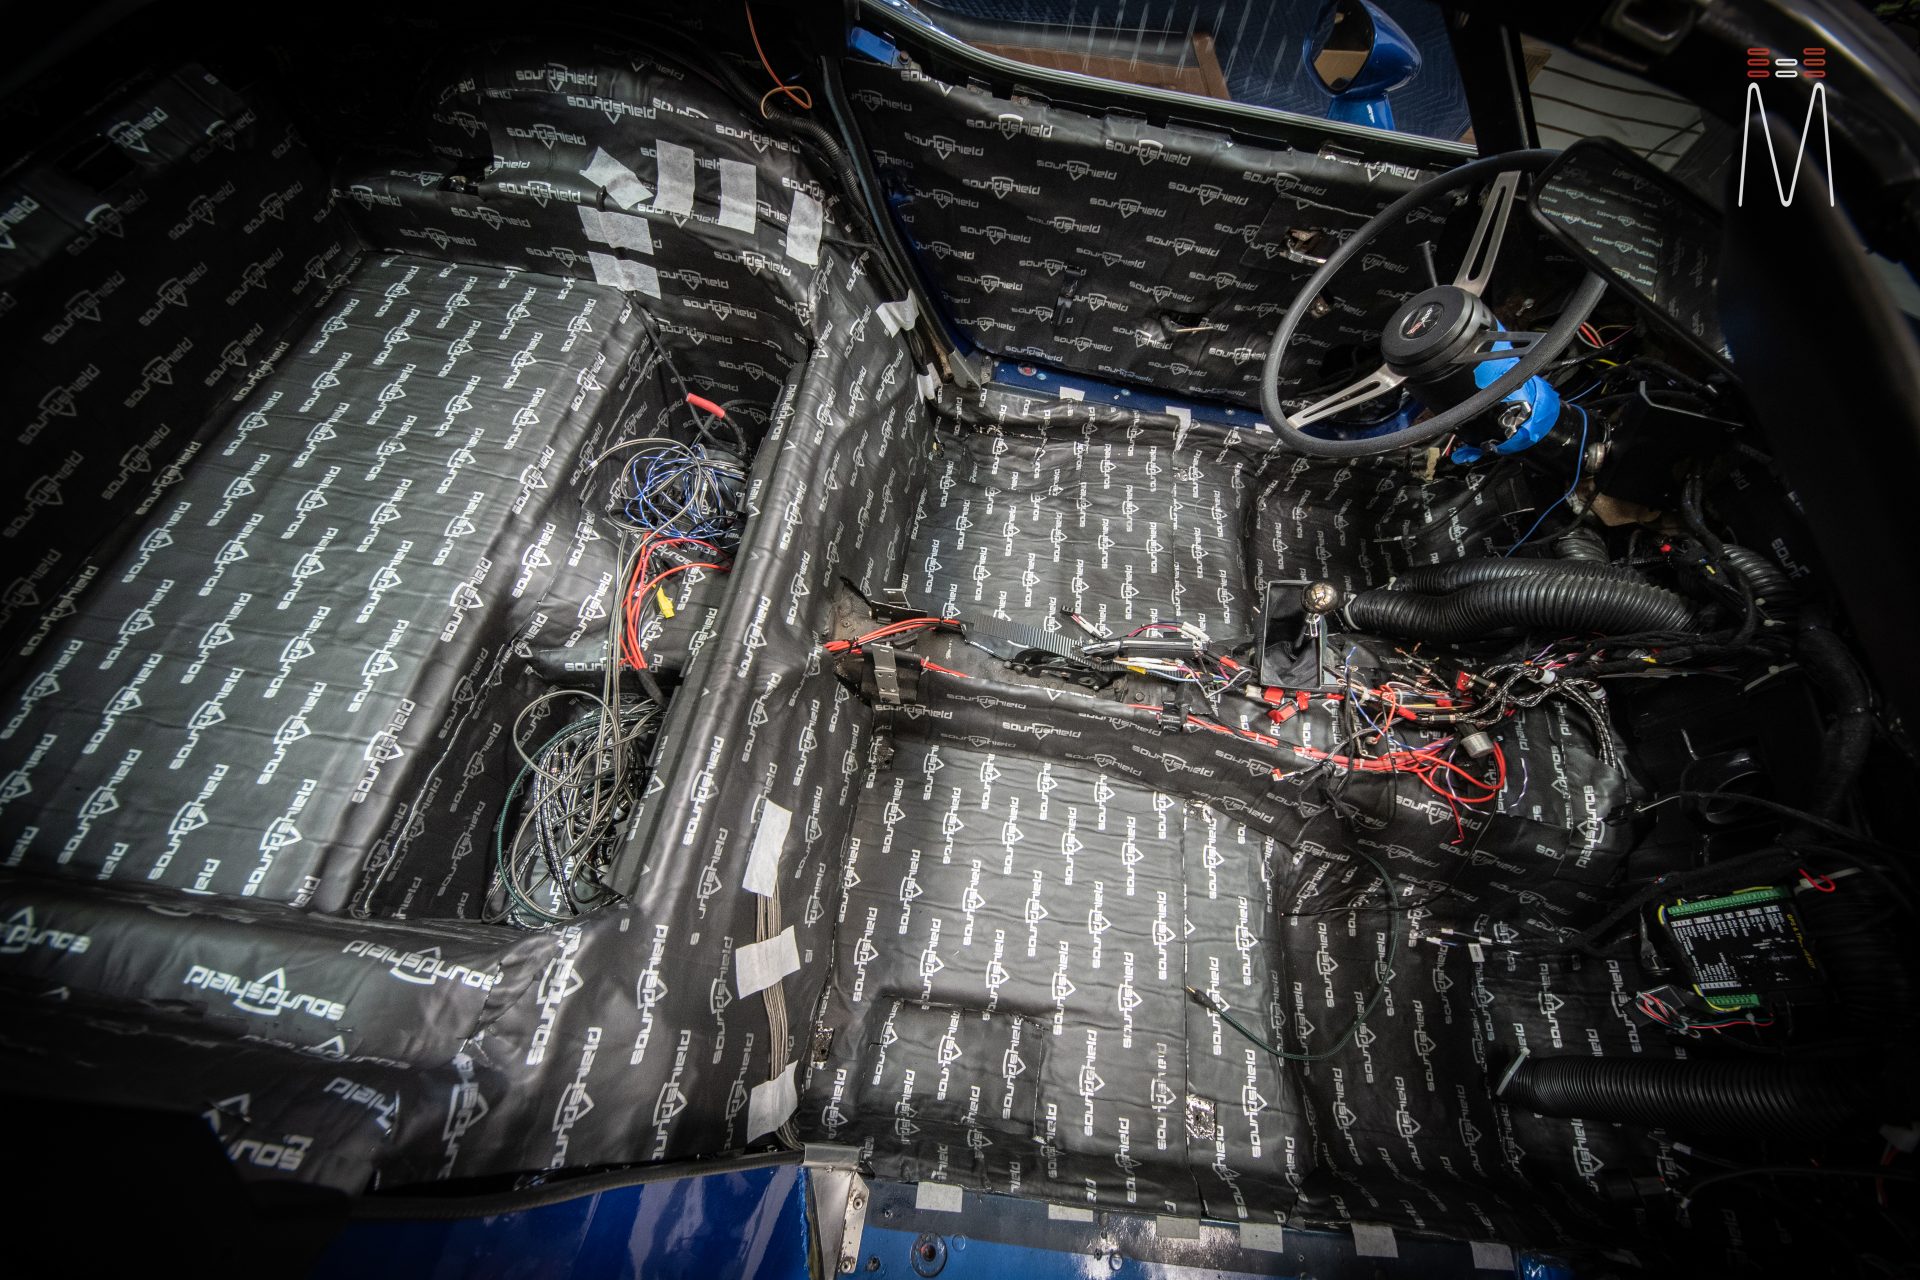
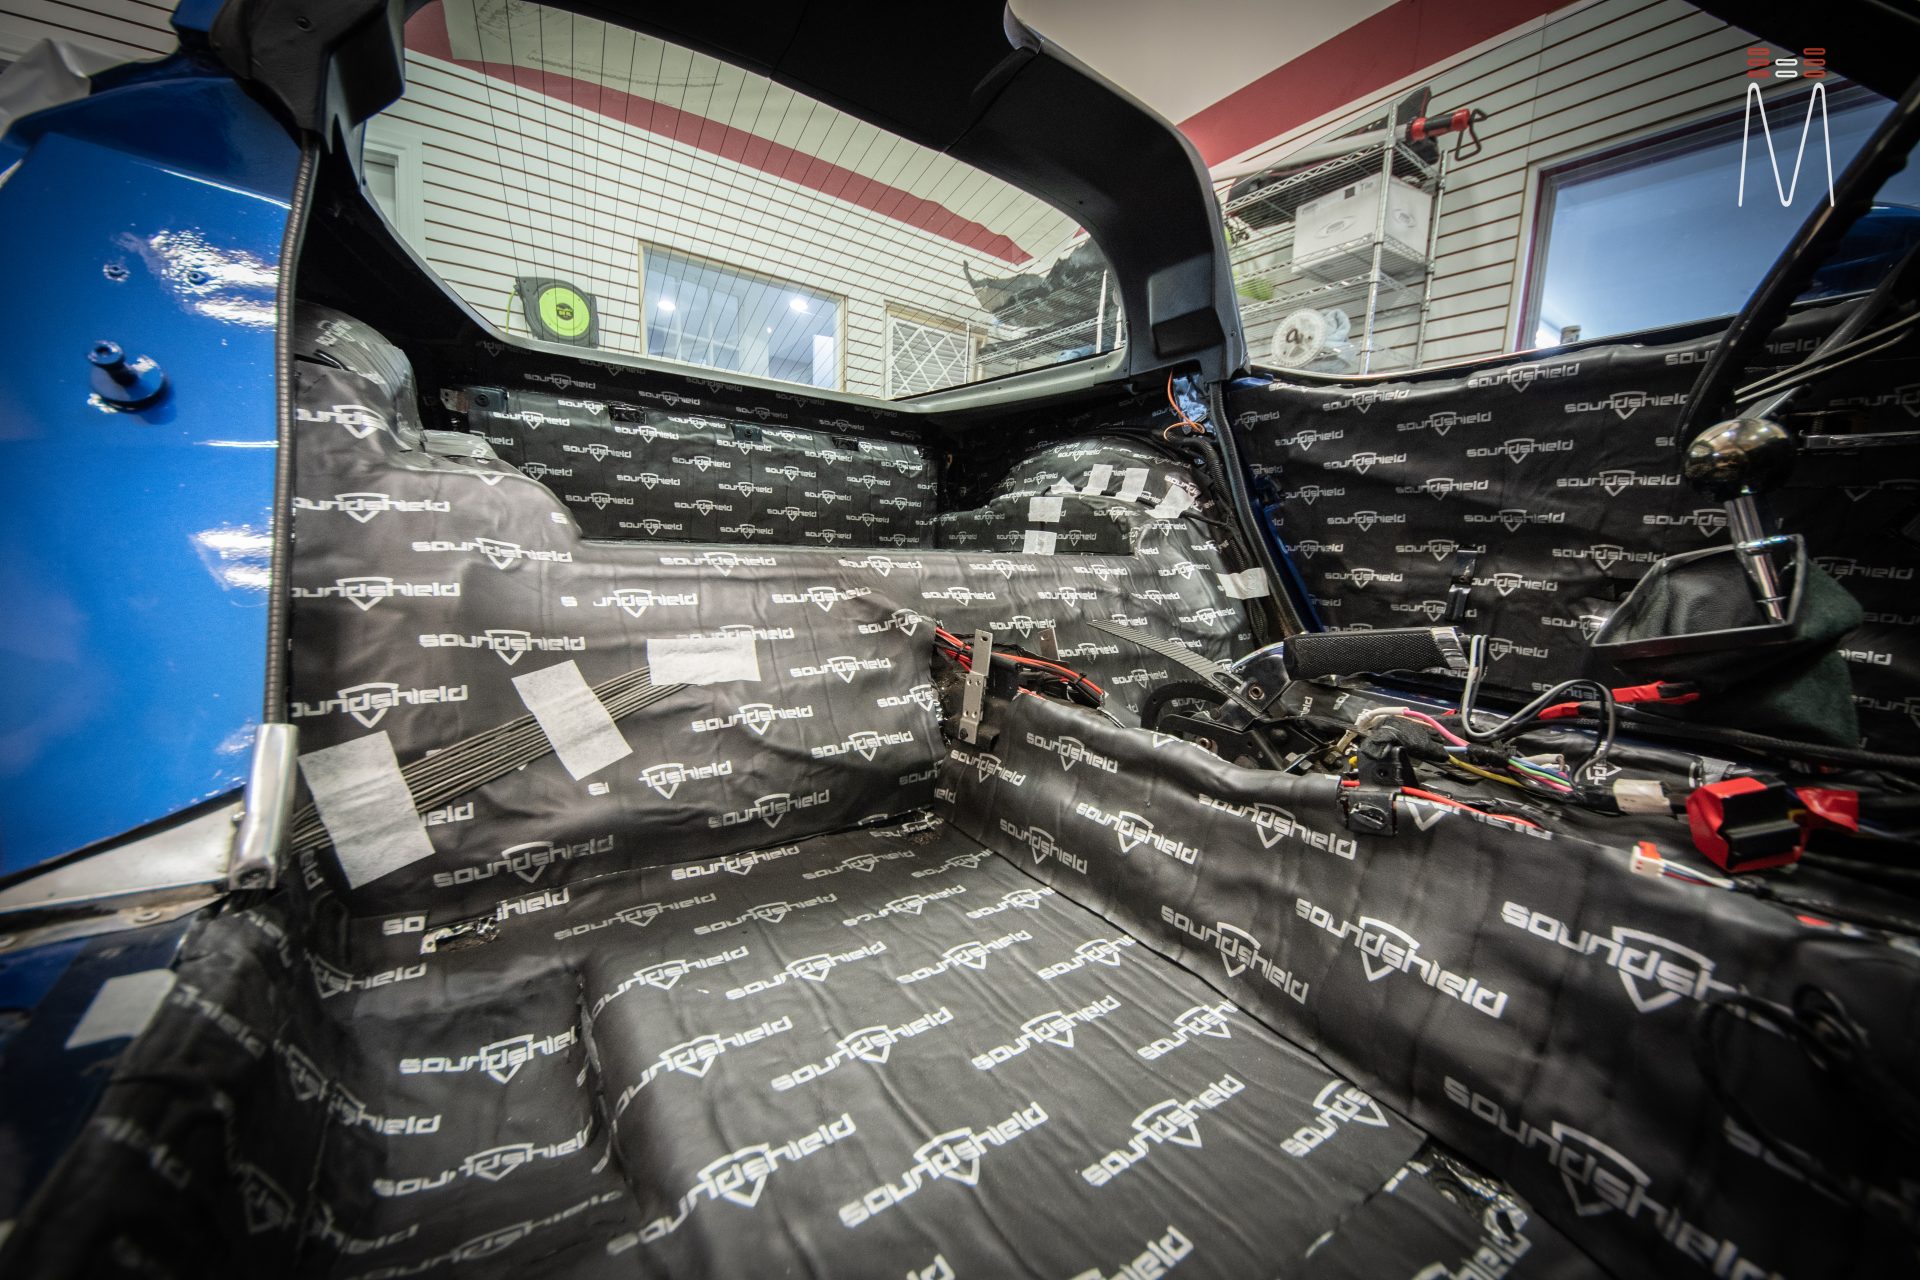
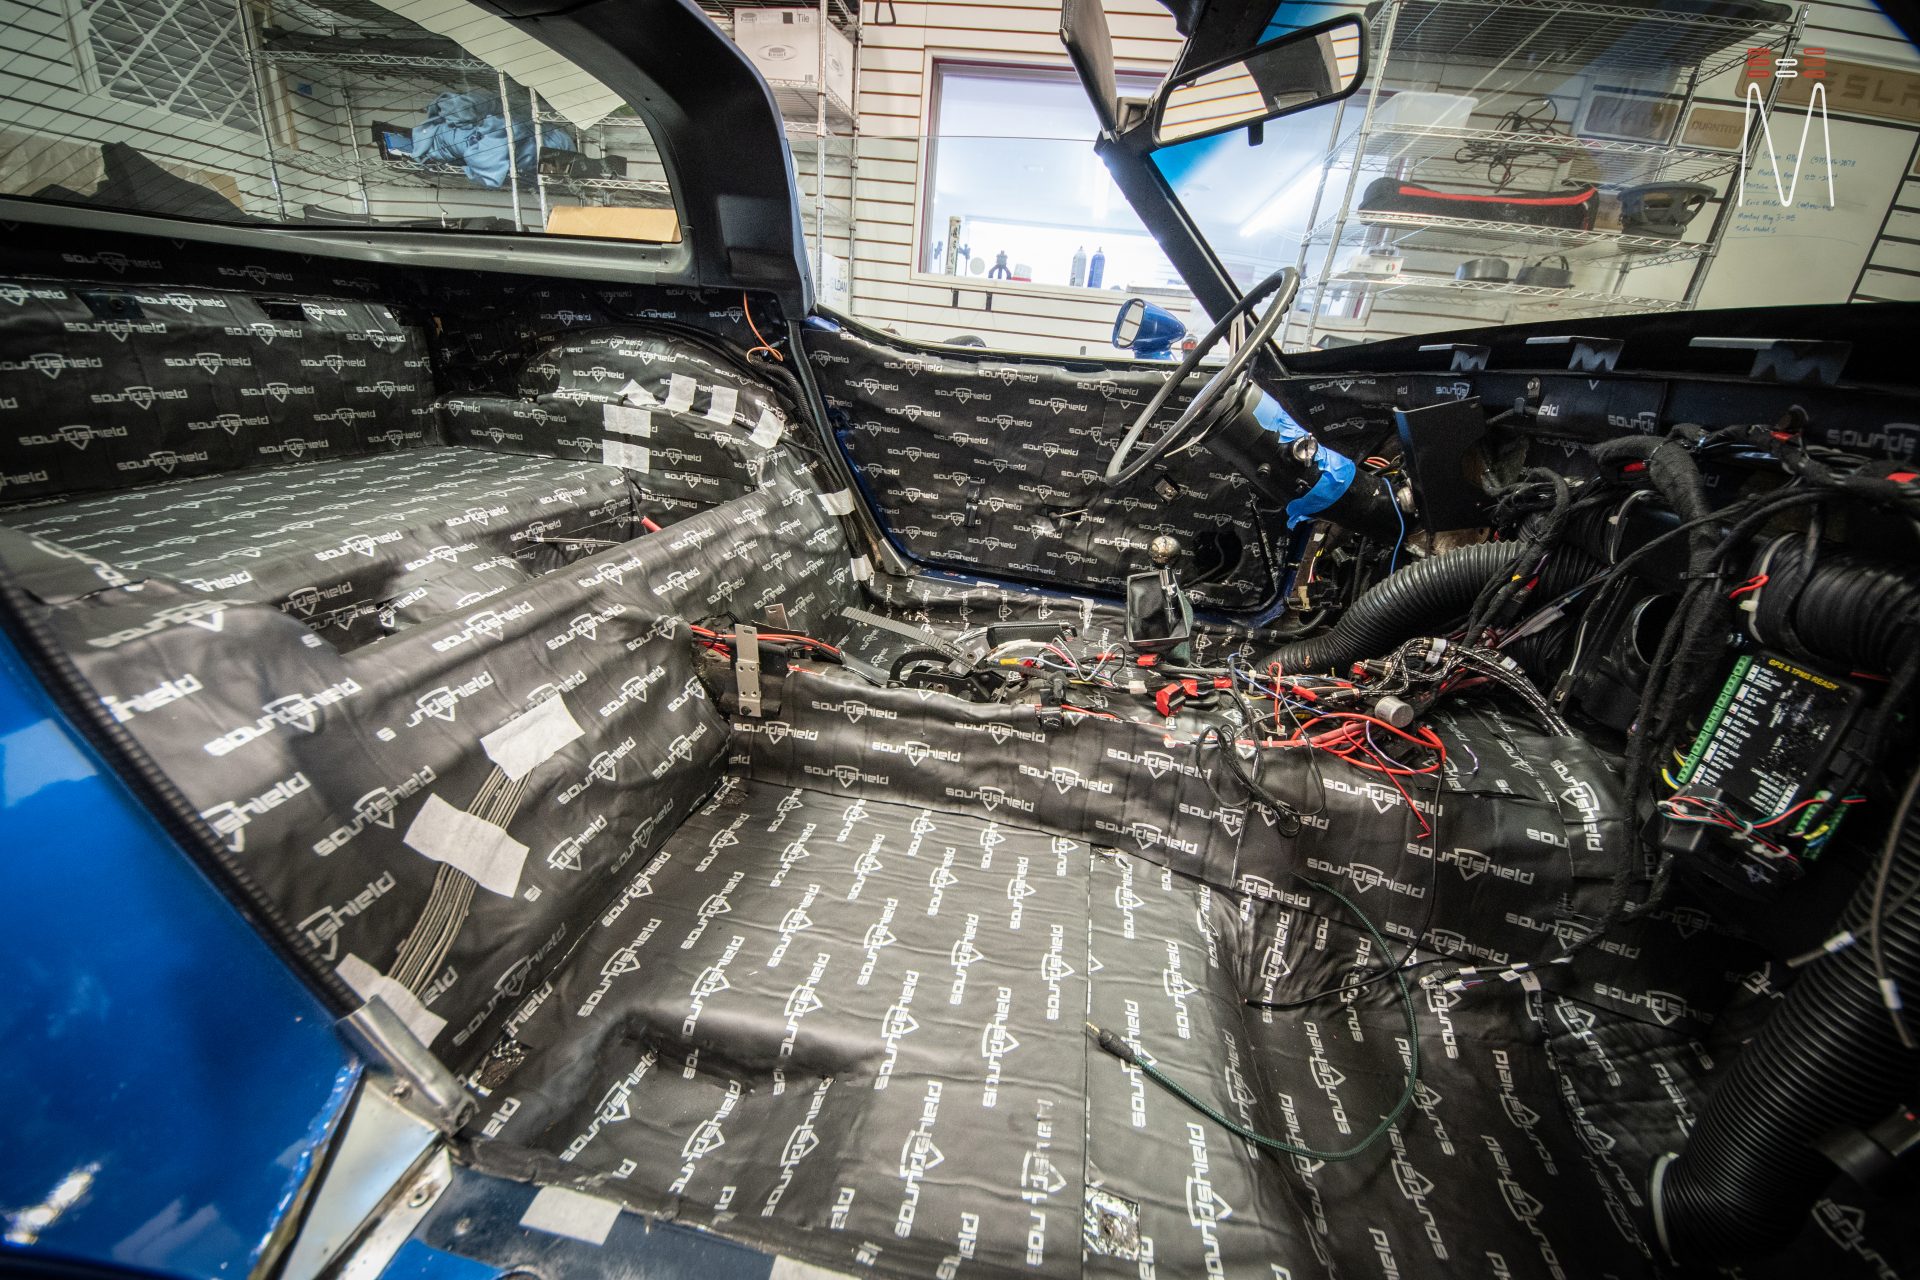
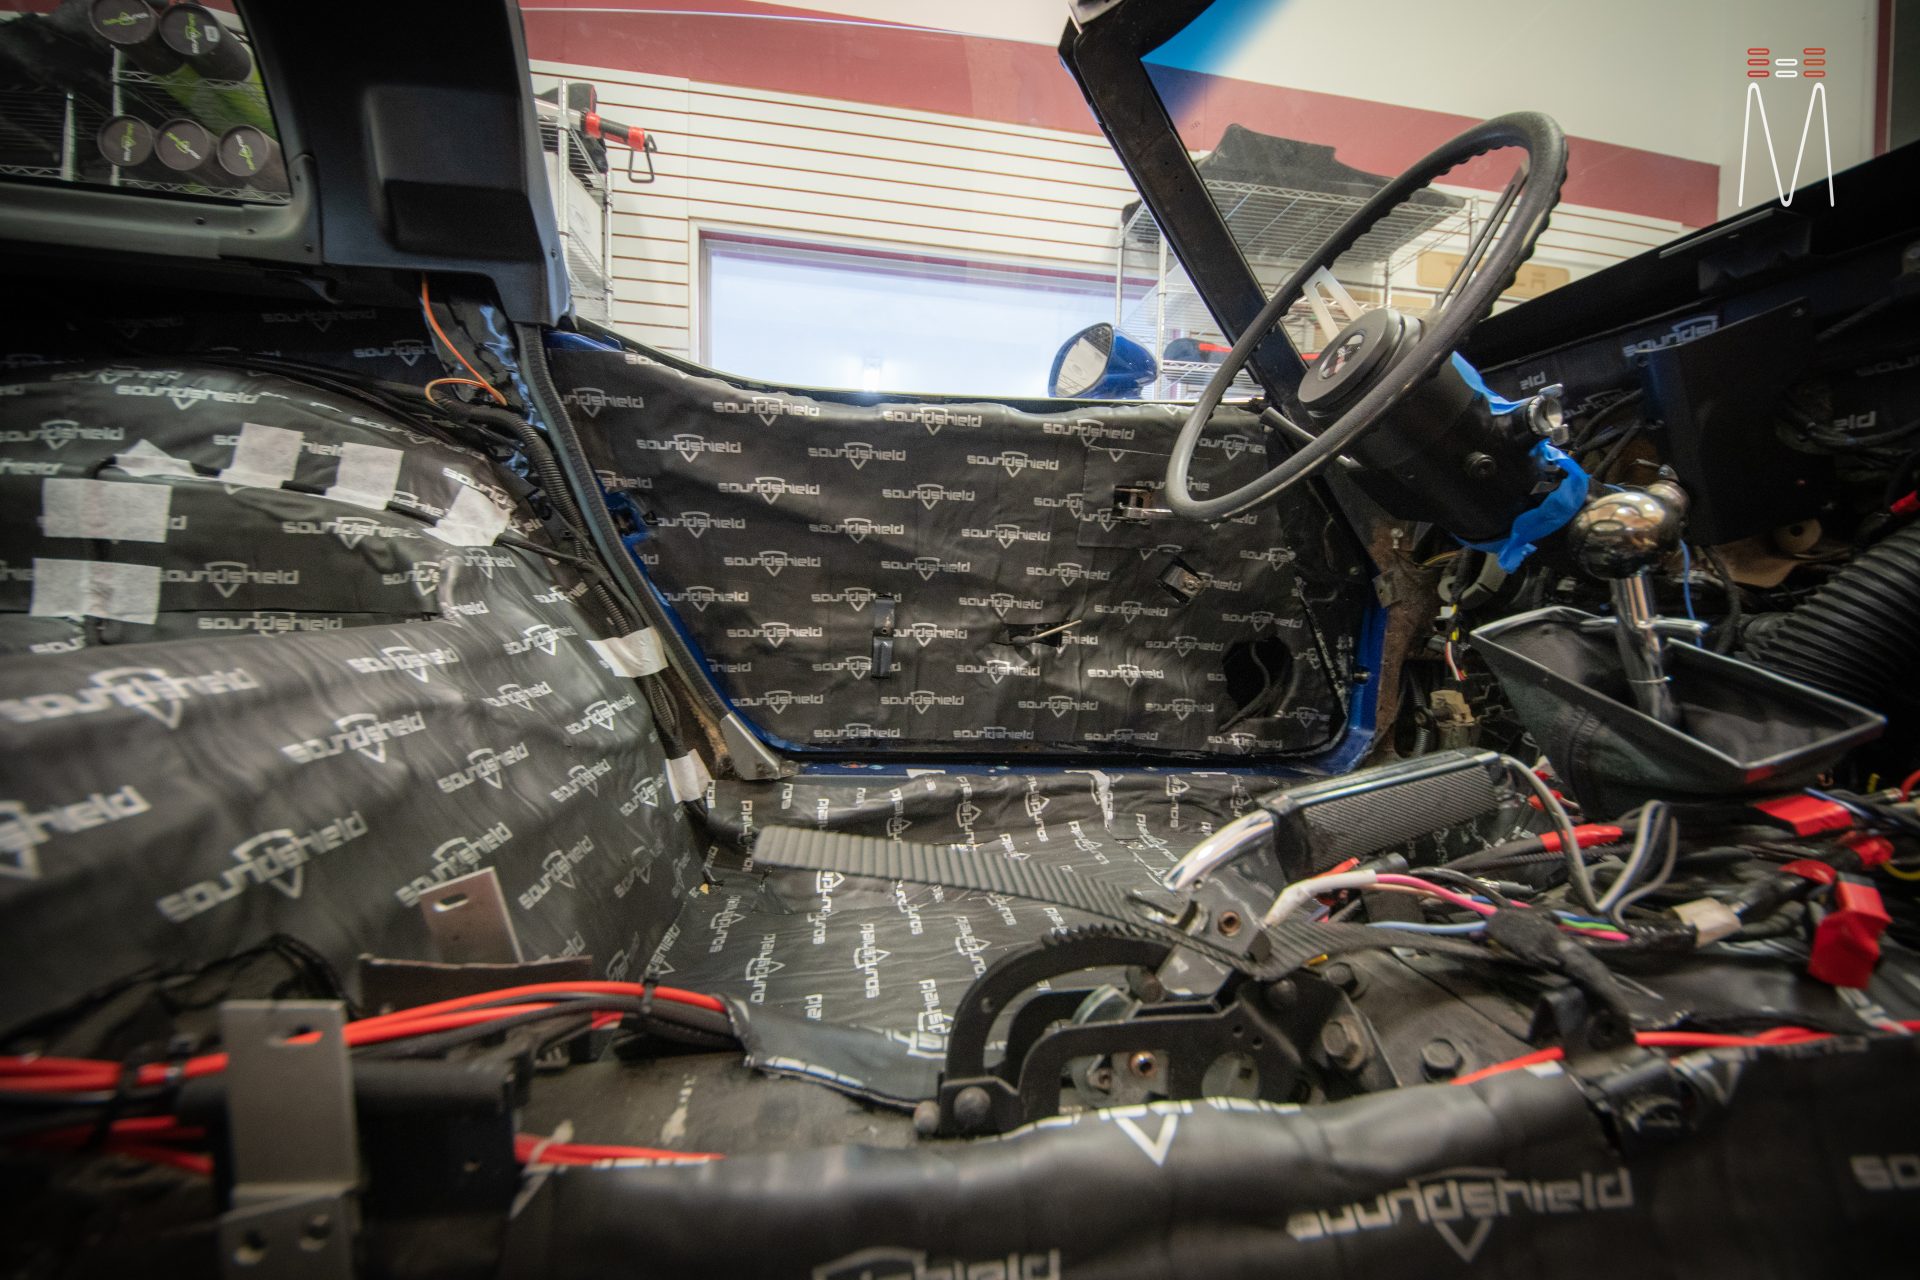
To start we stripped the car and laid down a bottom layer of Hushmat sound treatment followed by SoundShield acoustical foam. This would ensure we have little to no resonance in this old classic. While the interior was out, we completely rewired the interior. Since most classics have been hacked into at one point or another, we wanted to make sure the 12v electronics had a solid base.
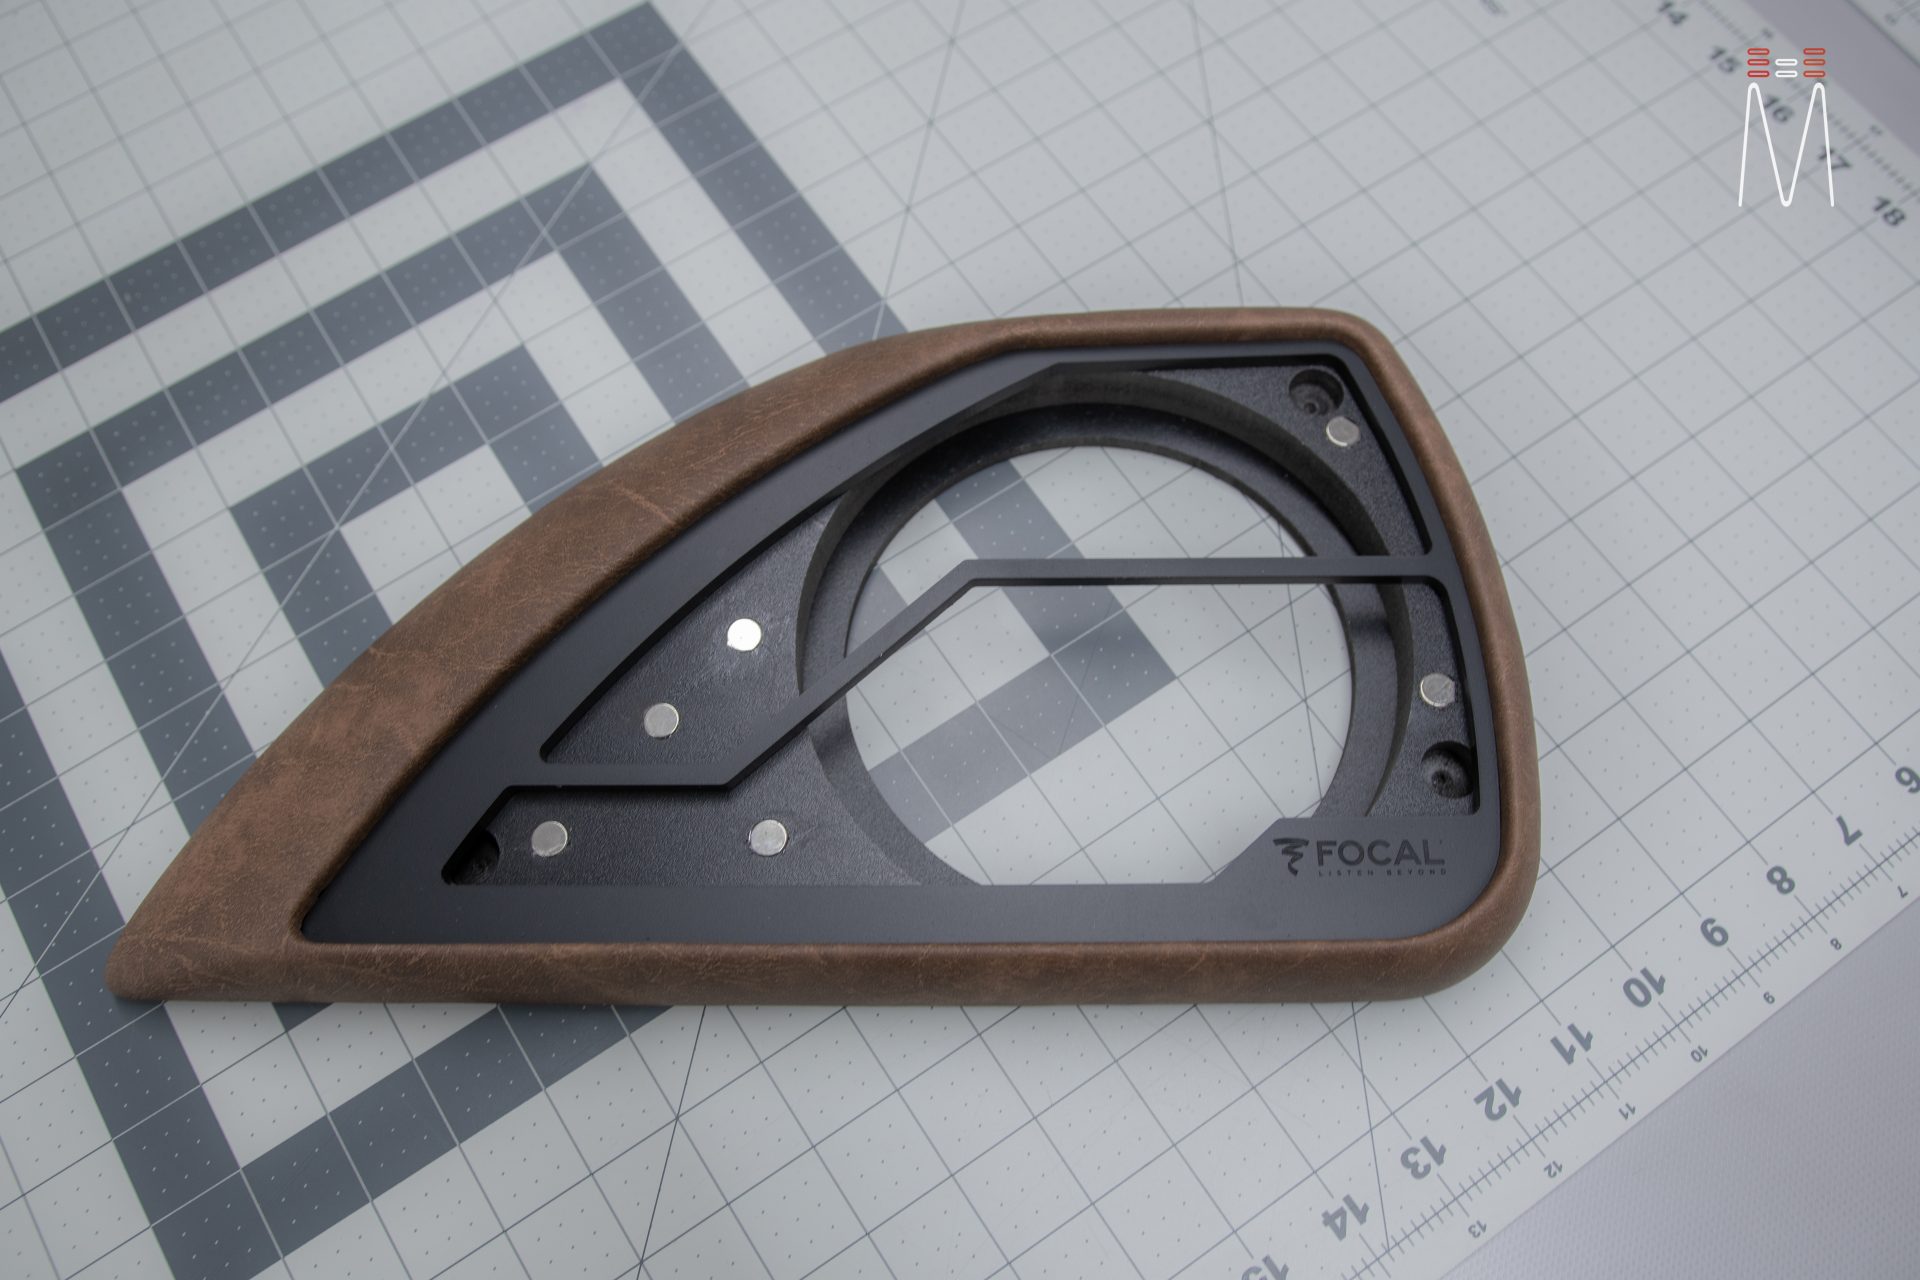
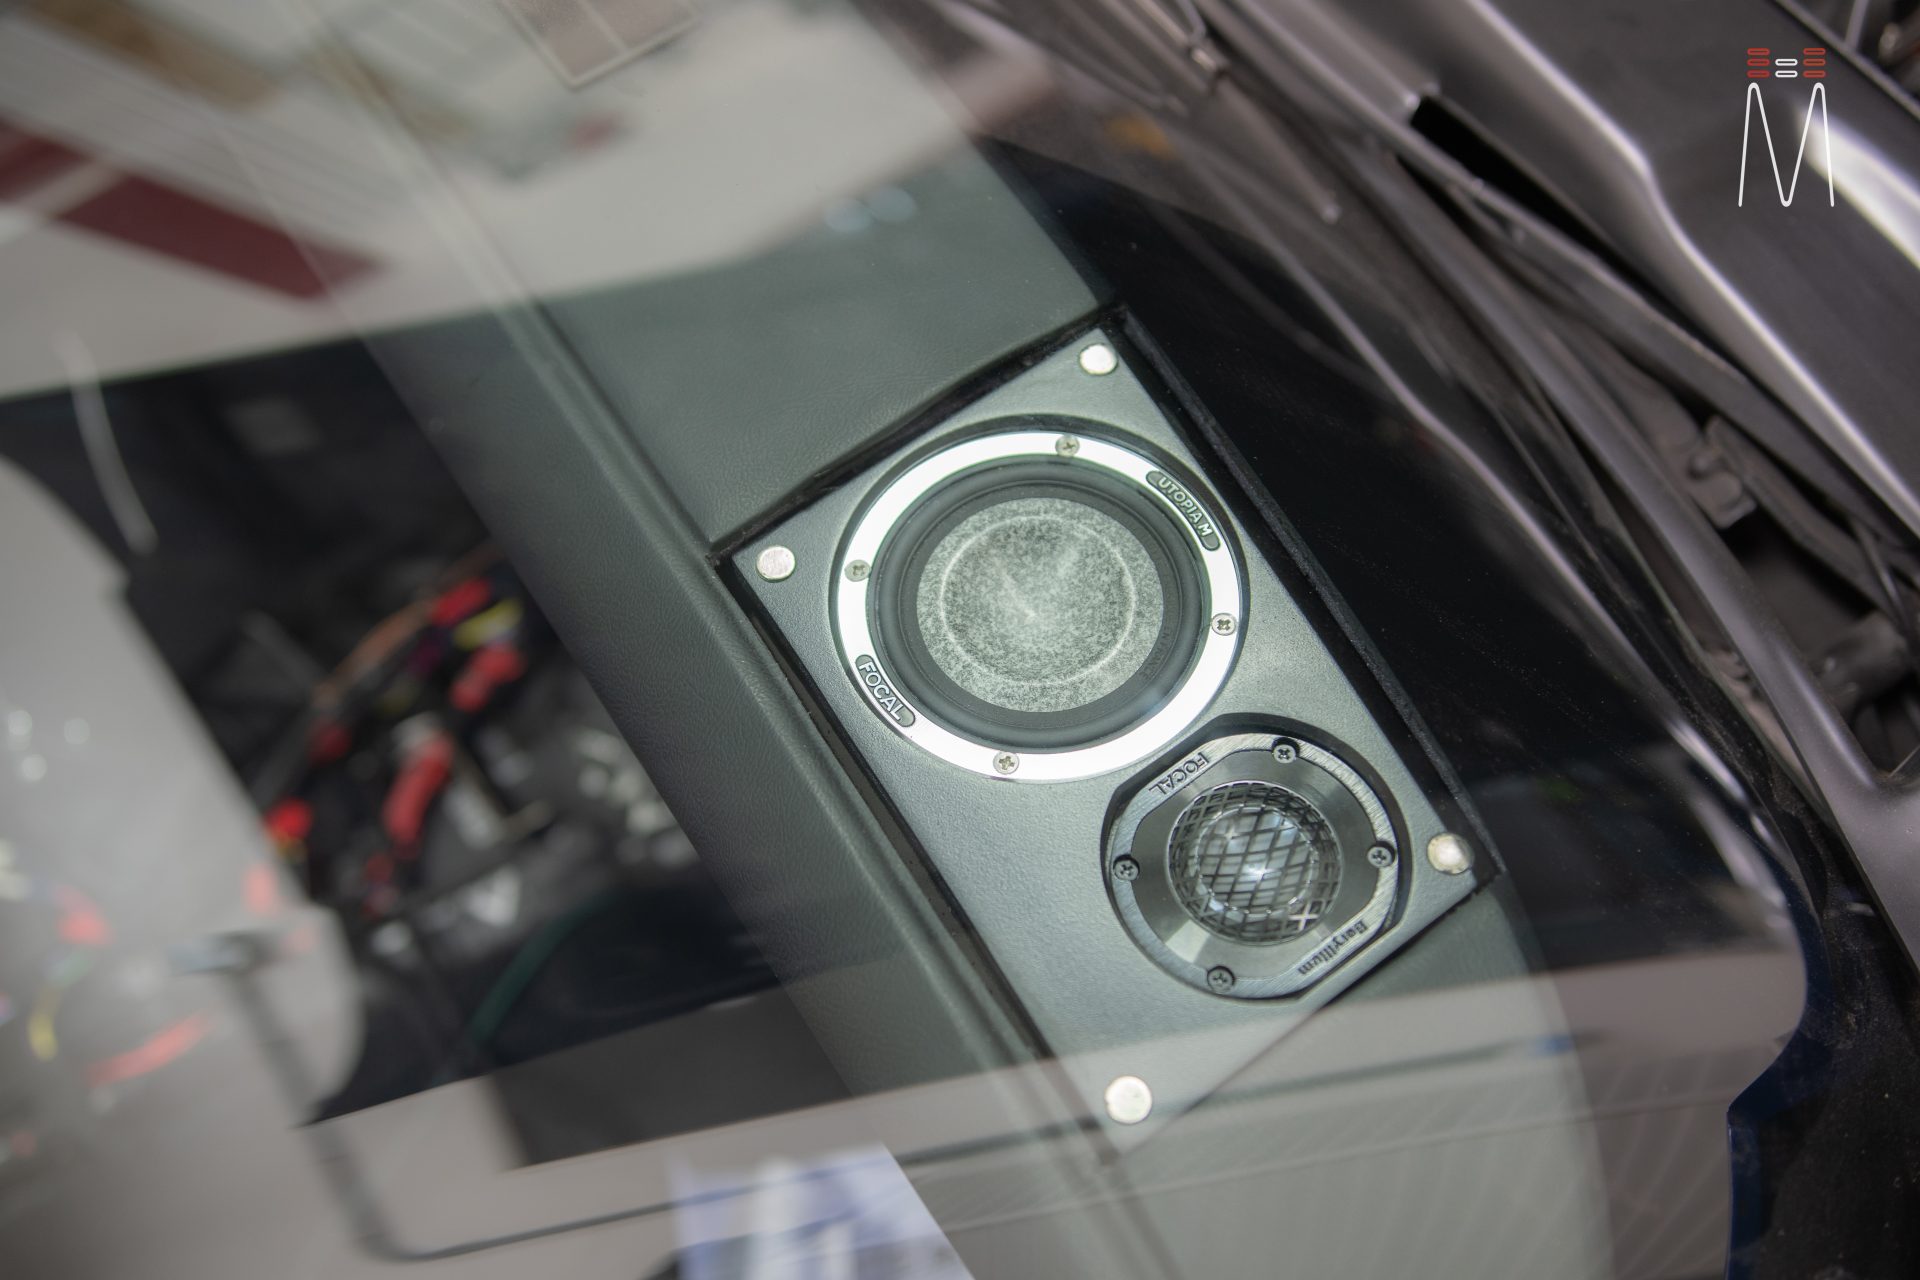
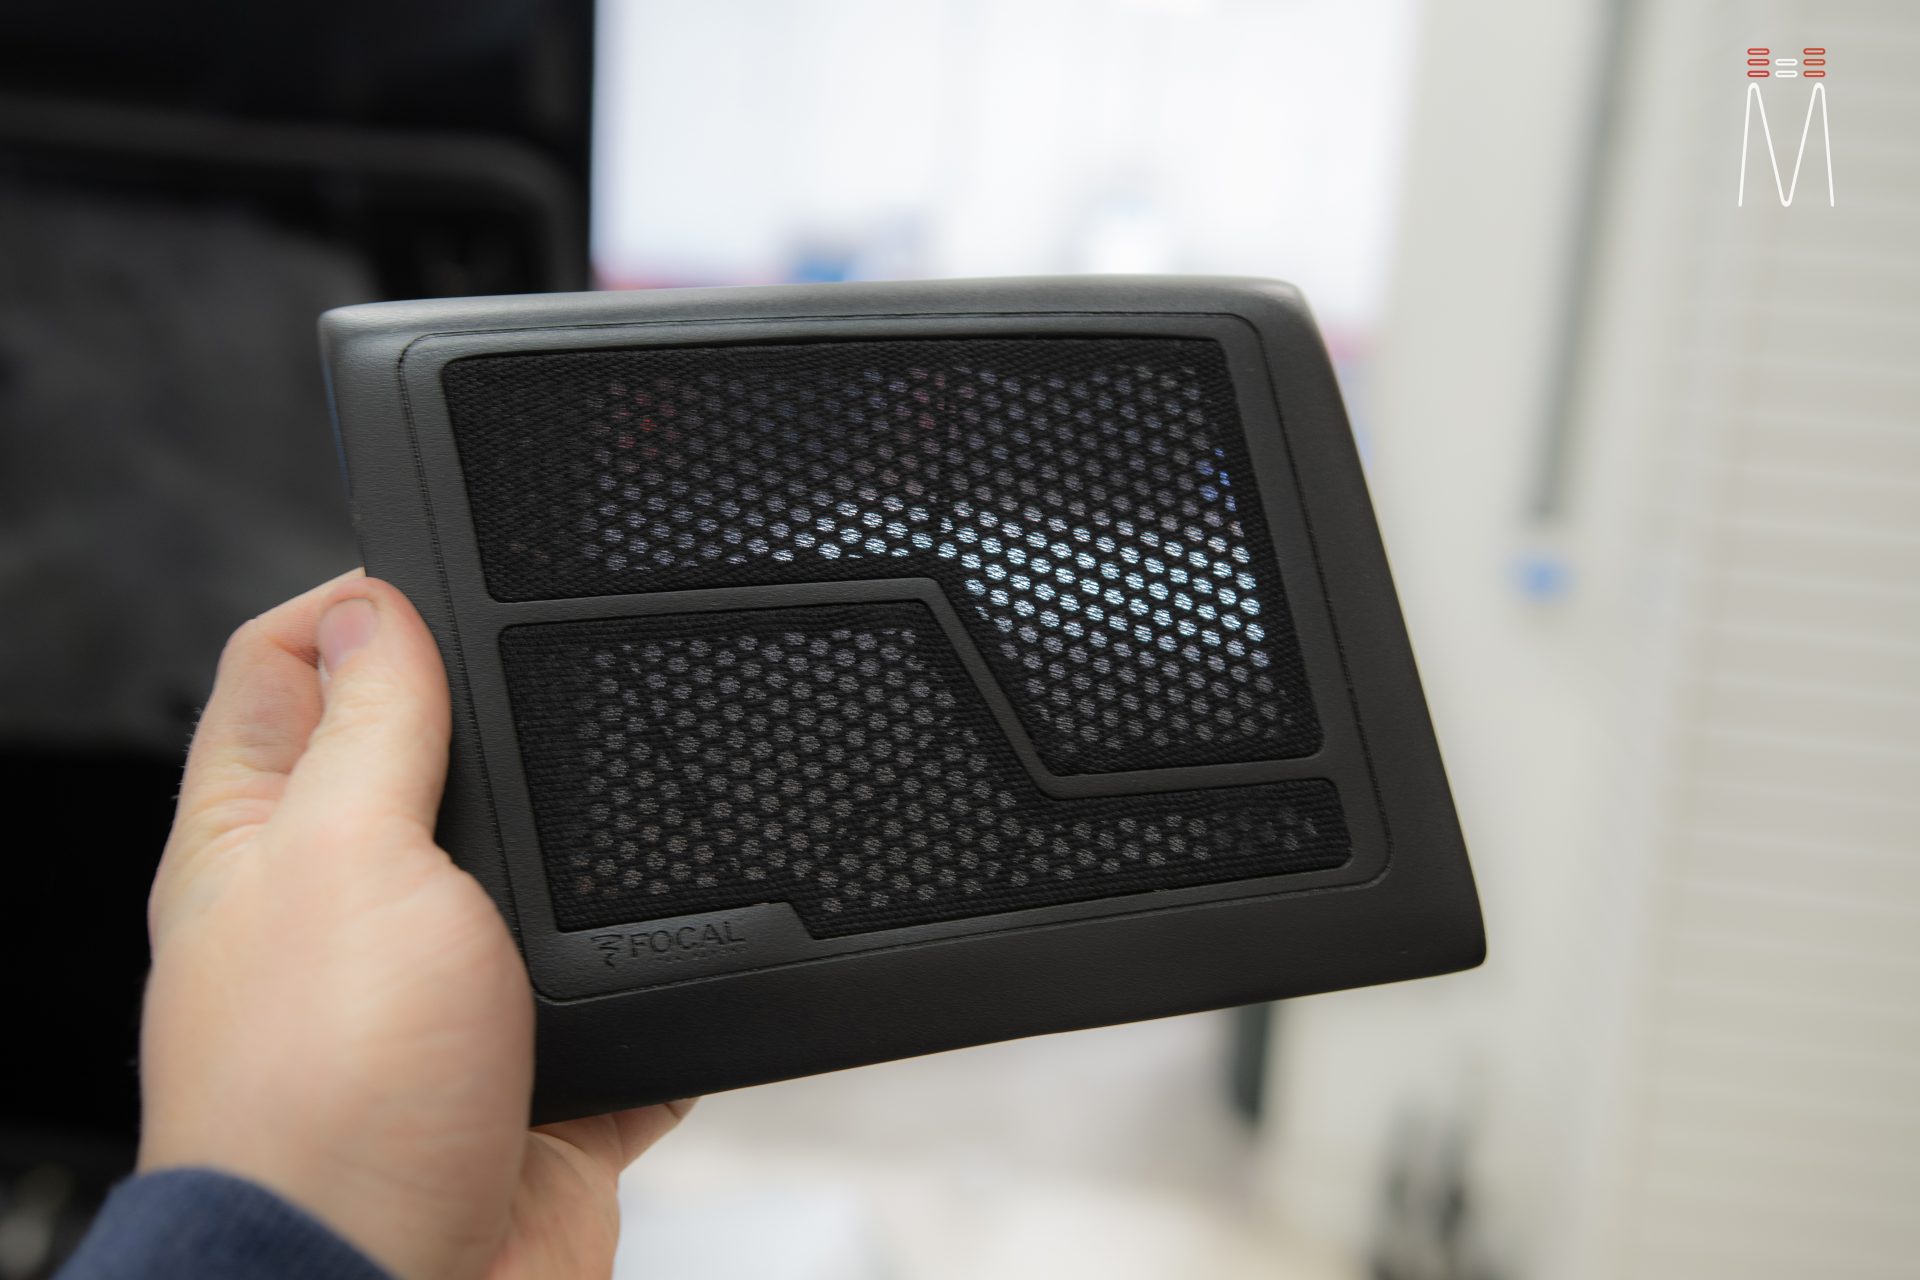
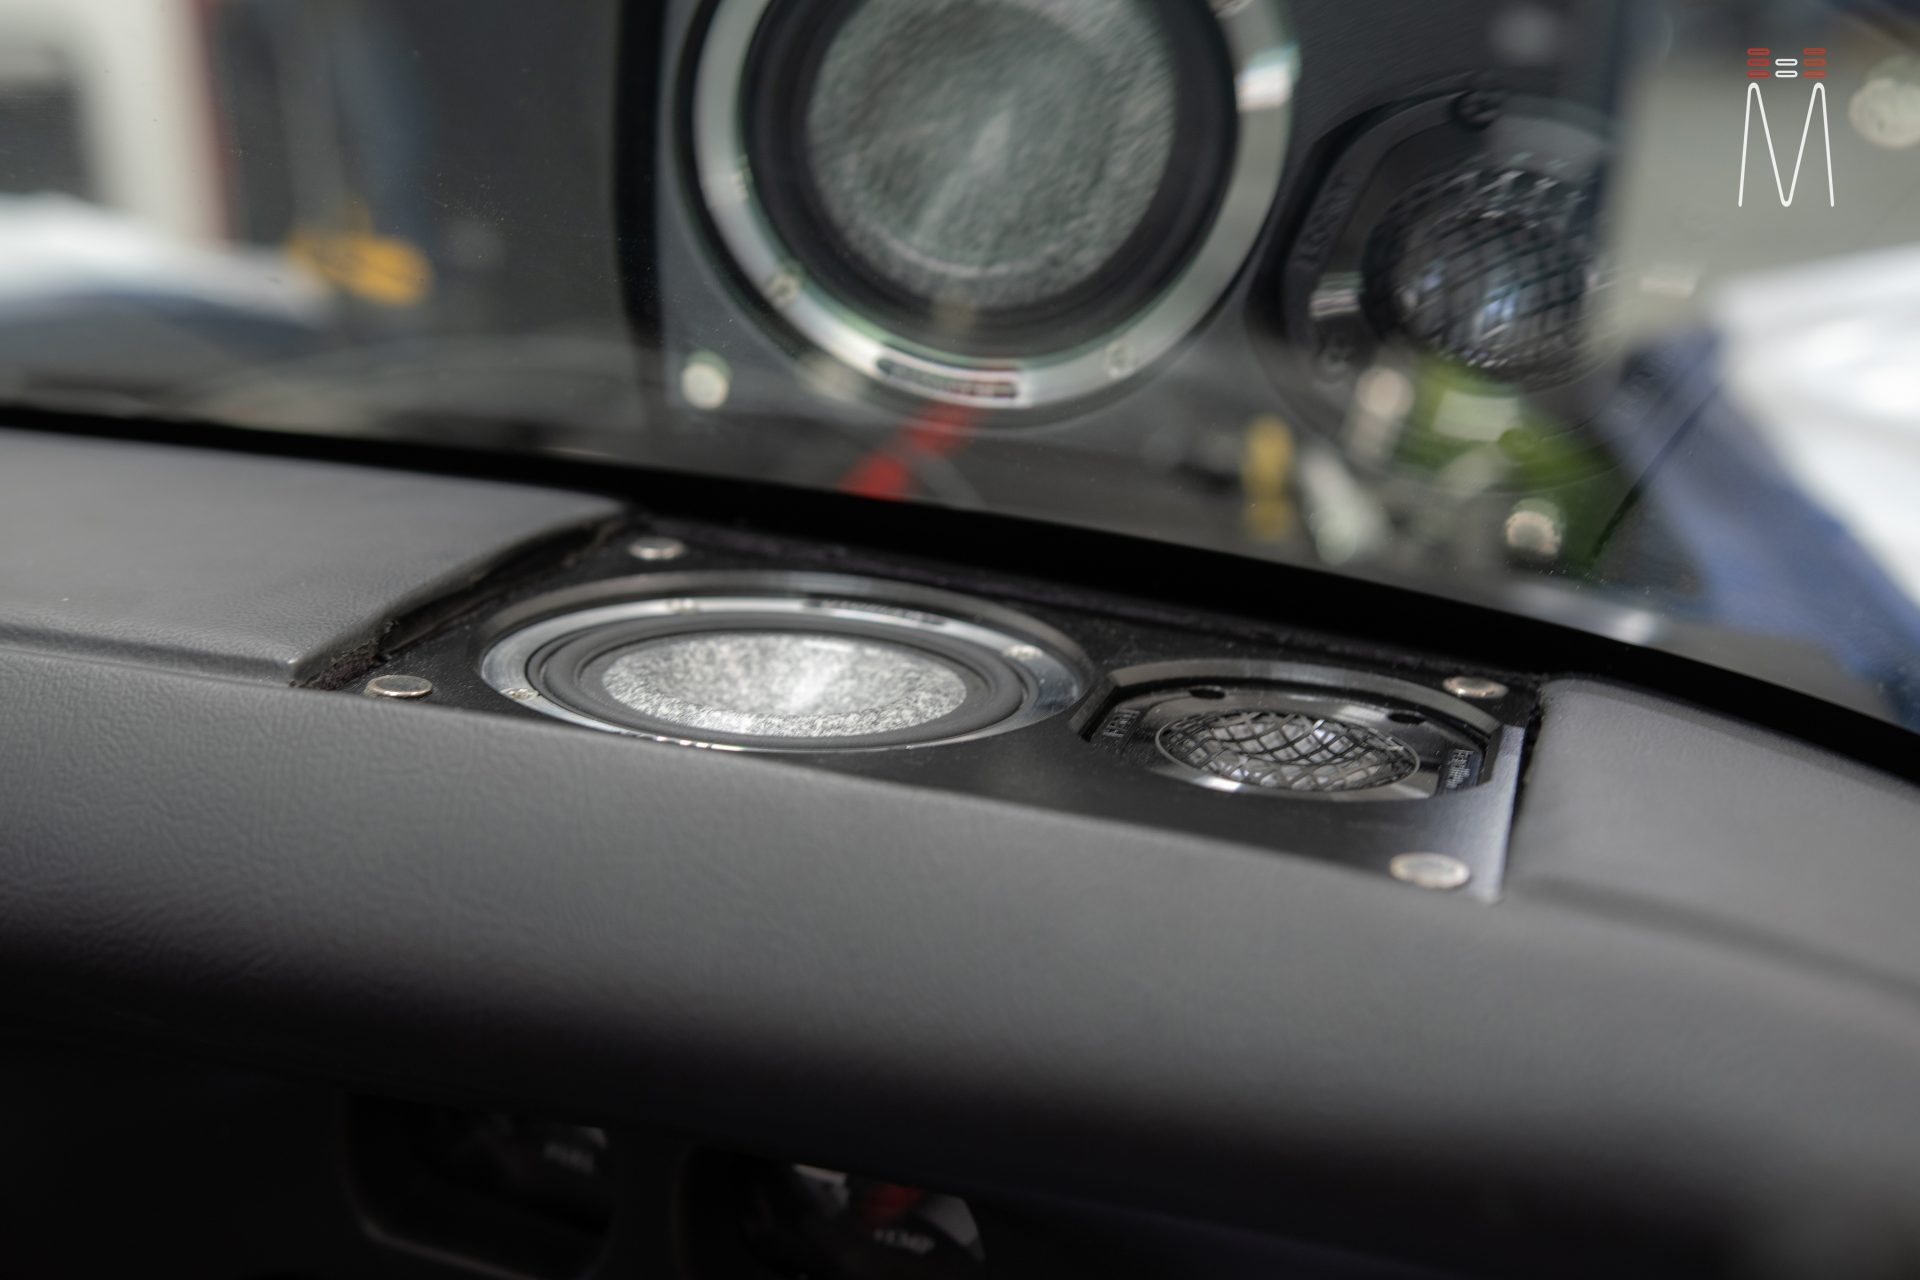
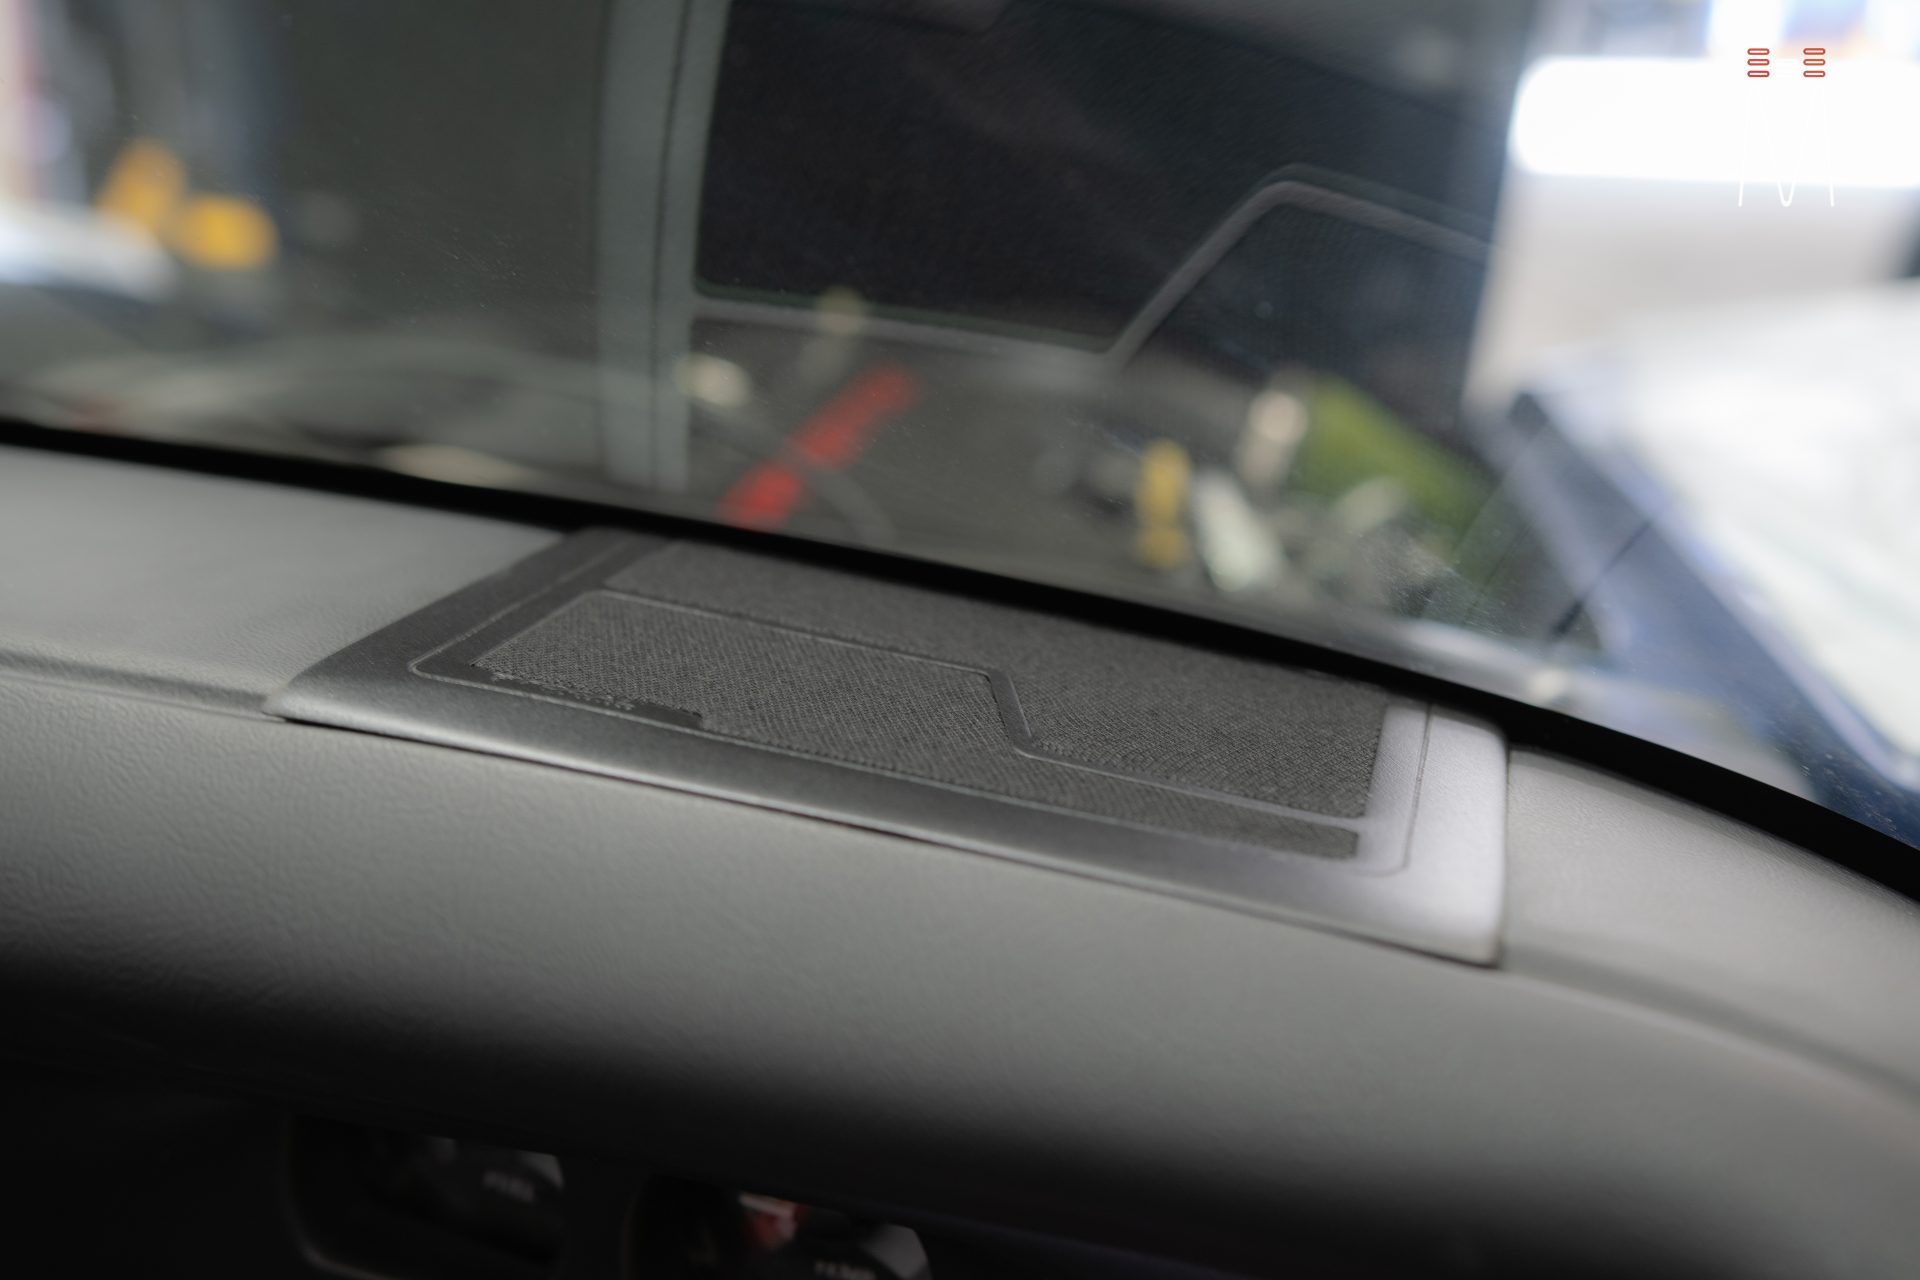
We first started with the construction of the midrange and tweeter mounts. We had to cut two holes in the upper dash and mount the midrange and tweeter housing under the dash. We supplied each mount with 4 magnets that attach the finished cover to the upper part of the dash. The design we used on these mounts would carry to all of the other grilles and panels throughout the car. The housings were made out of acrylic with grille cloth inserts. We branded the grilles with “Focal” with our CNC laser.
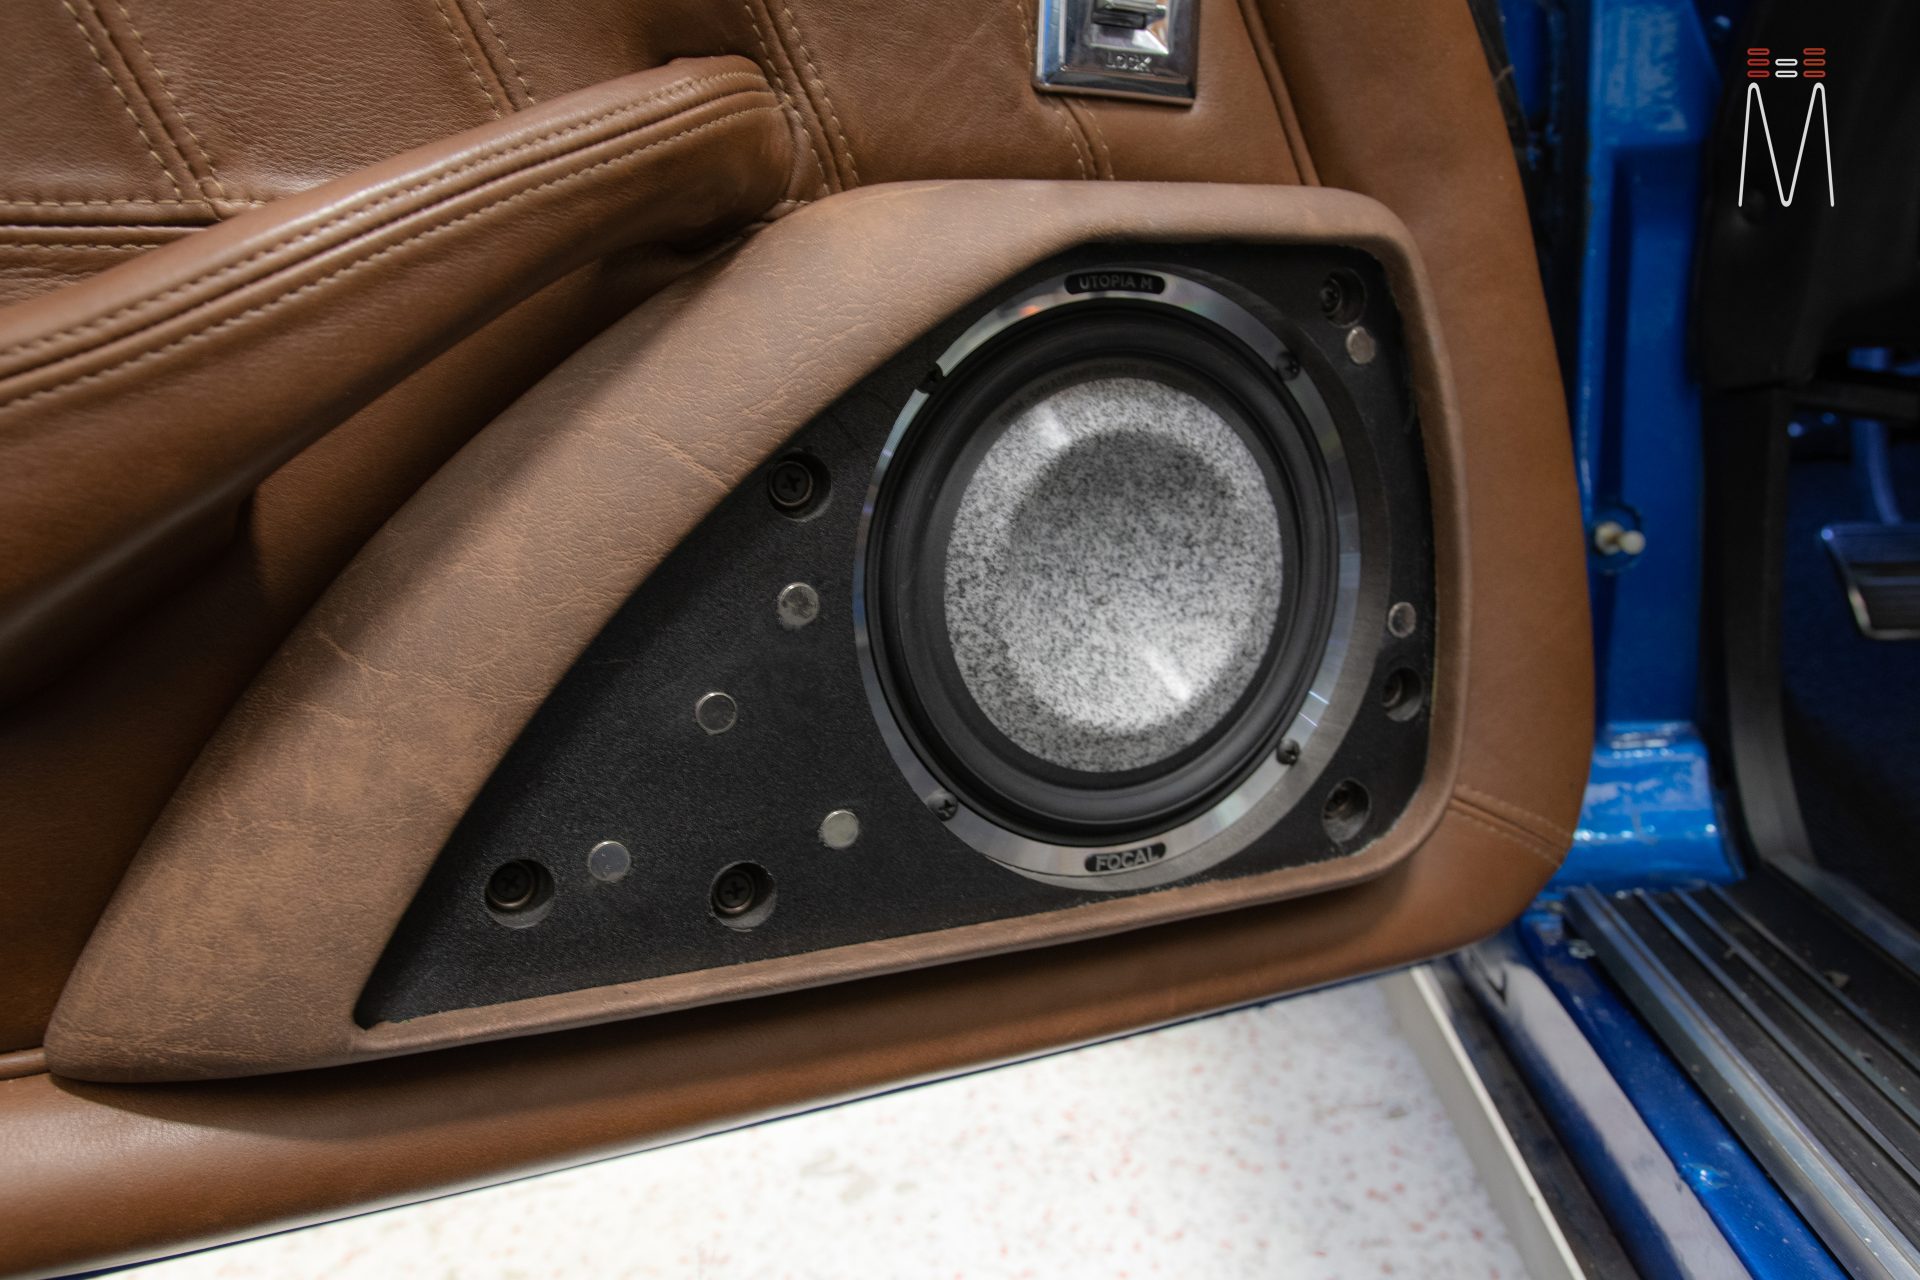
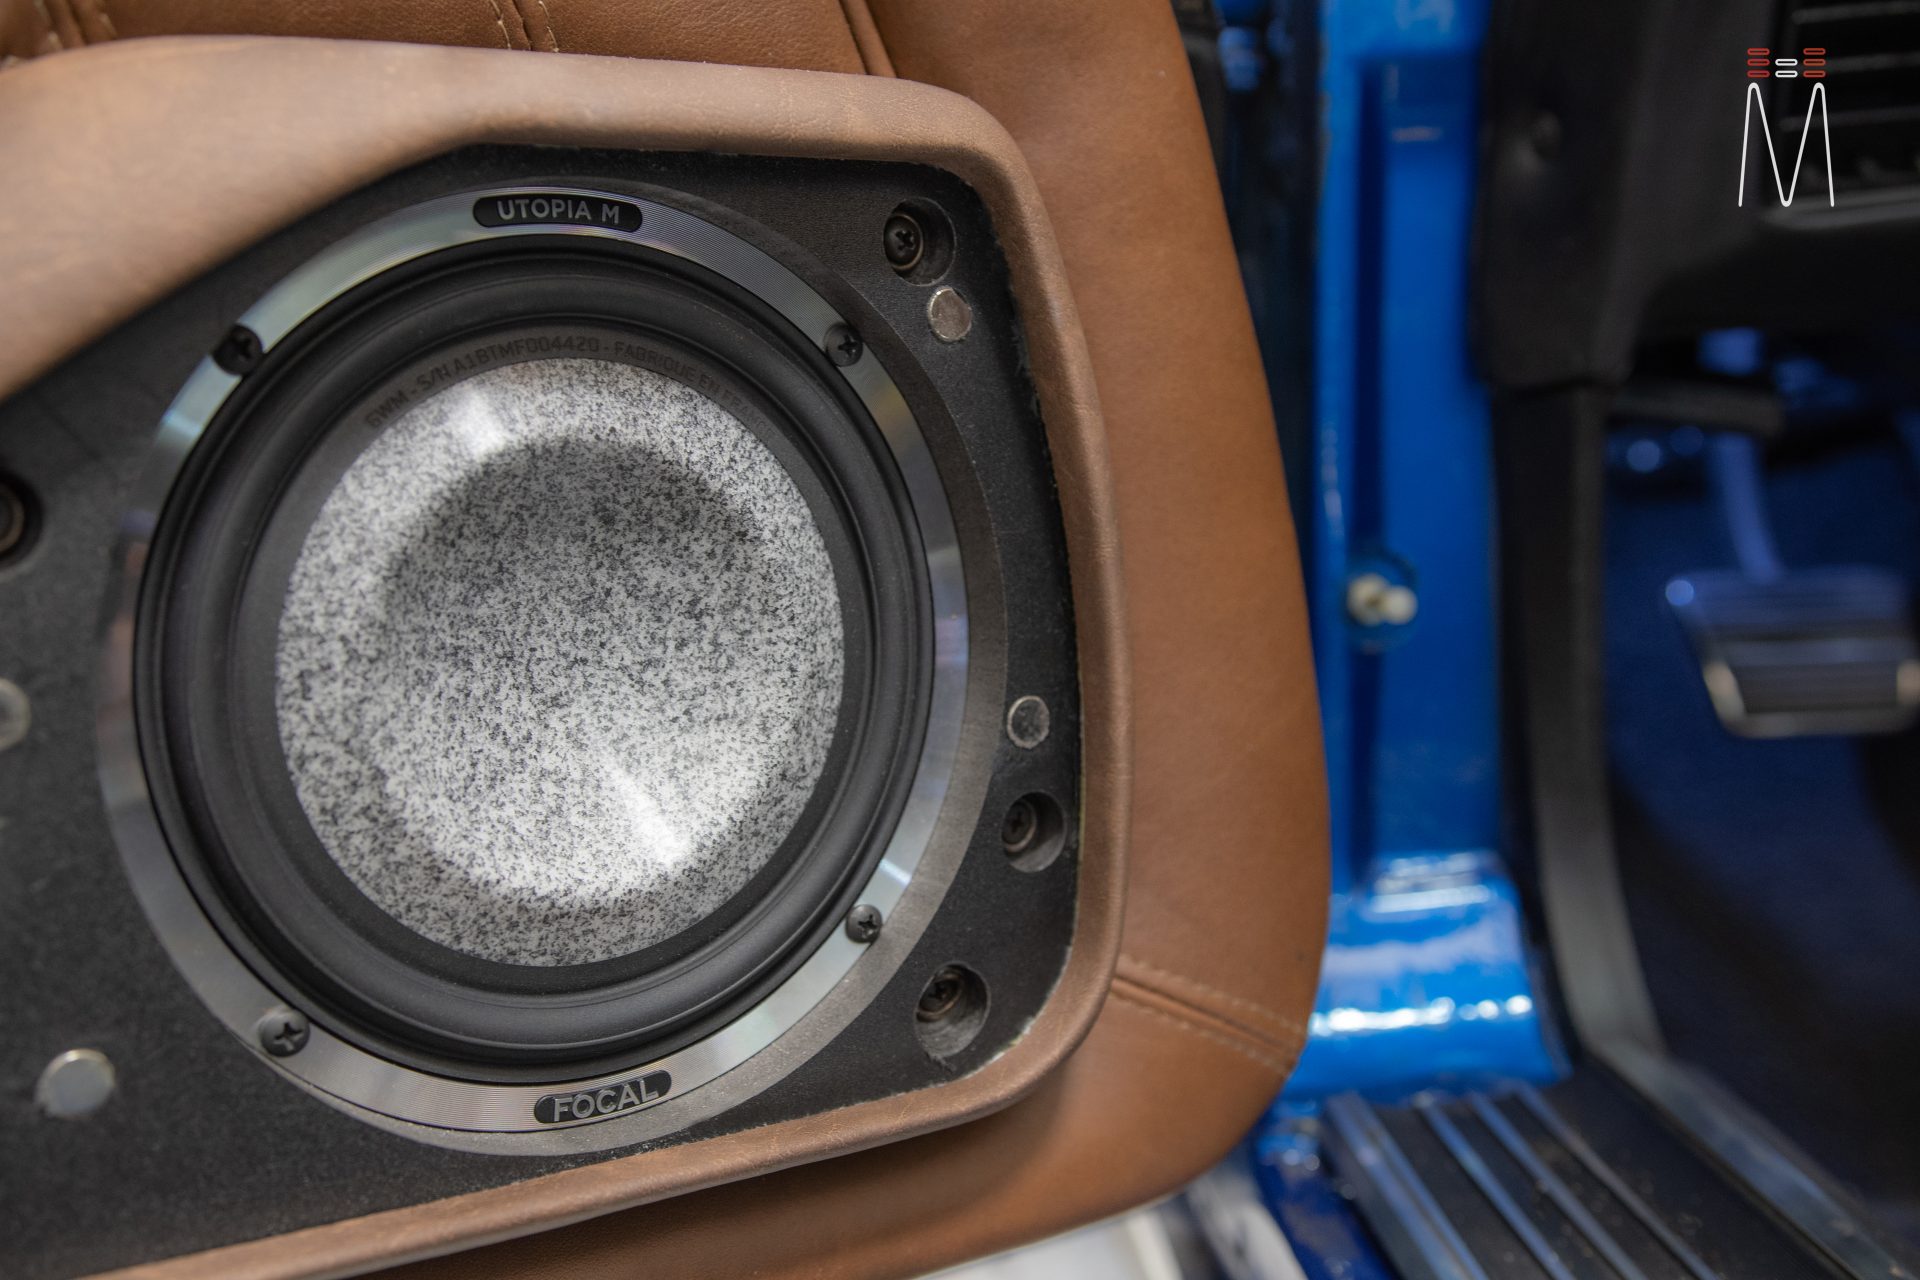
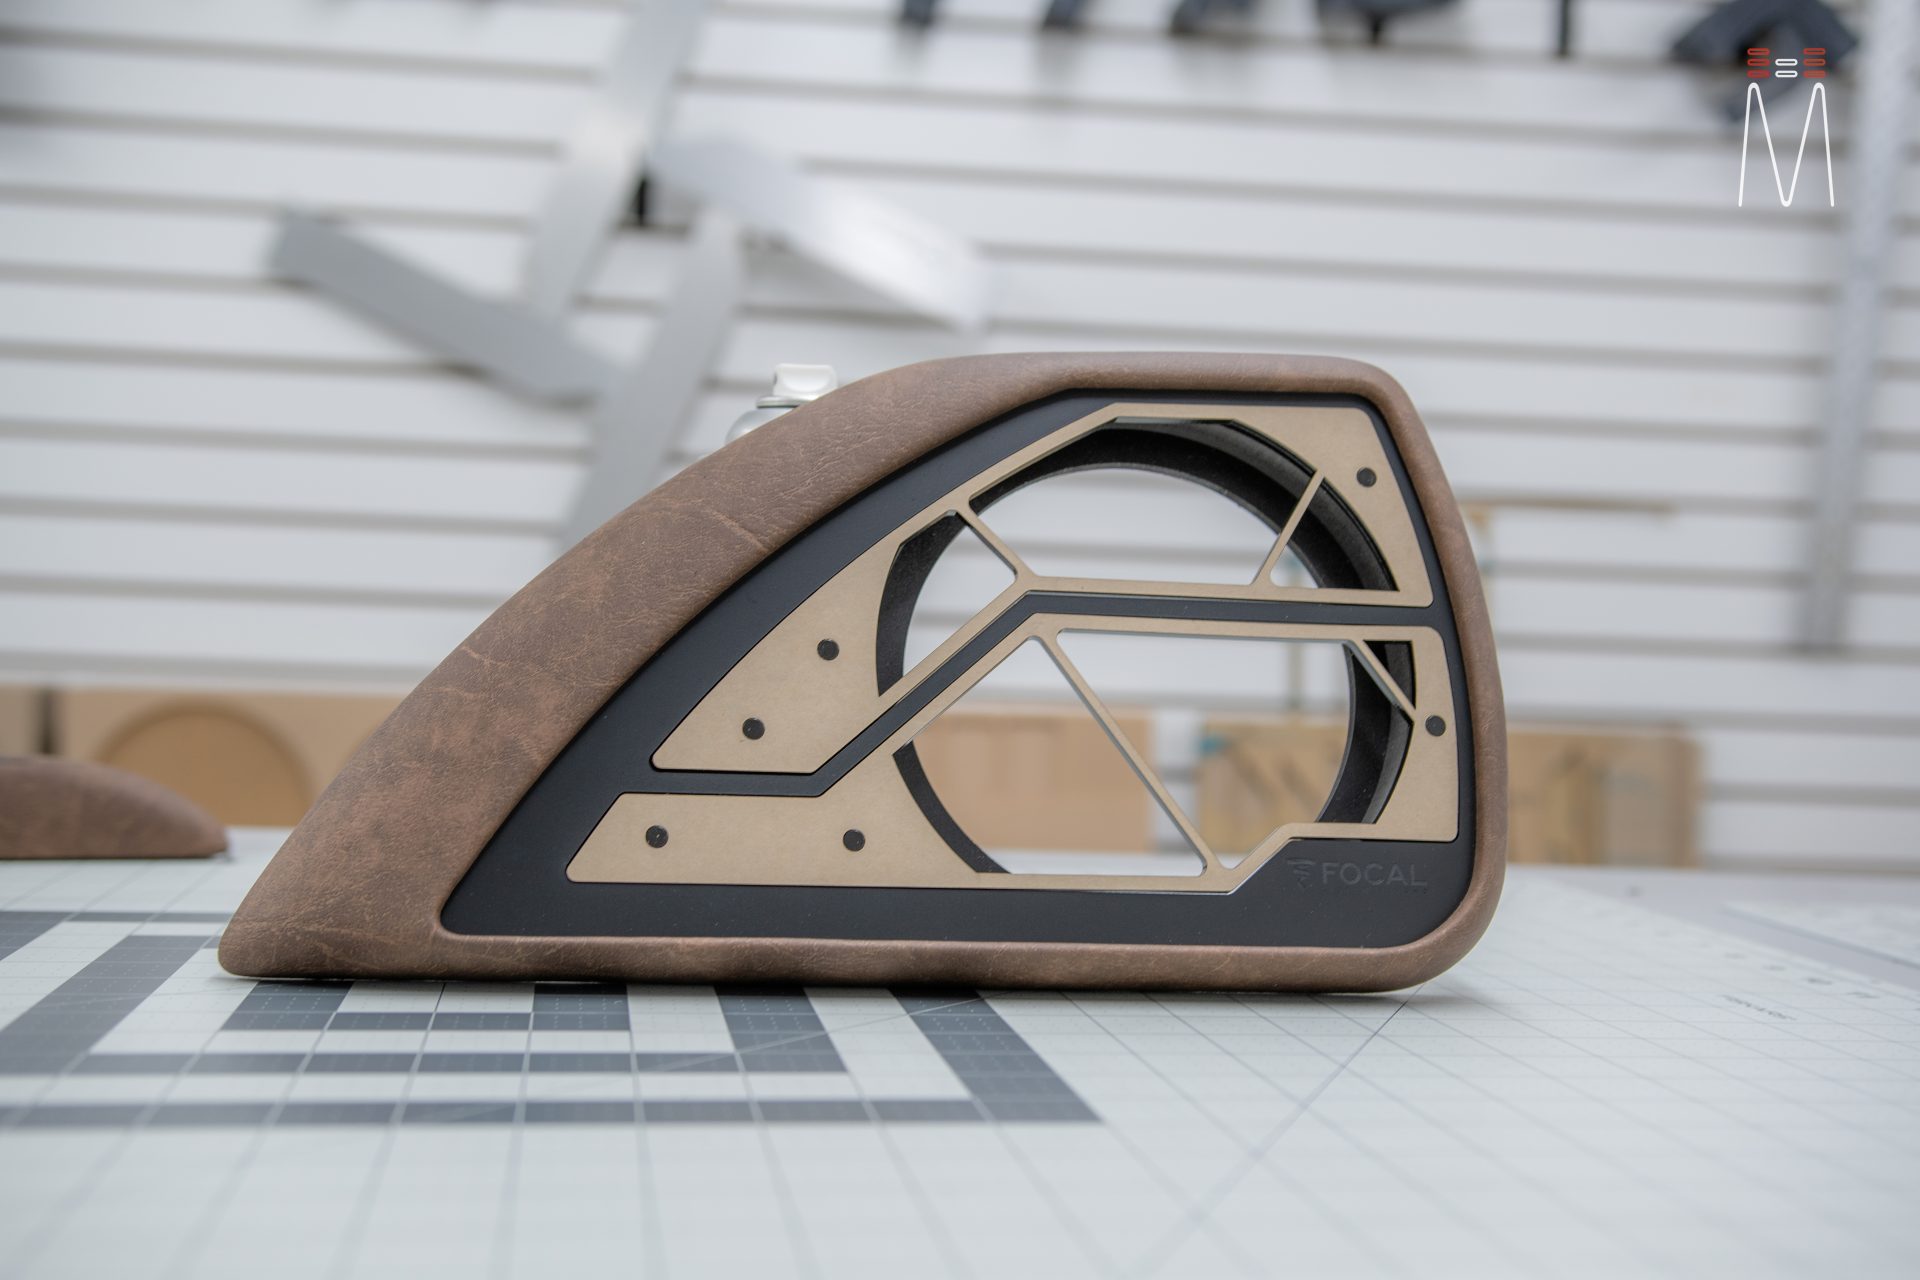
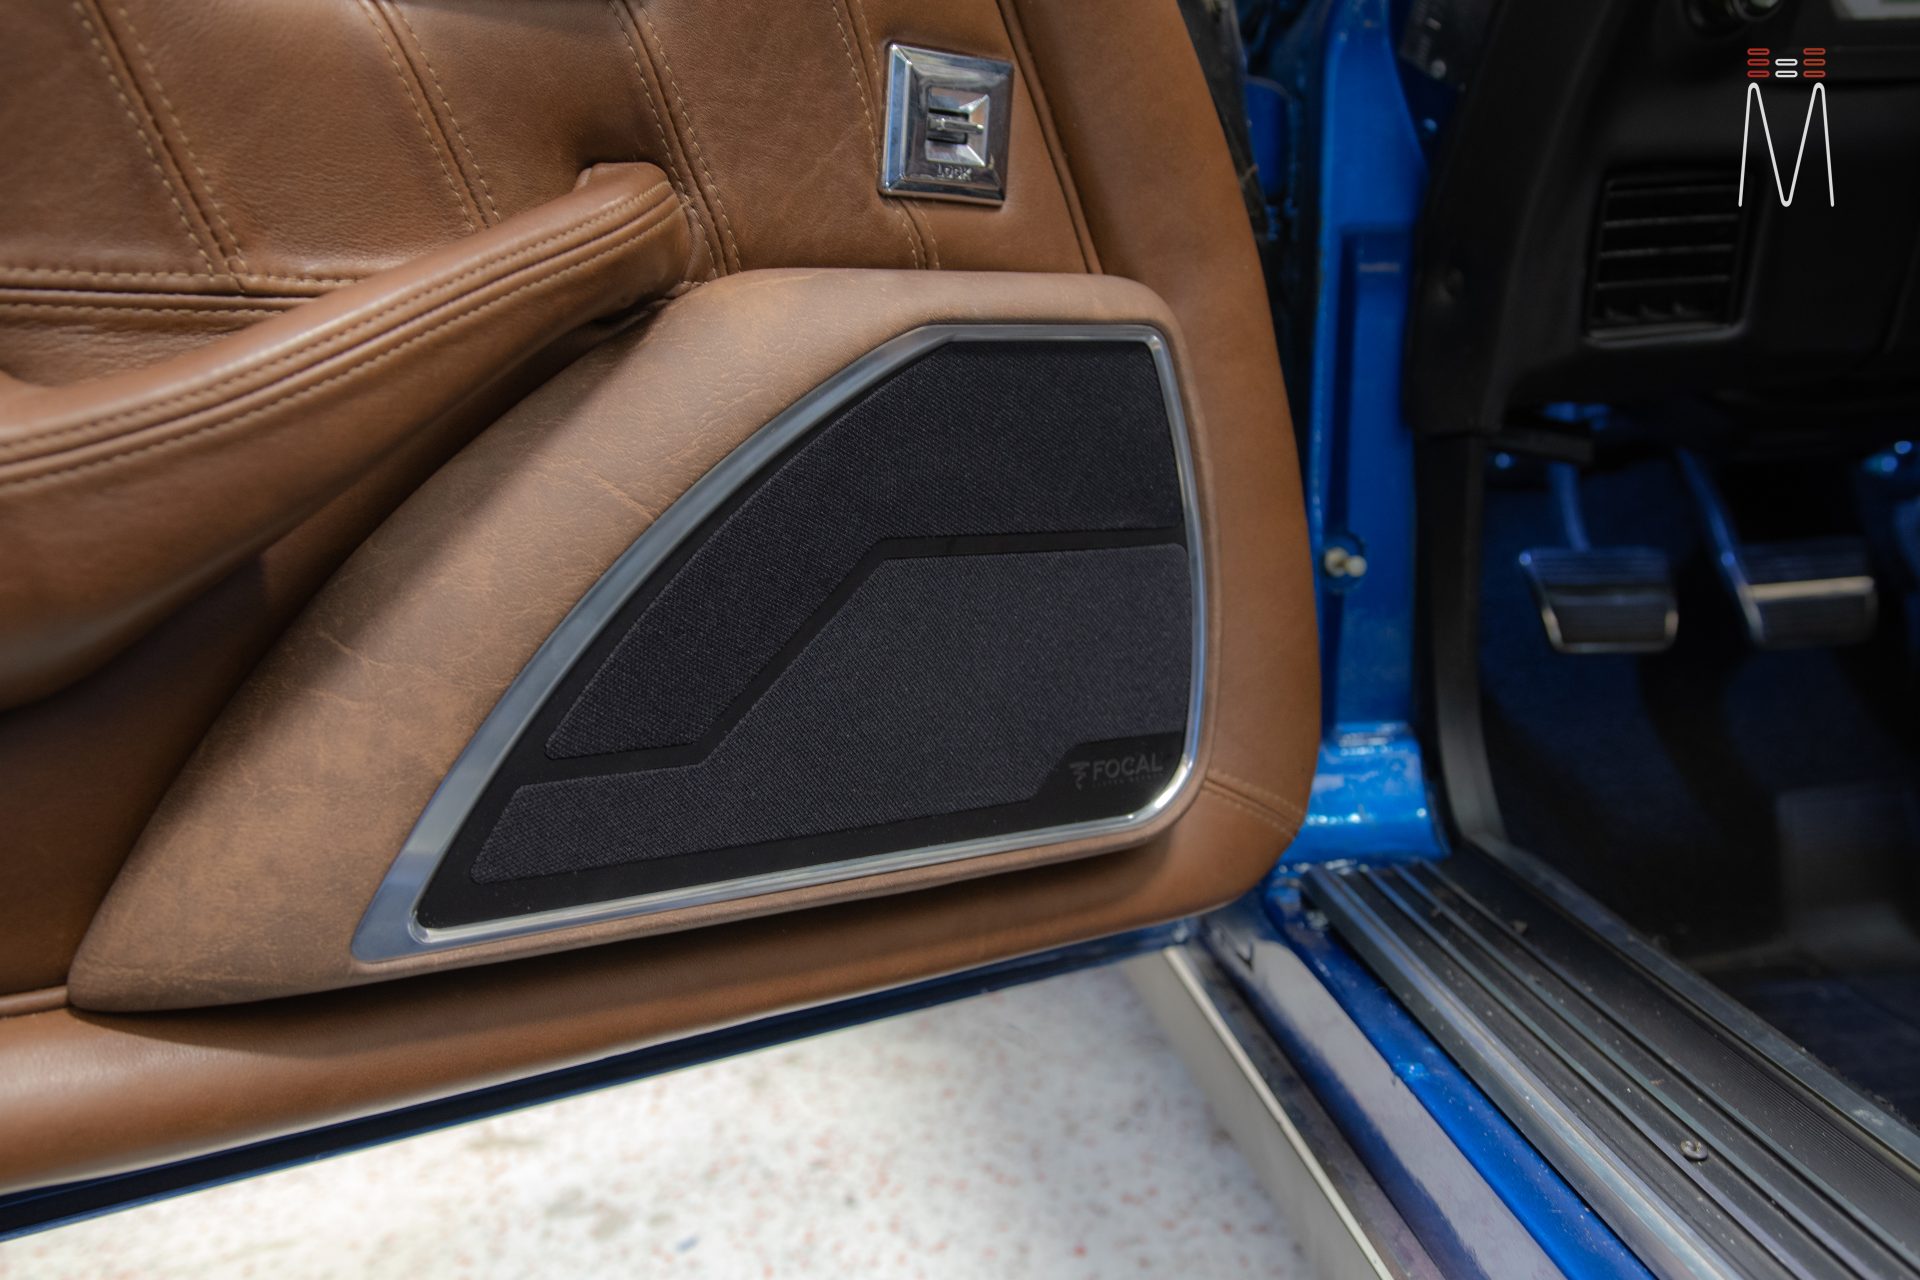
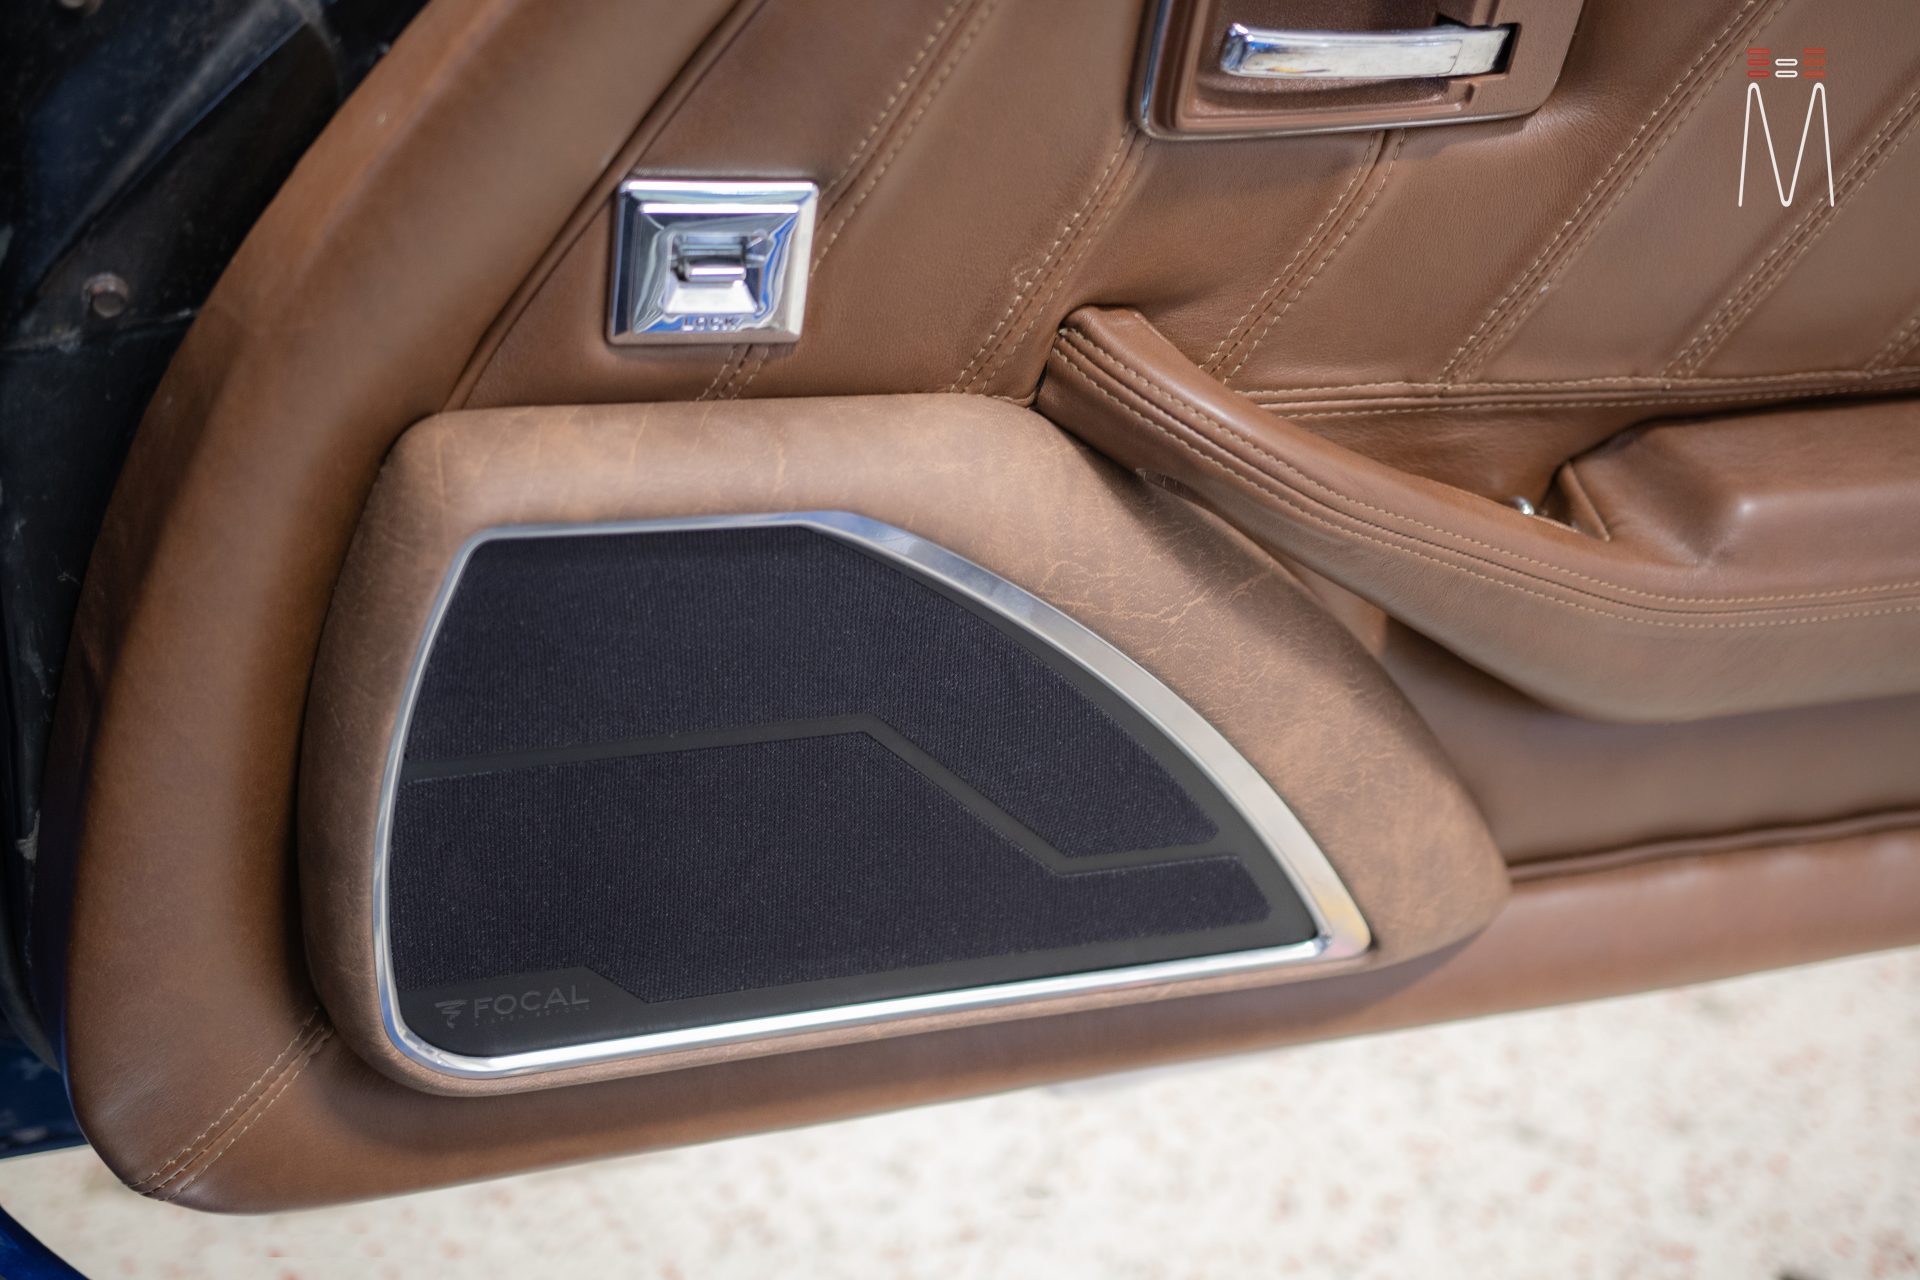
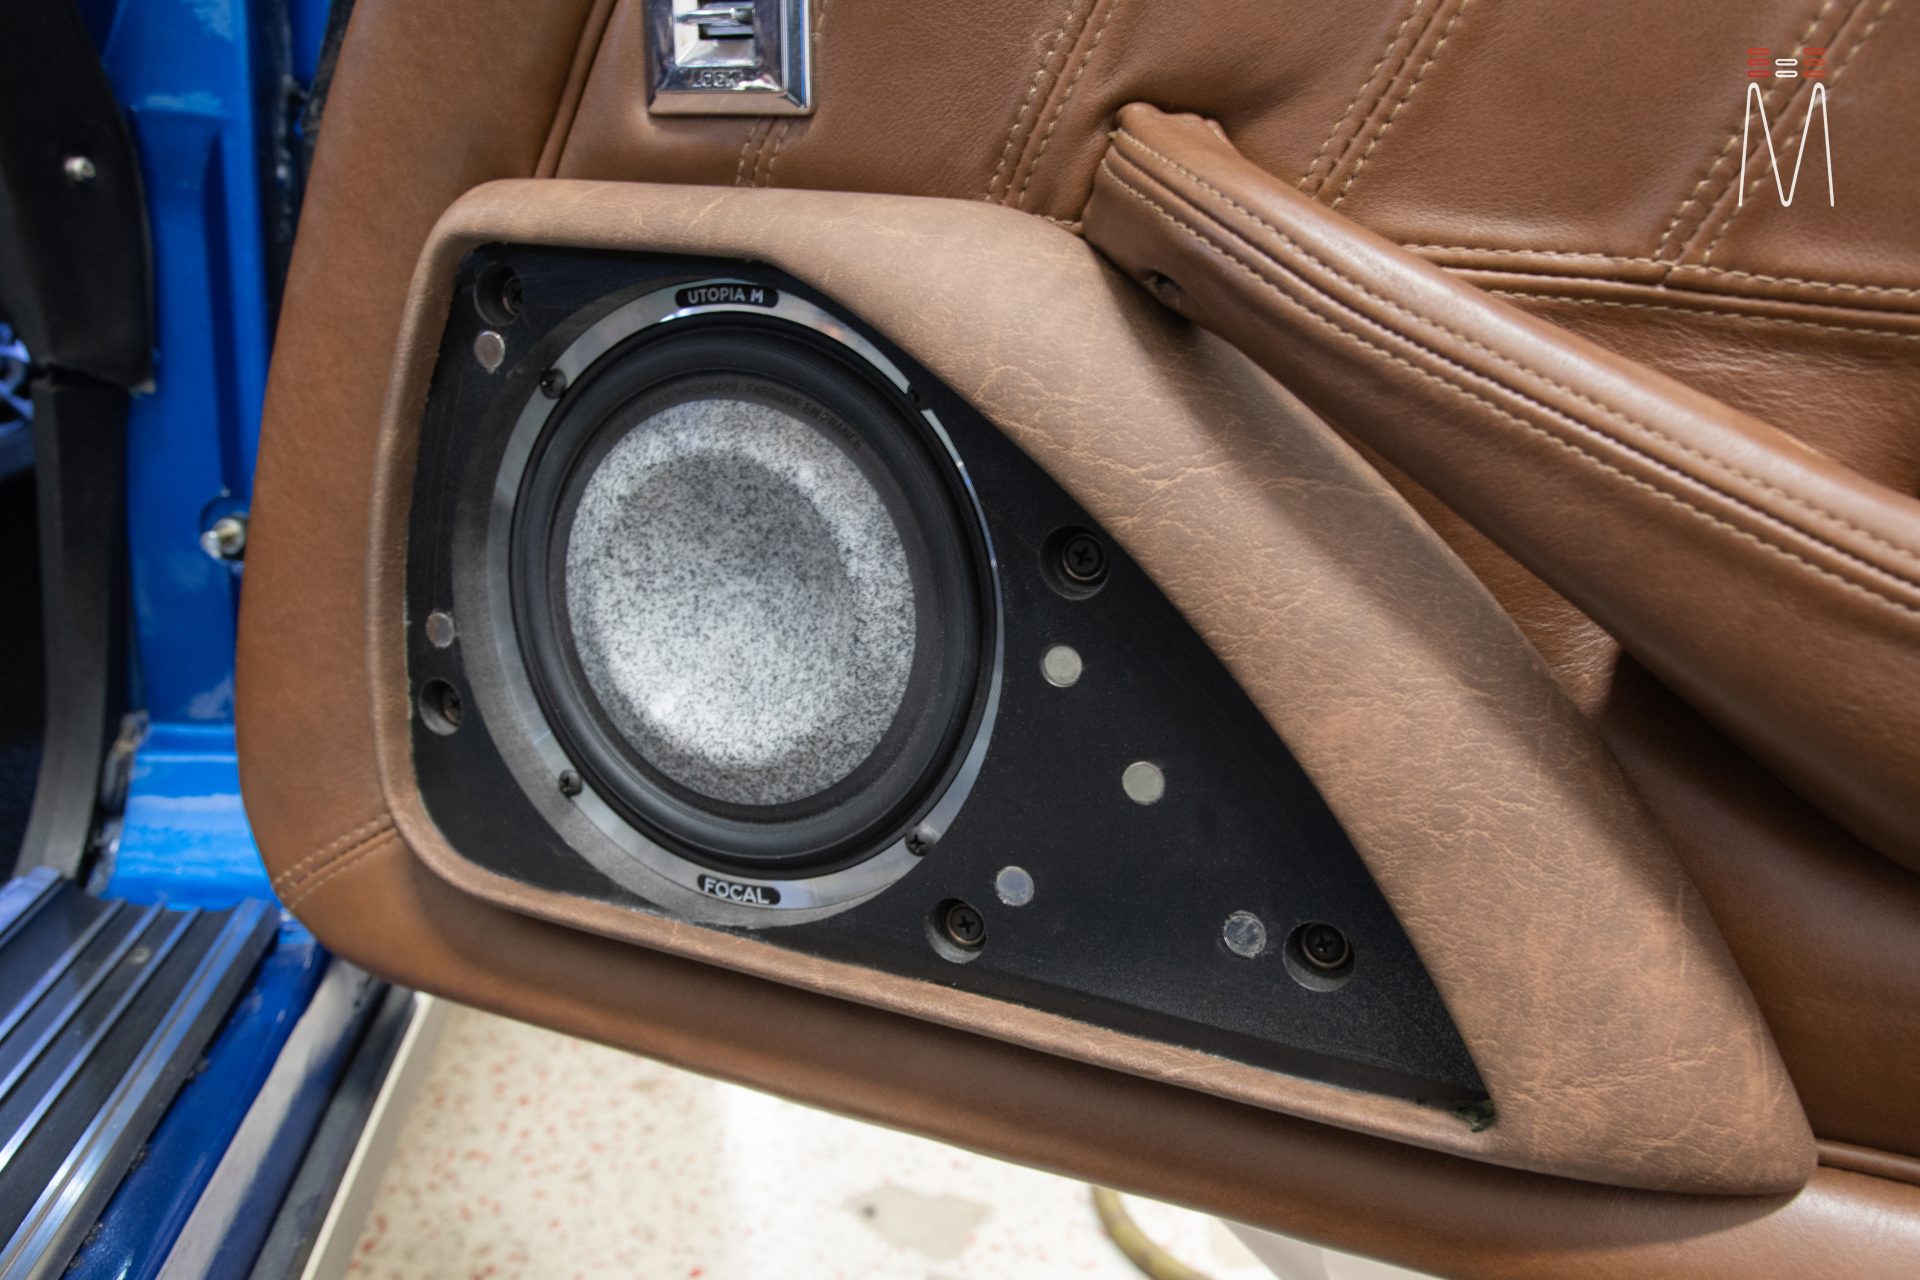
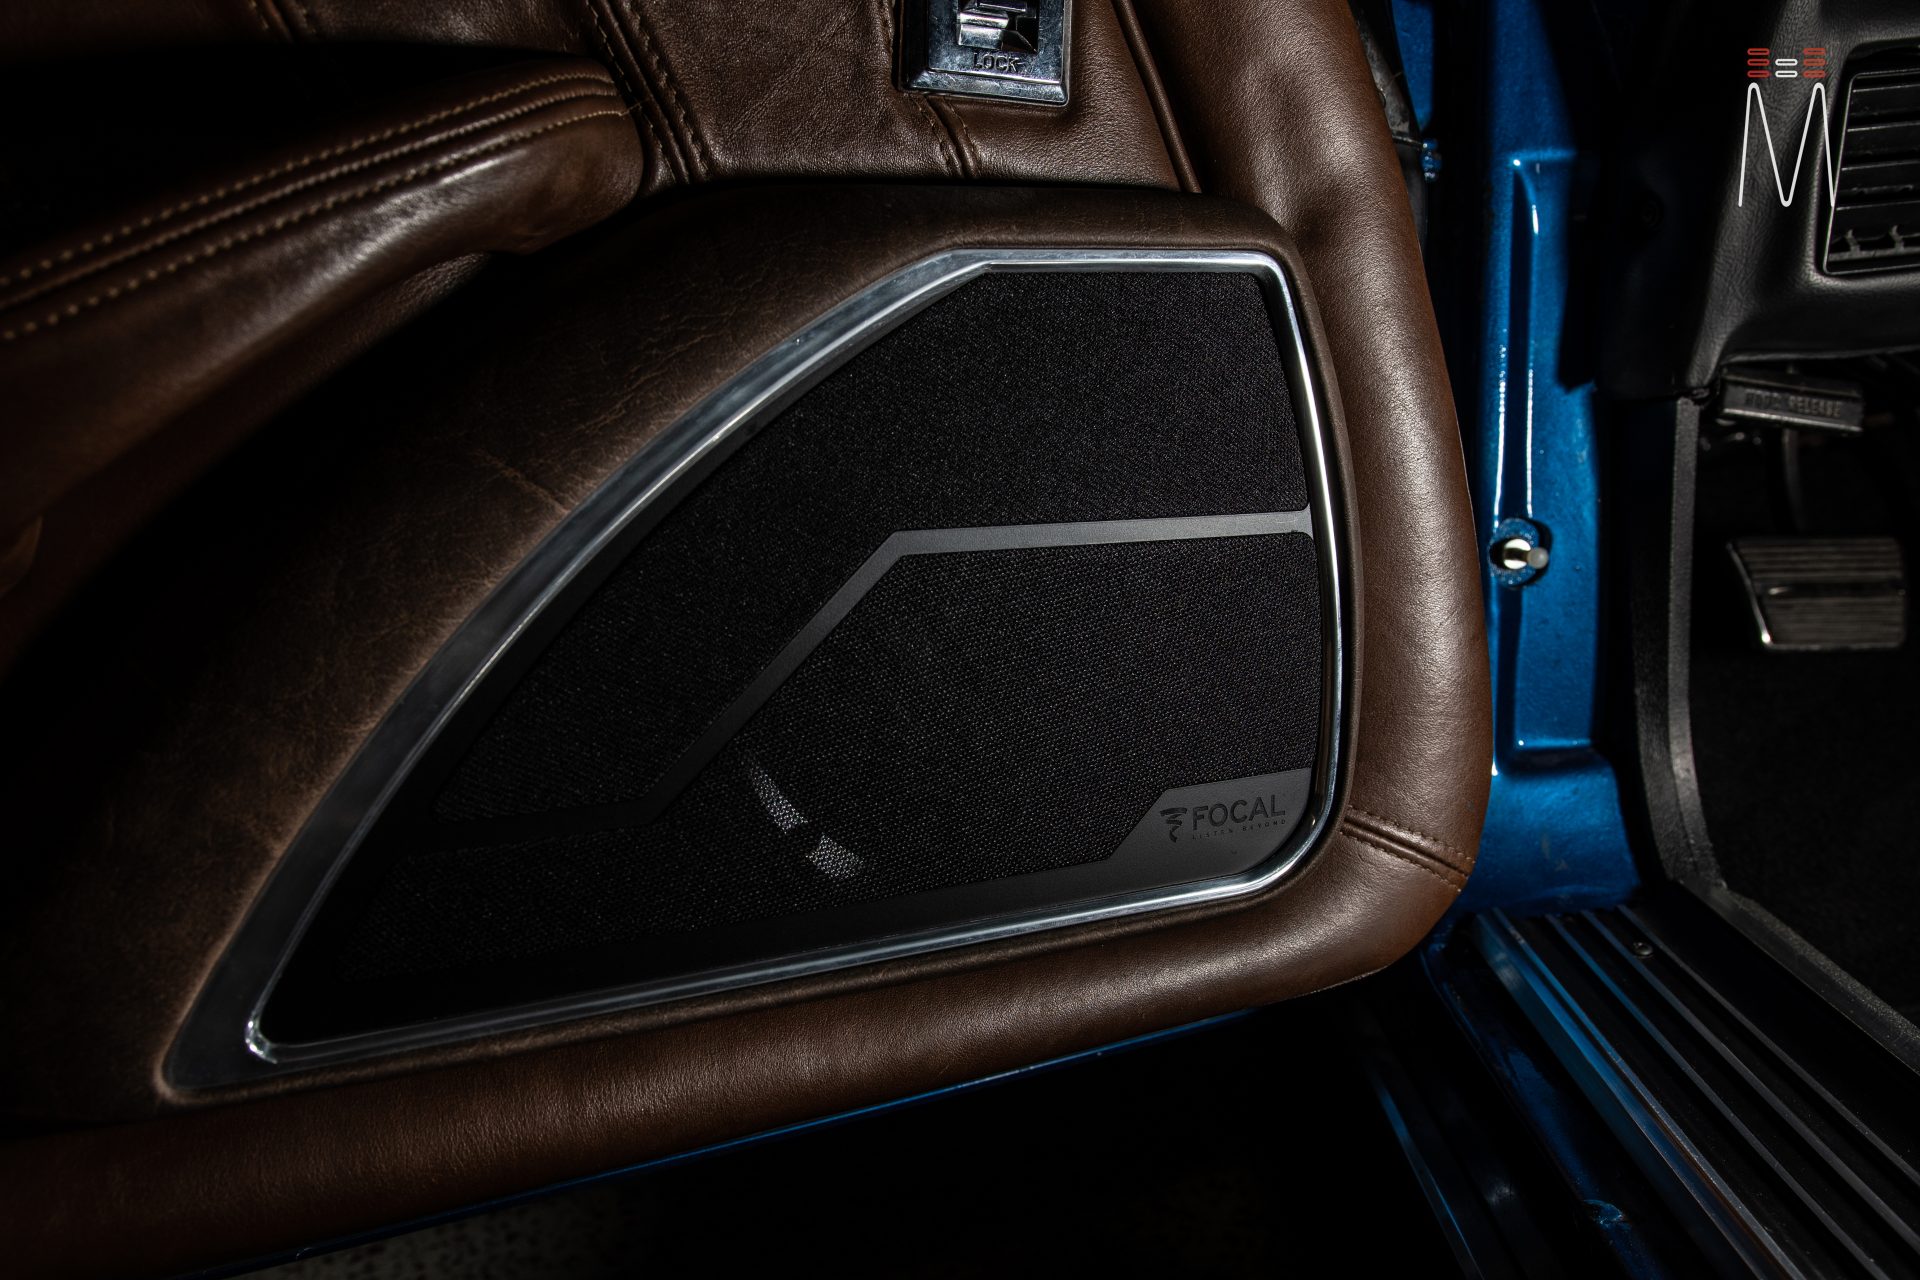
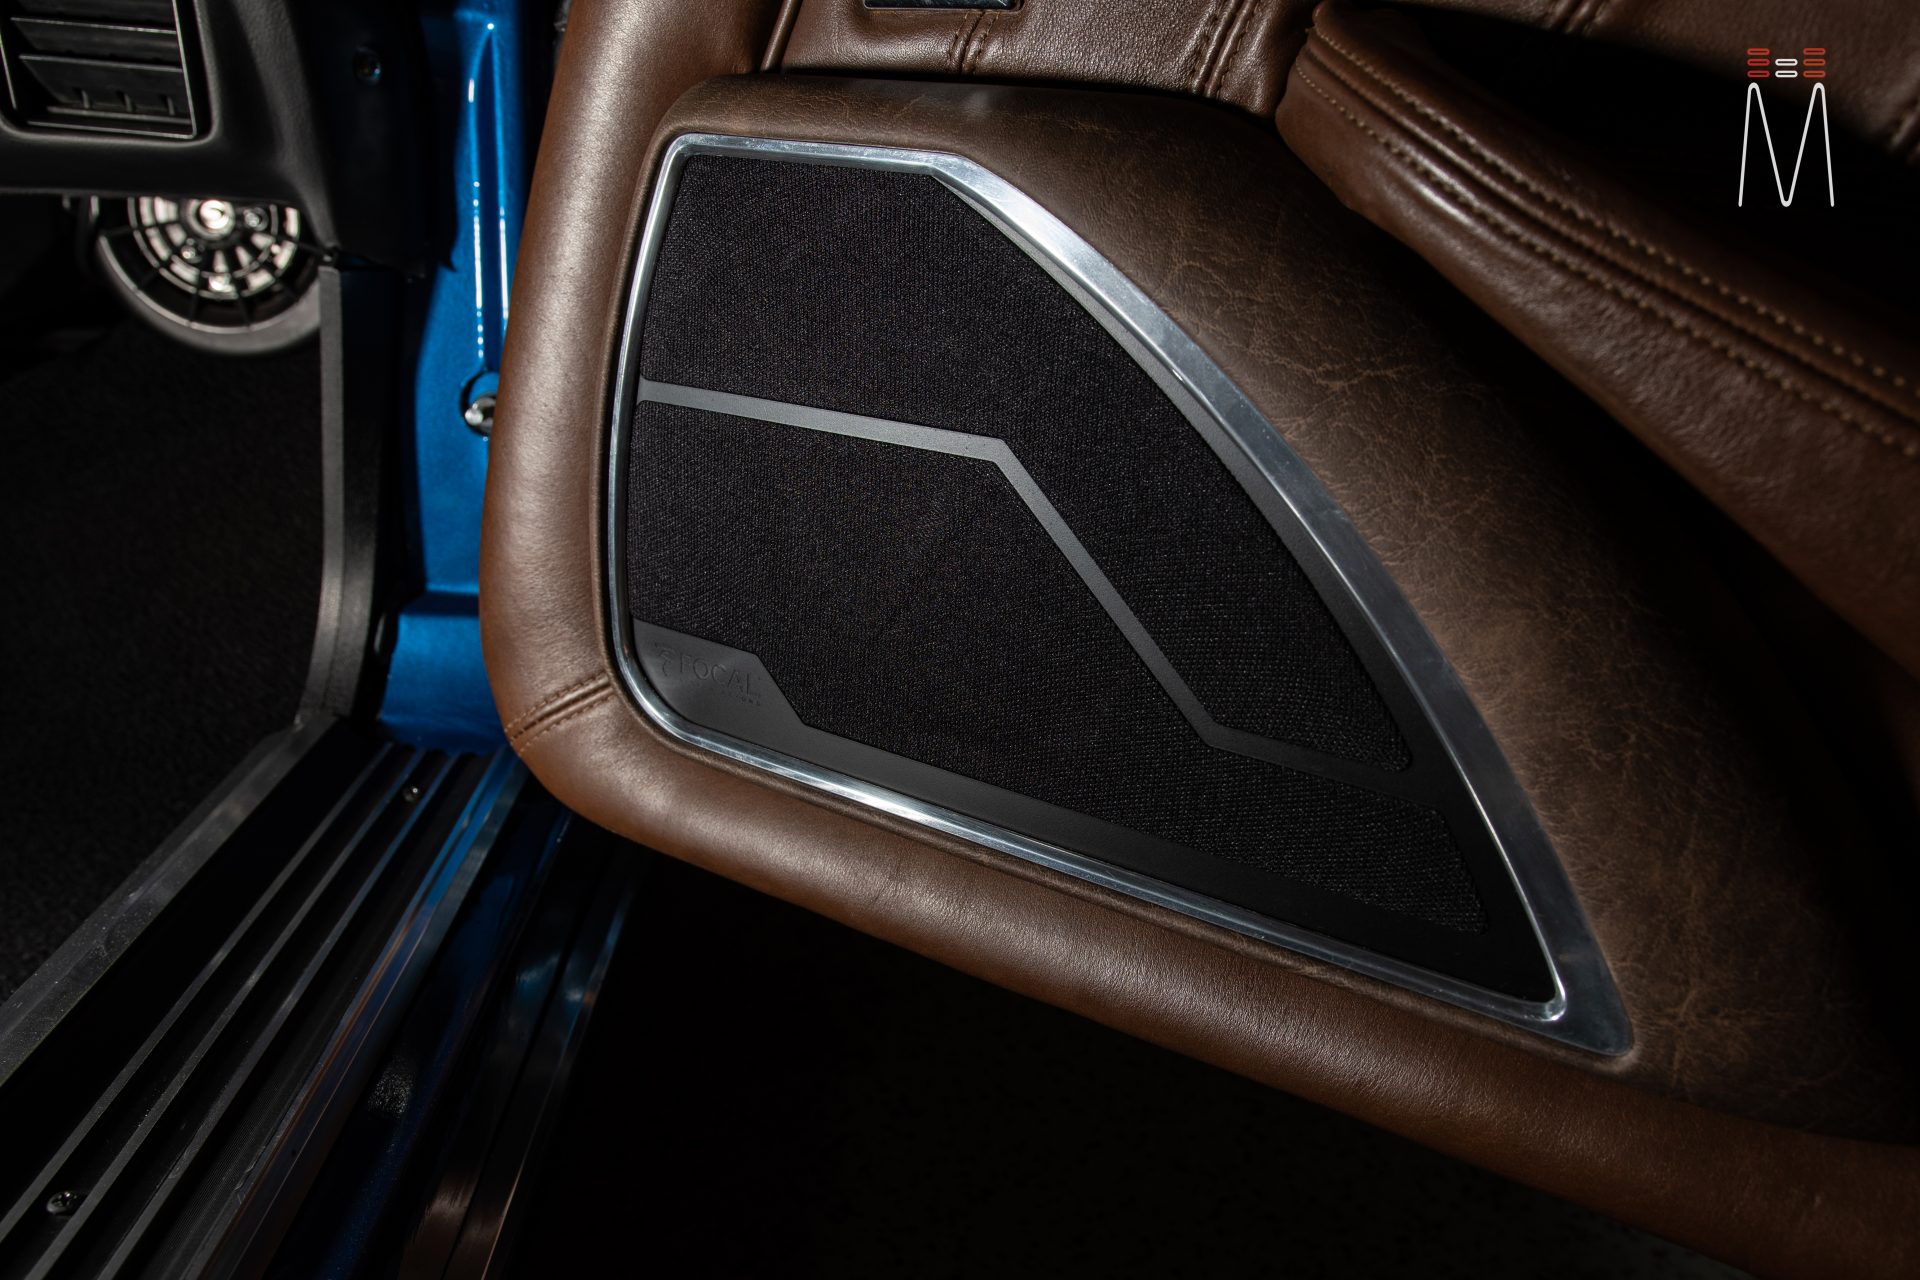
Considering the upper dash area was the original and only place for the front speakers, we added a 6” Focal Utopia M speaker in the front doors to complete our front 3 way. Because of the scale of what the job became, we had to prioritize the labor of the job. So instead of fabricating completely new door panels, we decided to make pods for the speakers. We layered multiple pieces of acrylic to create a seamless pod that quickly breaks down for servicing the speaker via magnets. A new weathered leather was chosen to finish off the pod. The final insert of trim was made from aluminum to compliment the other pieces inside the car. The grille was branded with the “Focal” logo and the same grille design was used to match the upper midrange and tweeter mounts. The OEM door panels will eventually be reupholstered with the matching weathered leather to match.
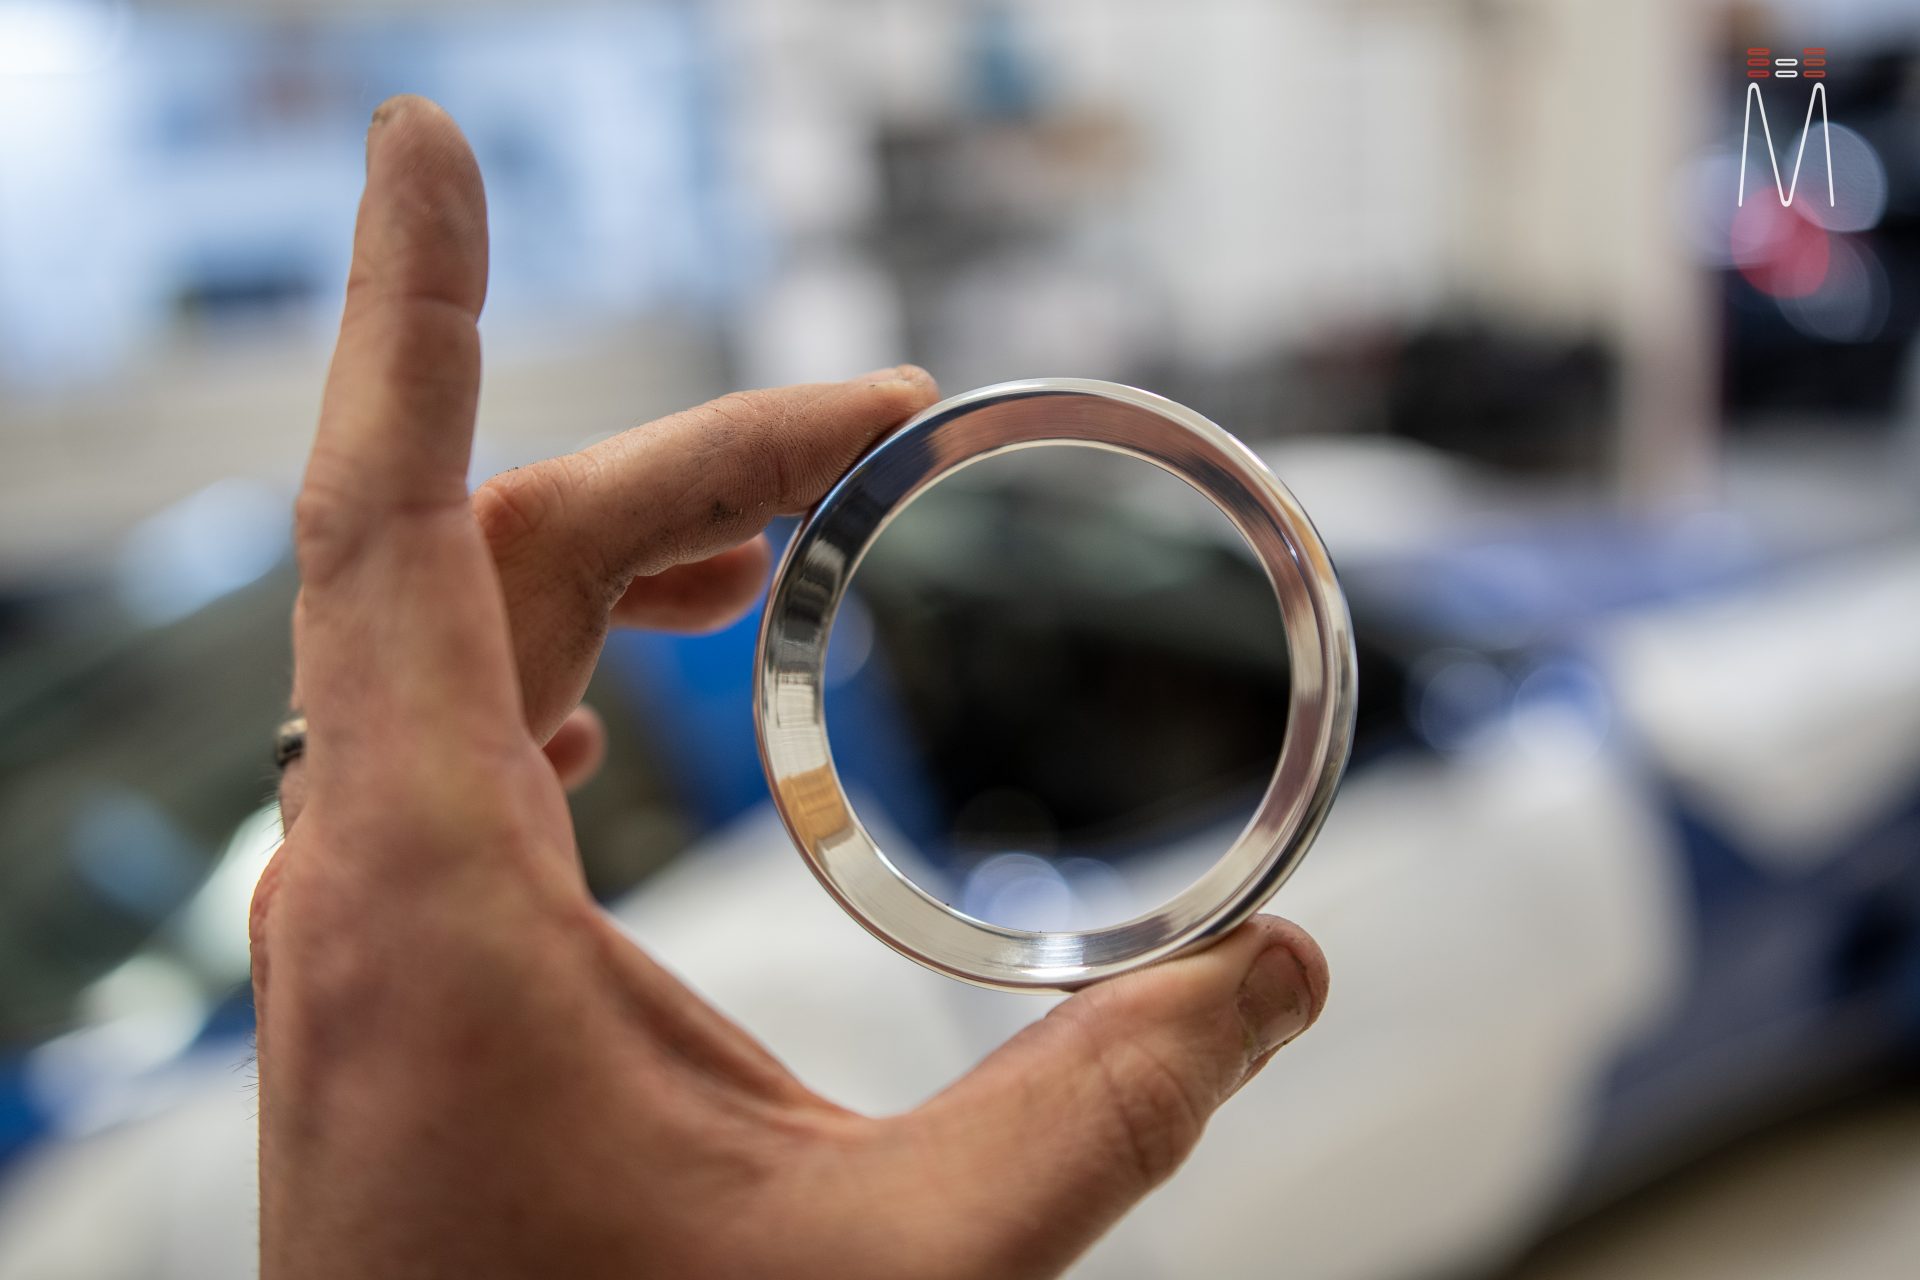
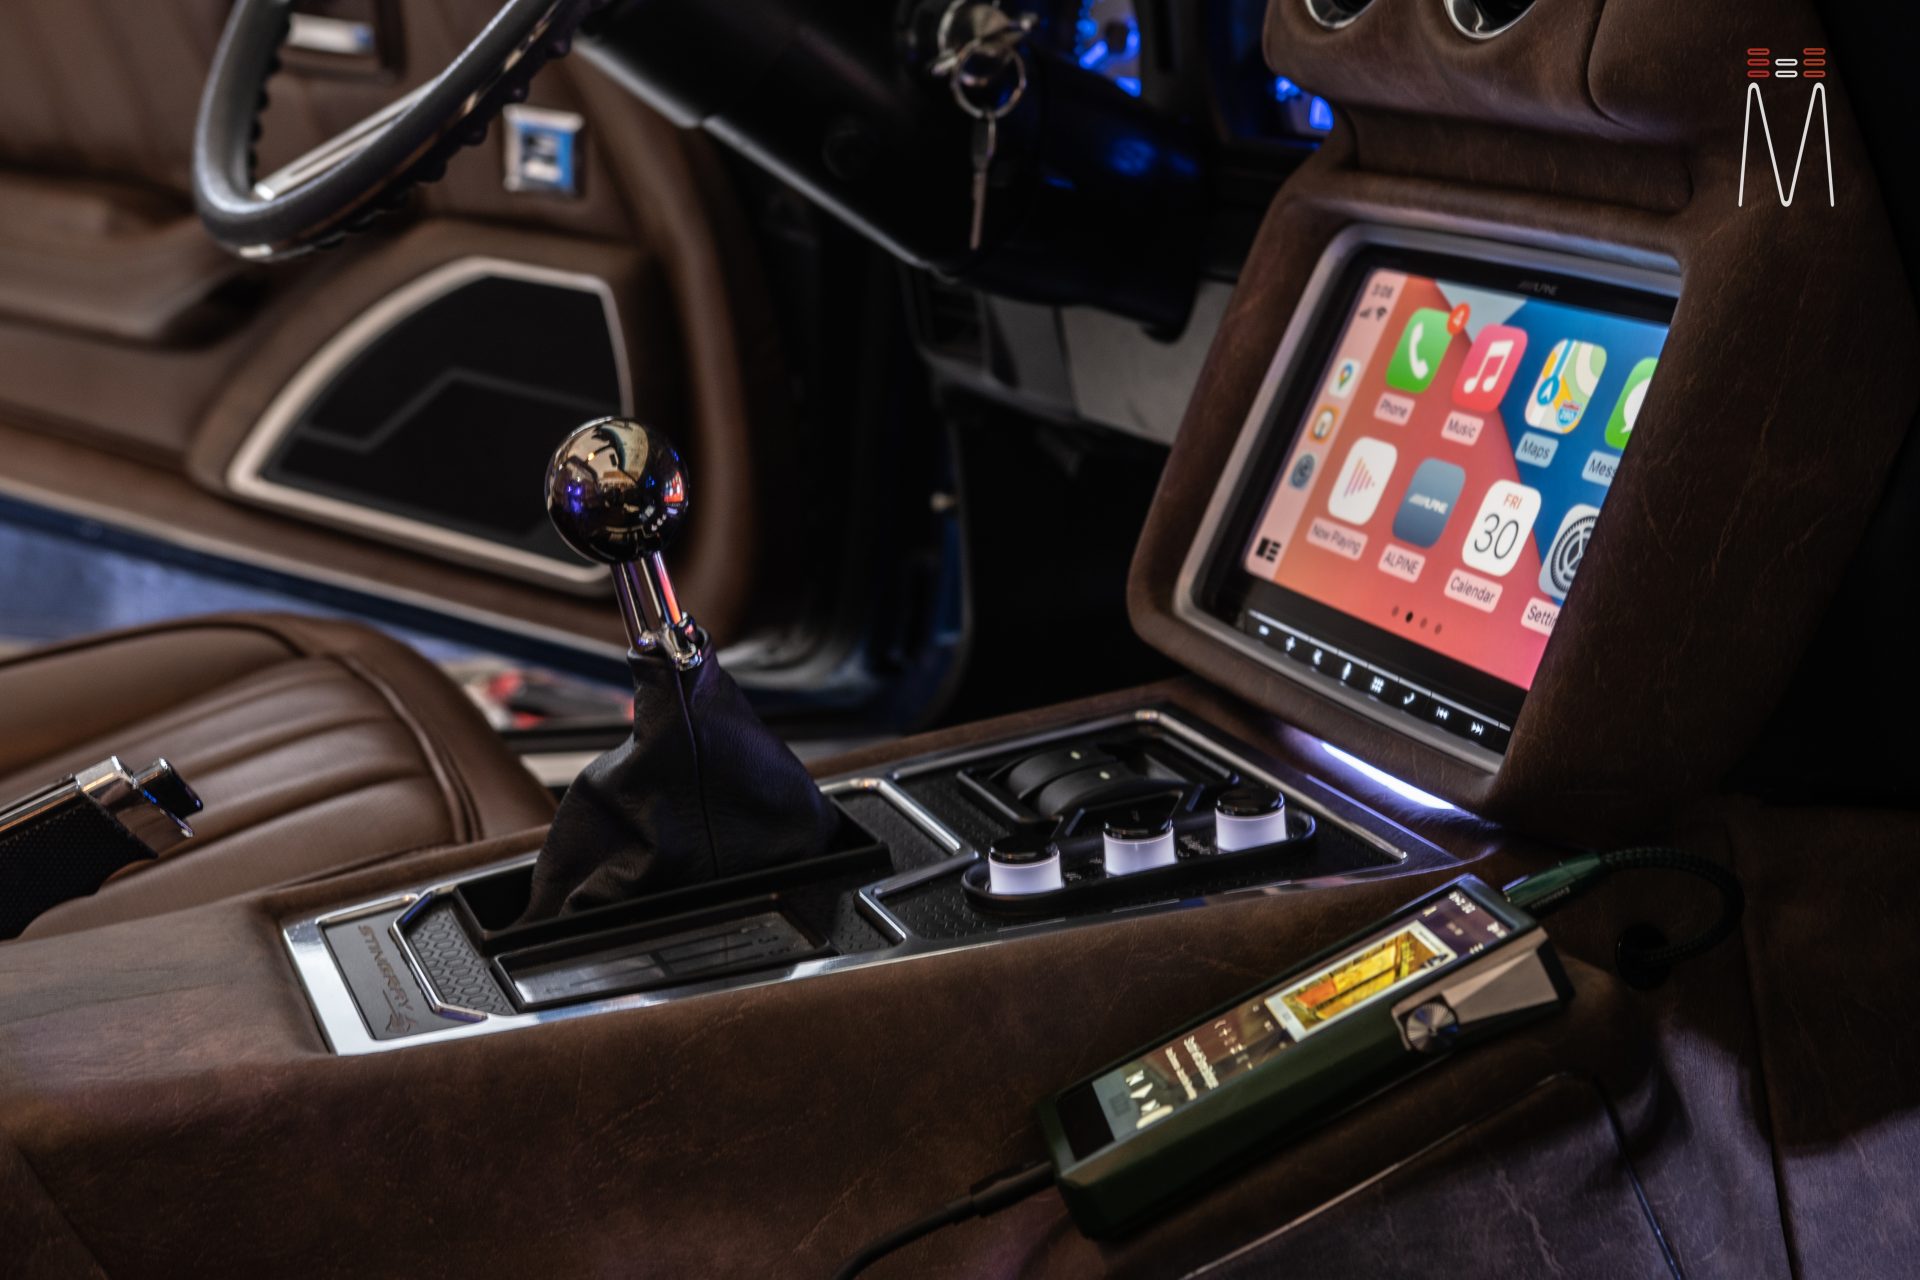
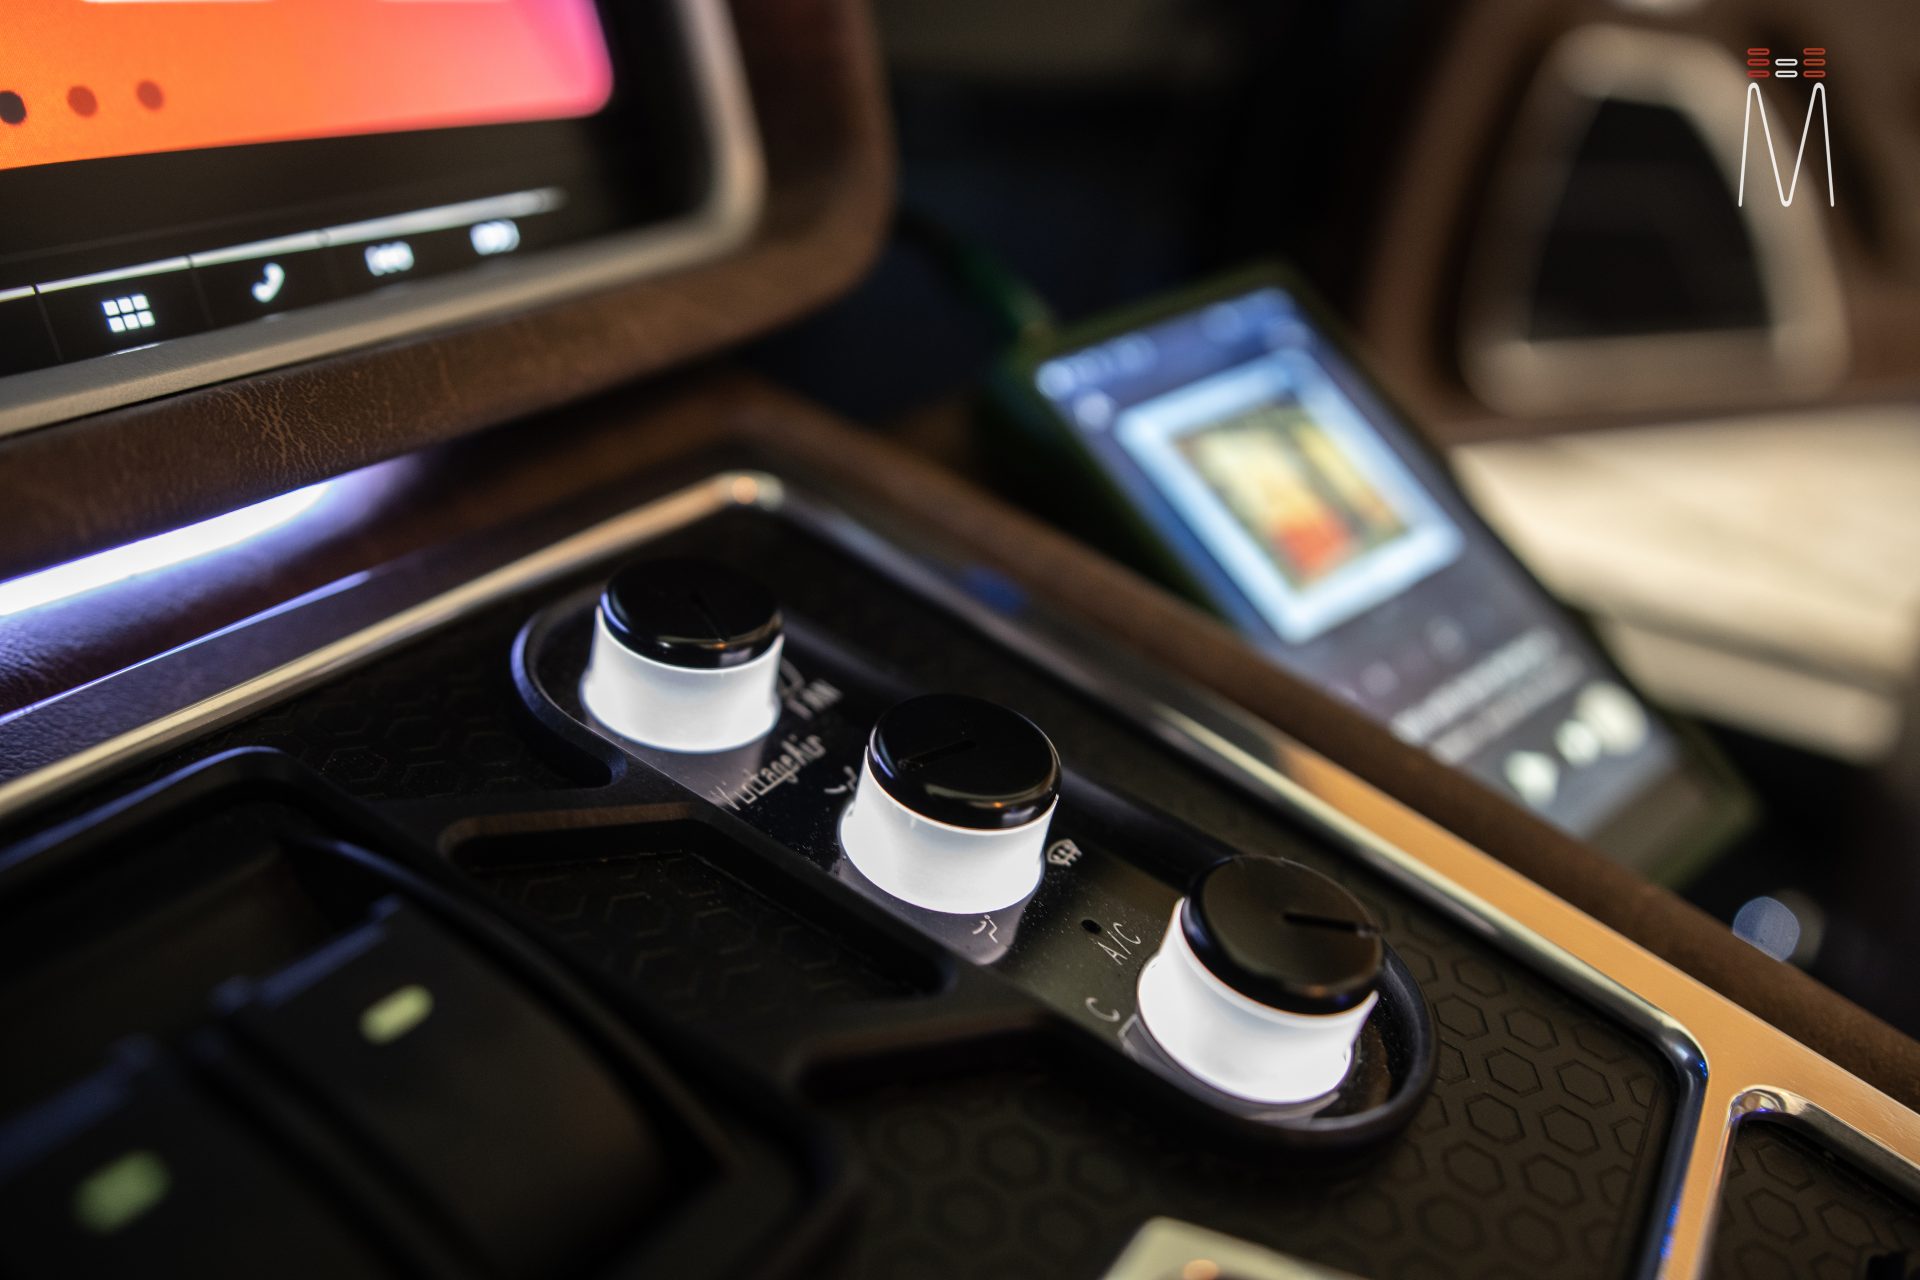
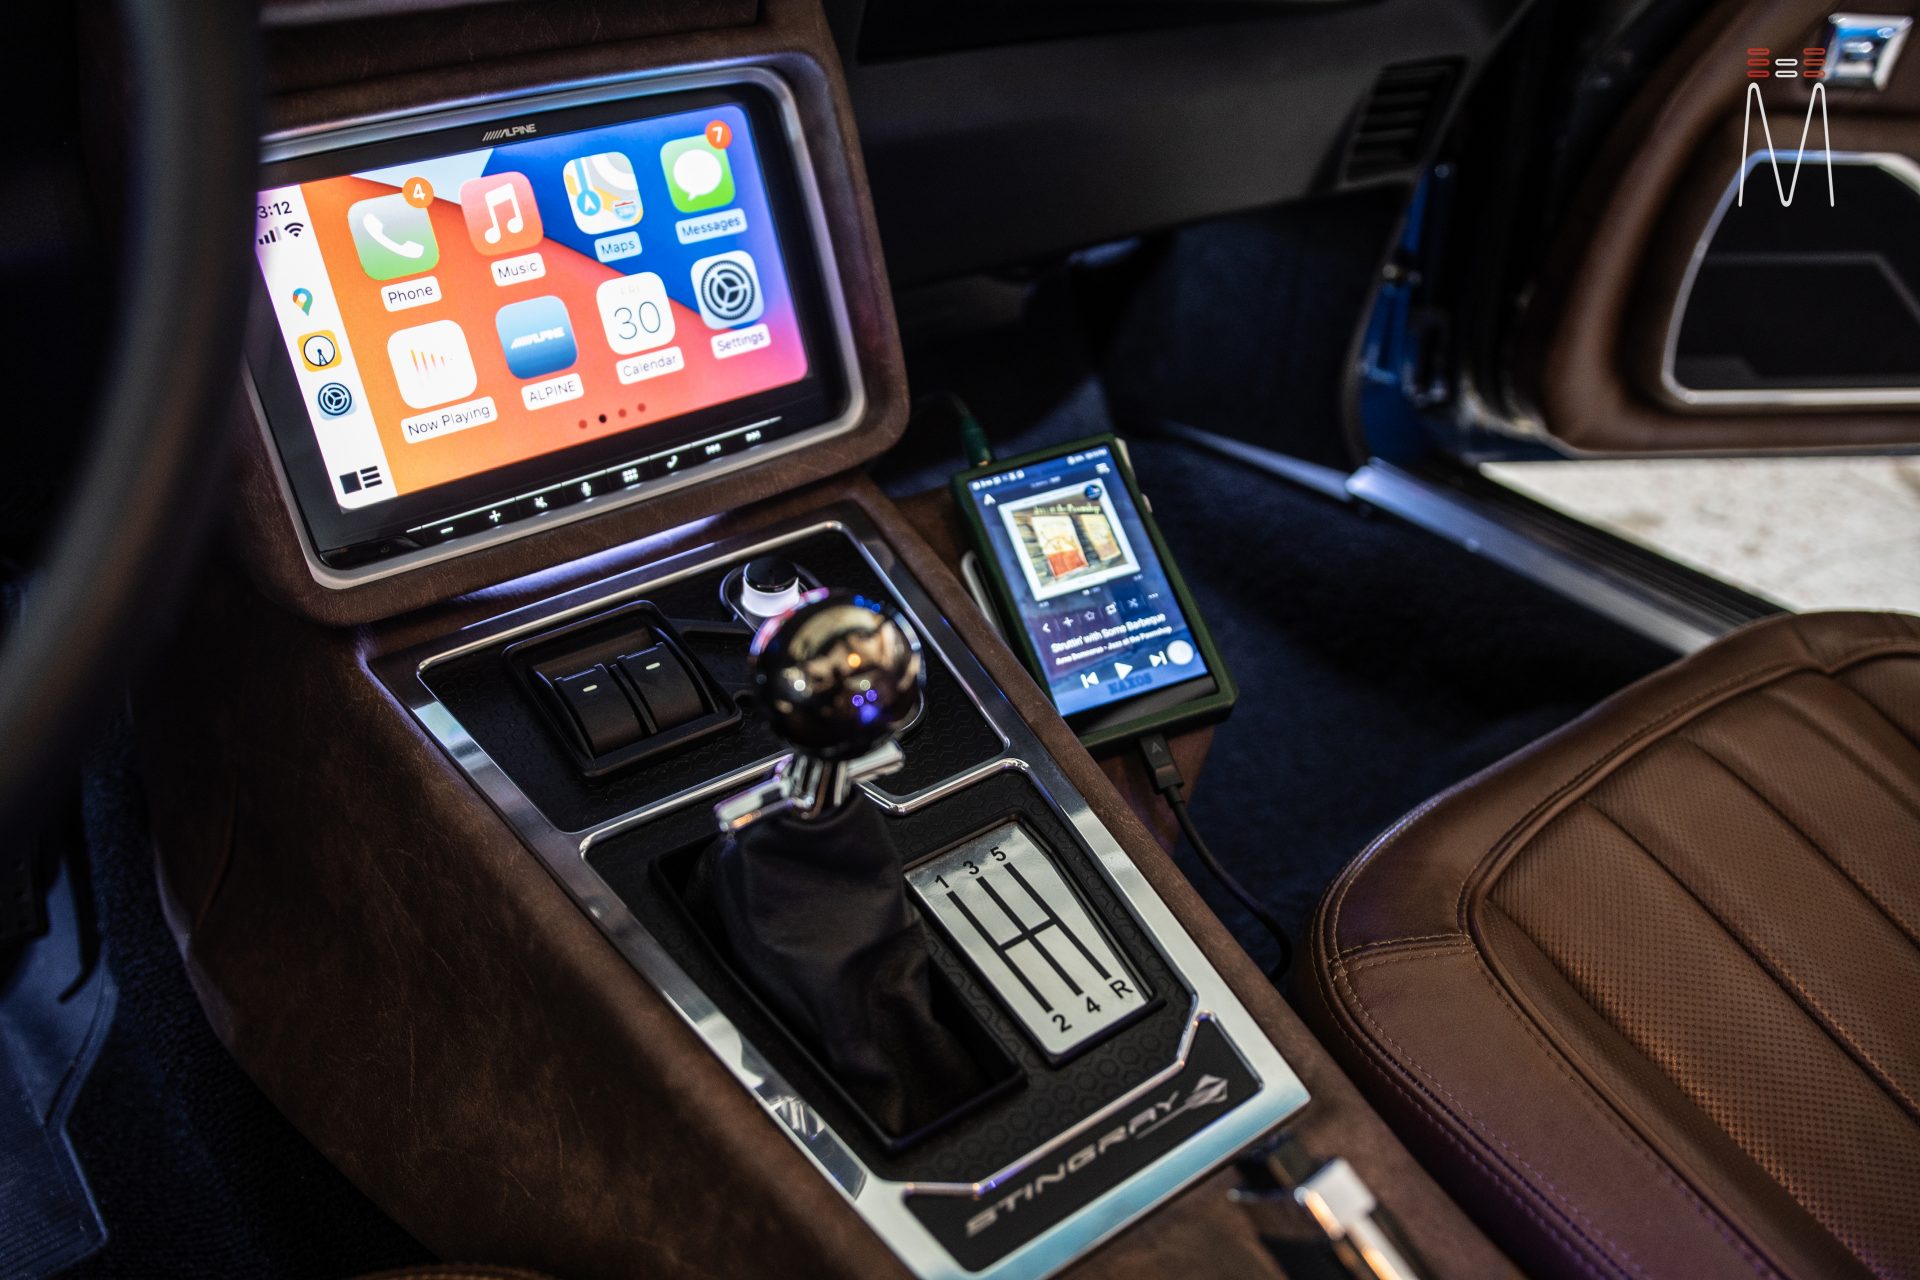
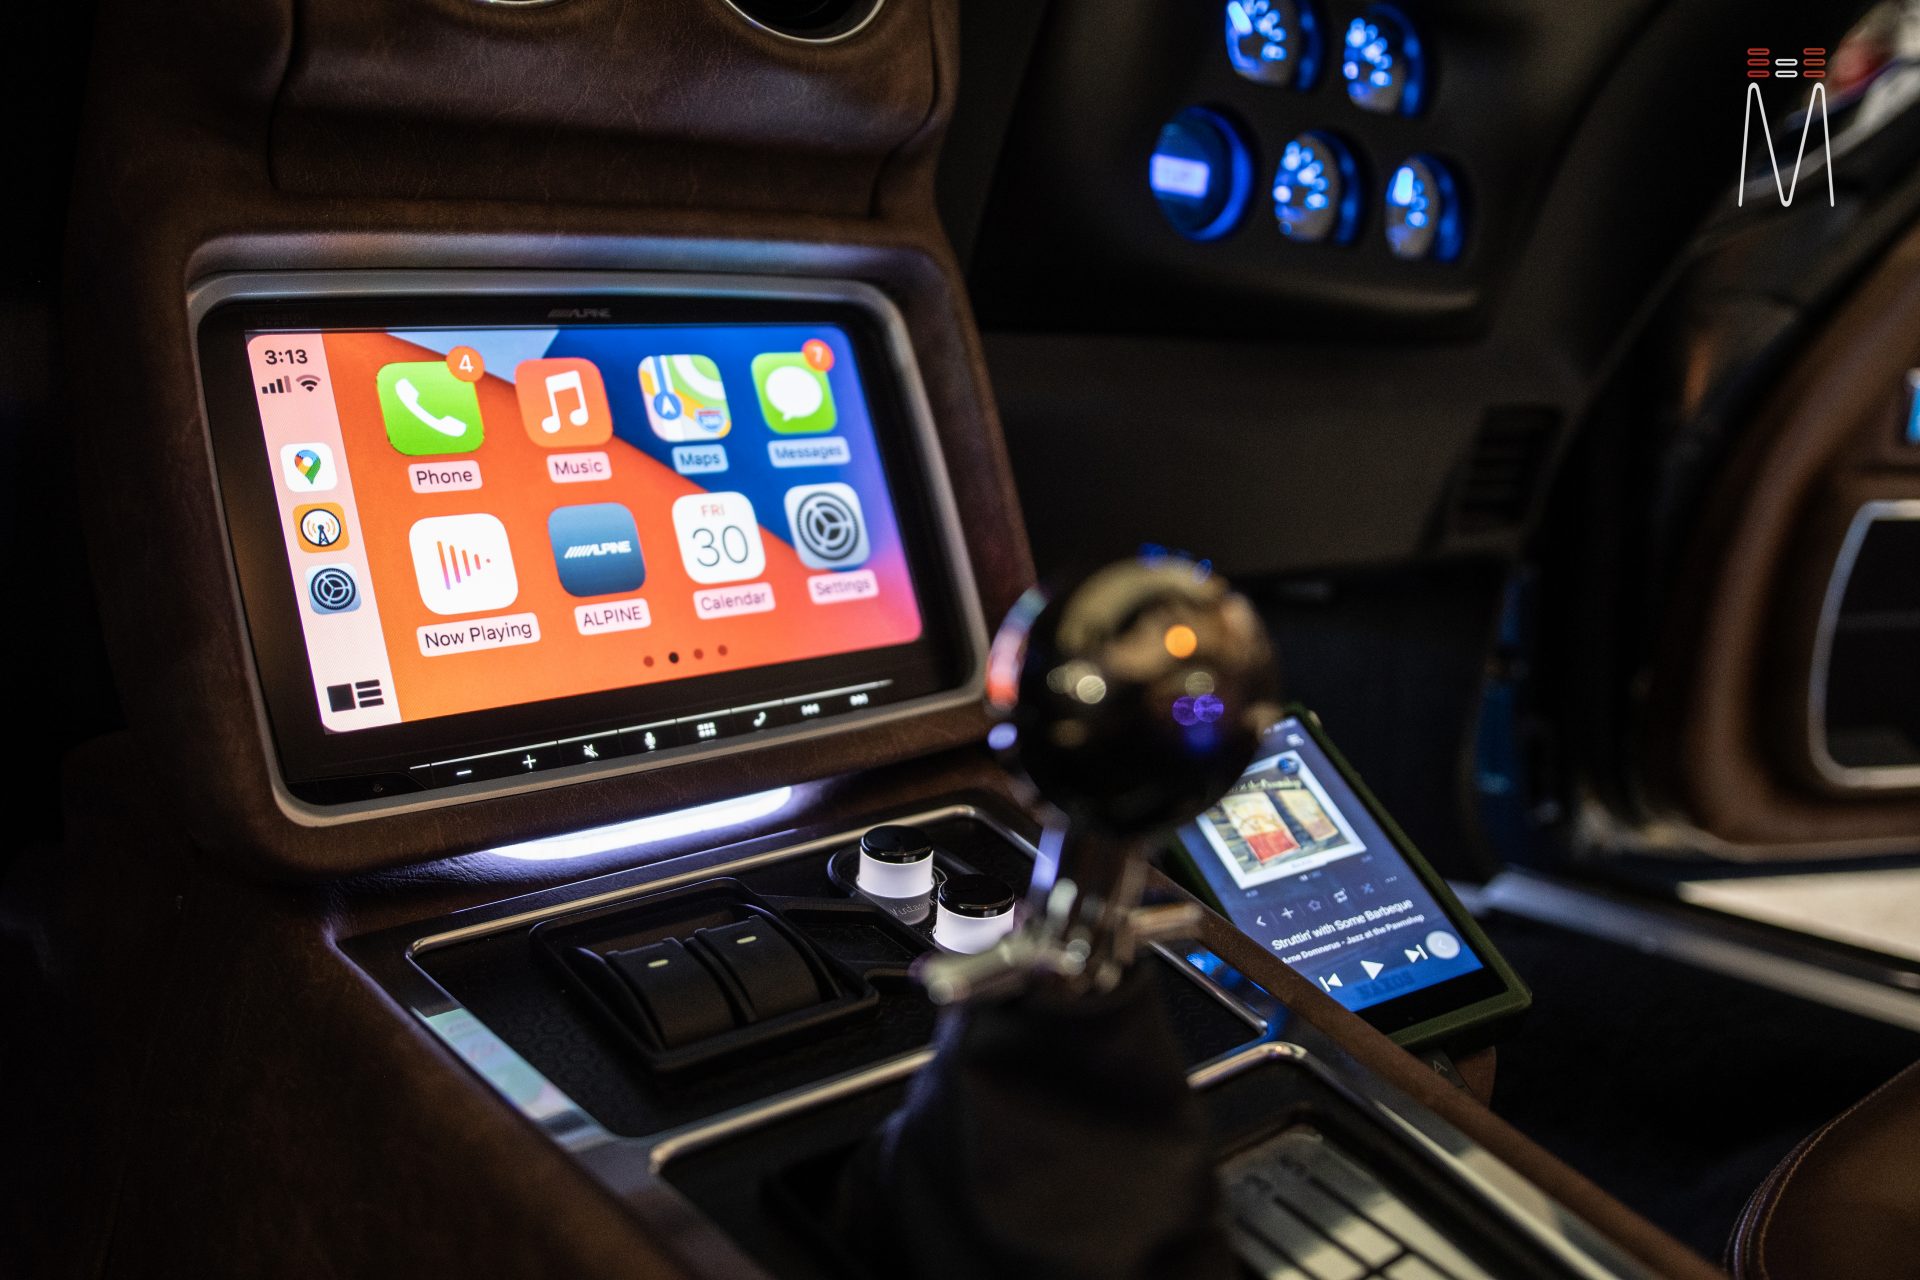
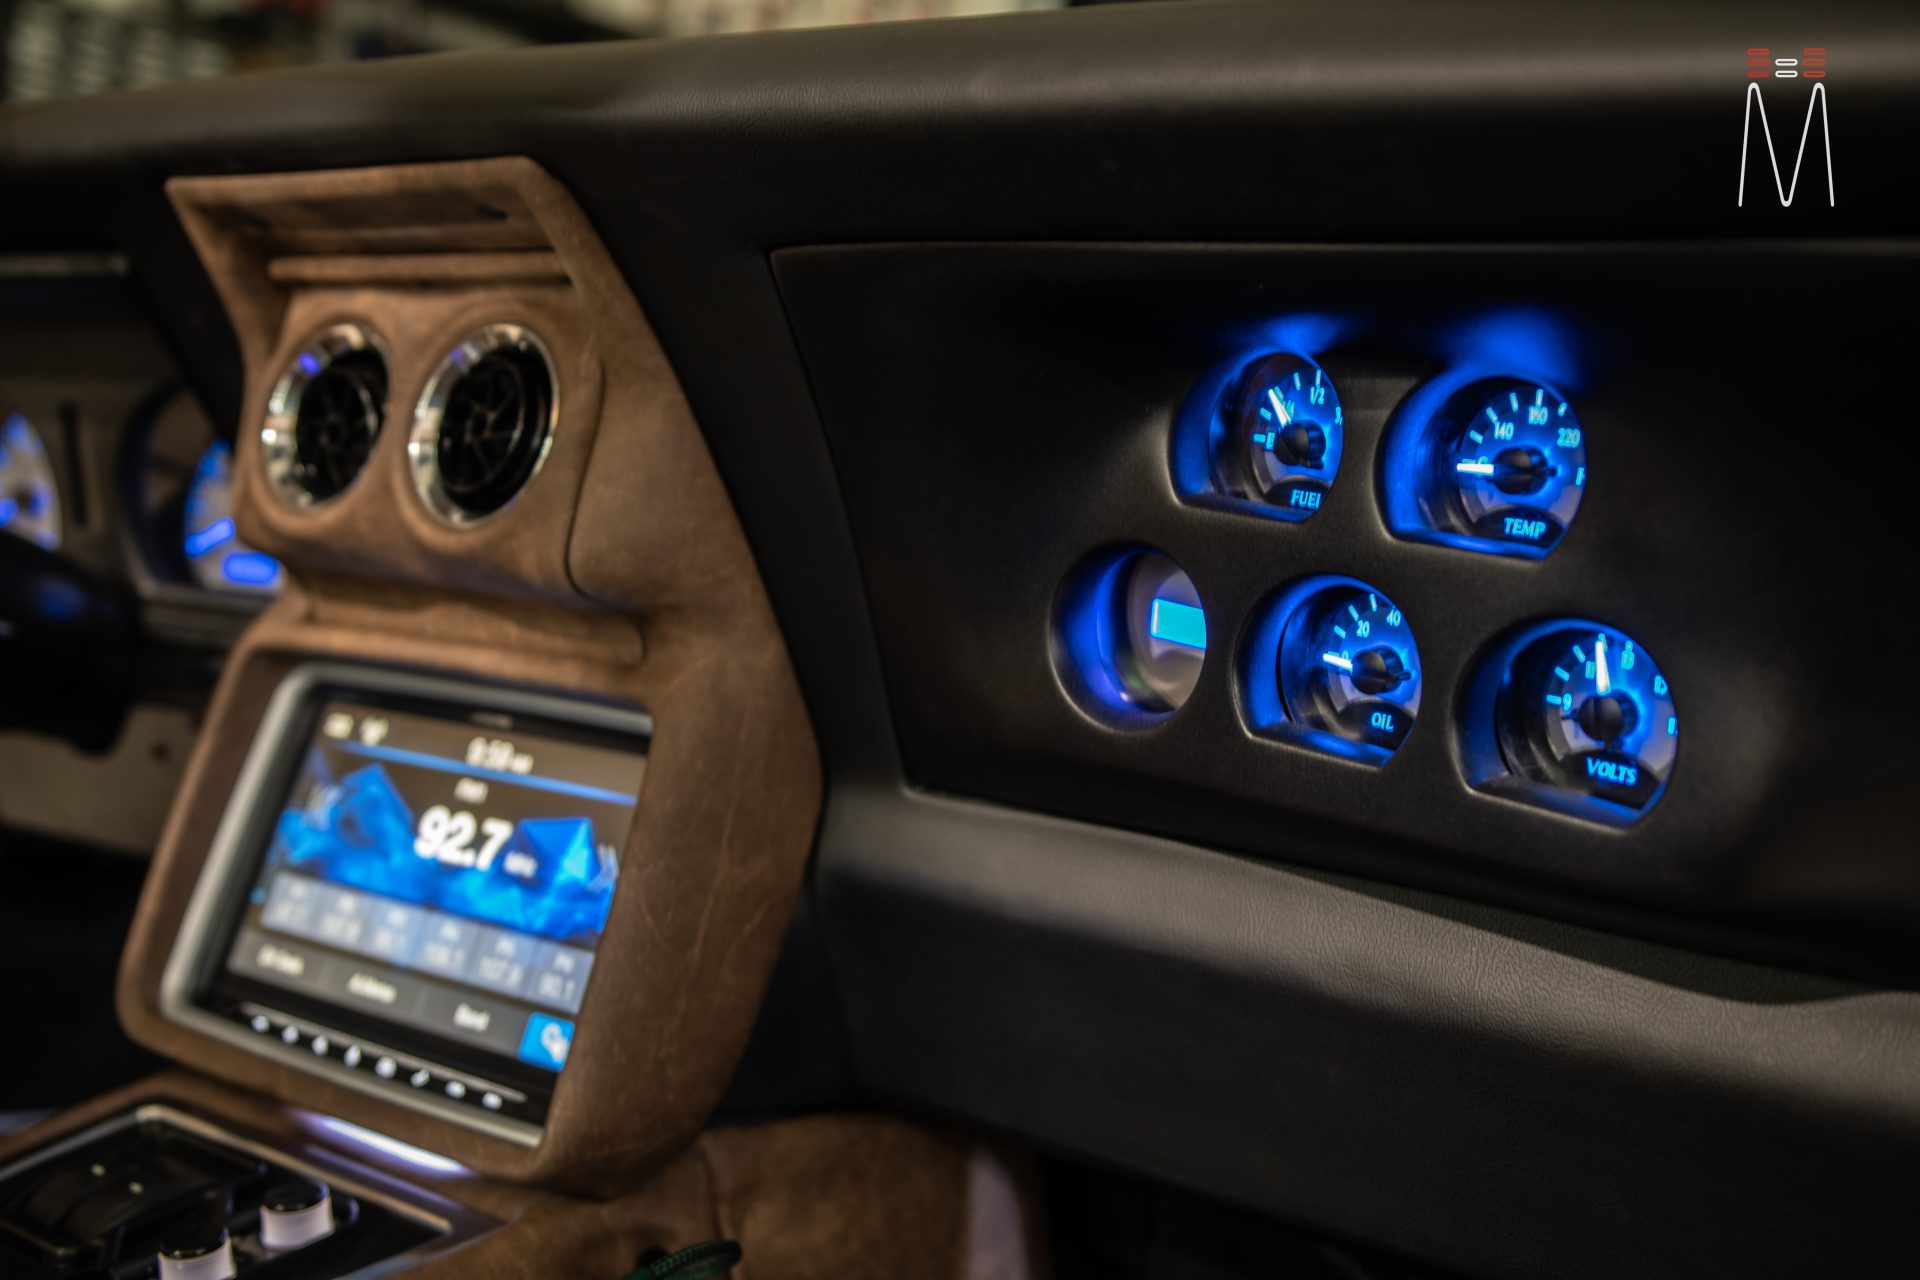
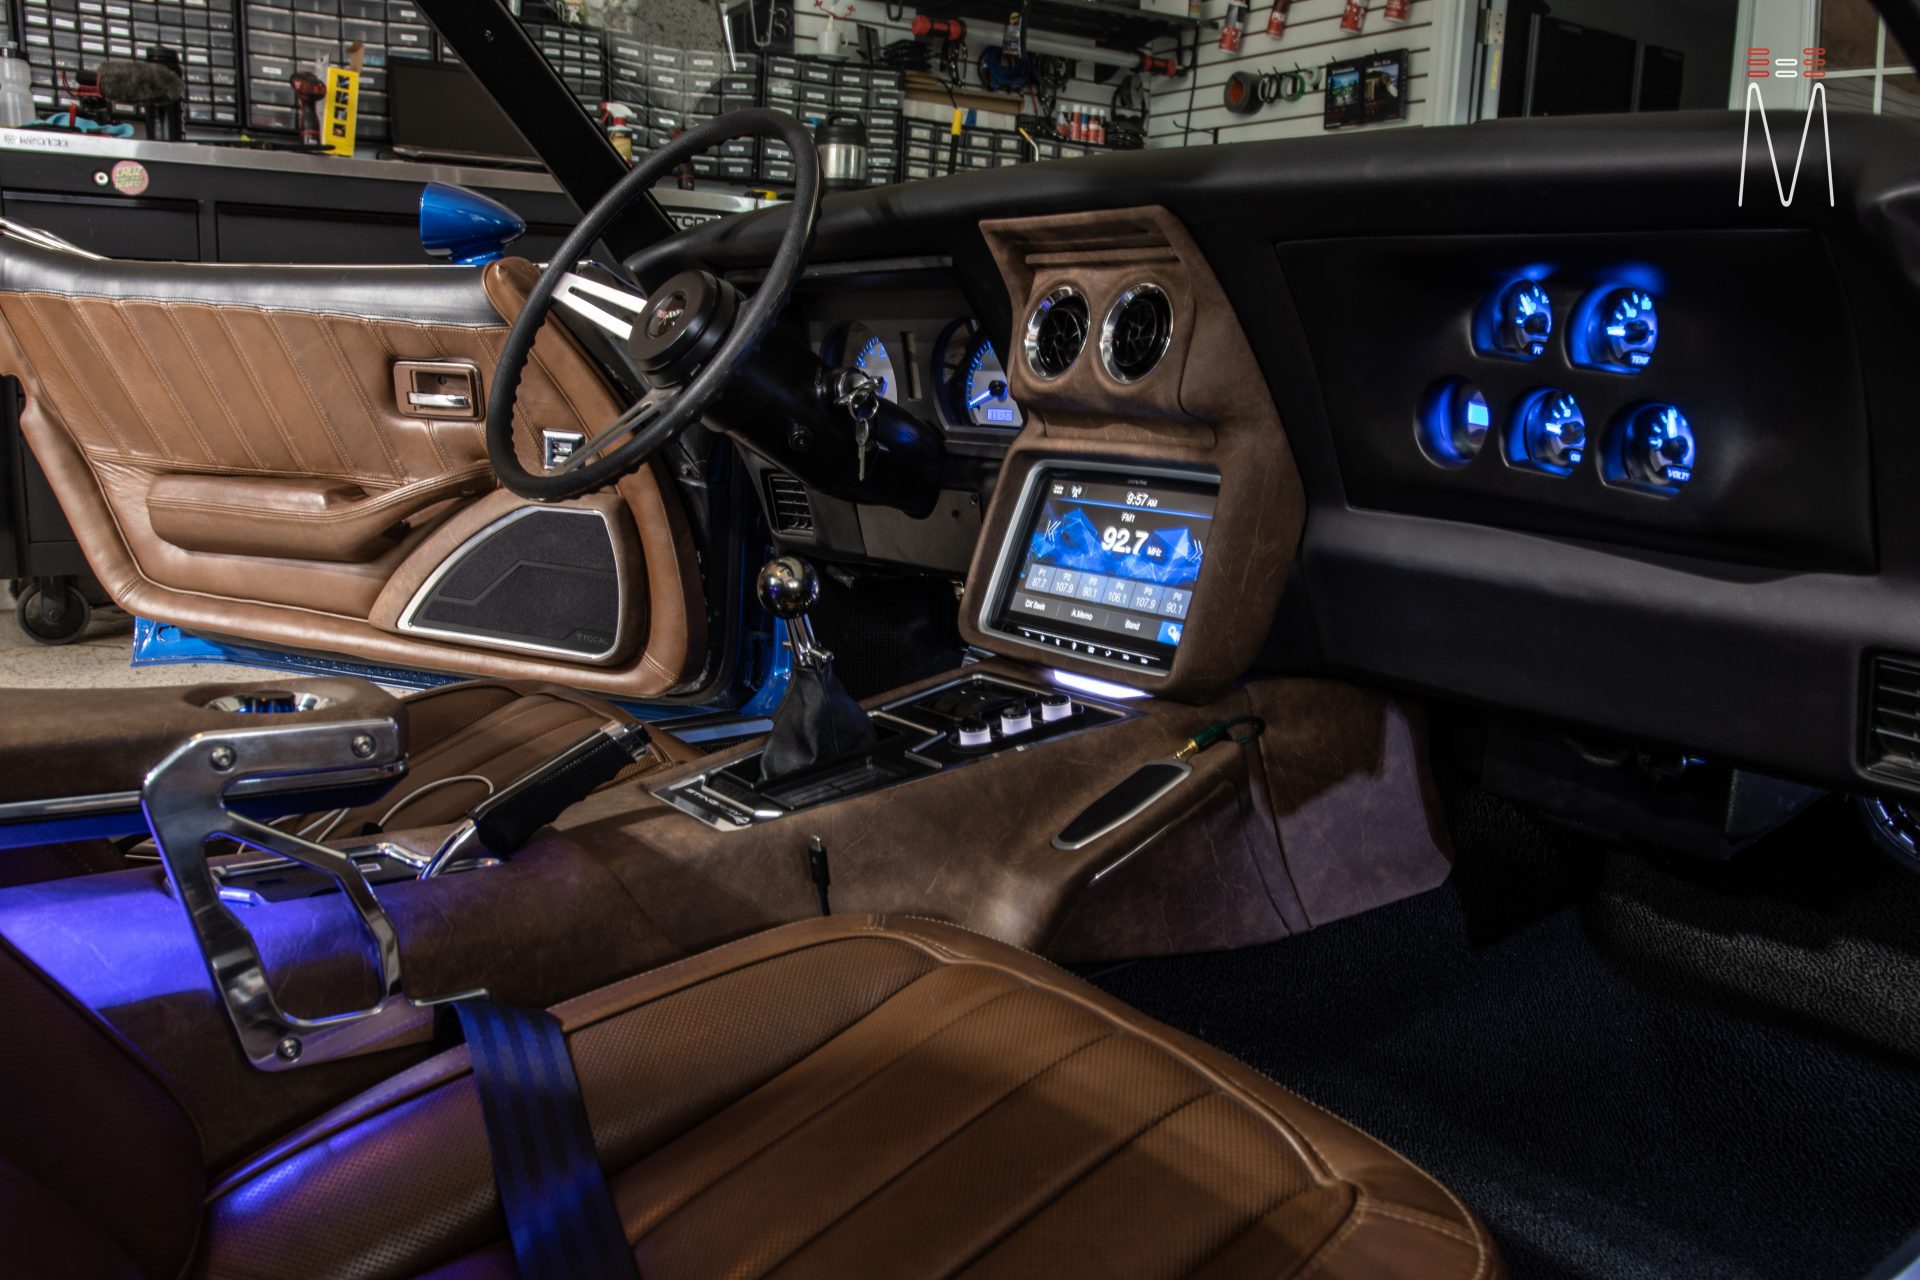
The construction of the new center console would revolve around the placement of the Alpine Halo 9. In order to make this work and function the best way possible, the screen was removed from the chassis and relocated. The brain of the radio sits upright behind the dashboard, and a new mount was made to house the screen. An extended ribbon harness was the piece that allowed us to do this. The screen is recessed back within the opening a few inches to ensure the screen does not become washed out in the sun. New black billet vents were used to modernize the HVAC. Two aluminum rings were fabricated around the vents to bring the aluminum into the console. This look will also end up matching the Helix Conductor DSP controller perfectly. A lit piece of acrylic compliments the underside of the radio bezel to give a nice night time glow.
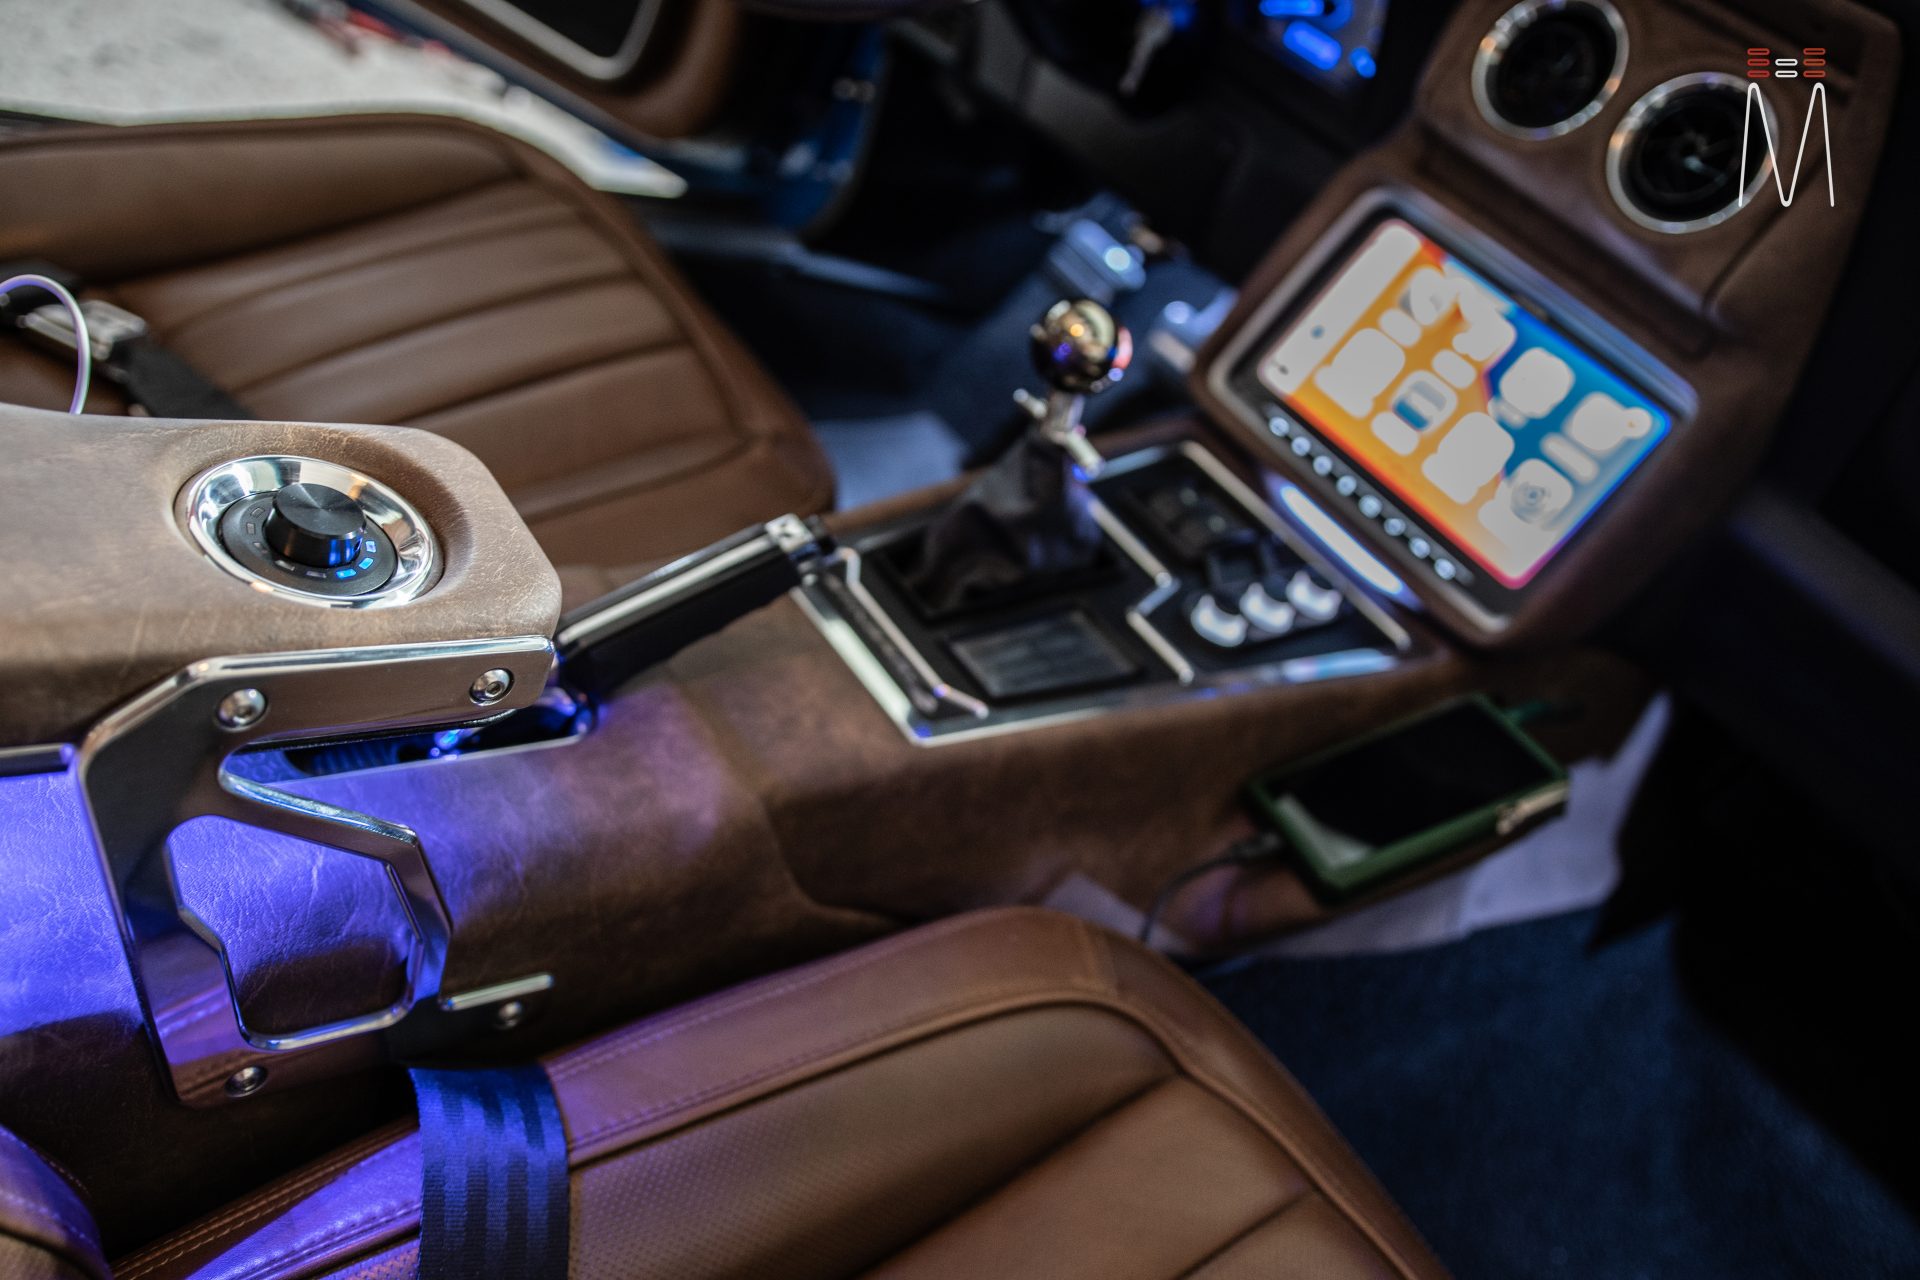
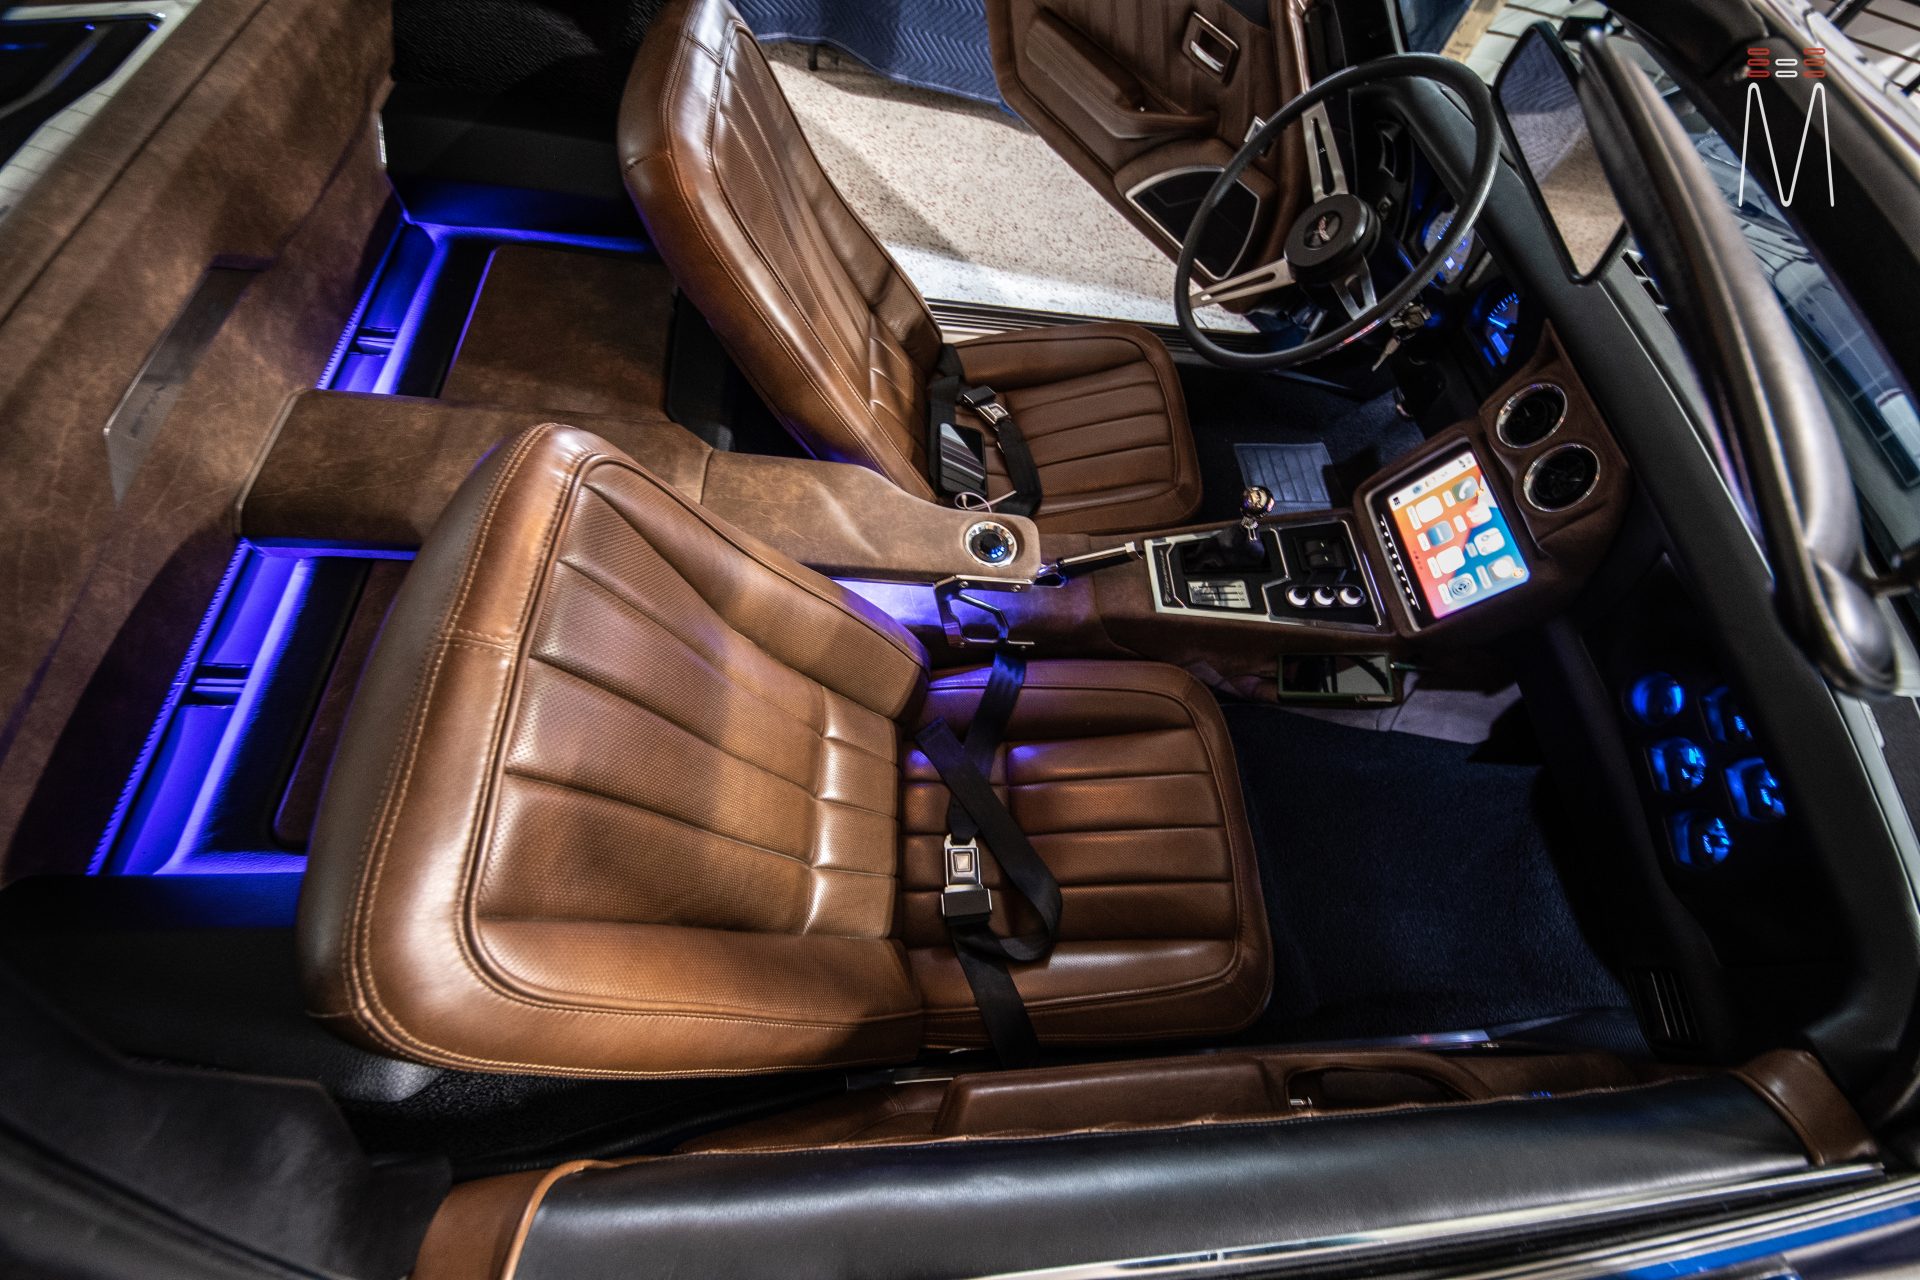
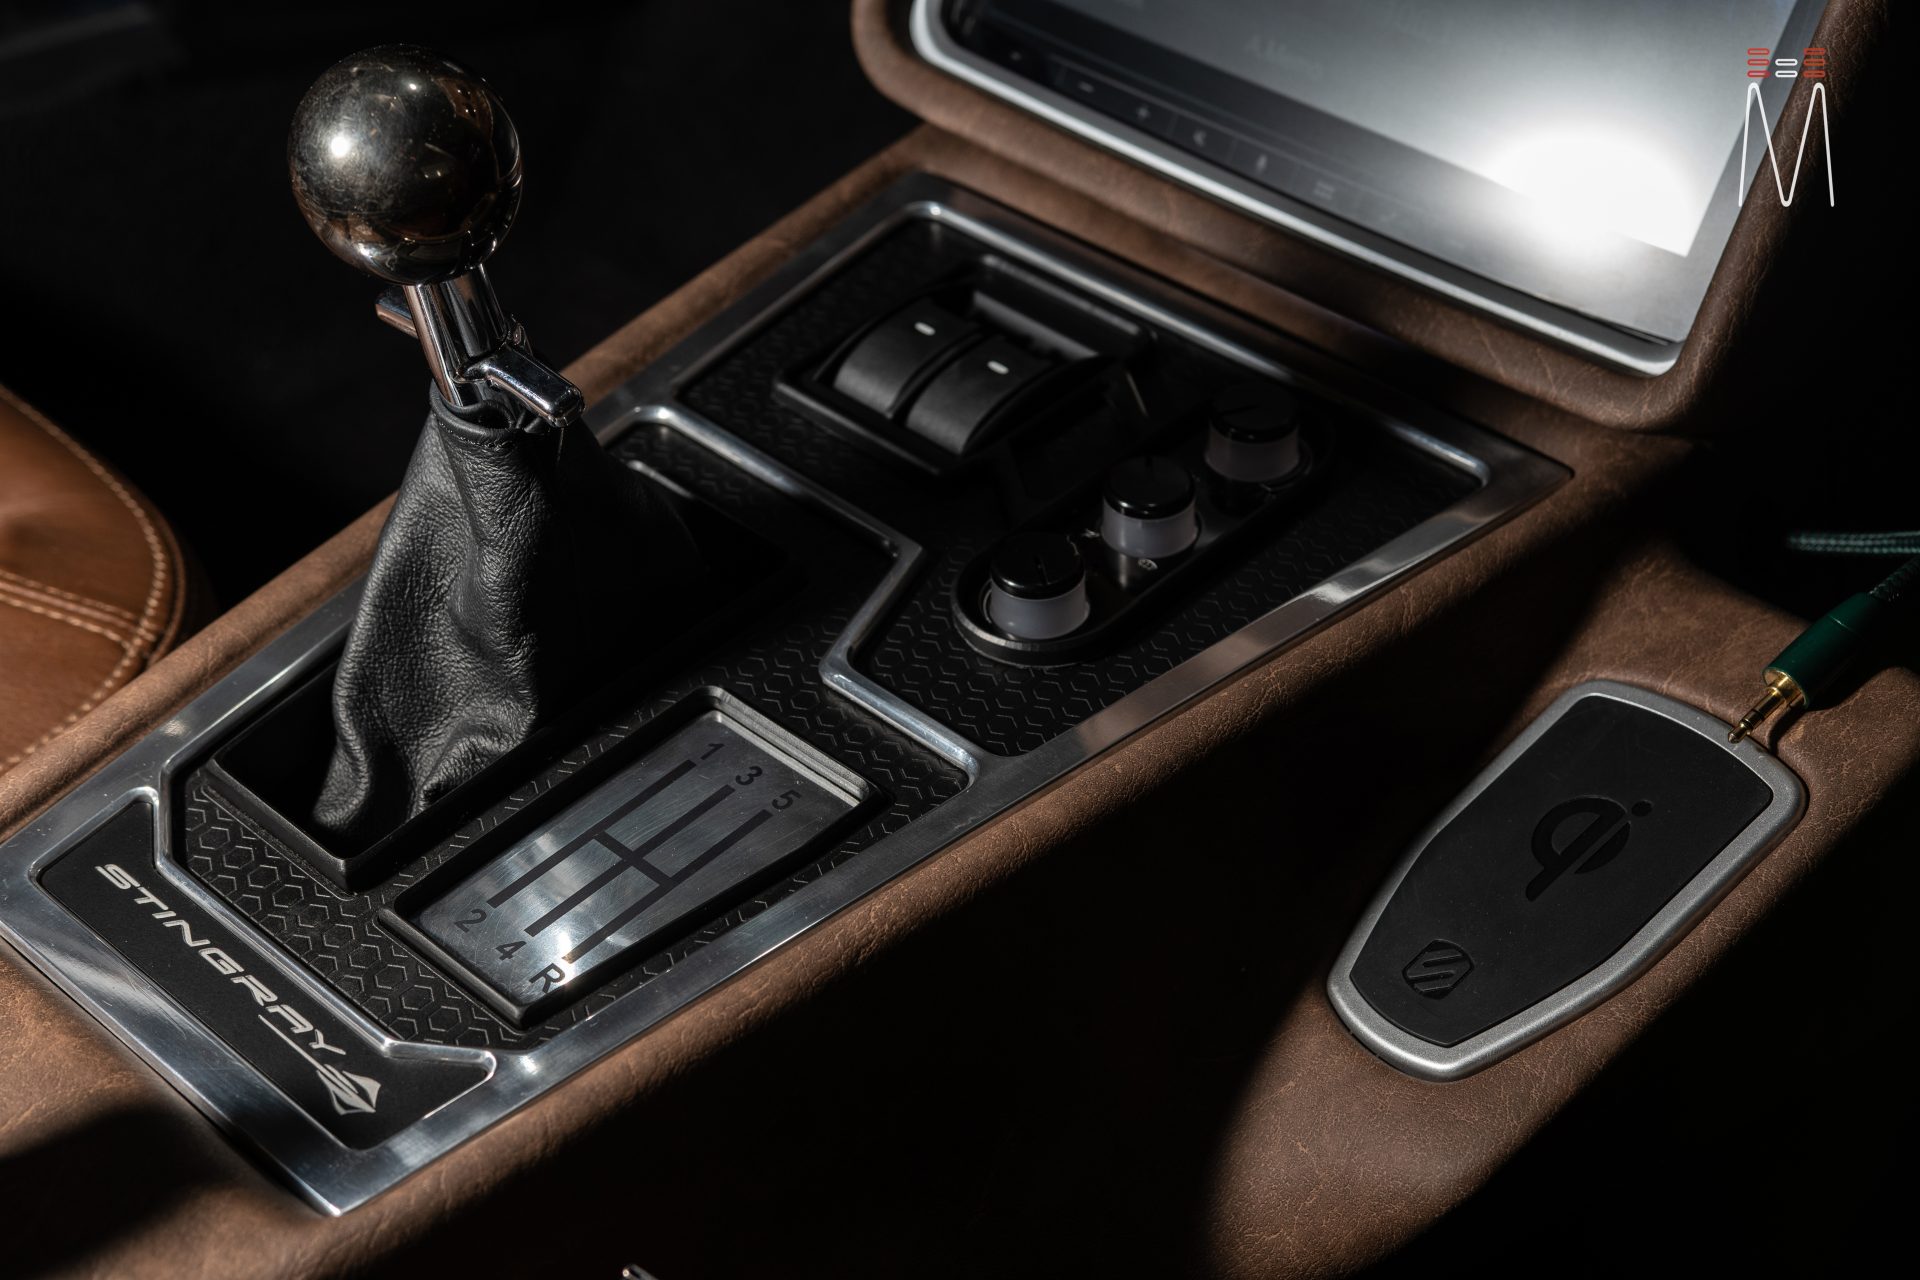
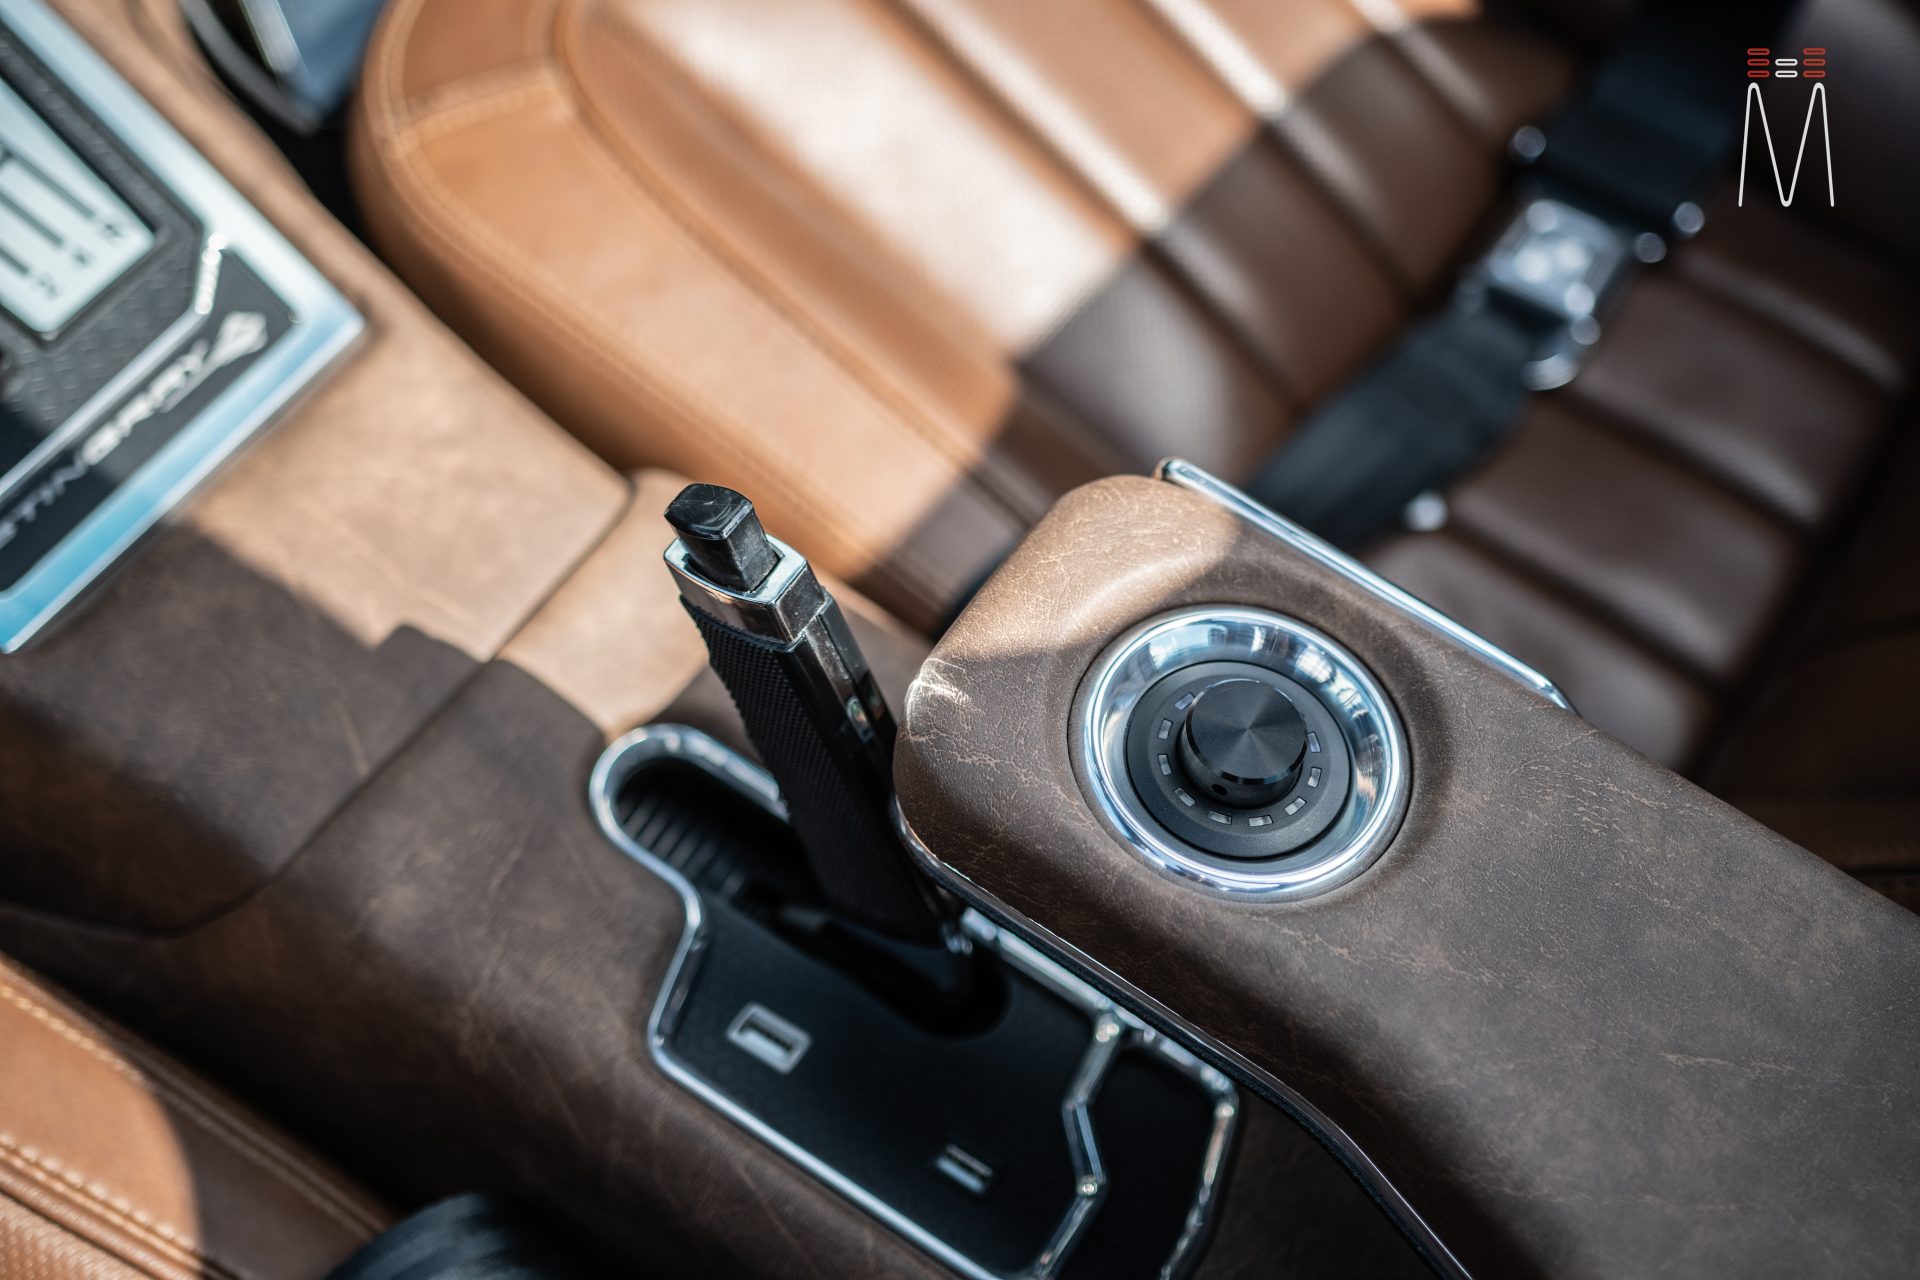
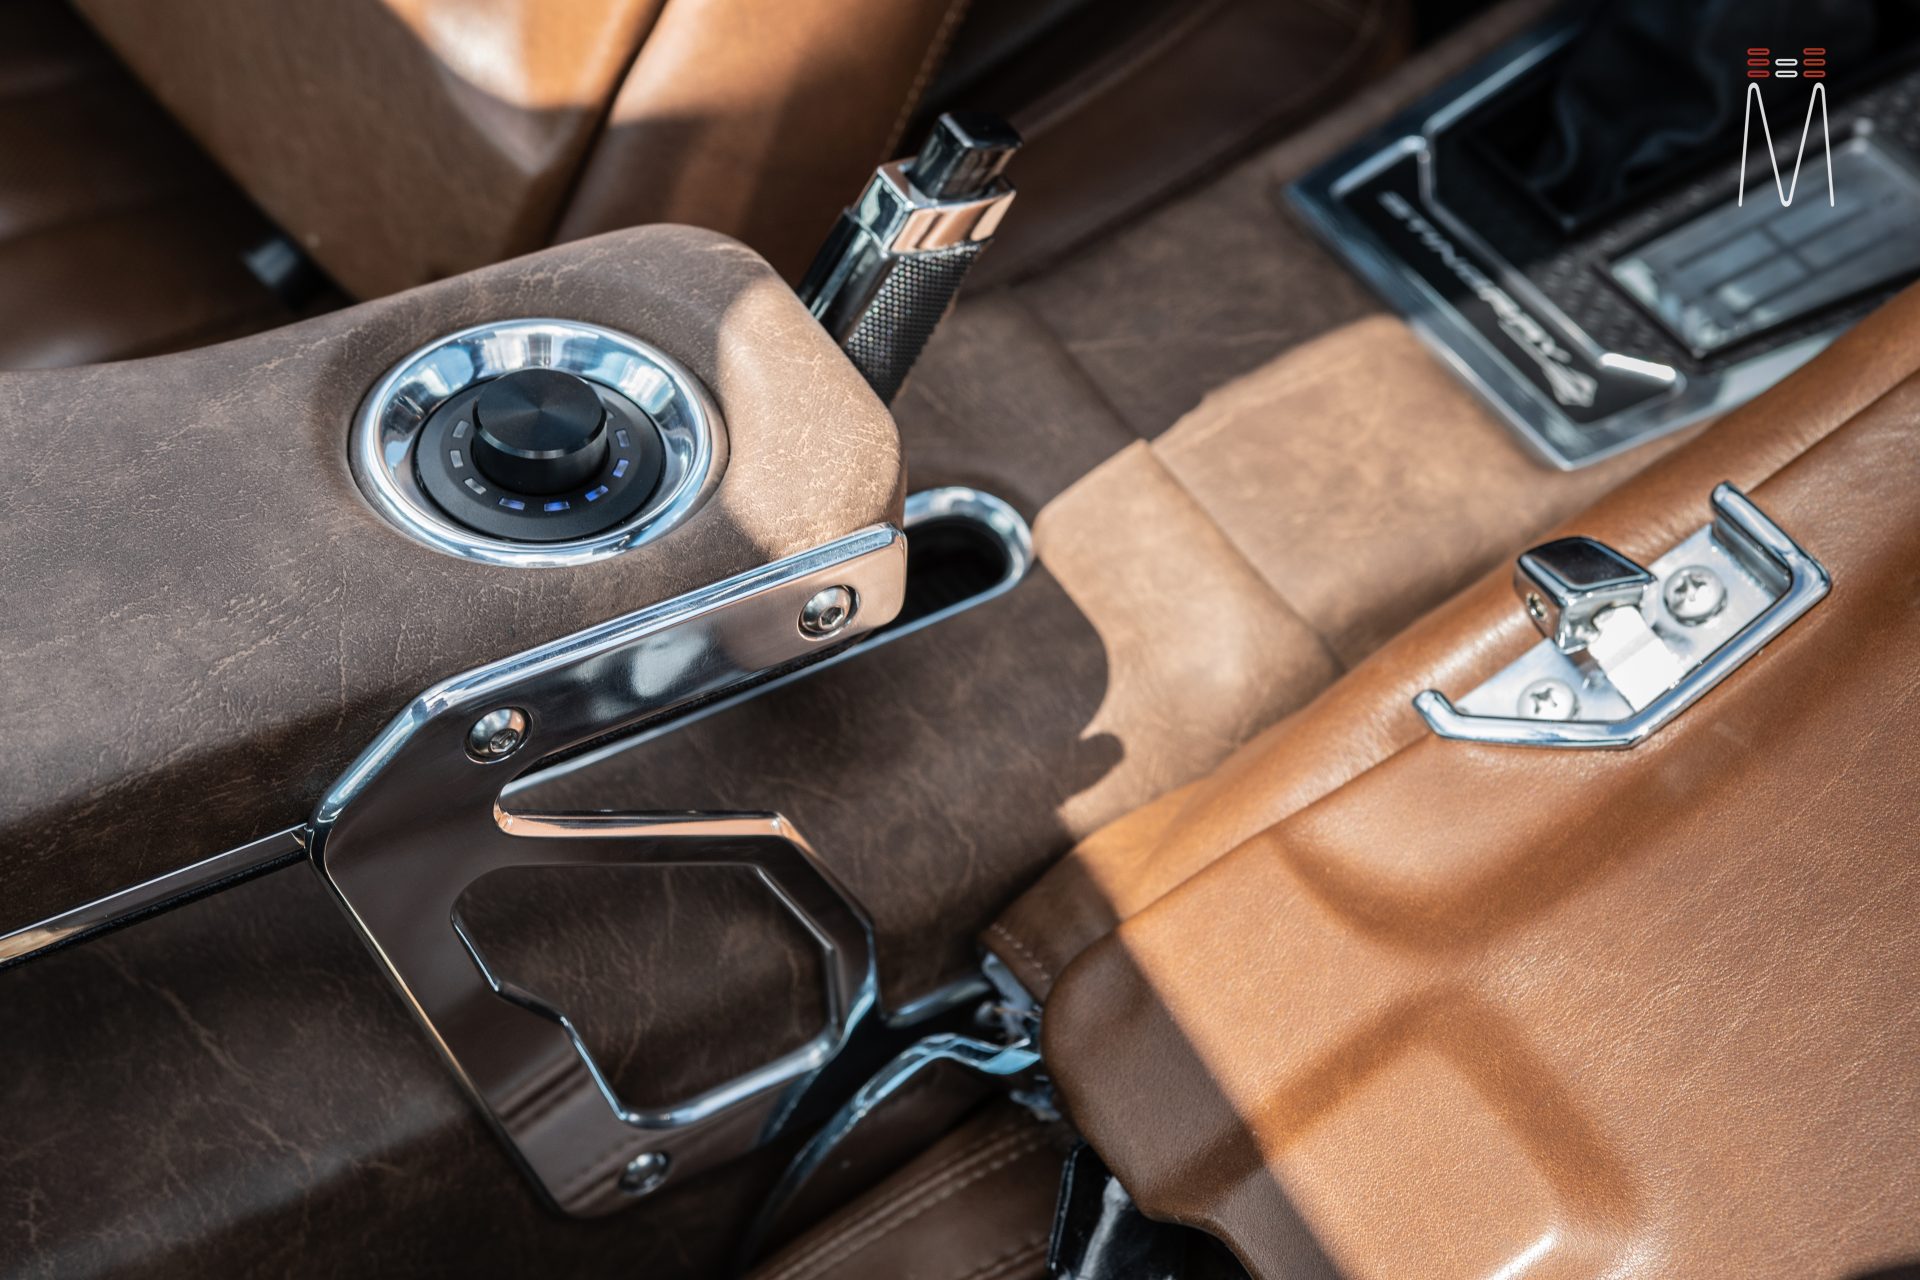
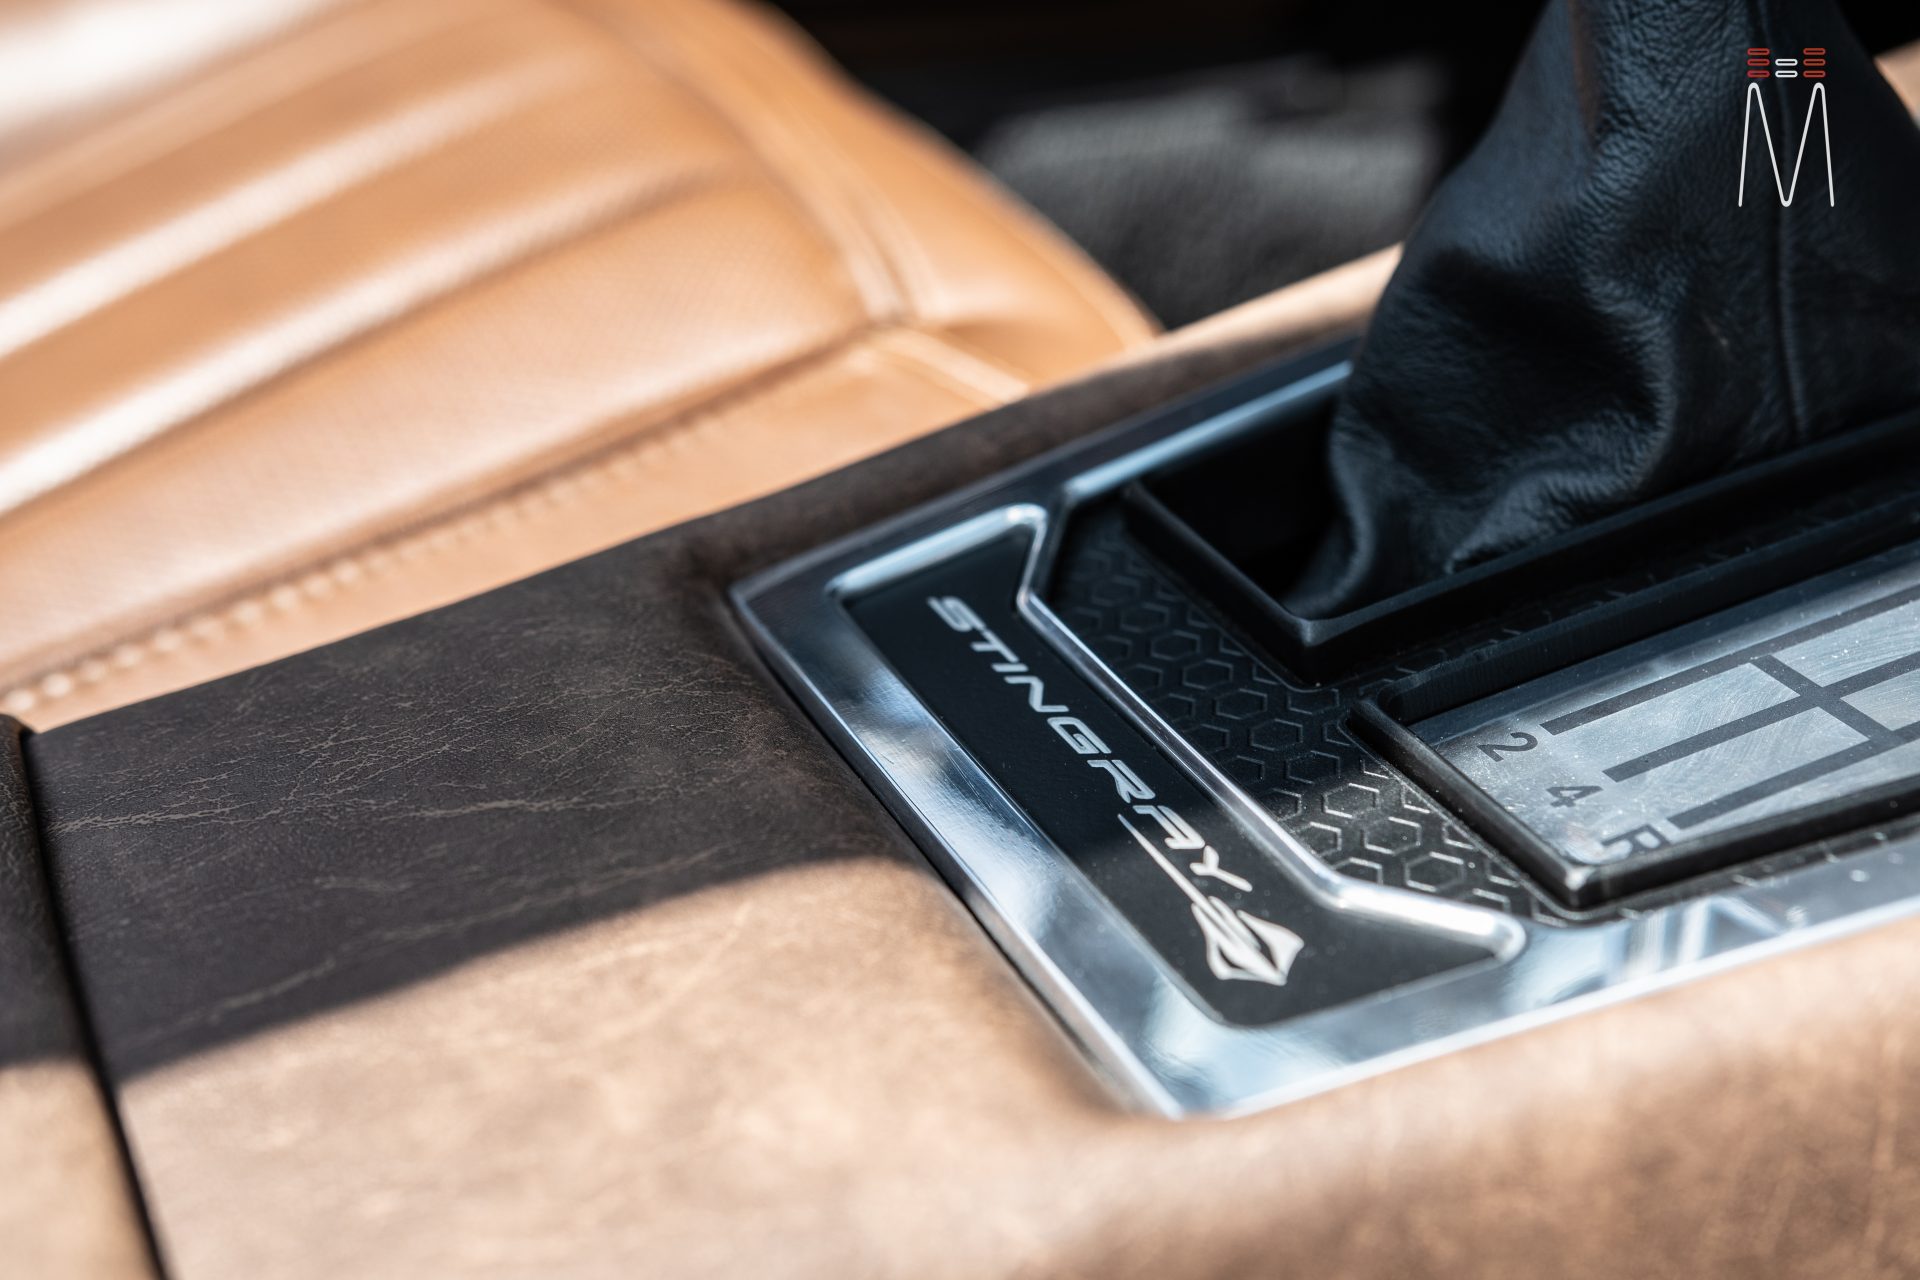
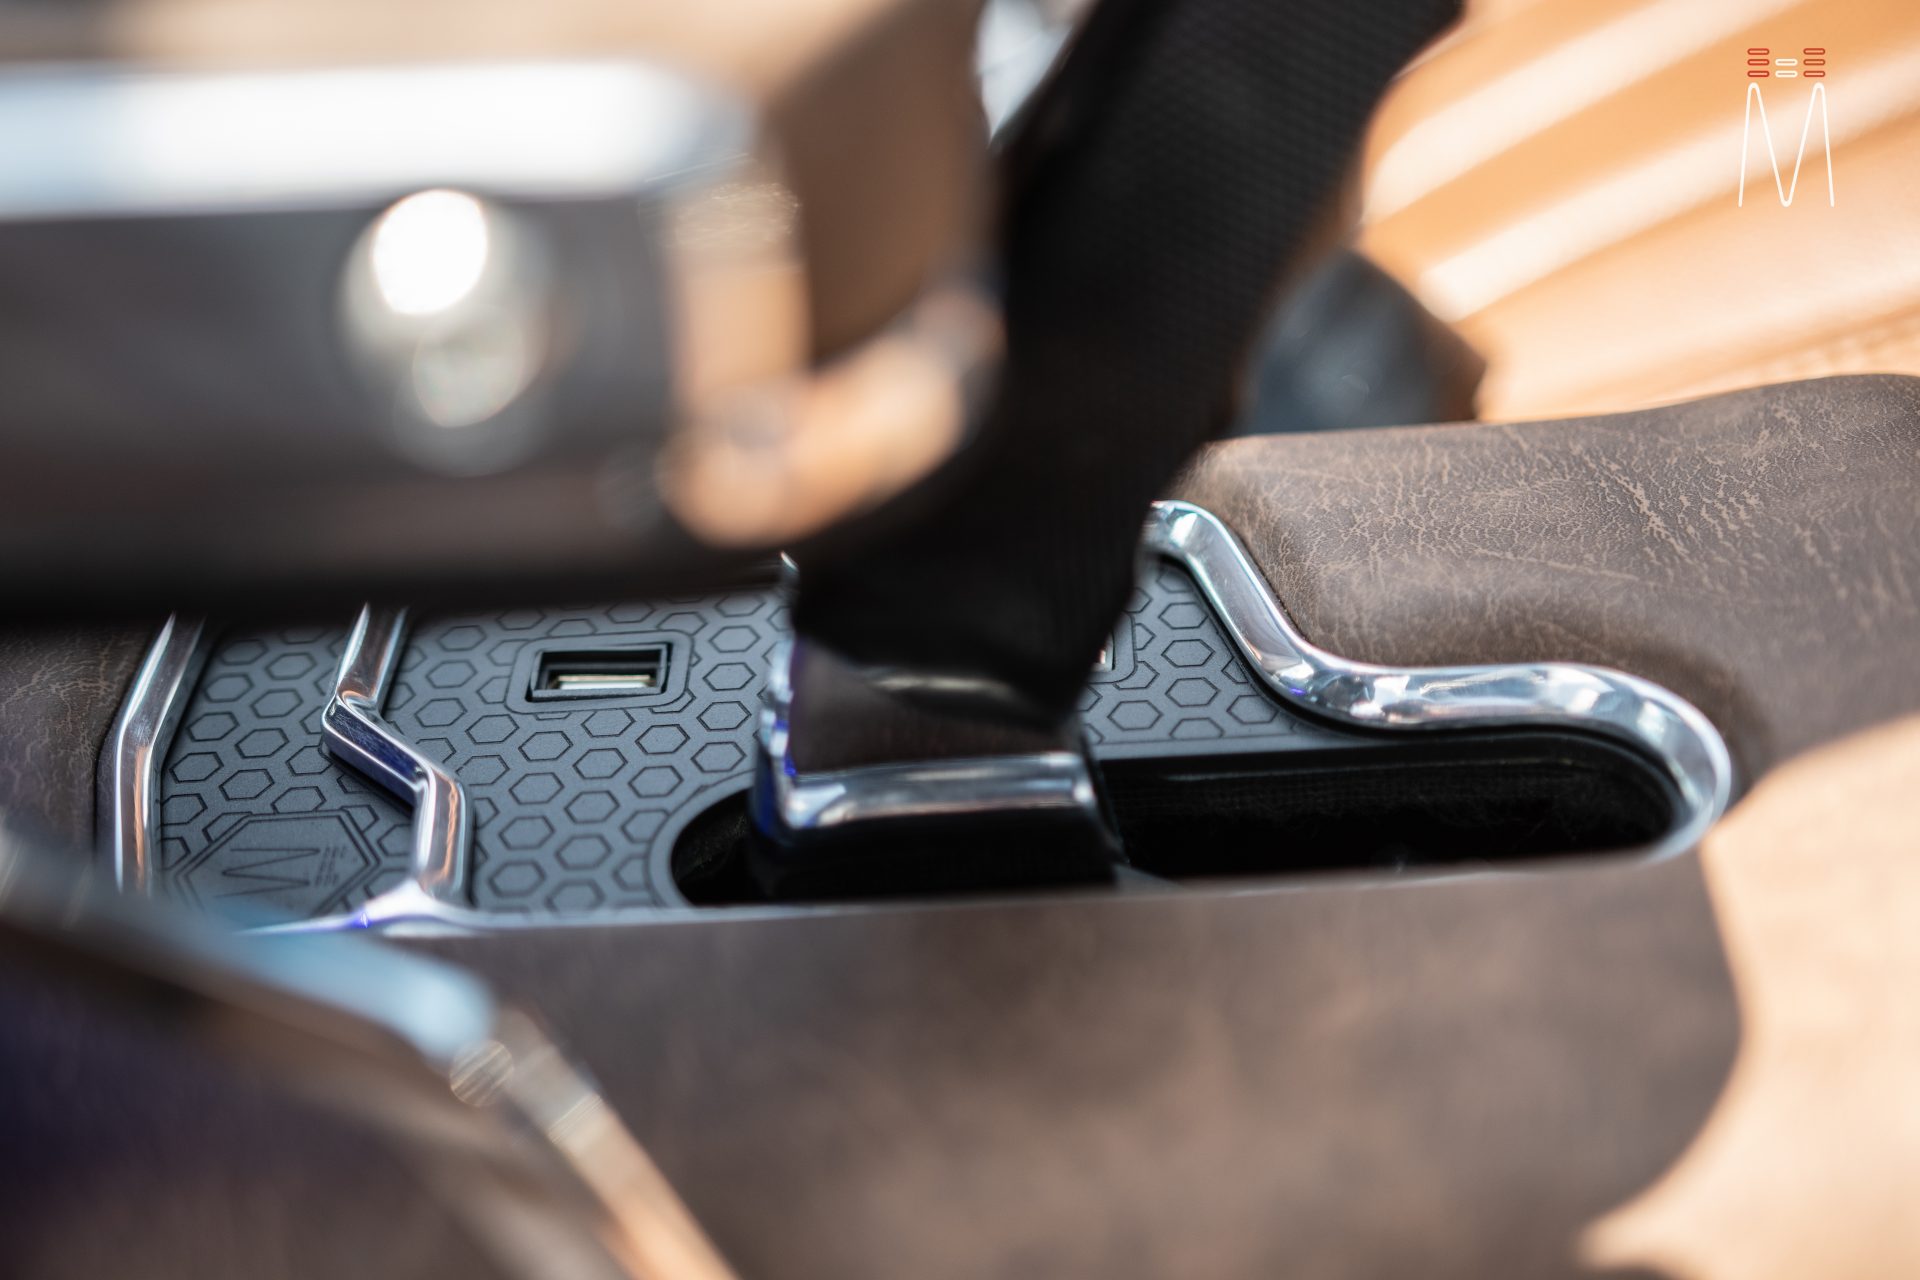
The front part of the console was made to look a lot like the factory console in style, but with modern amenities. A modern GE style switch was used for the power windows and a black billet Vintage Air Controller was added to control the heating and air conditioning. The modern “Stingray” logo was added in front of the shifter. A piece of aluminum was routed, polished and then the shifter pattern was laser etched into it. A final piece of aluminum was used as the outer top trim which uses a similar design to the speaker grilles. The console was wrapped in weathered leather to match. The lower rear console was then fabricated to layer in. This area houses two usb ports (one for the Alpine and one for the Helix DSP). A hand routed piece of aluminum was polished and is used to trim out the USB and eBrake mount.
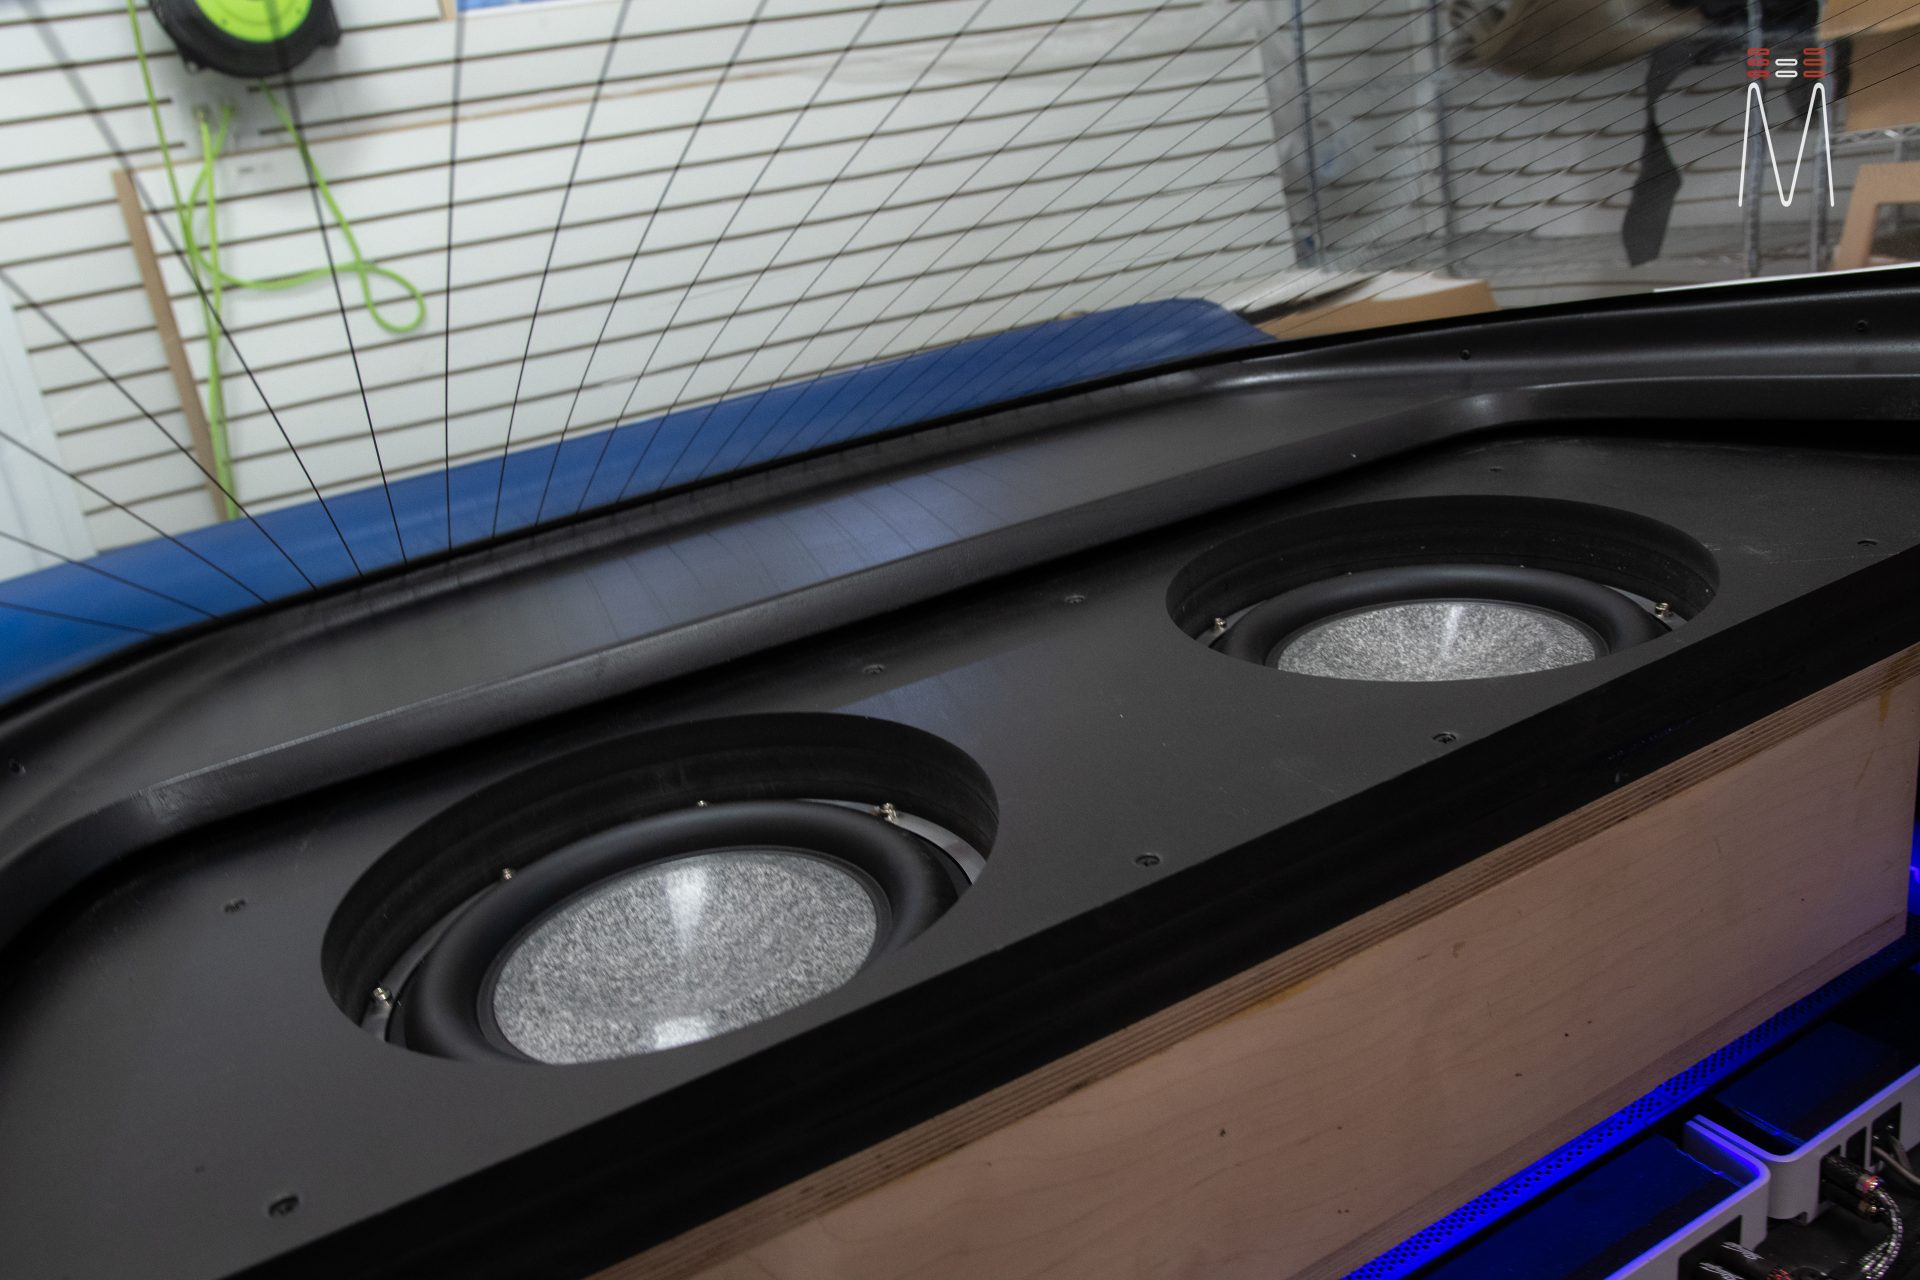
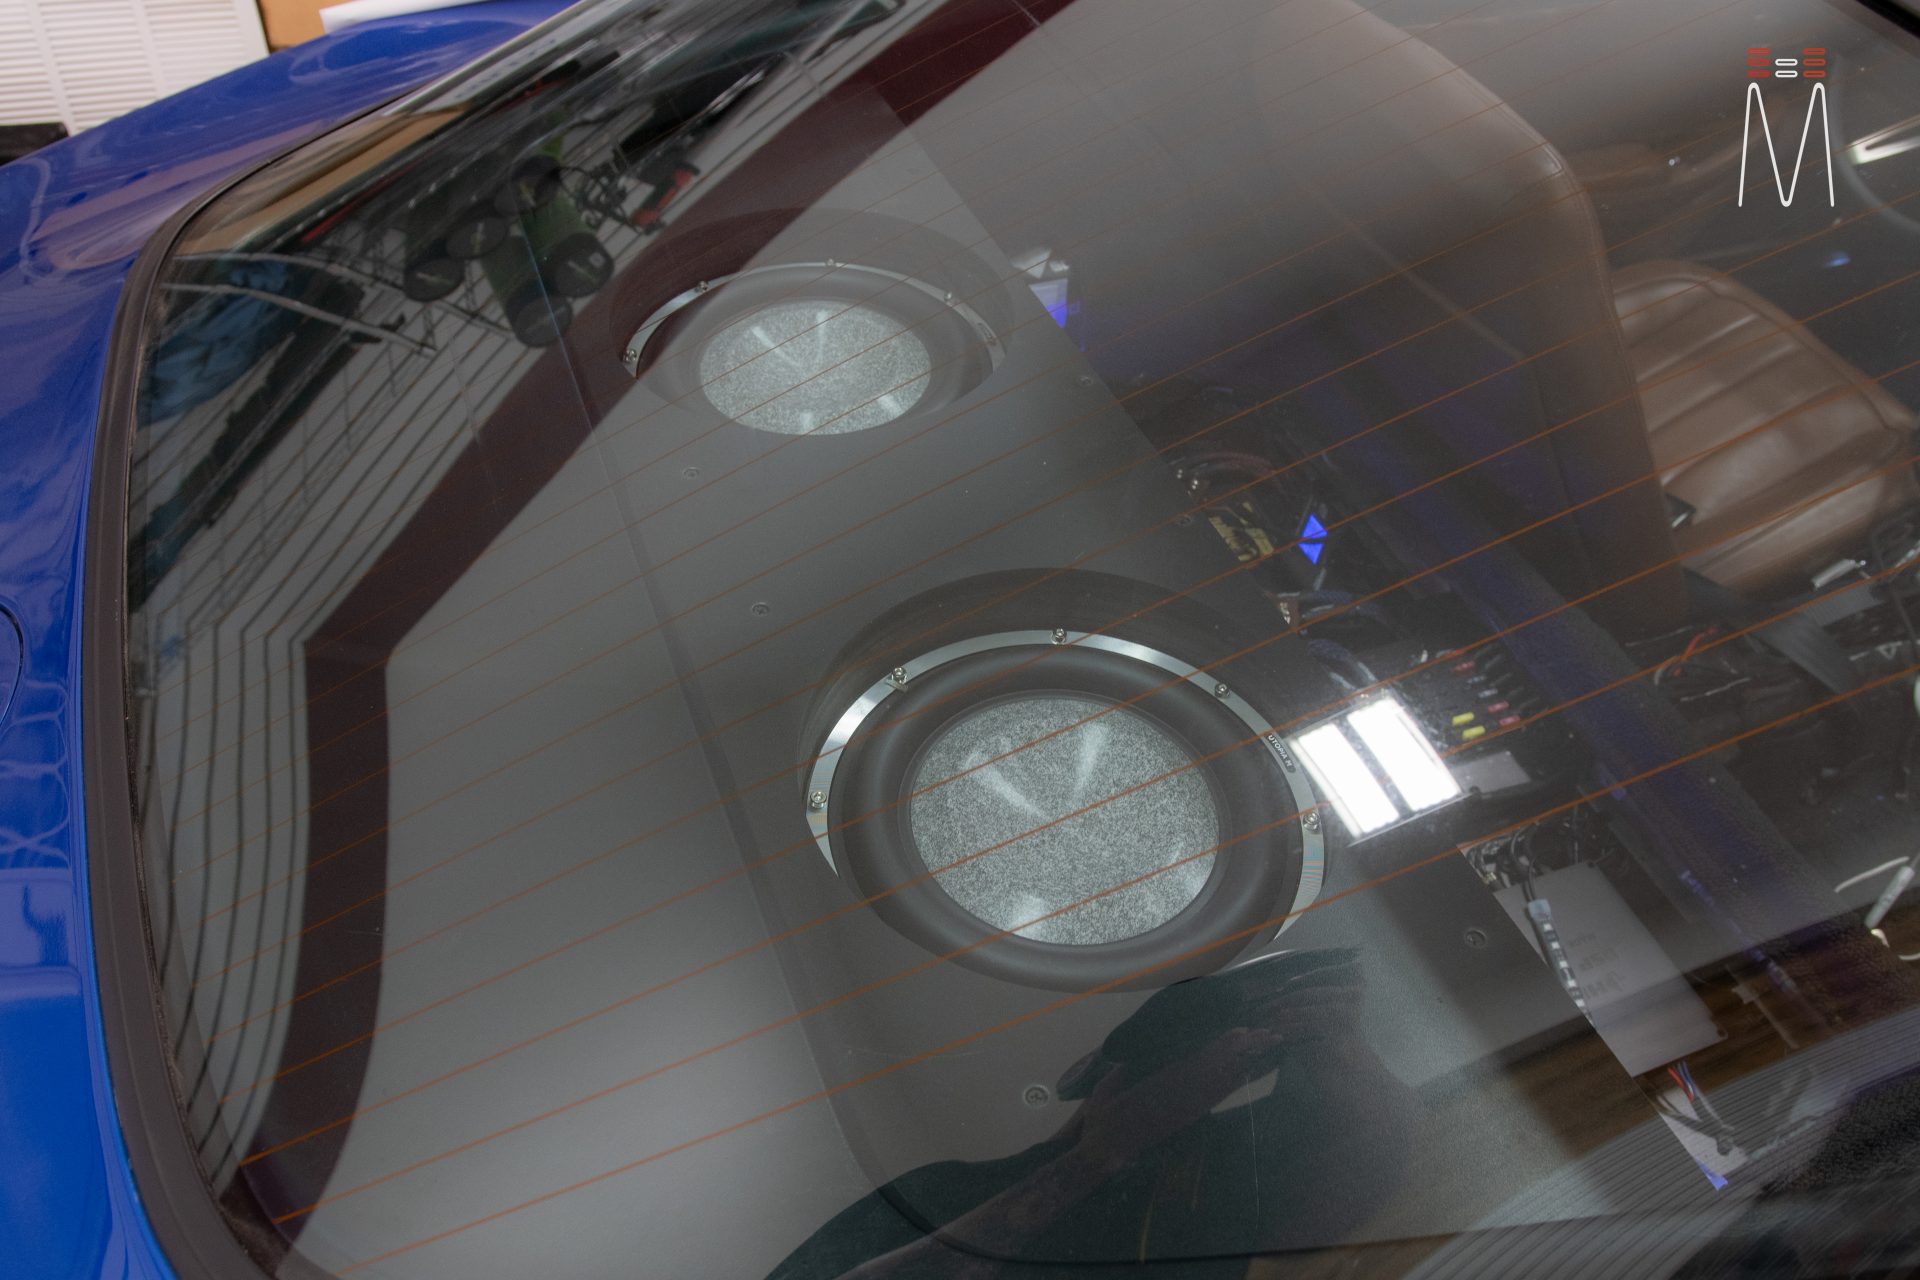
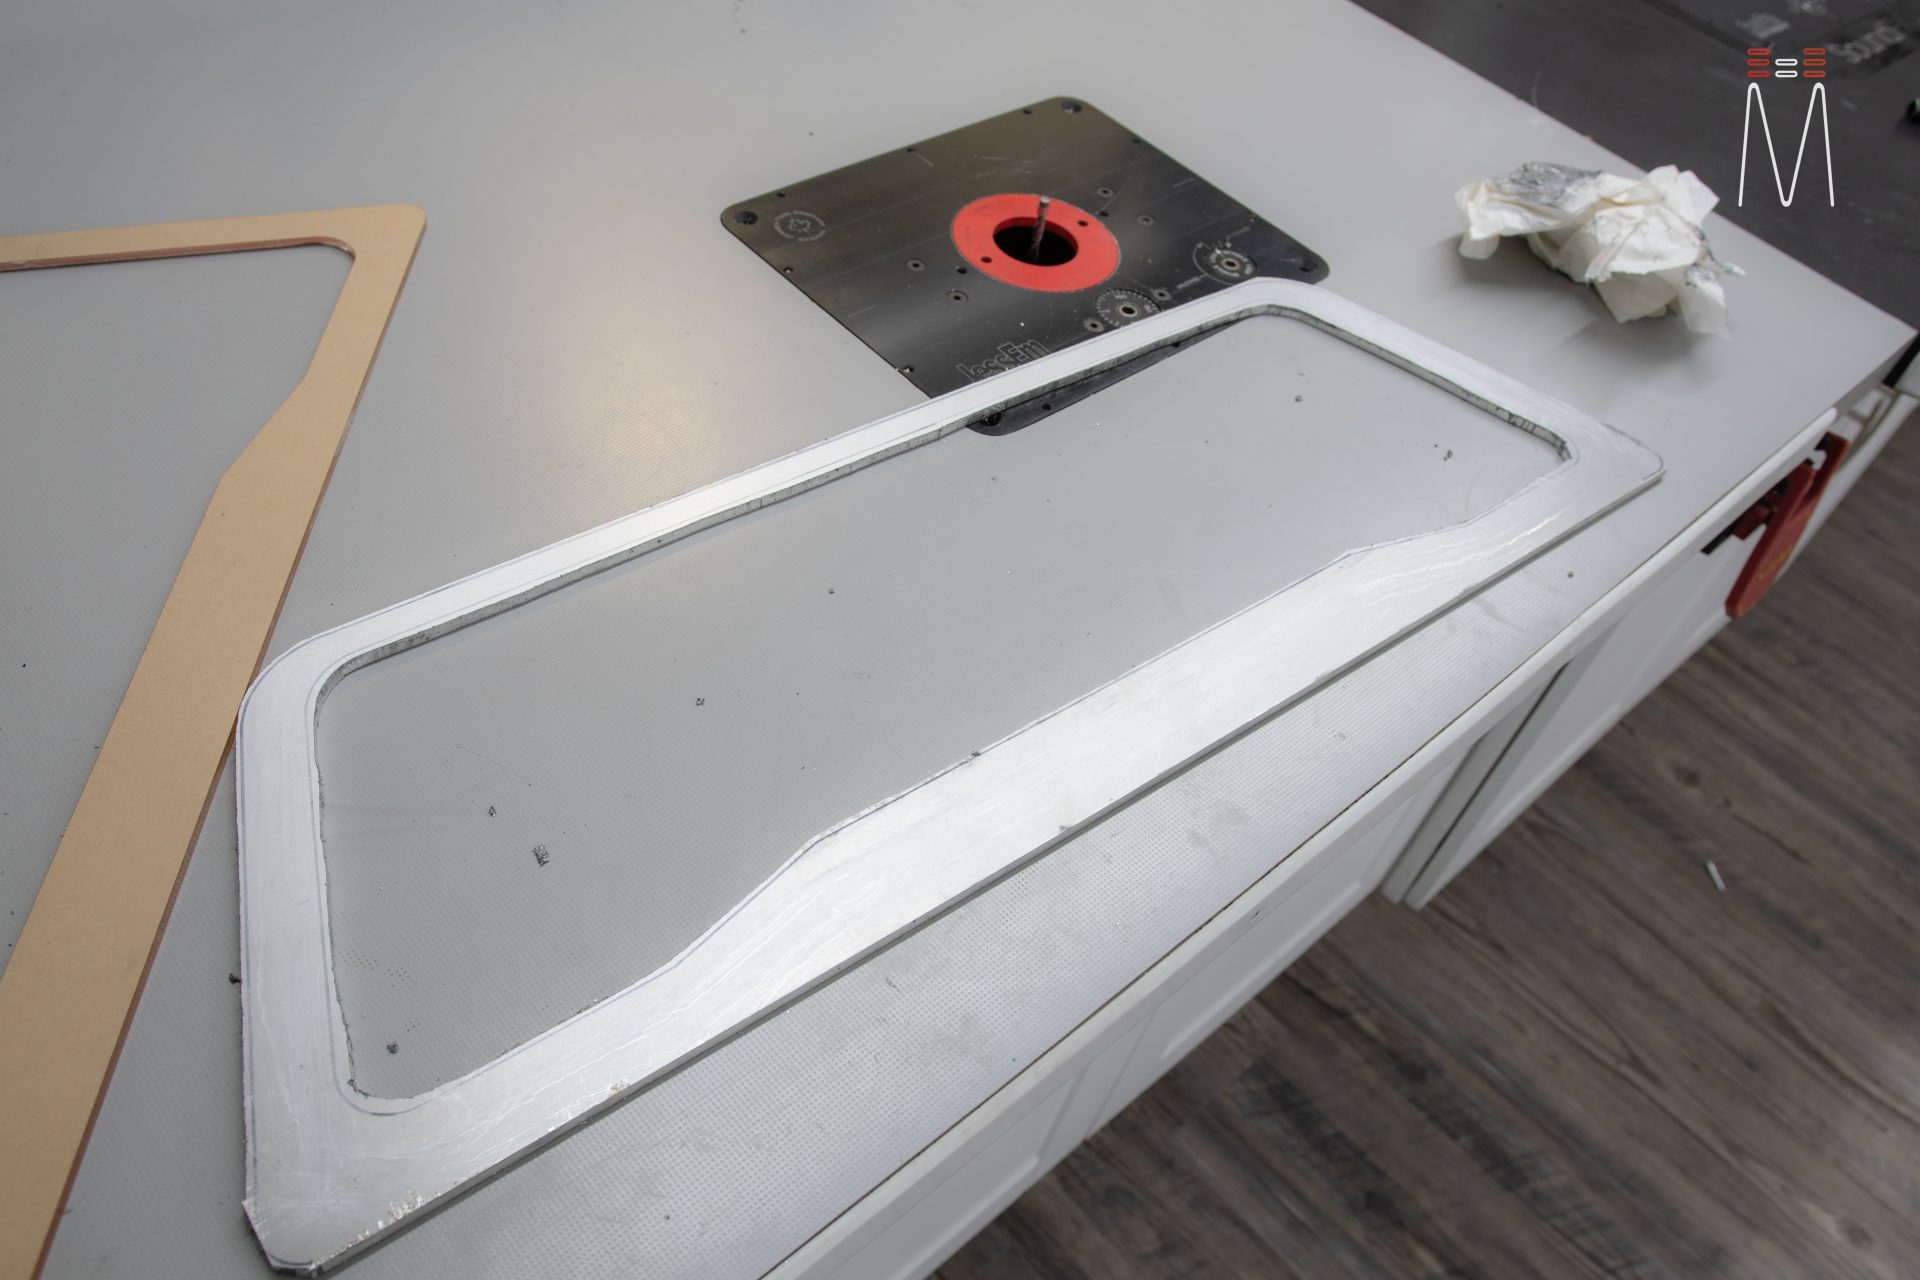
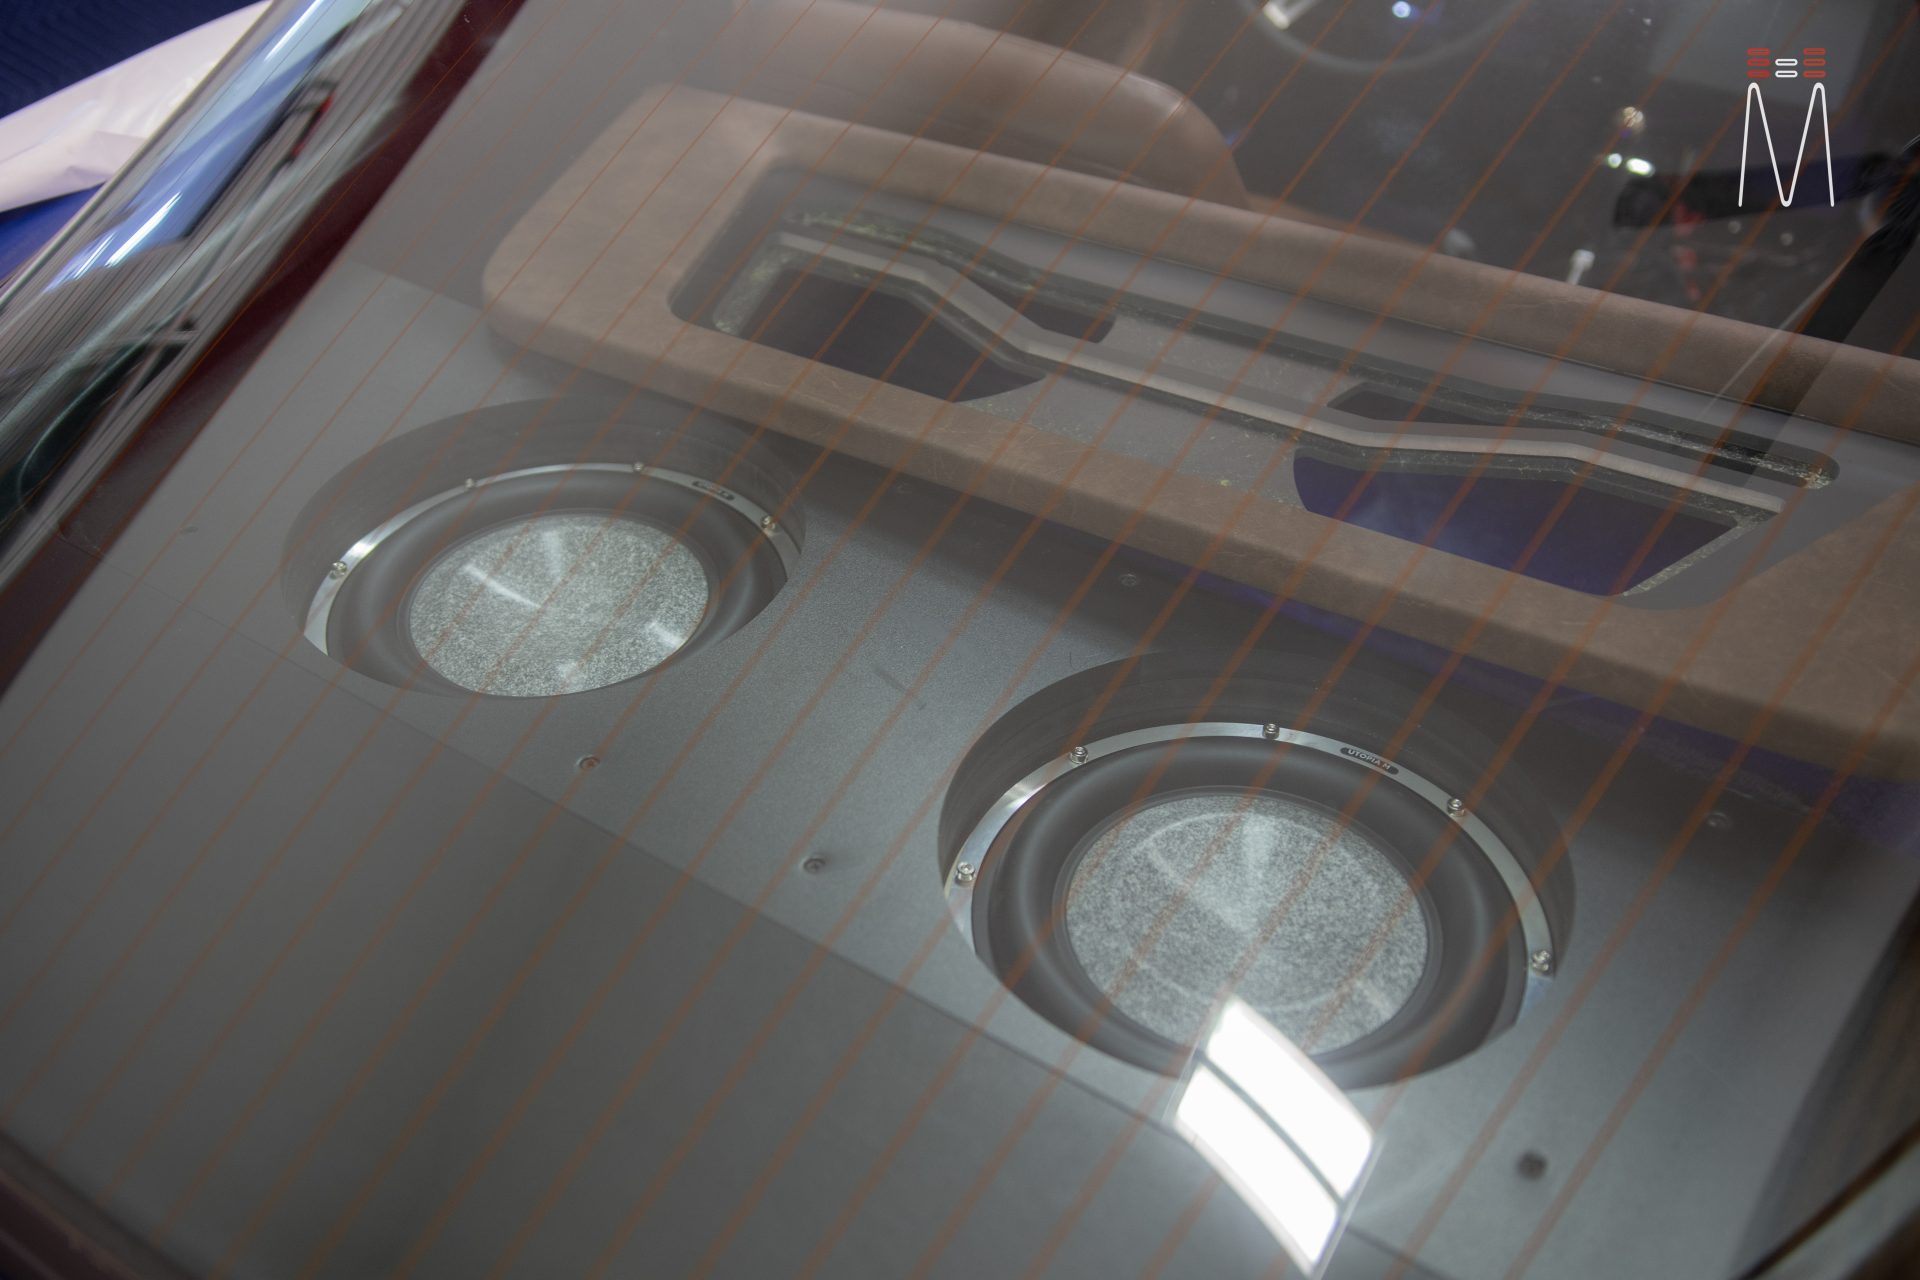
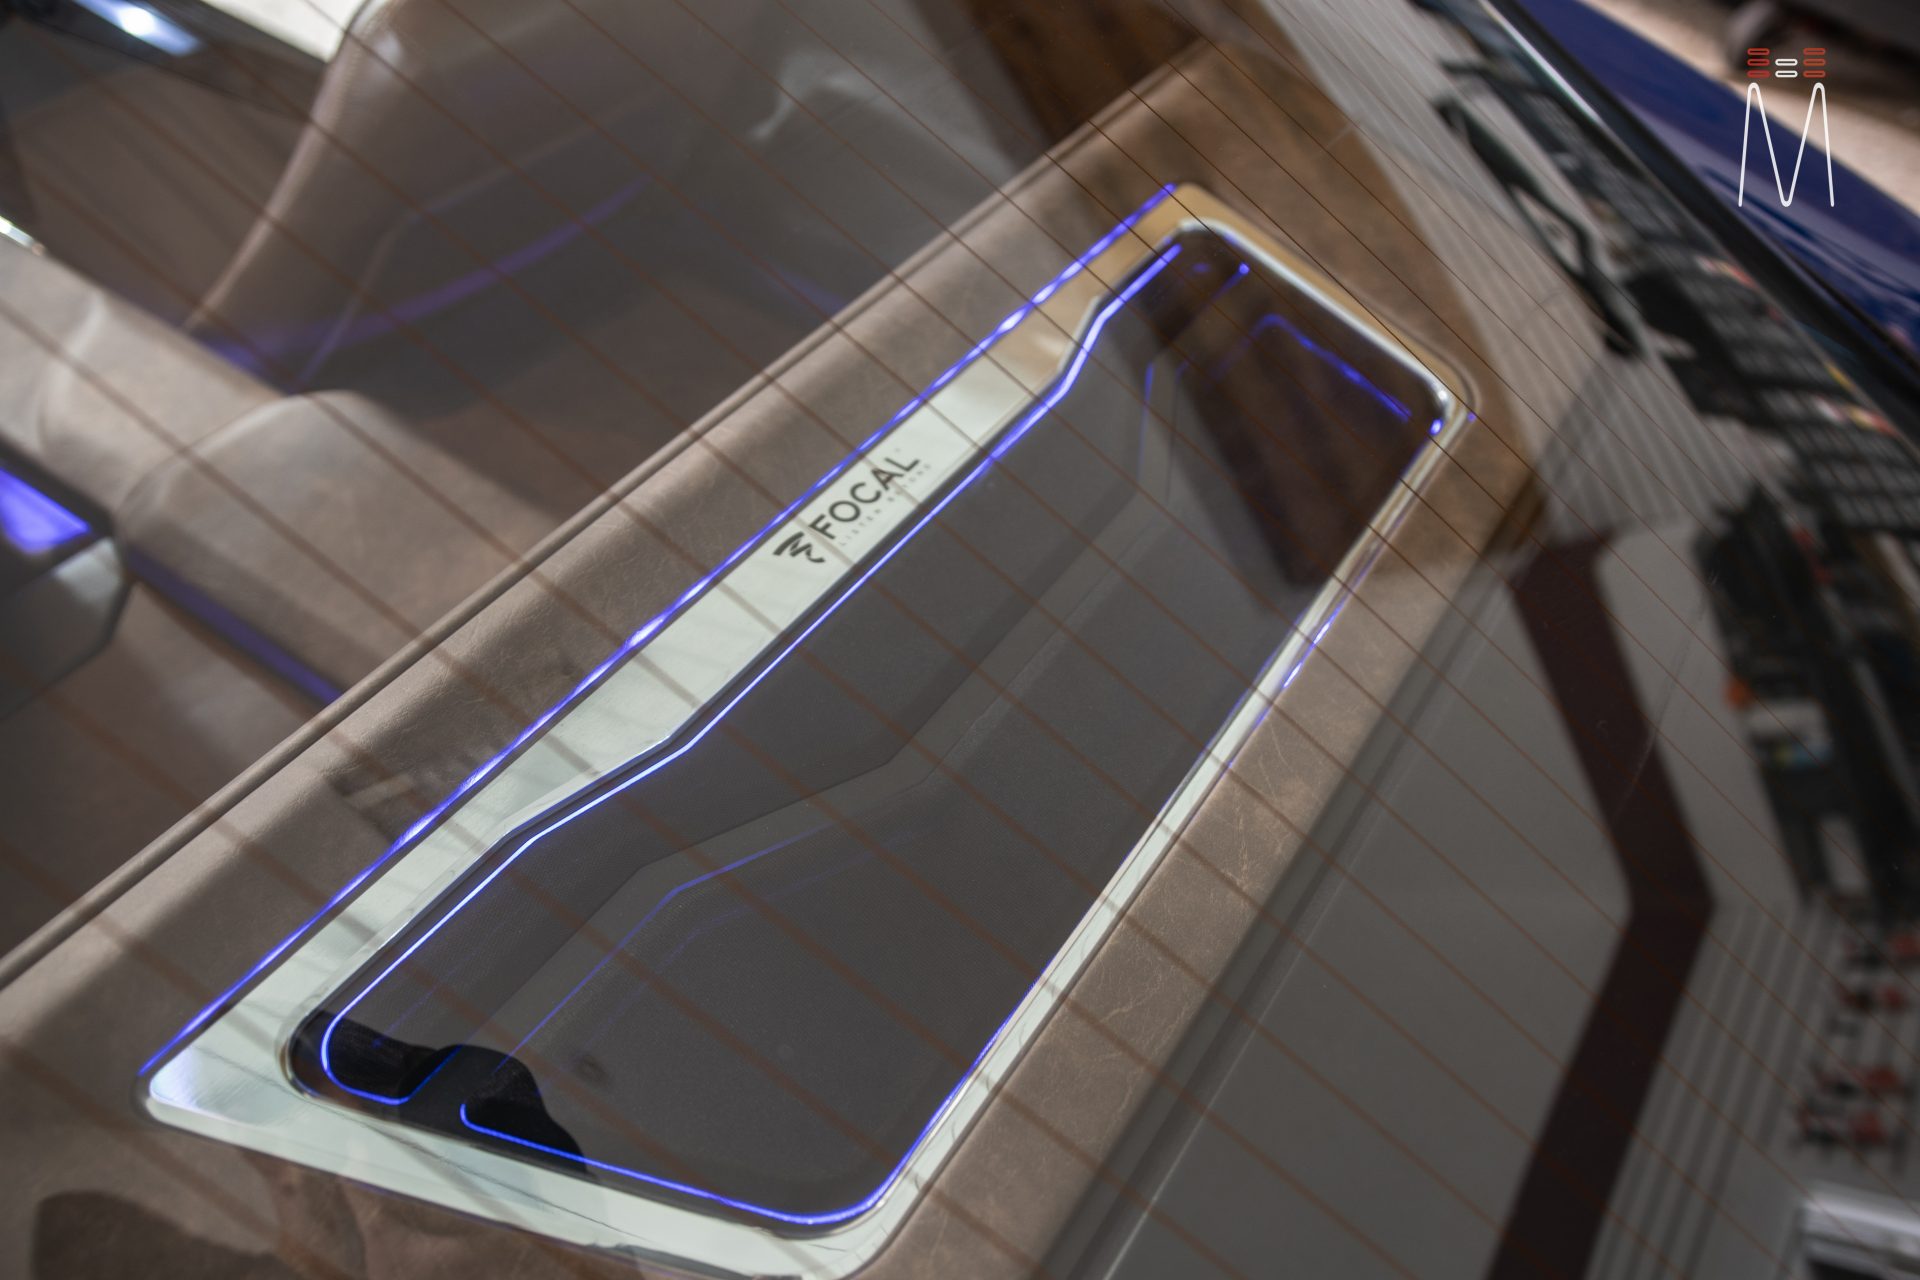
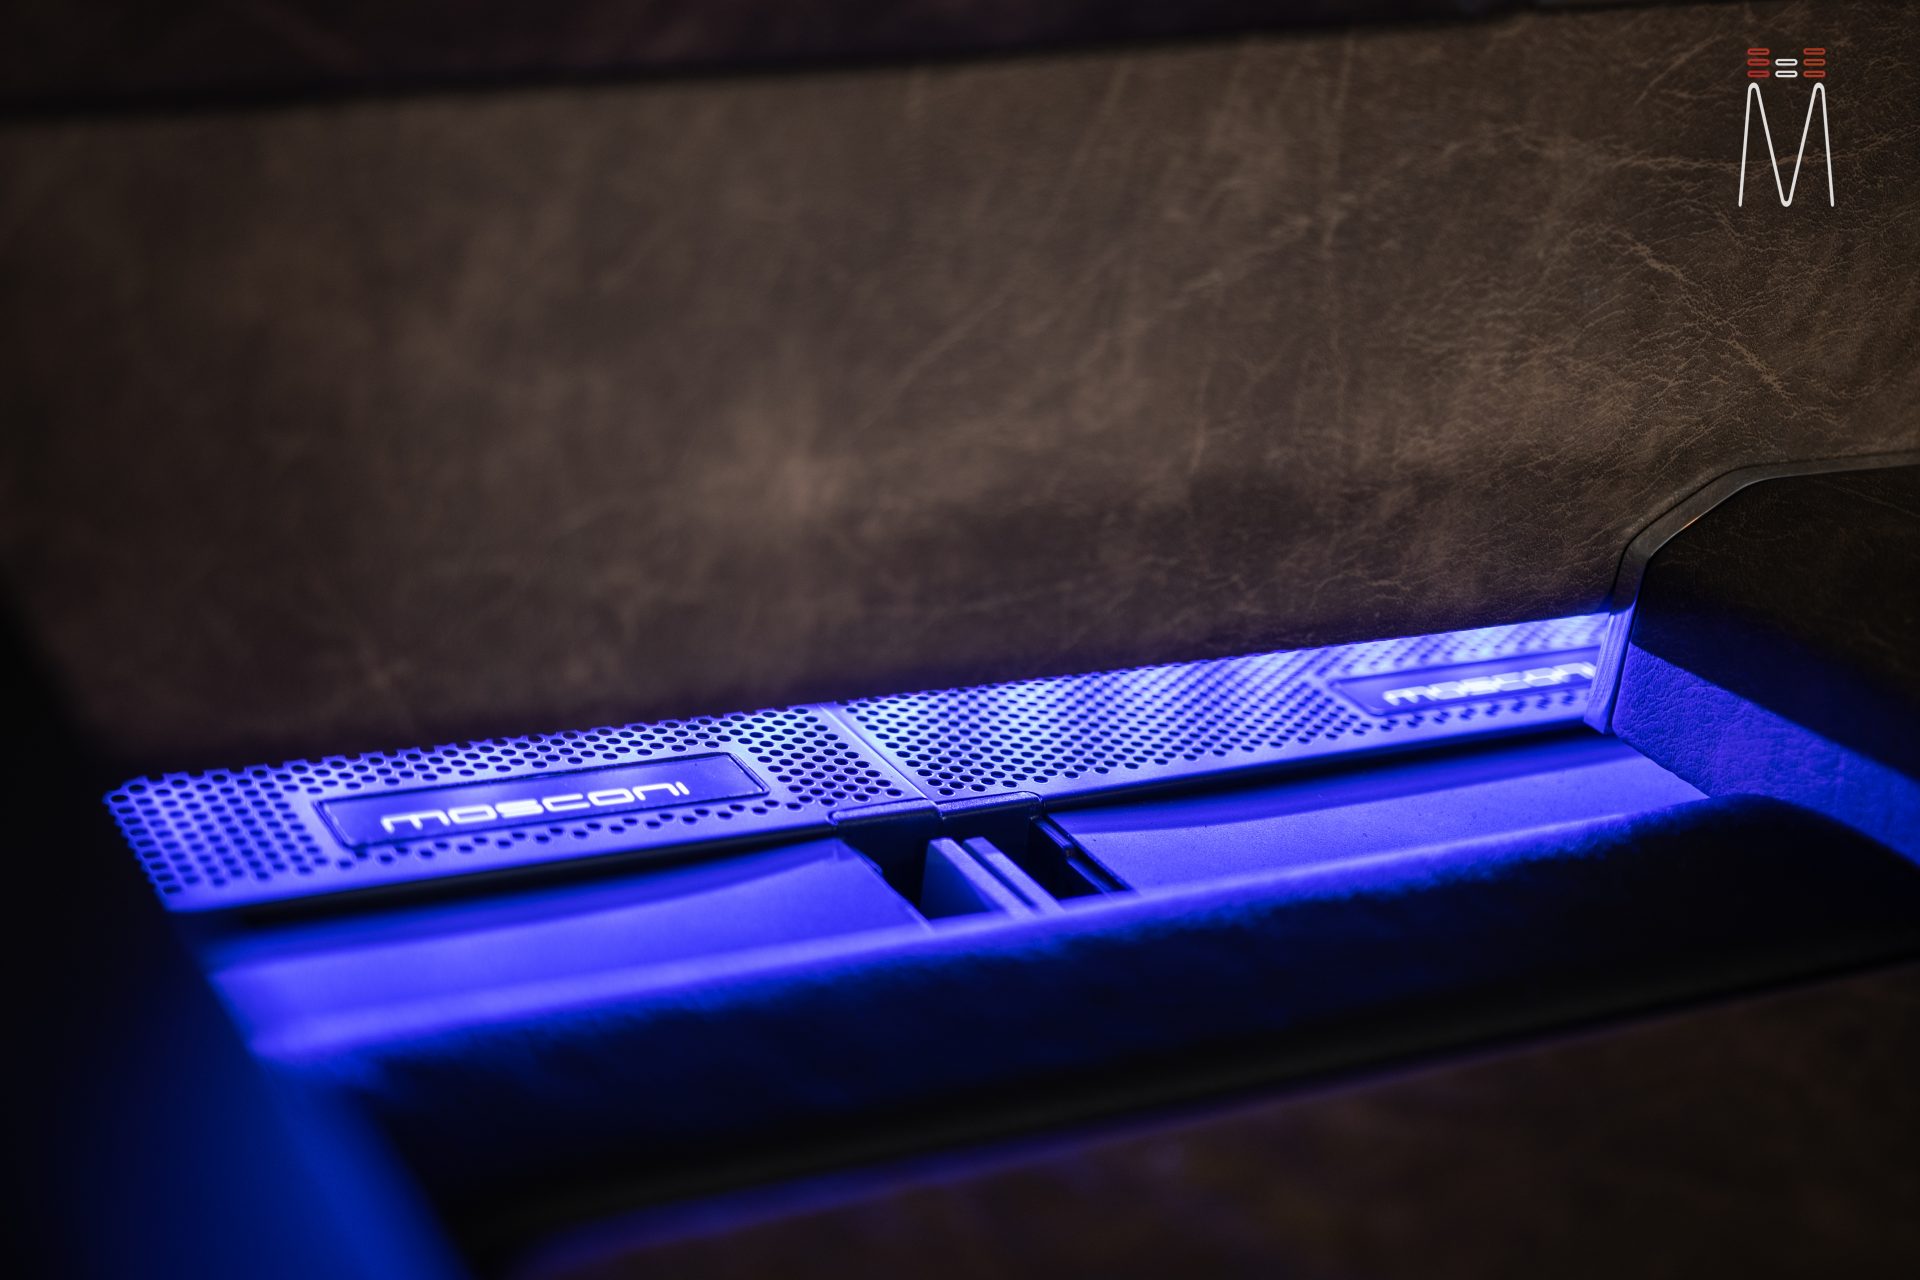
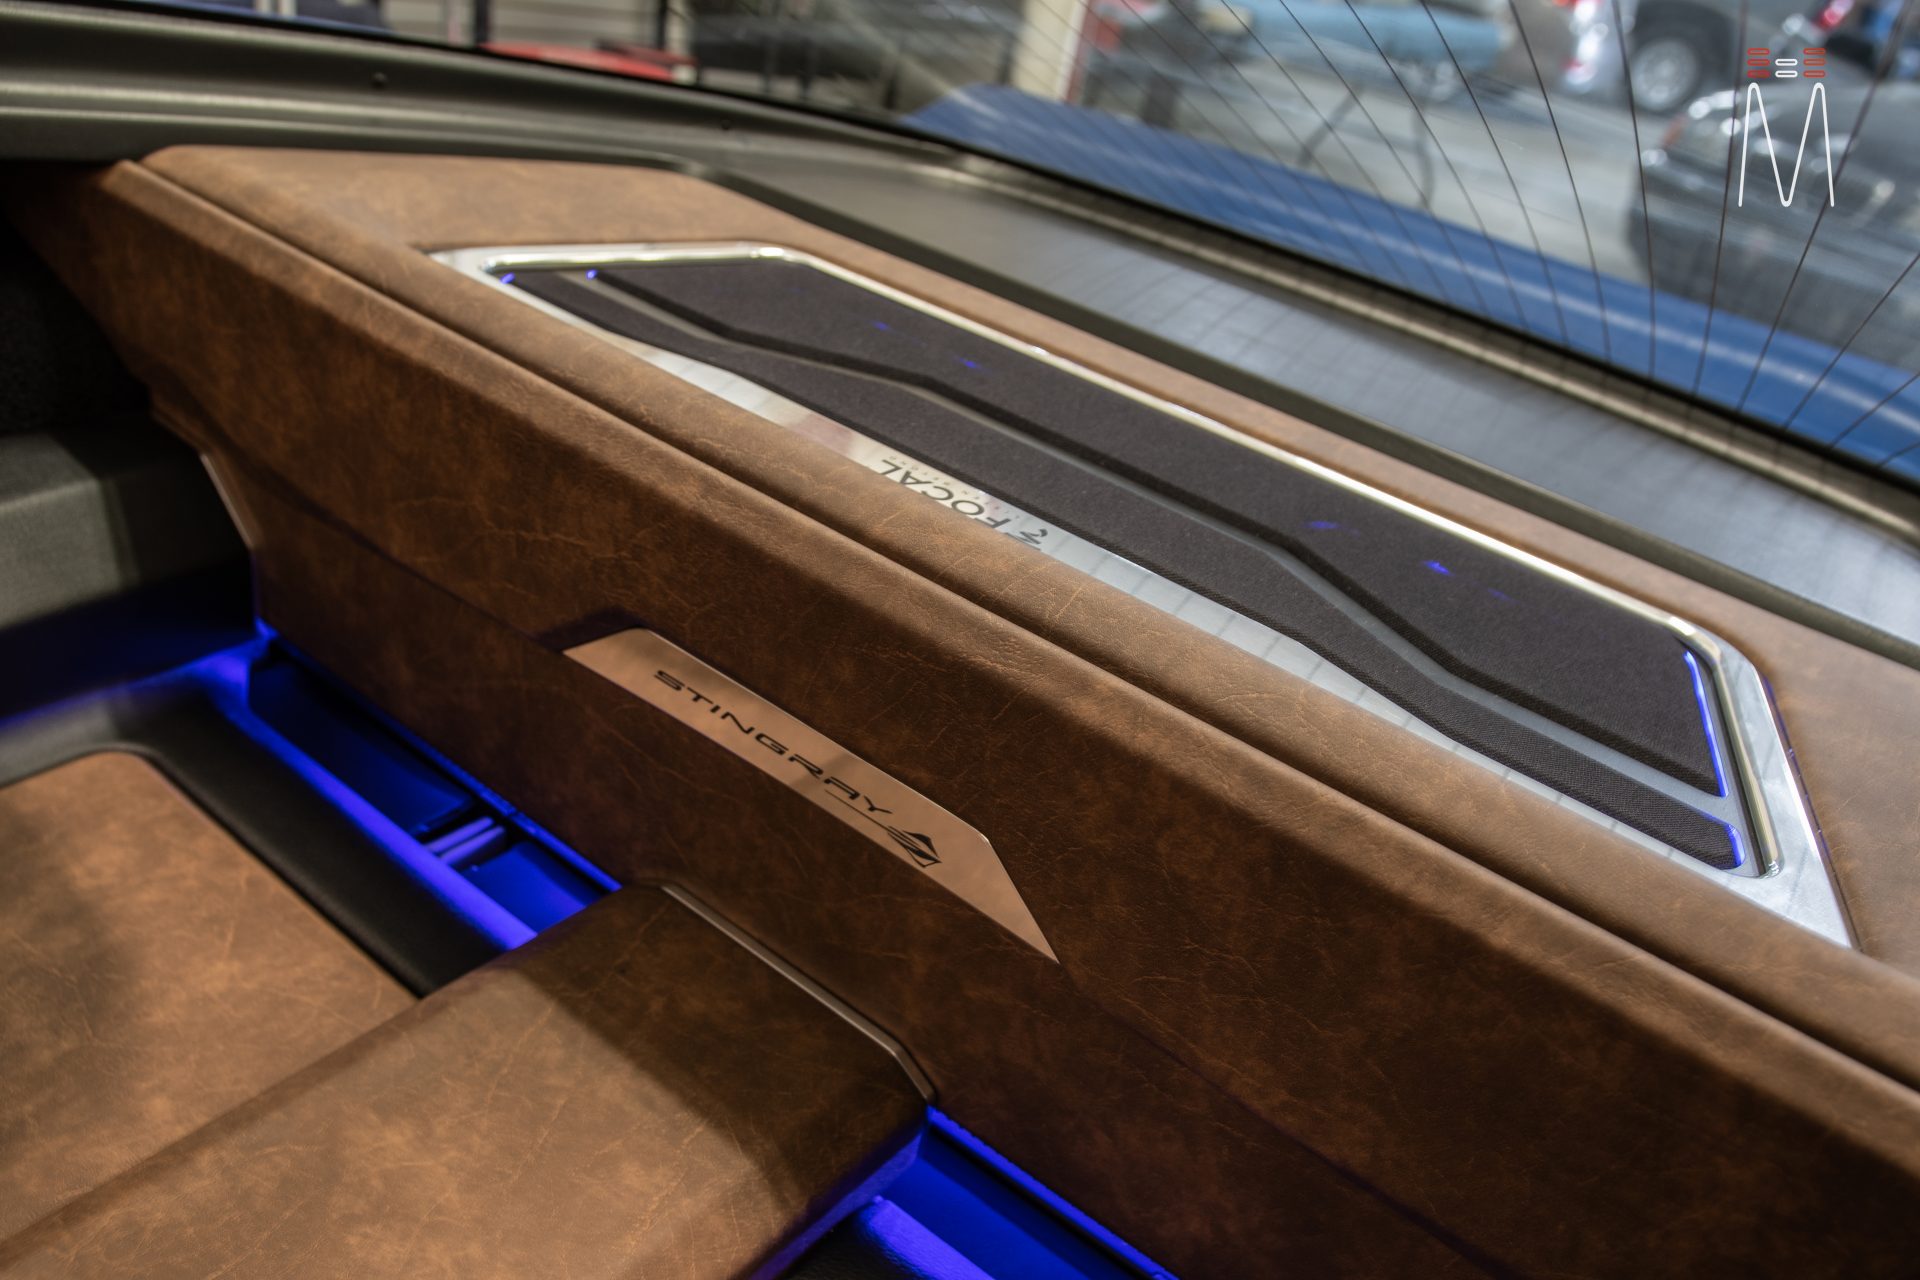
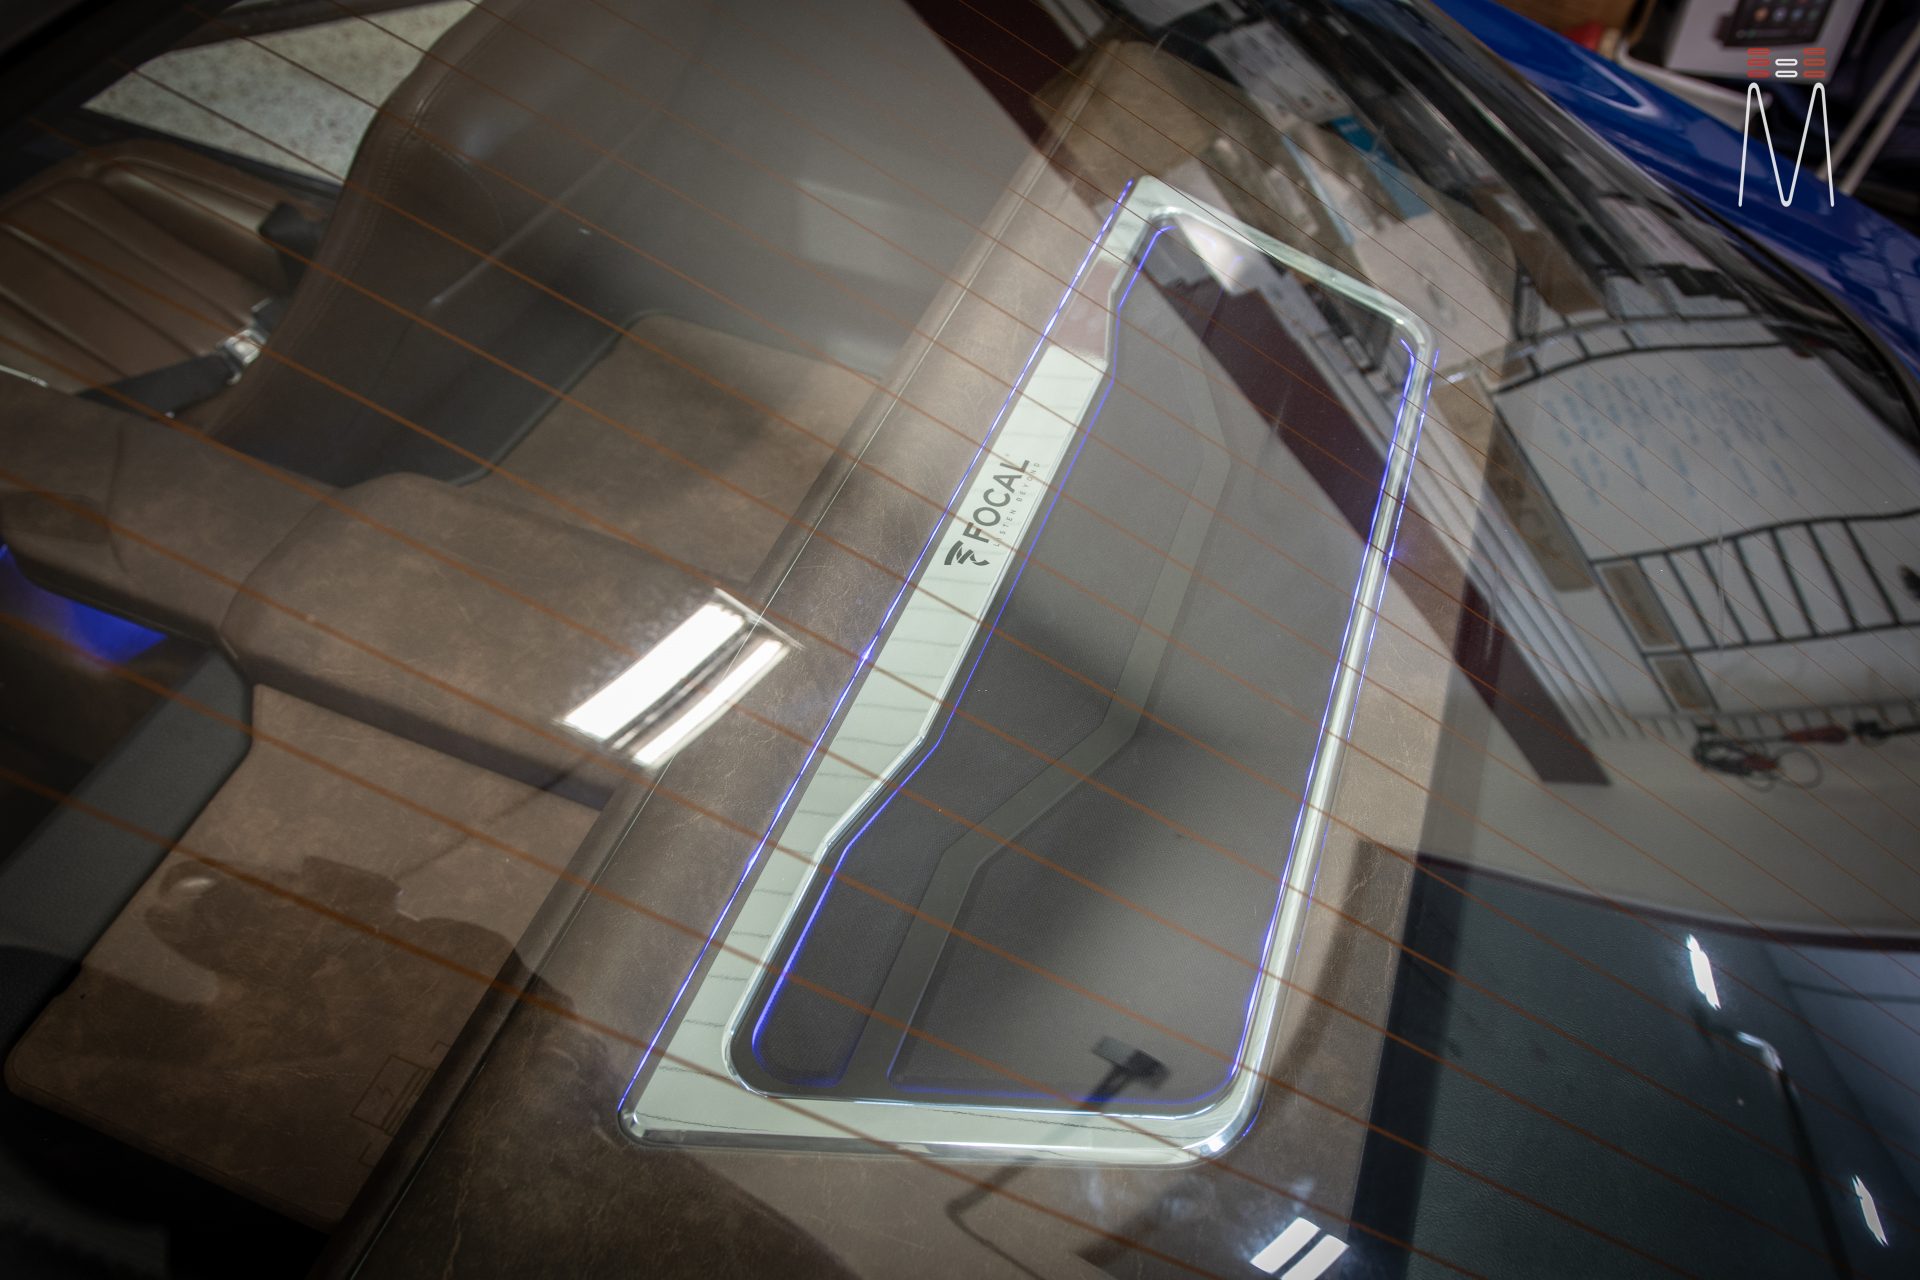
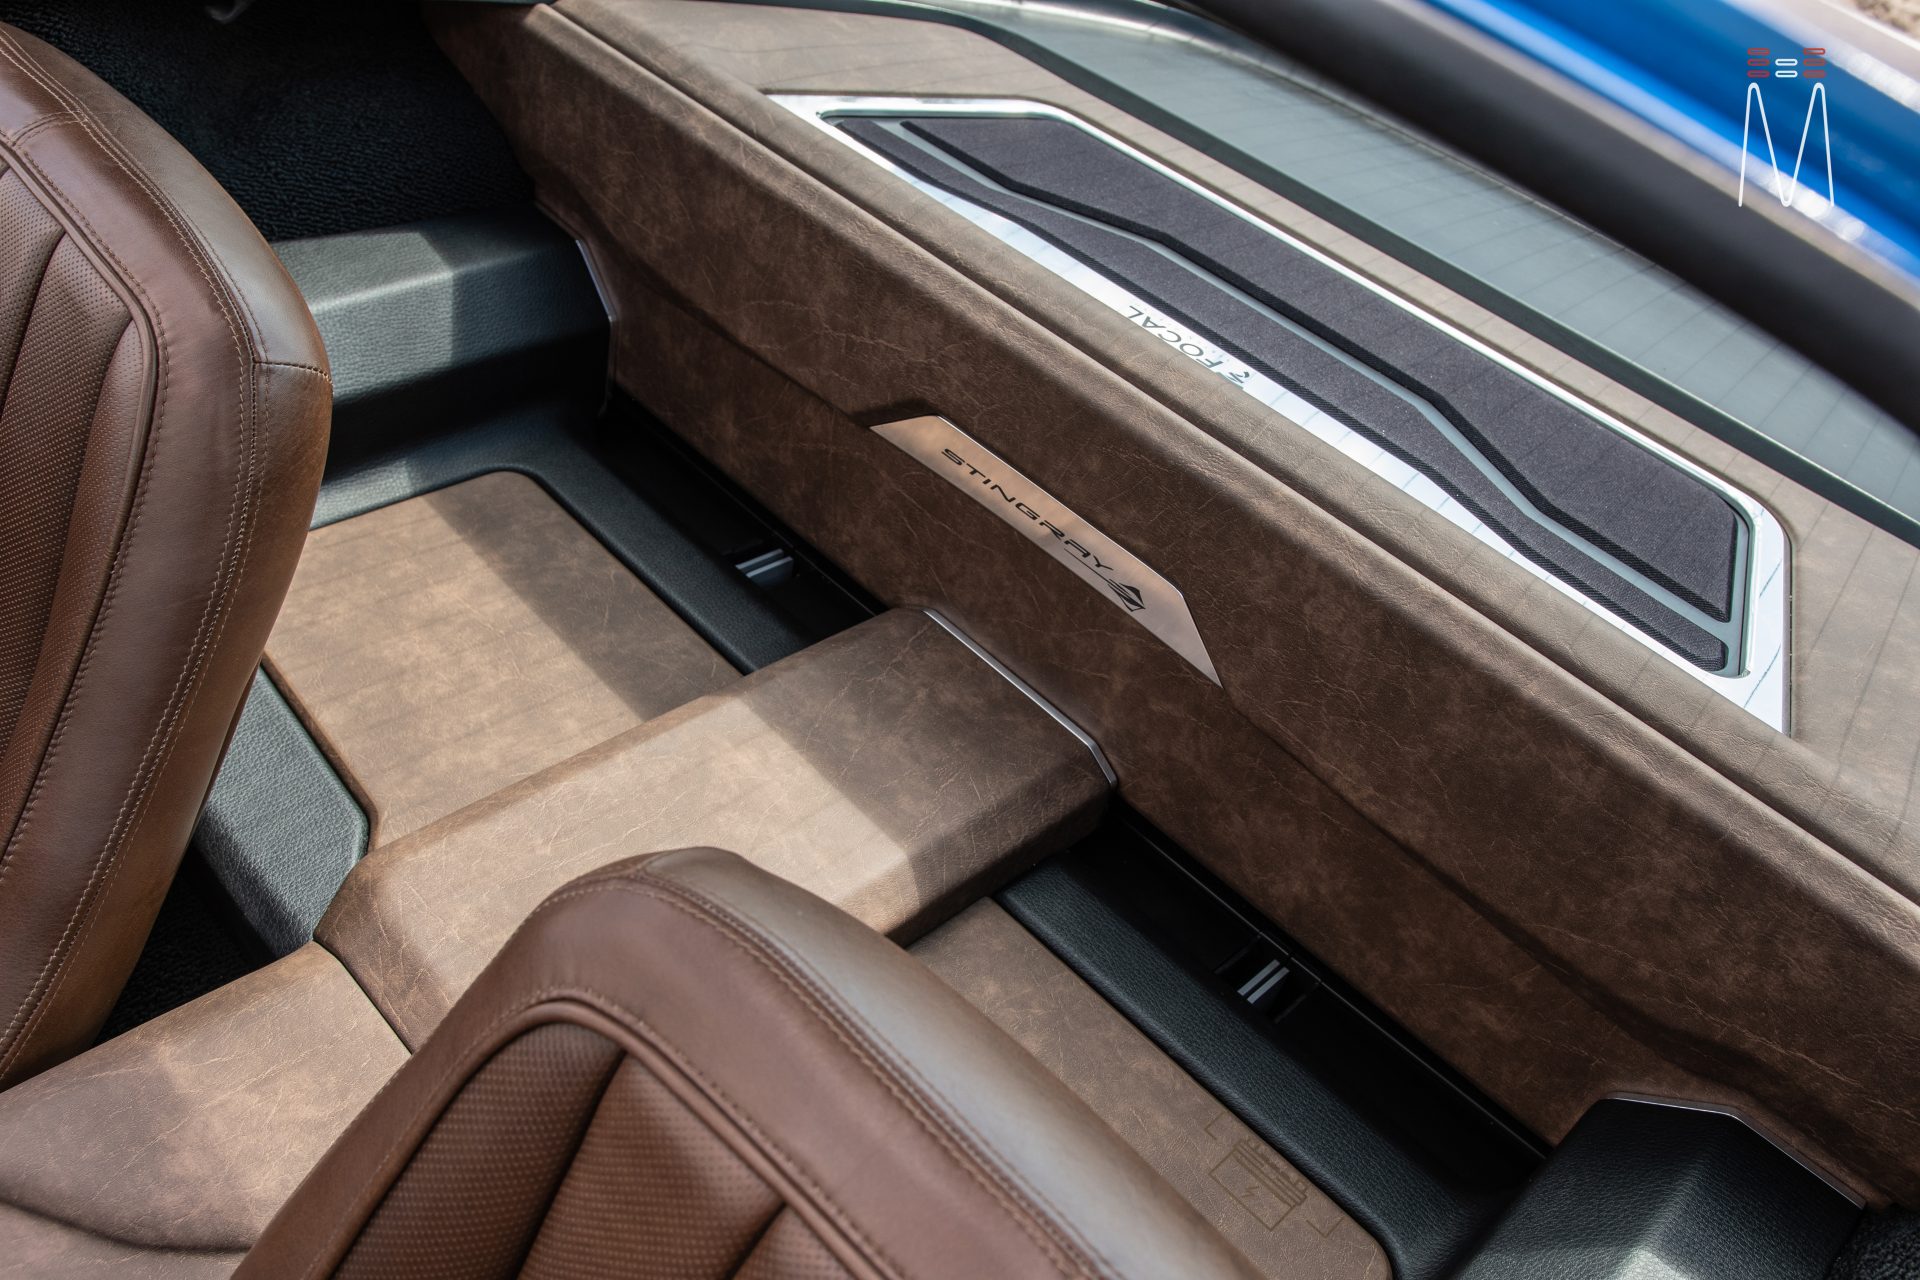
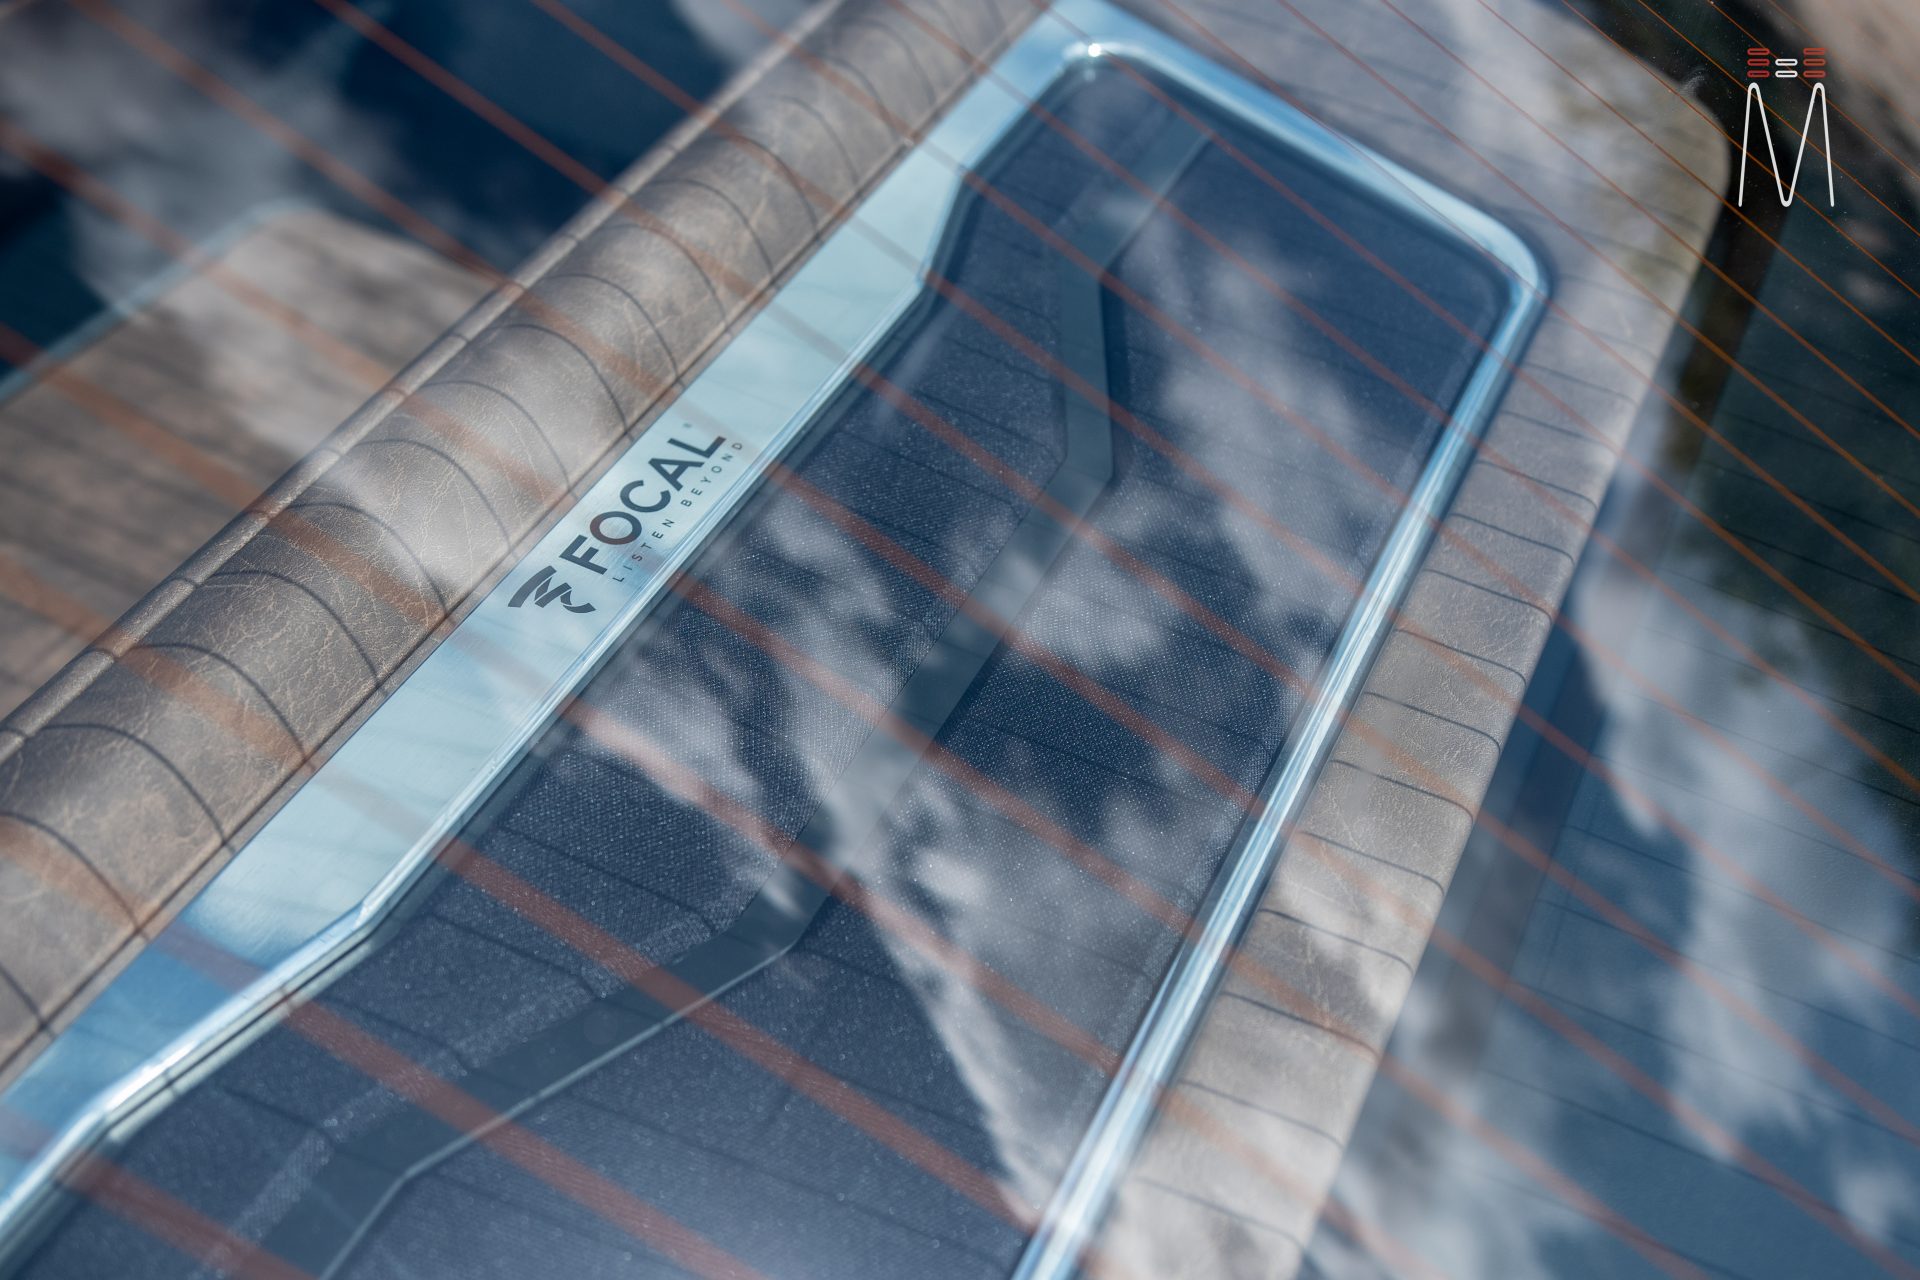
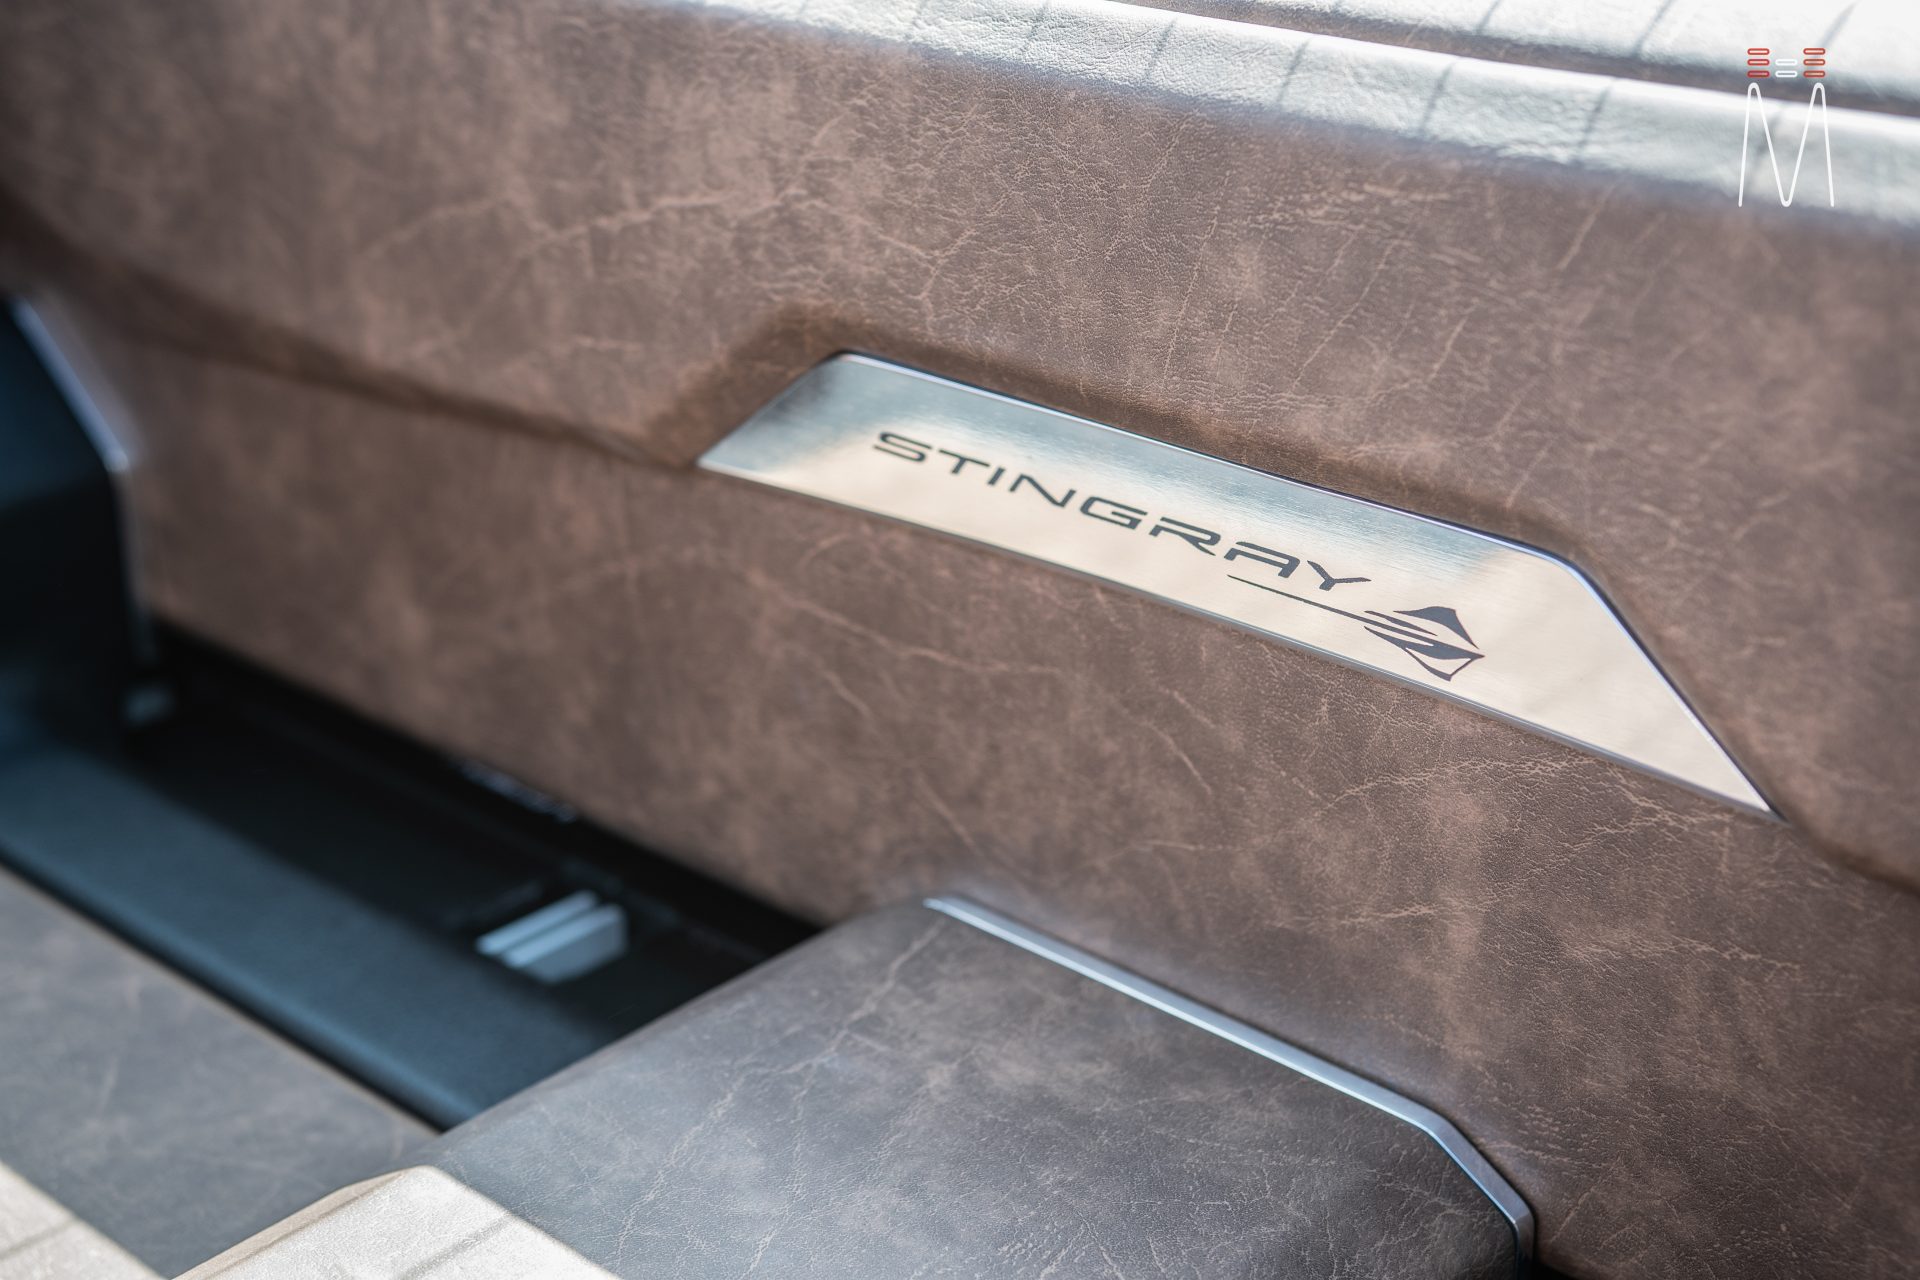
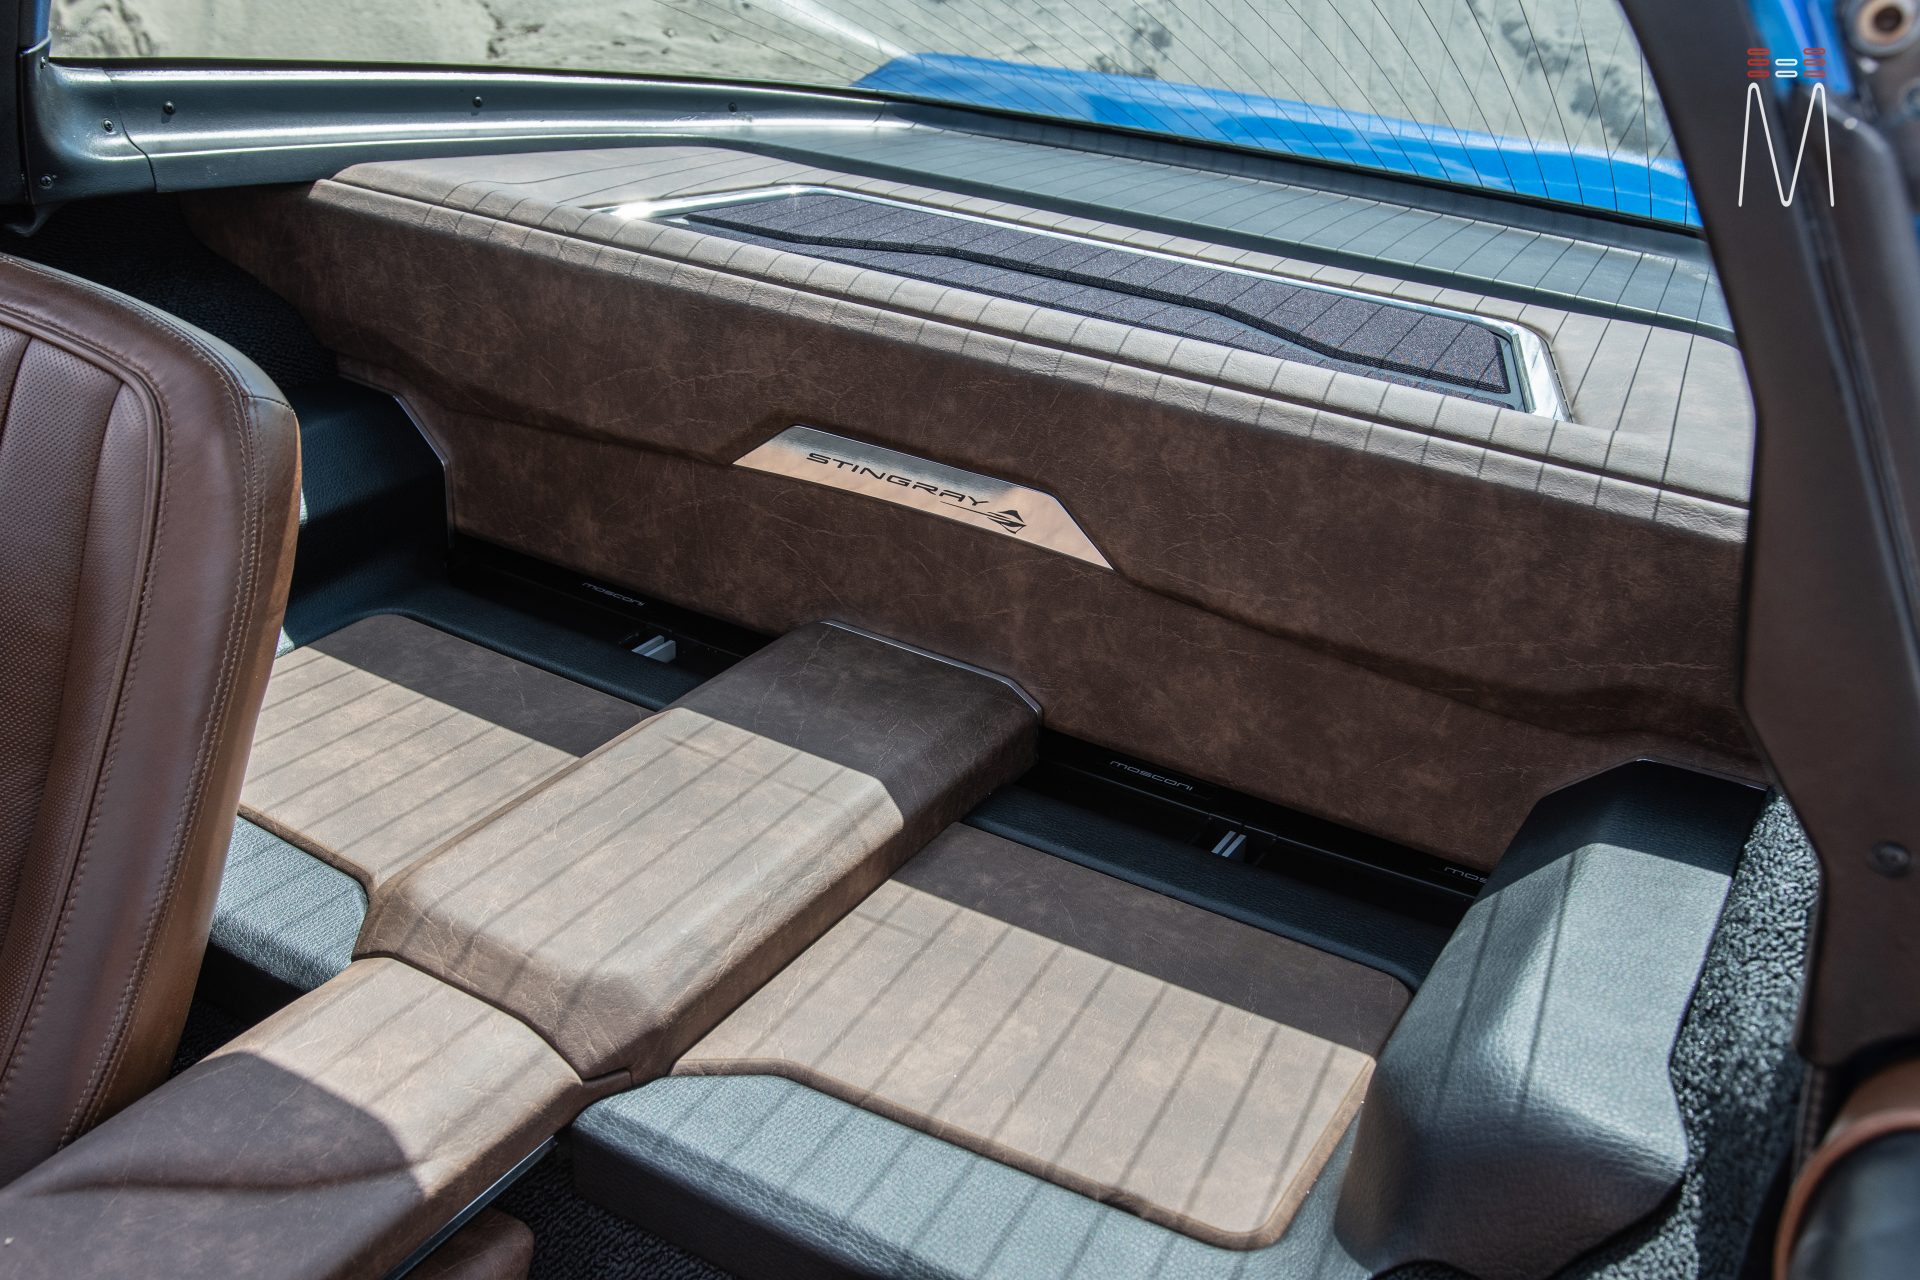
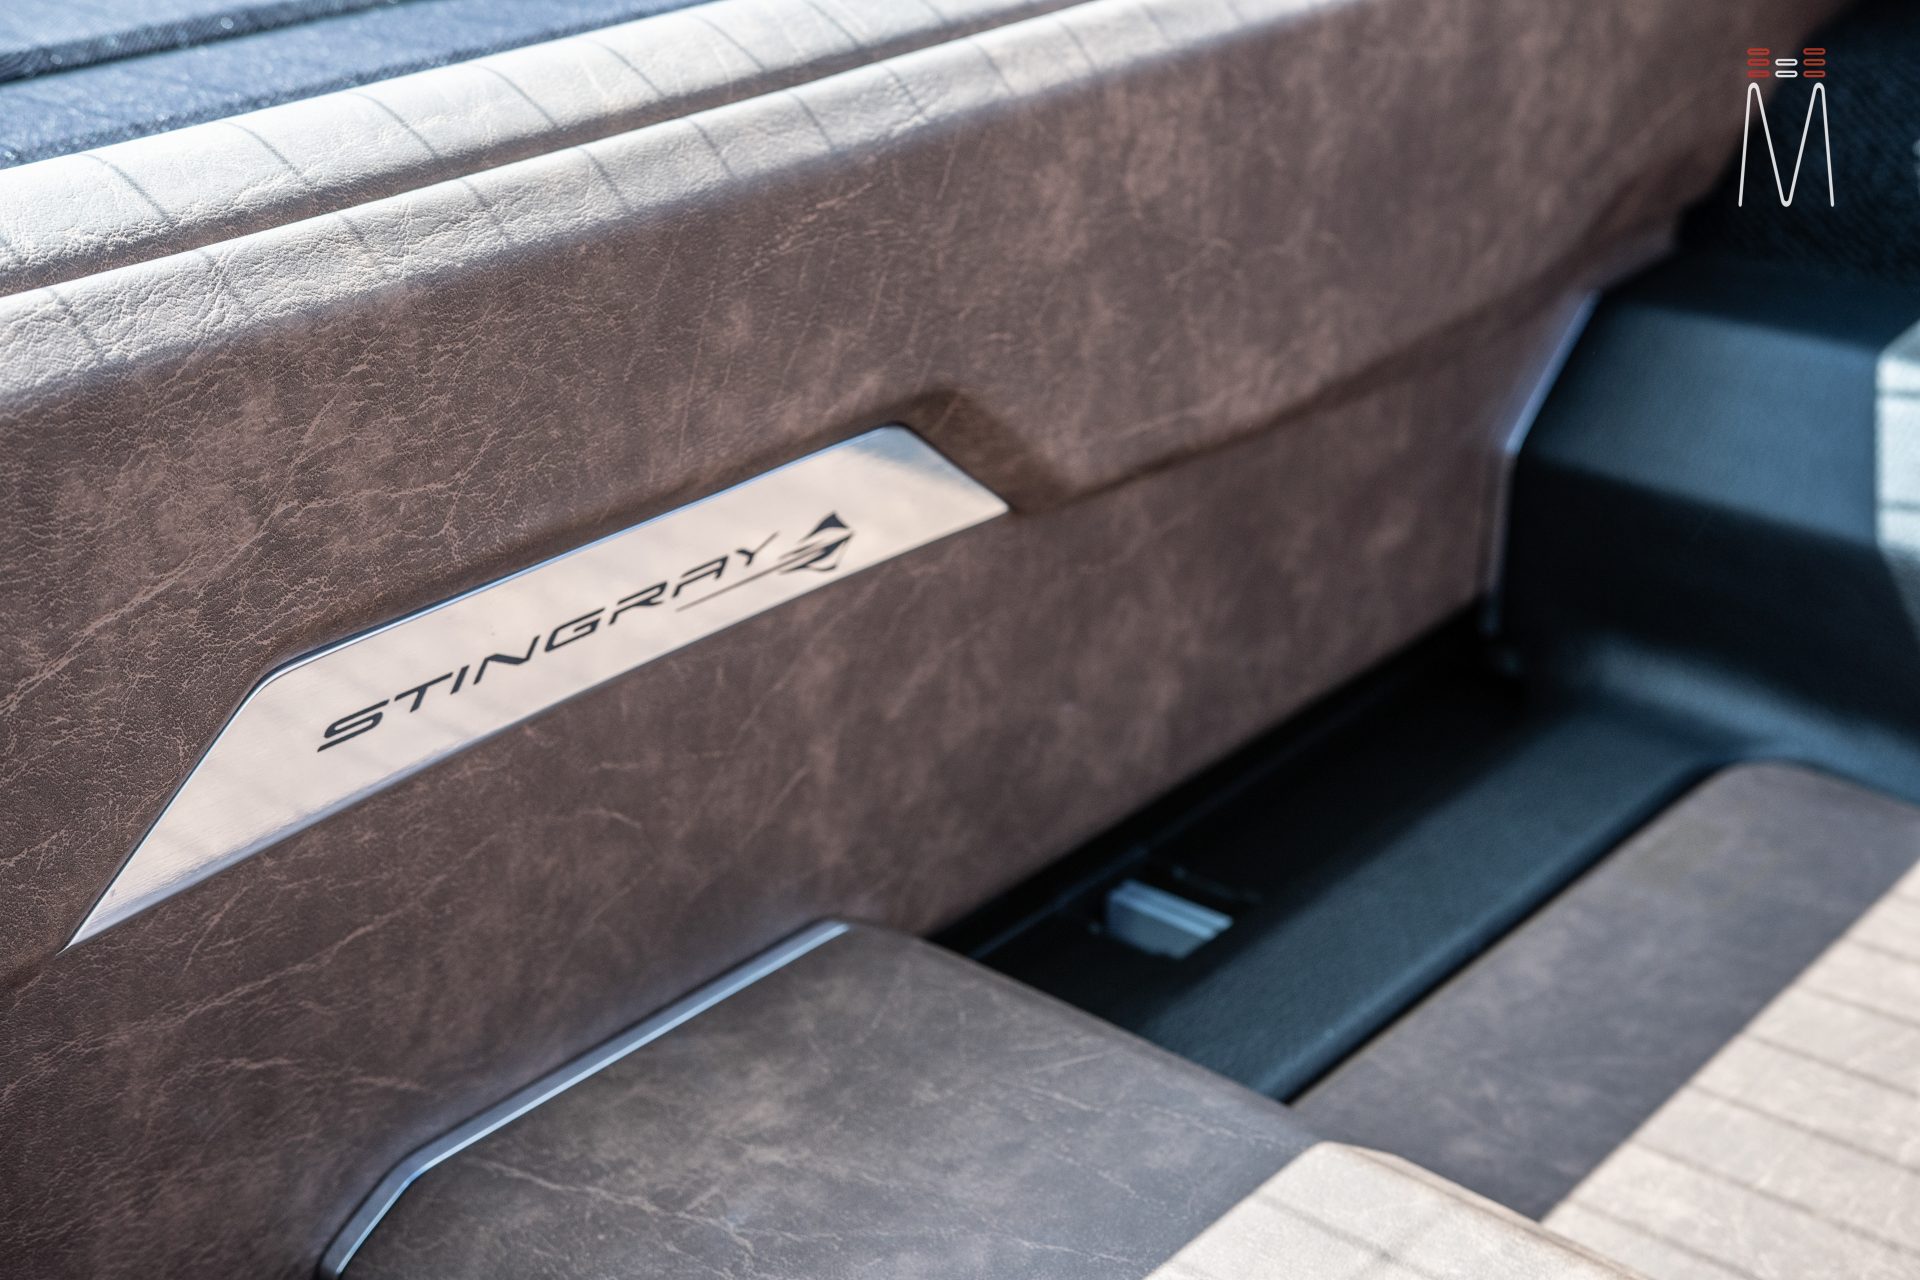
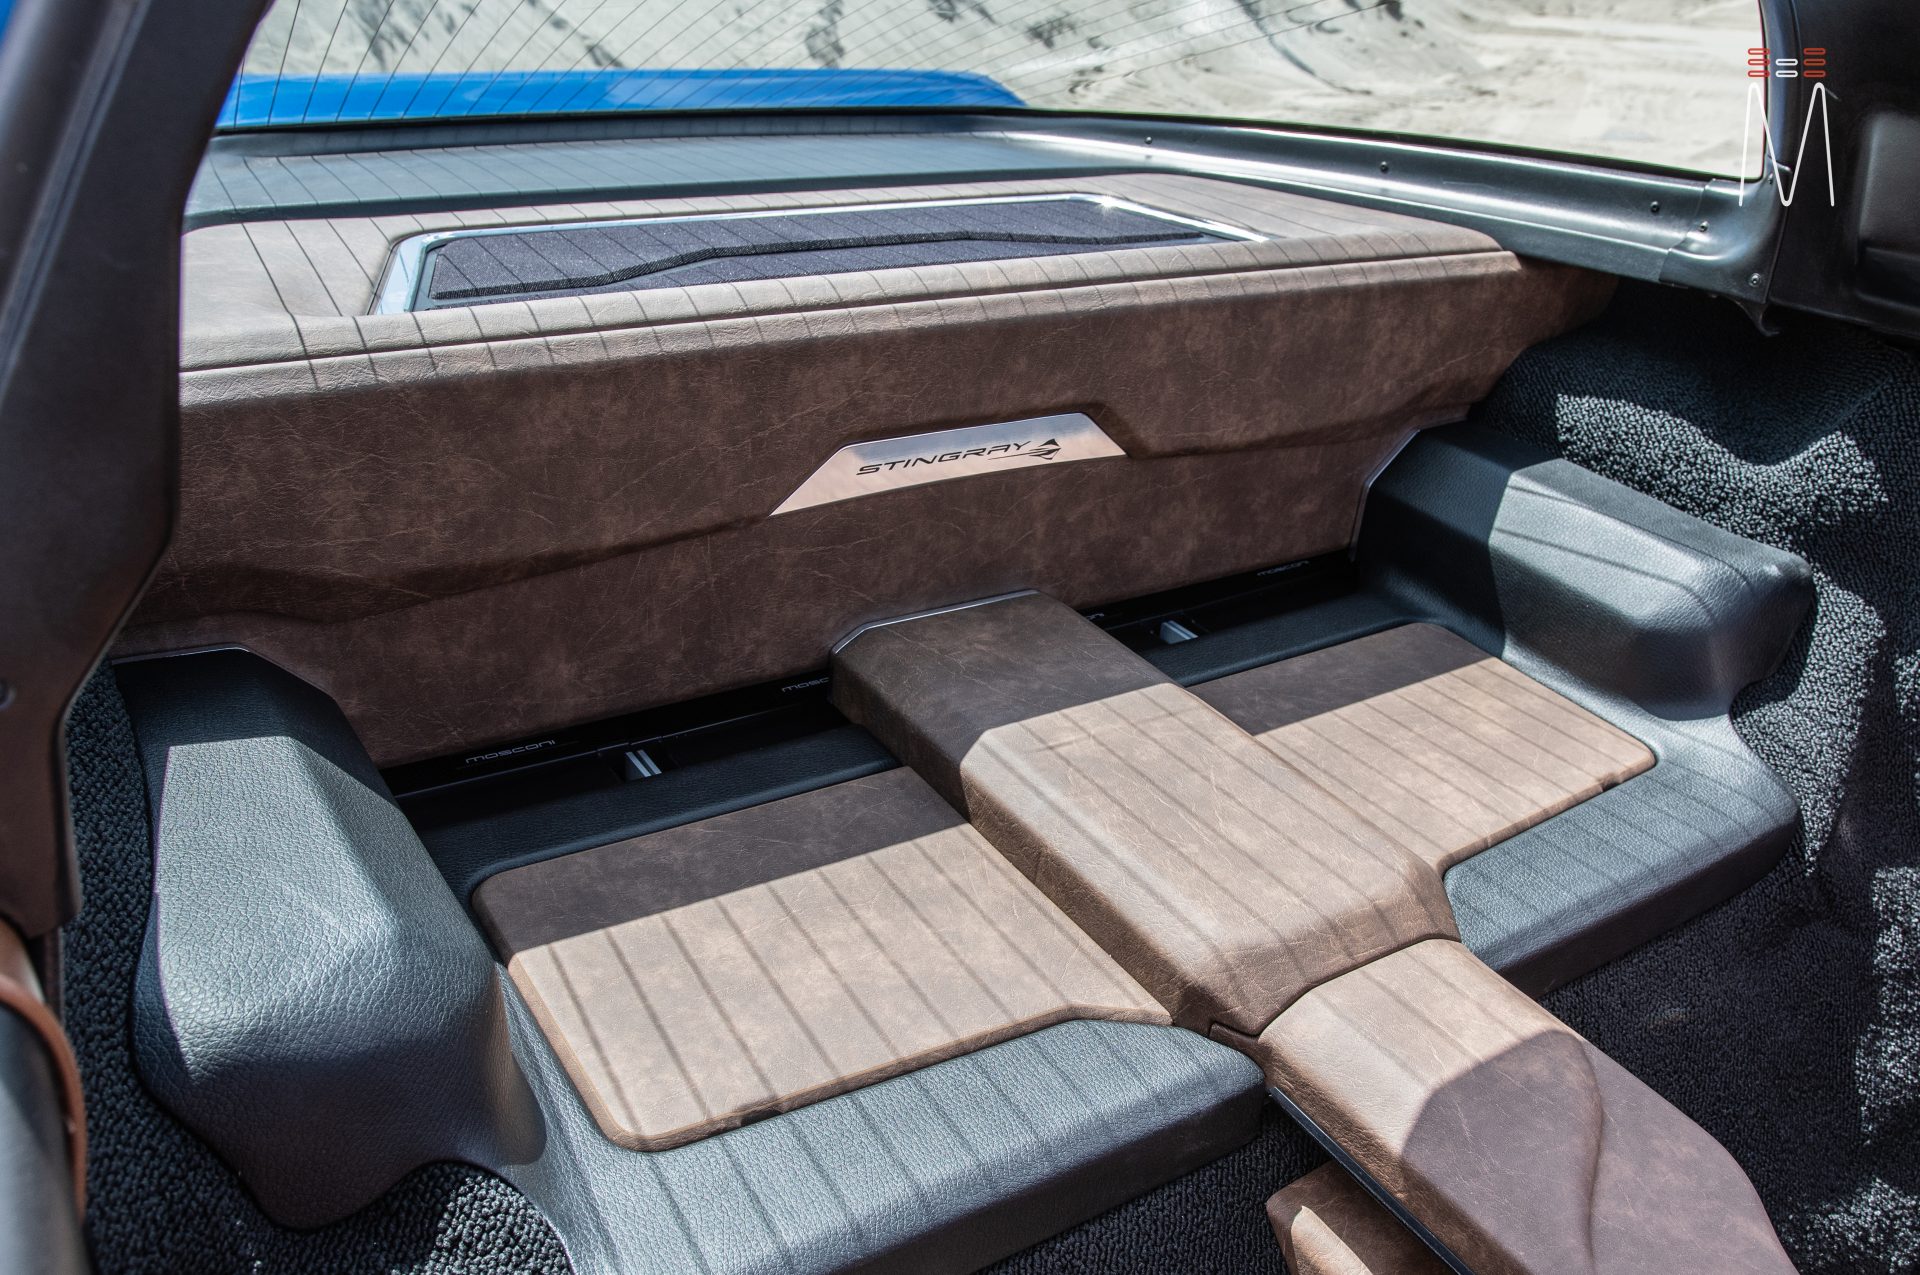
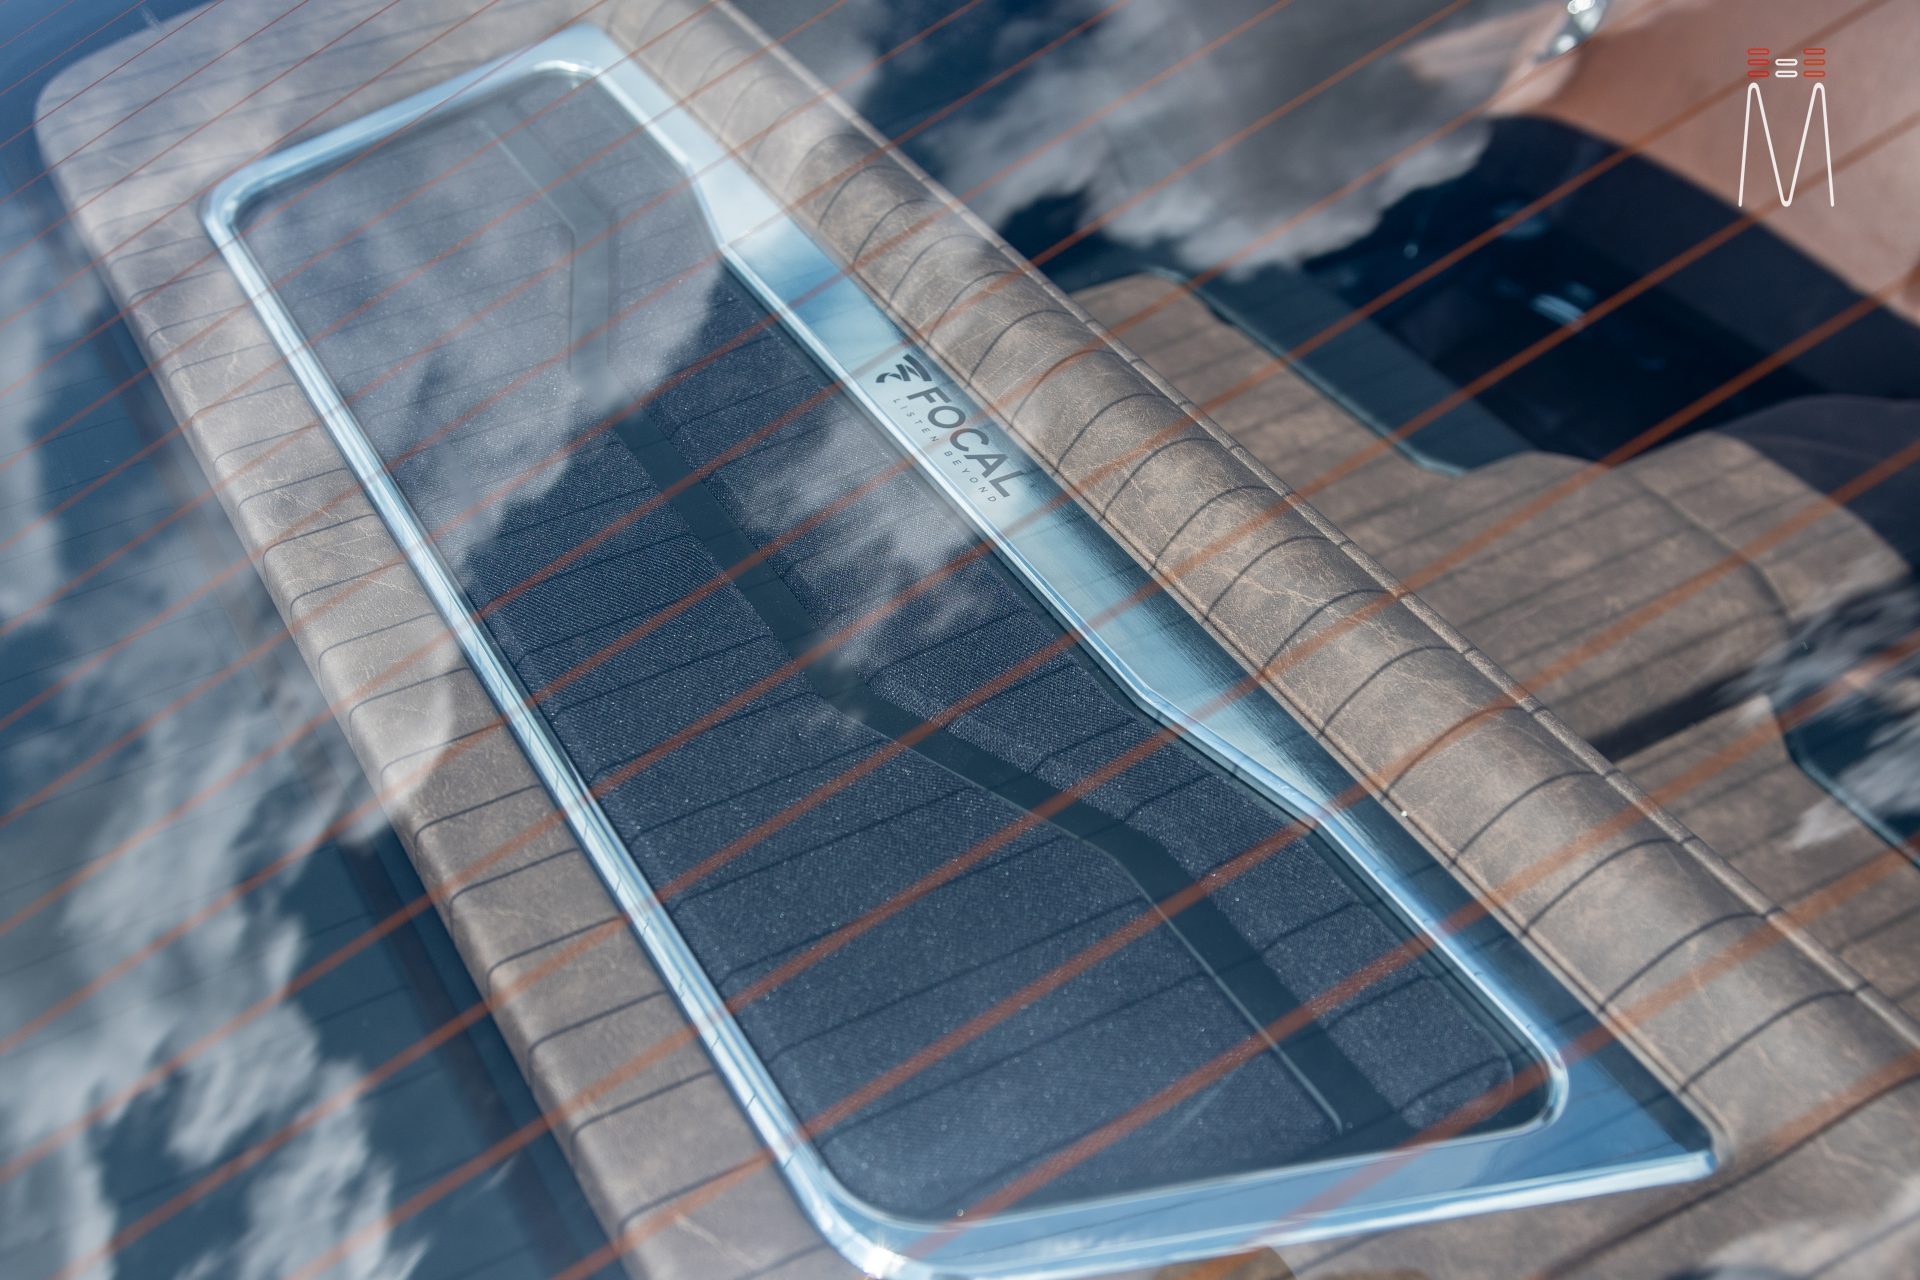
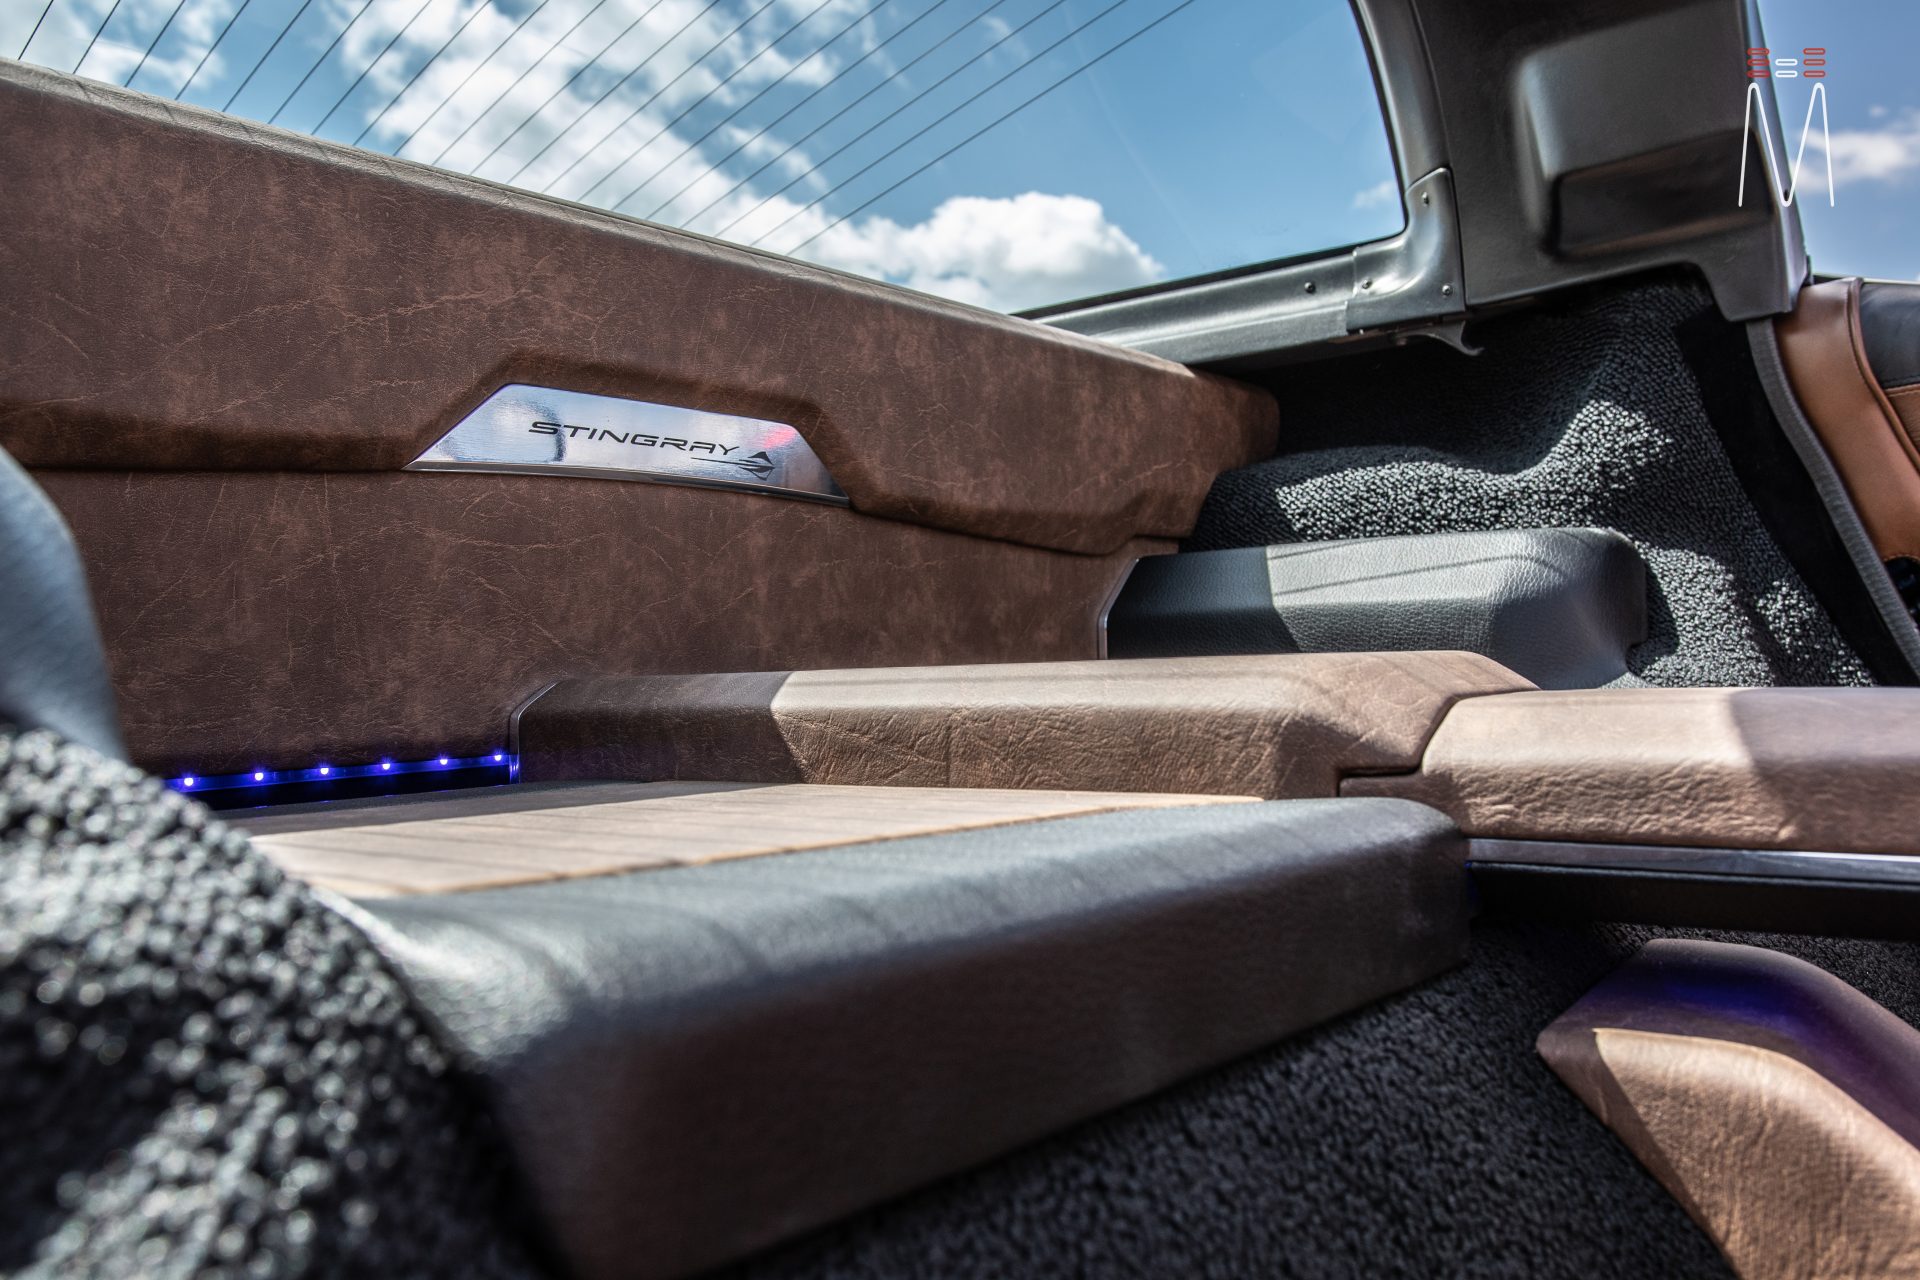
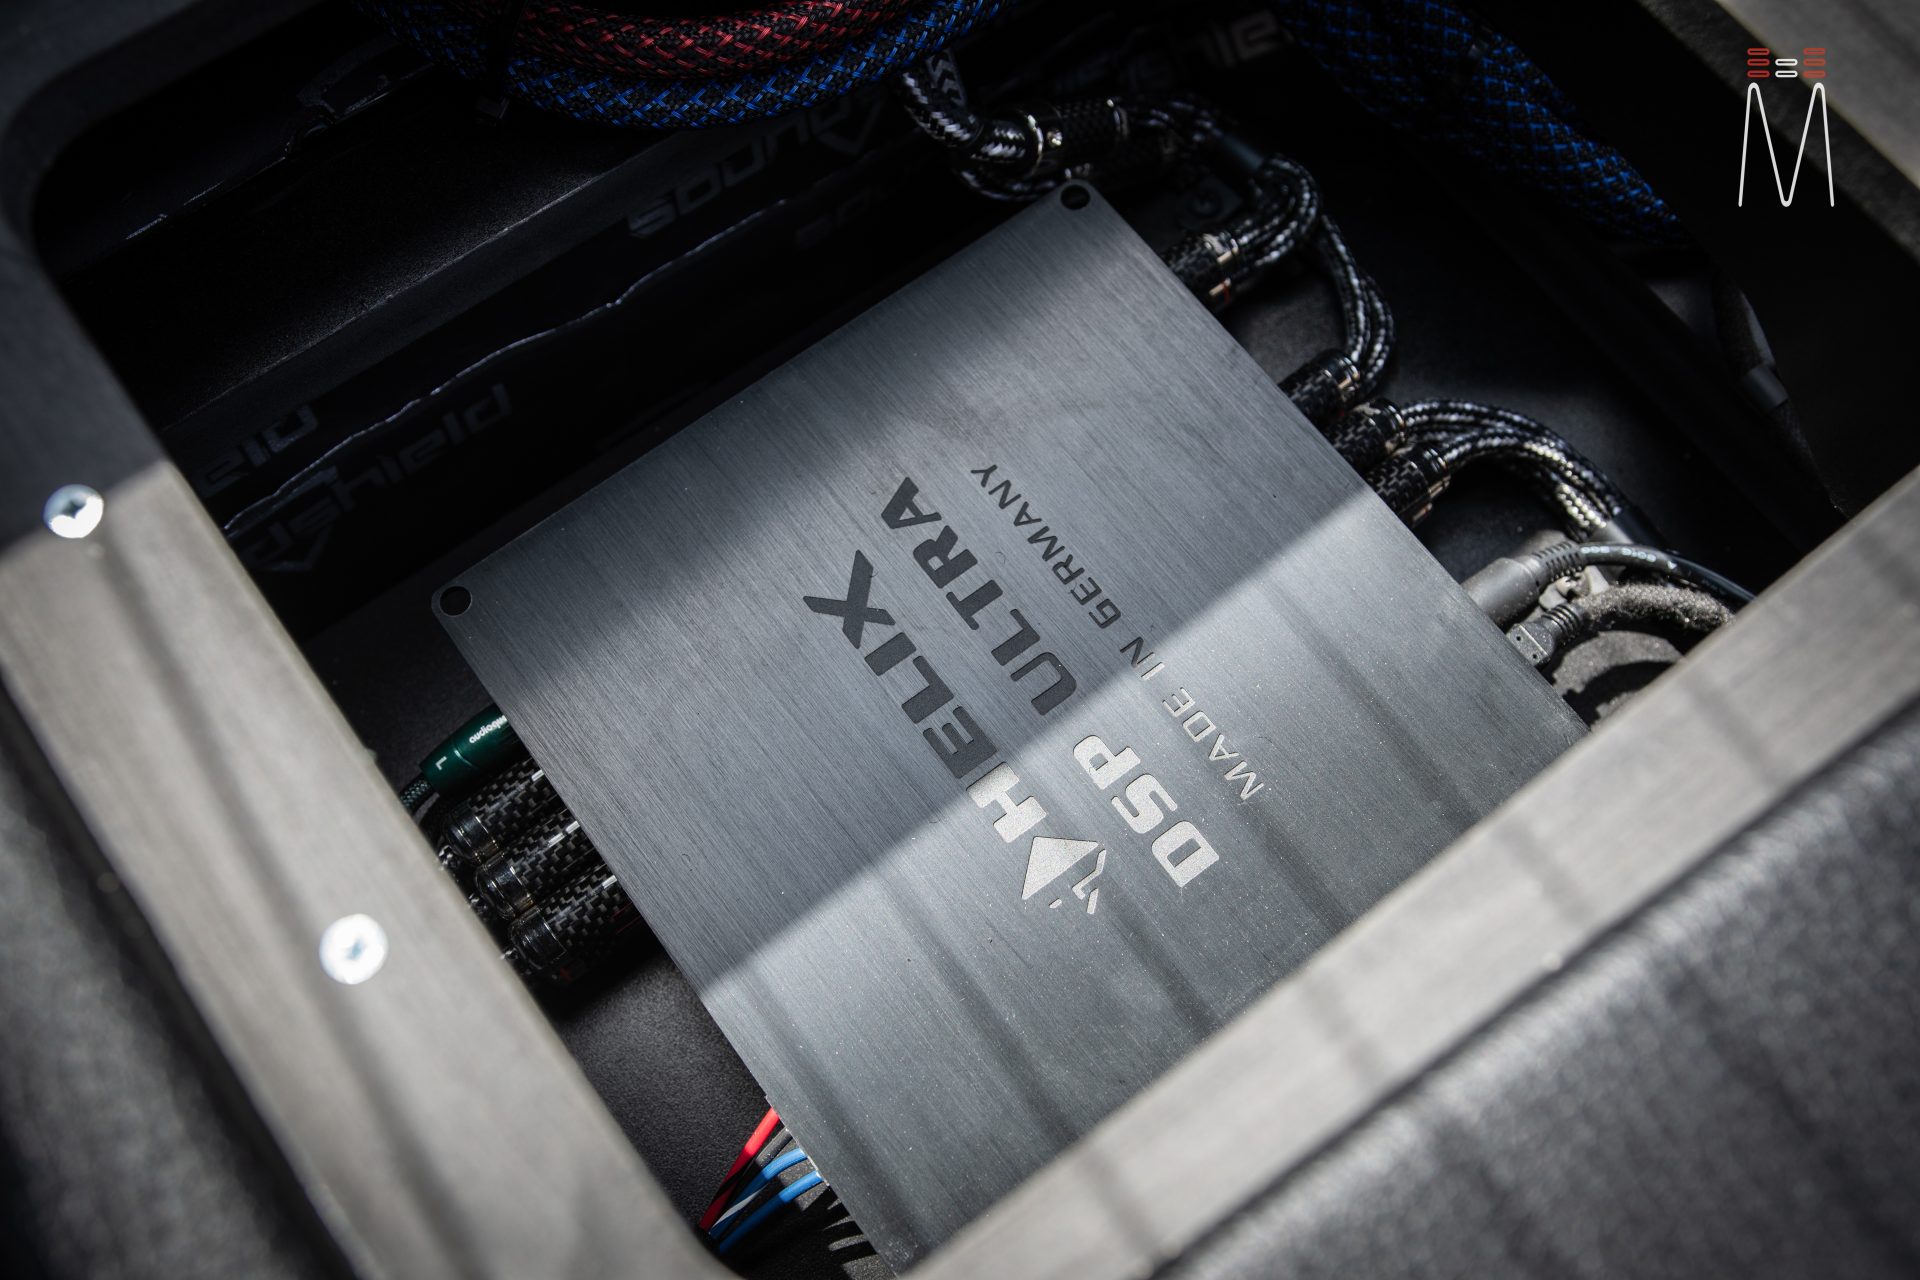
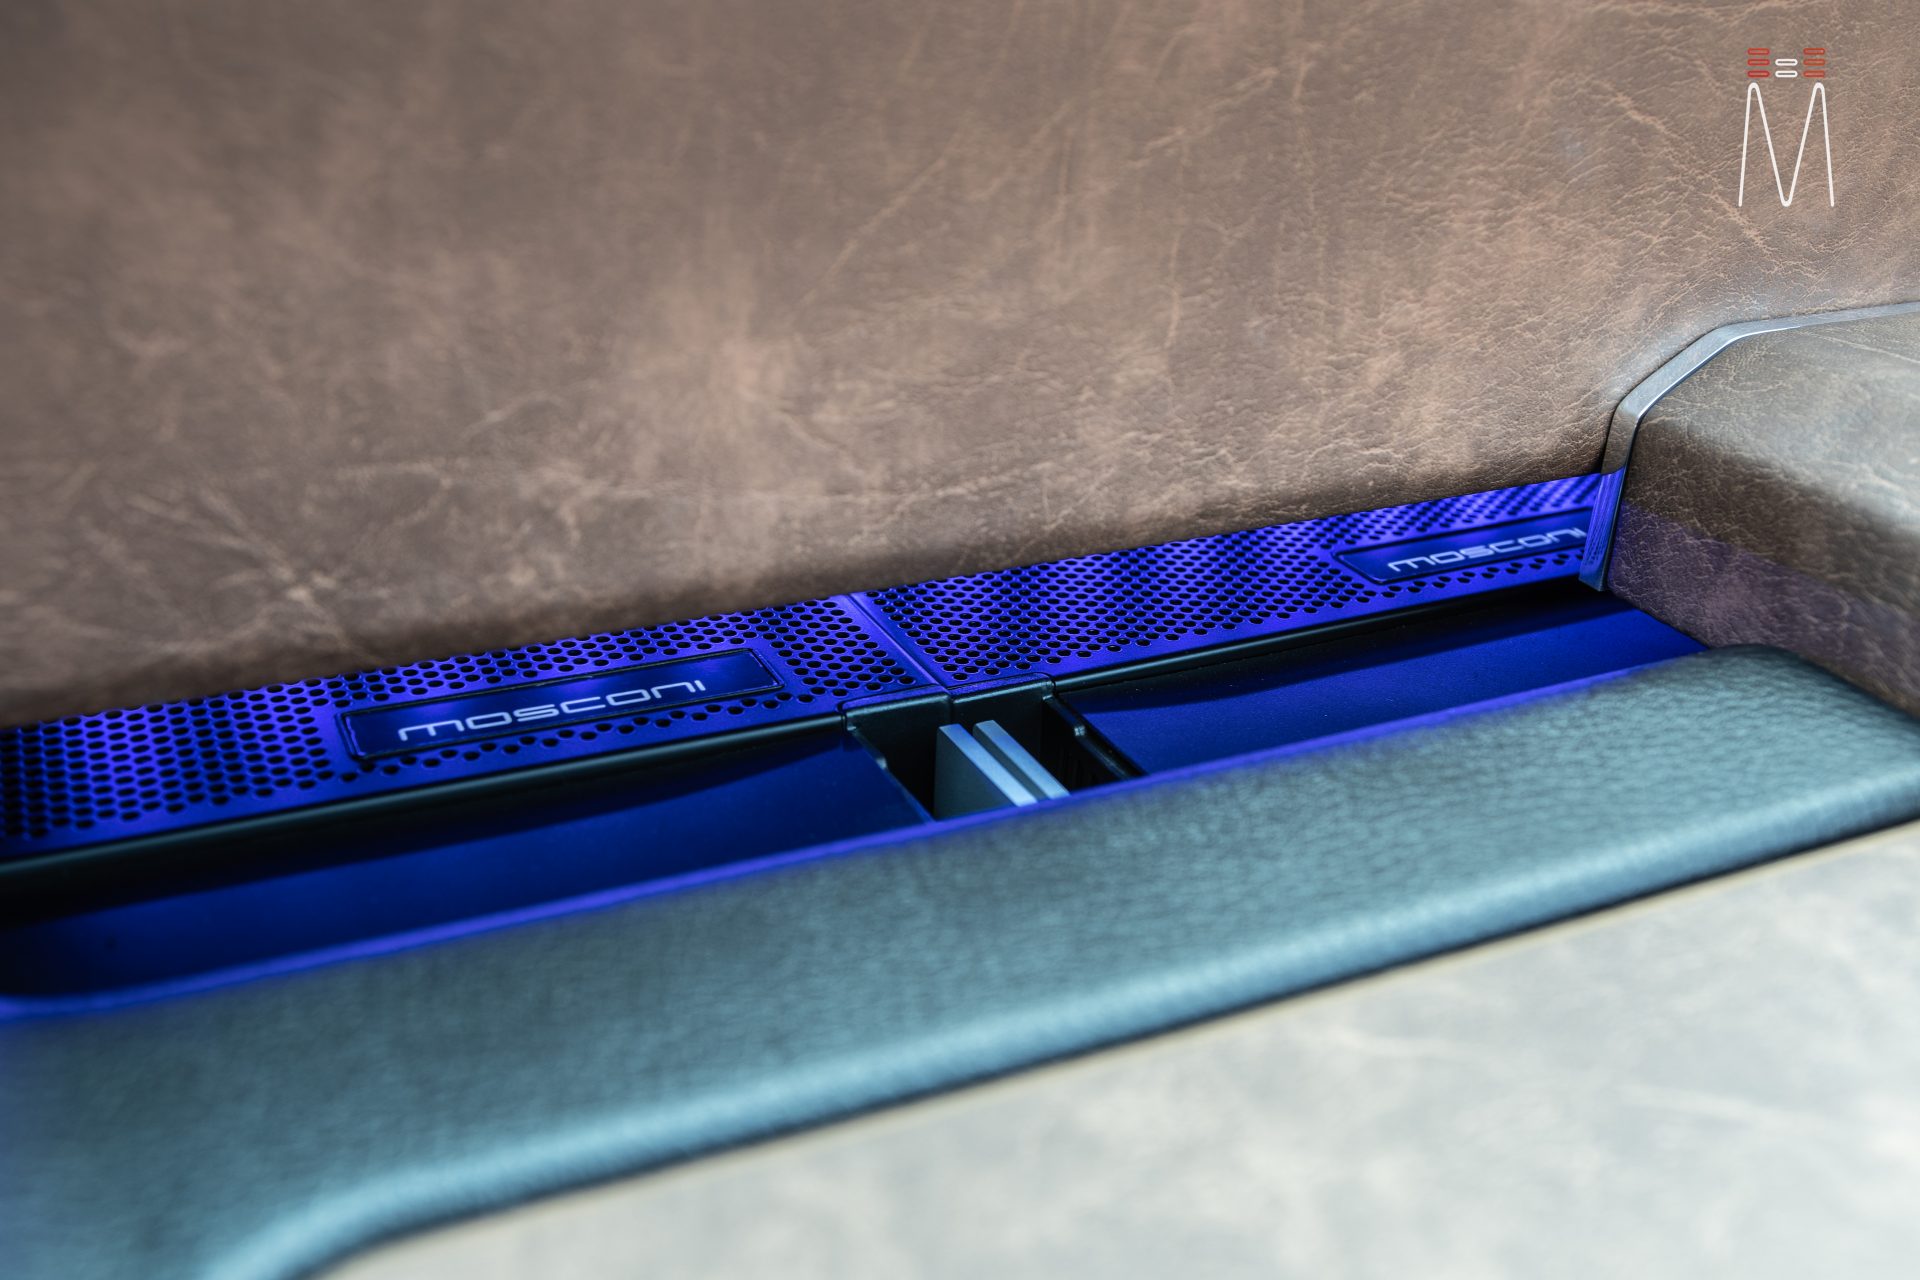
The cargo area of the trunk was quite a challenge. We had to fit two Focal Utopia 10” subwoofers, 4 Mosconi Pro amplifiers, Power XS Battery, Power XS power supply and charger, Helix DSP Ultra, fusing and distribution. Luckily as we were laying out the product, the (4) Mosconi Pro amplifiers fit perfectly side by side between the wheel wells with not a millimeter to spare. The subwoofer enclosure was then created and made to hover over the amplifiers. This allows us to maximize space while giving the amplifiers enough space to vent while allowing access to the settings. Trim was create around the subwoofer enclosure to give it the appearance of a factory rear deck. Acrylic trim was made and wrapped in grille cloth to vent the subwoofer. A layer of lit acrylic was used to illuminate the grille cloth. A final piece of 1/2” aluminum was hand routed and polished to compliment the interior. “Focal” was laser etched into the aluminum to finish it off. The front of the enclosure features another piece of aluminum with the “Stingray” branding. The enclosure was finished off in weather leather to compliment the other interior pieces.
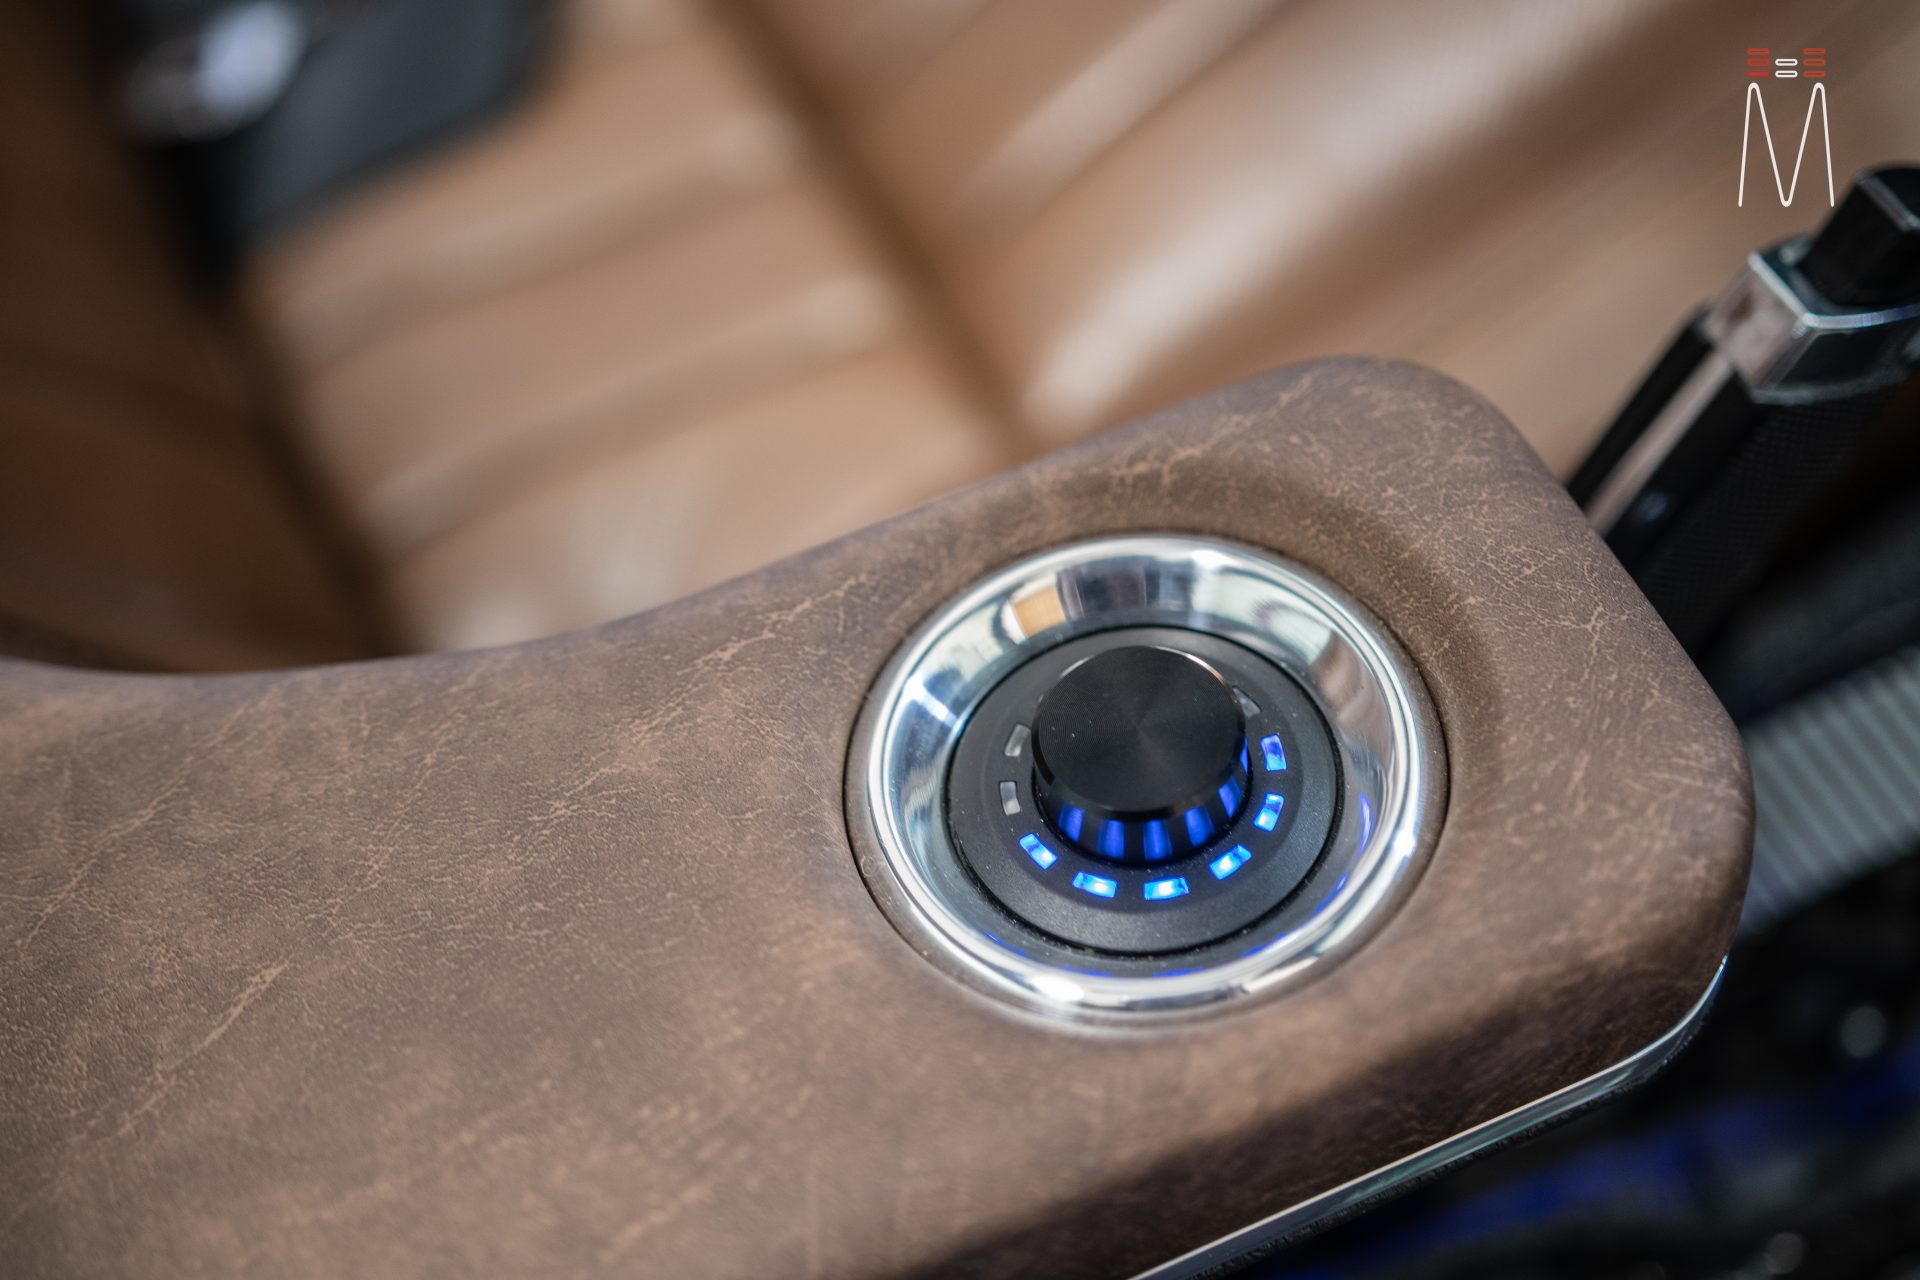
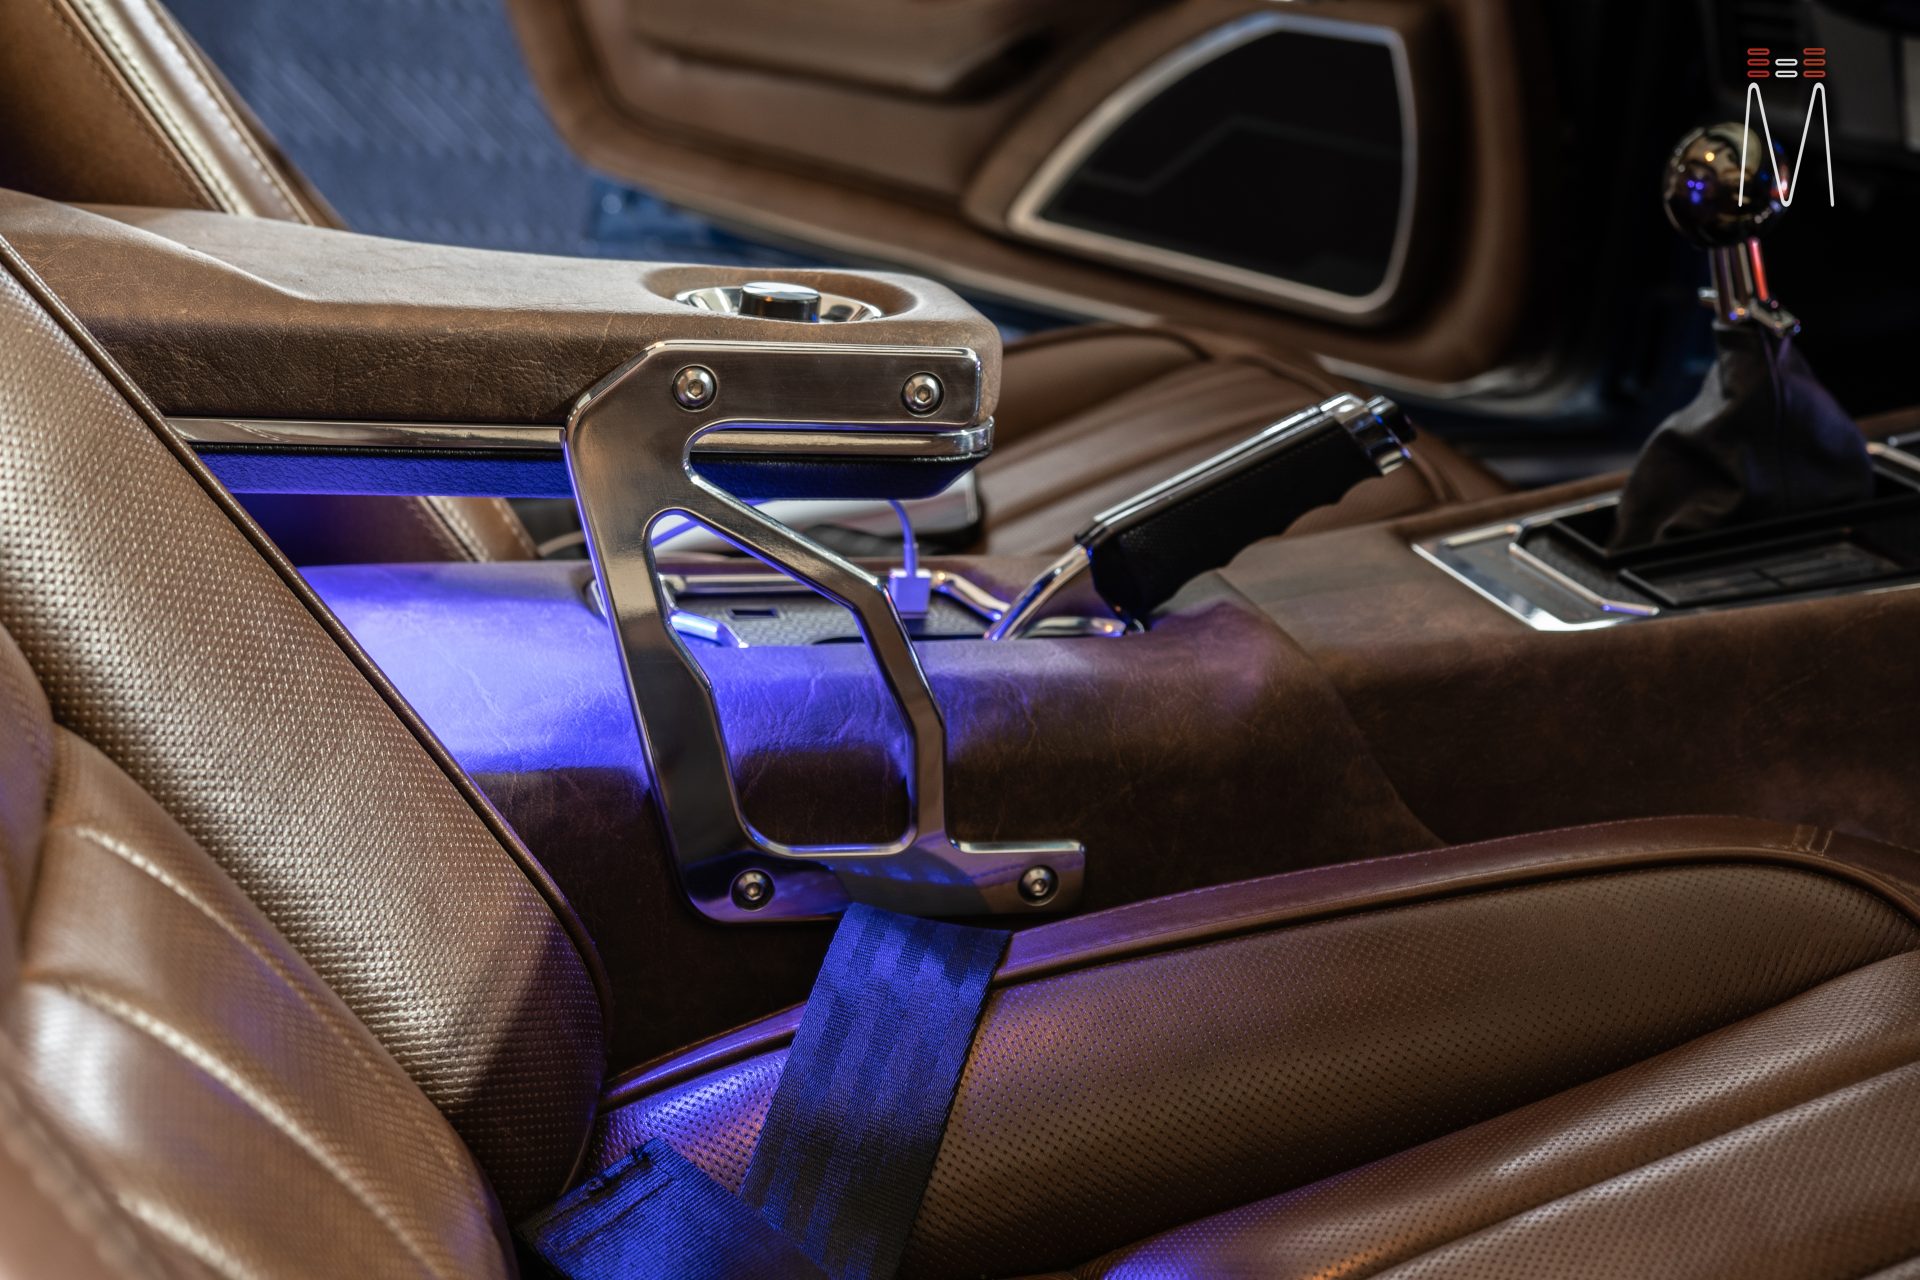
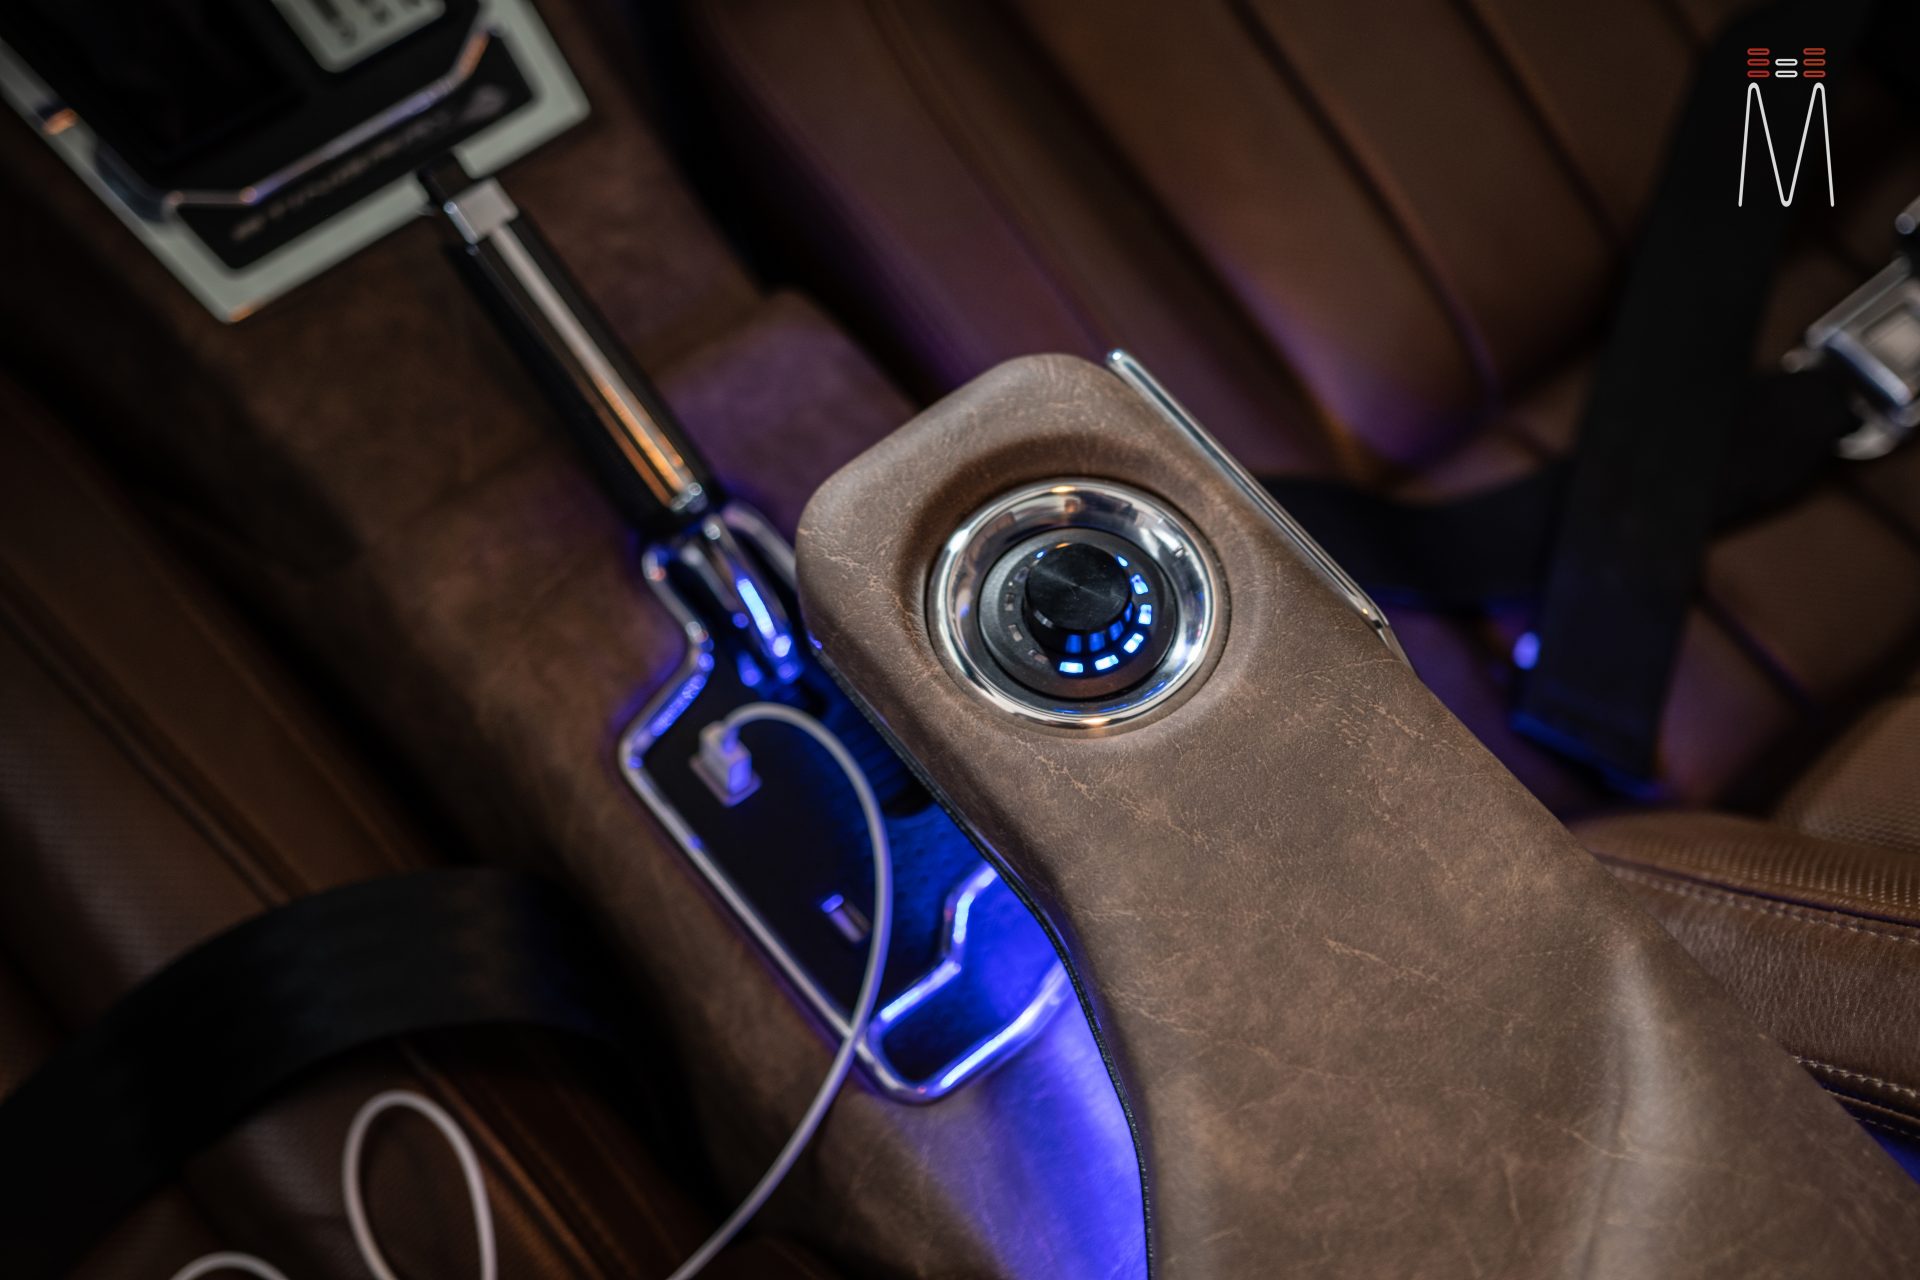
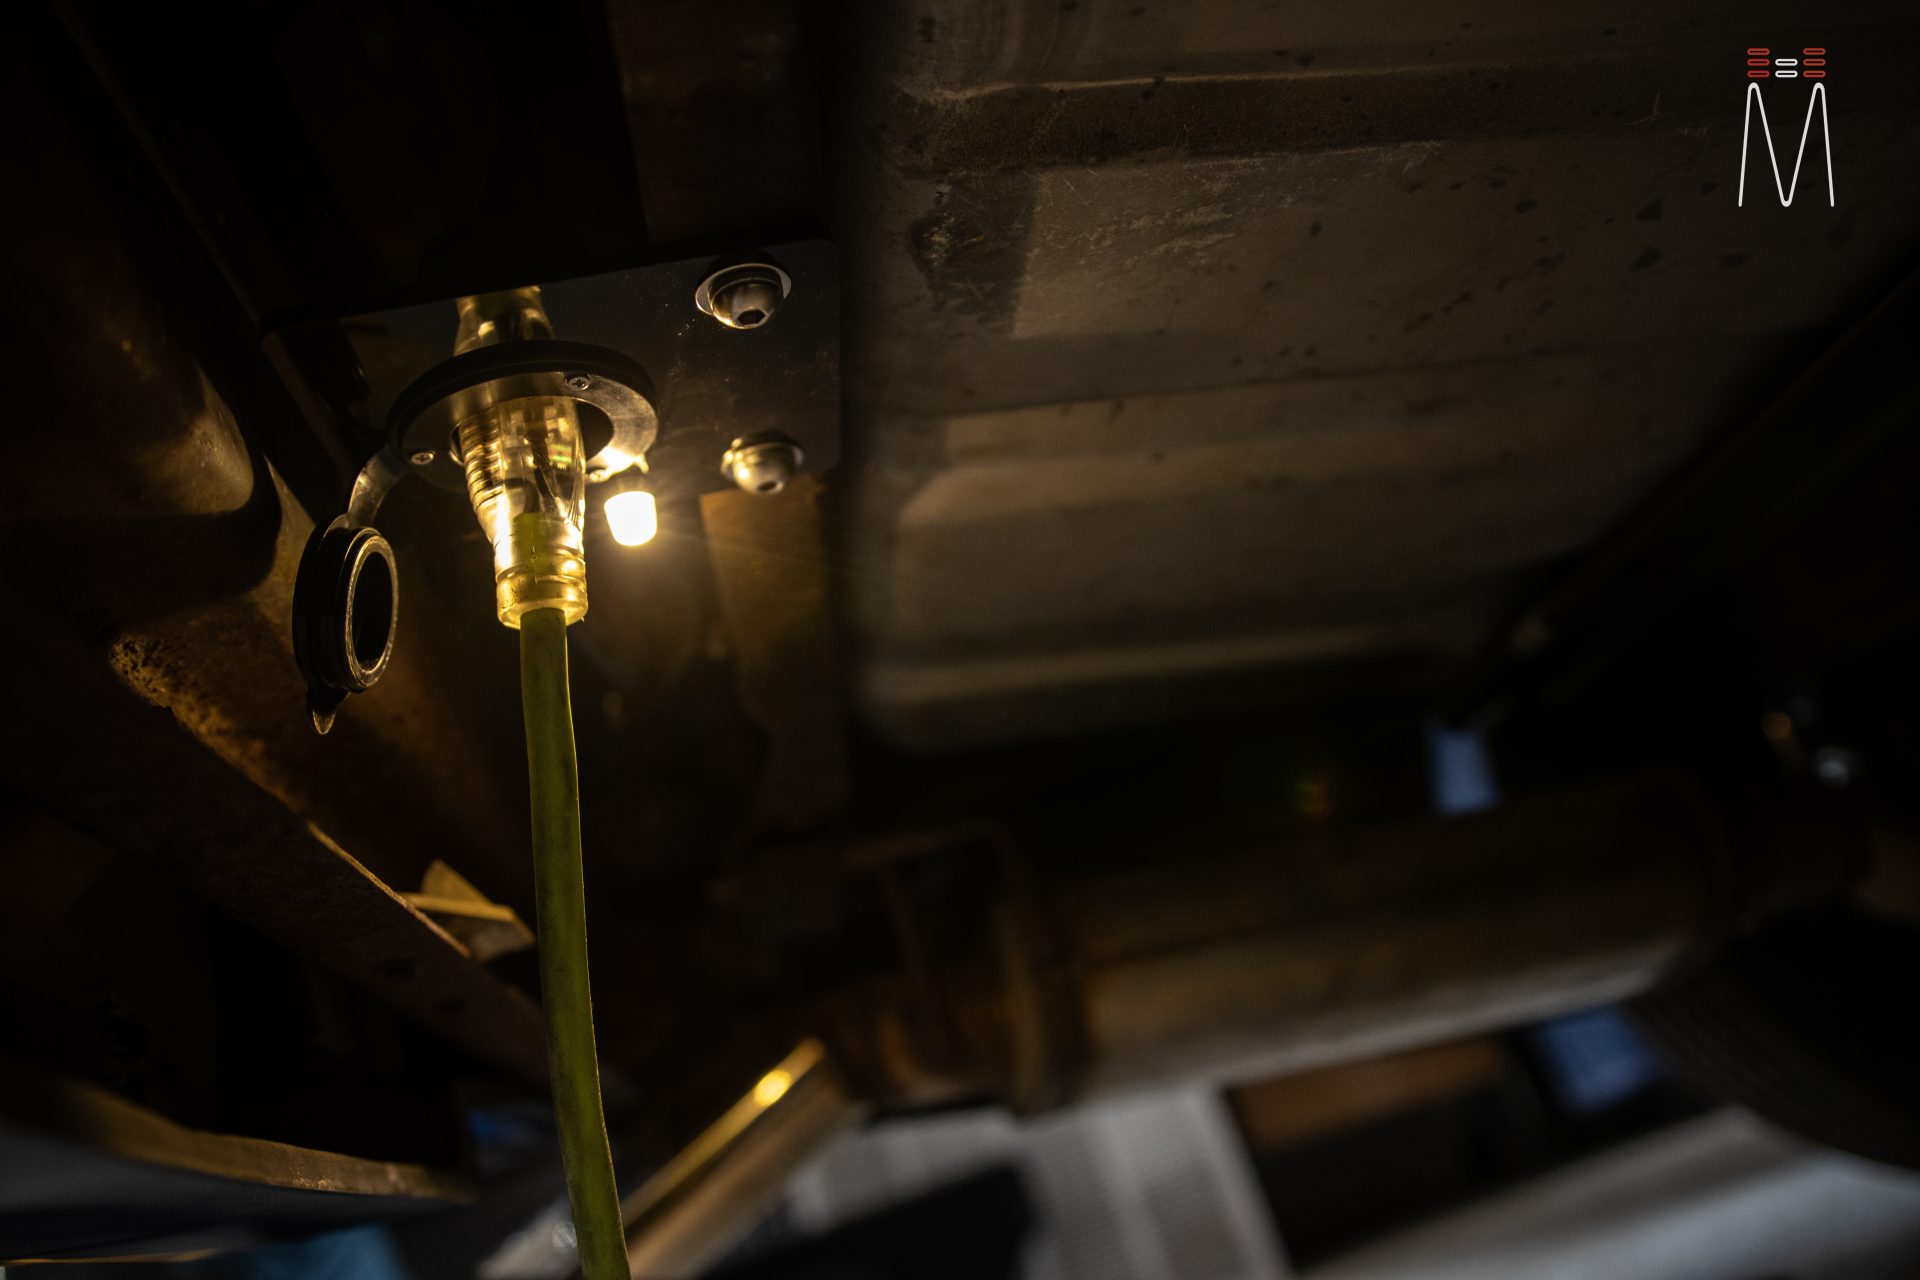
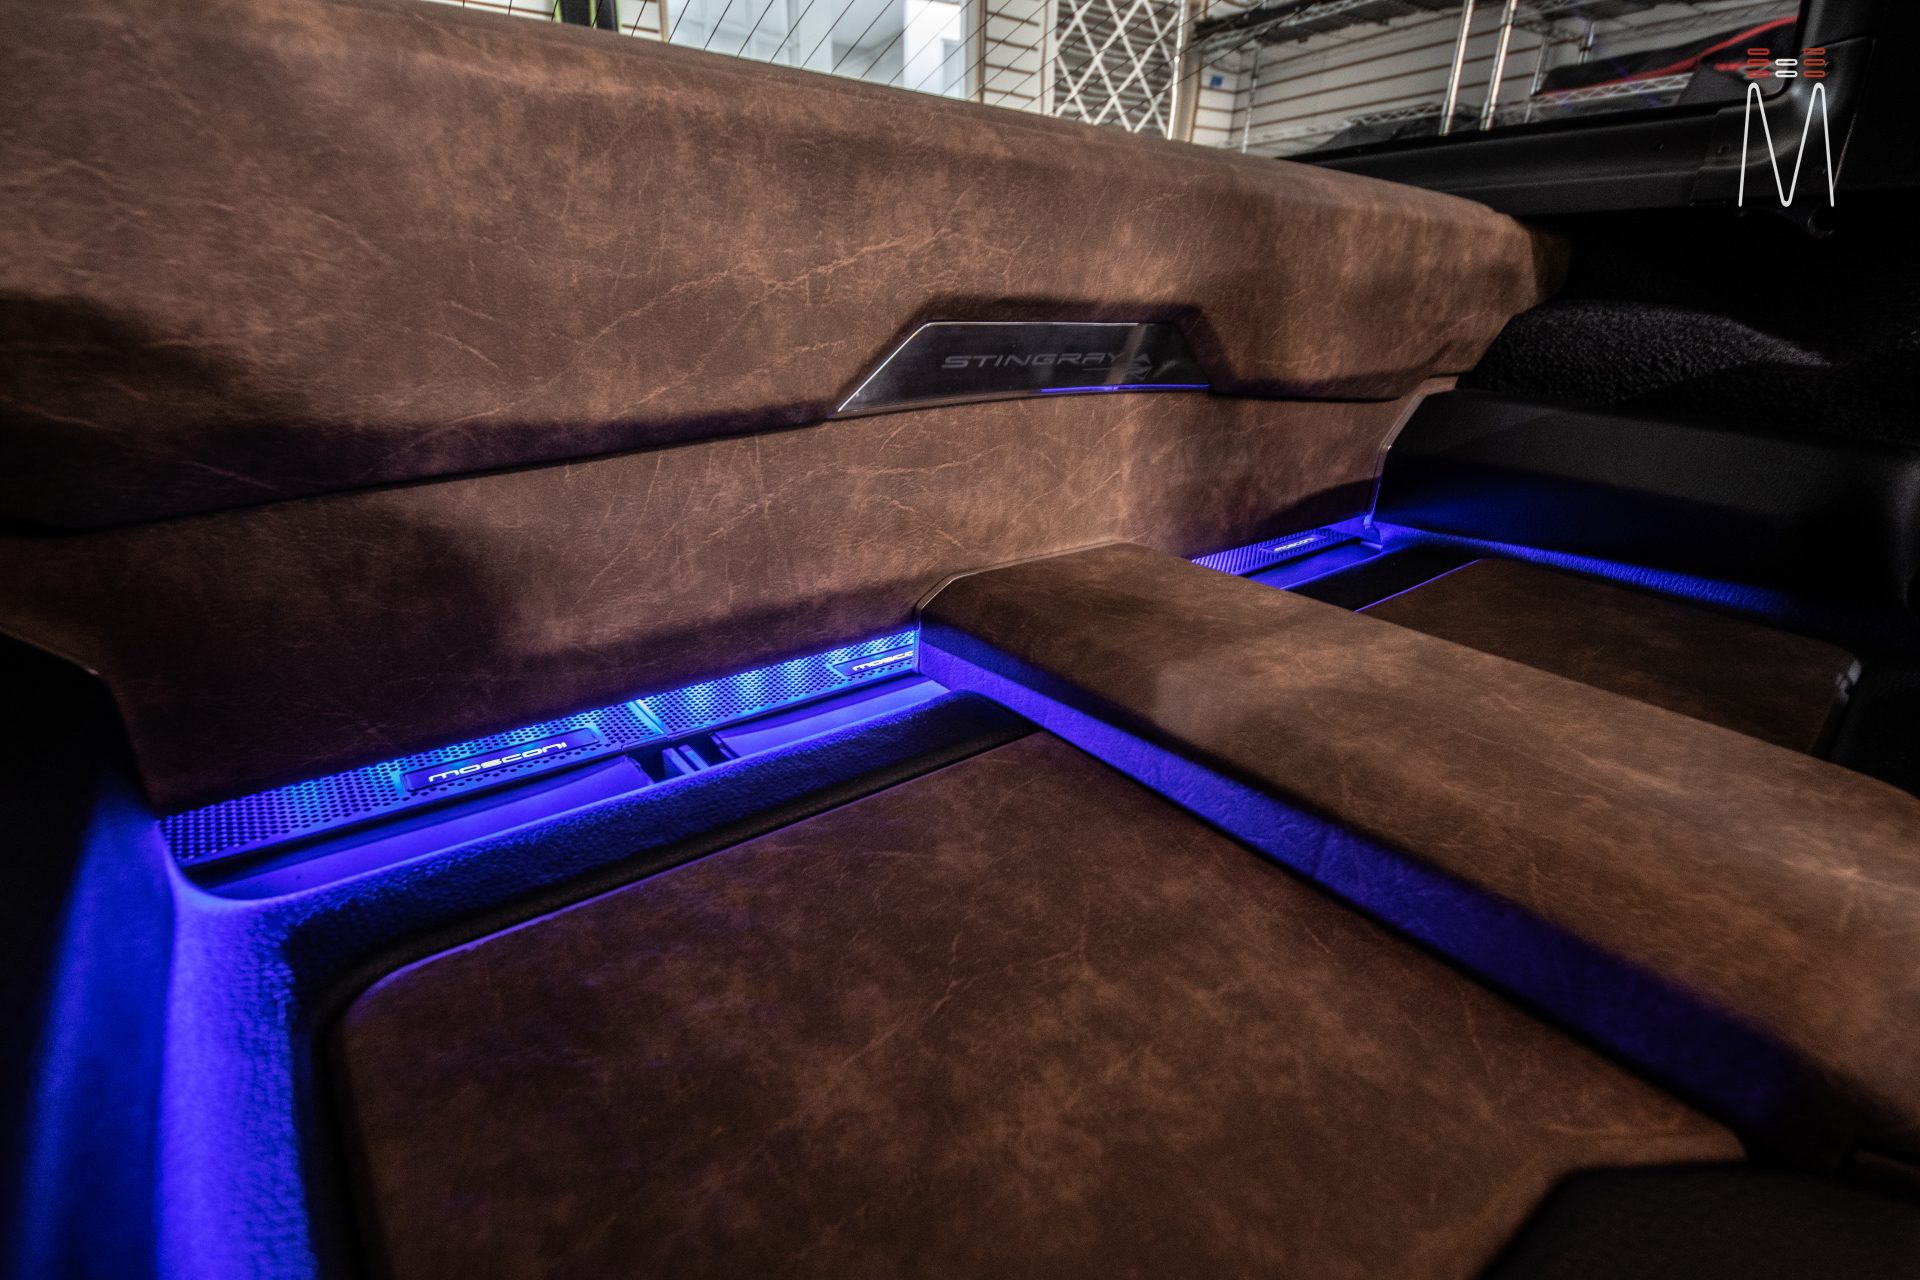
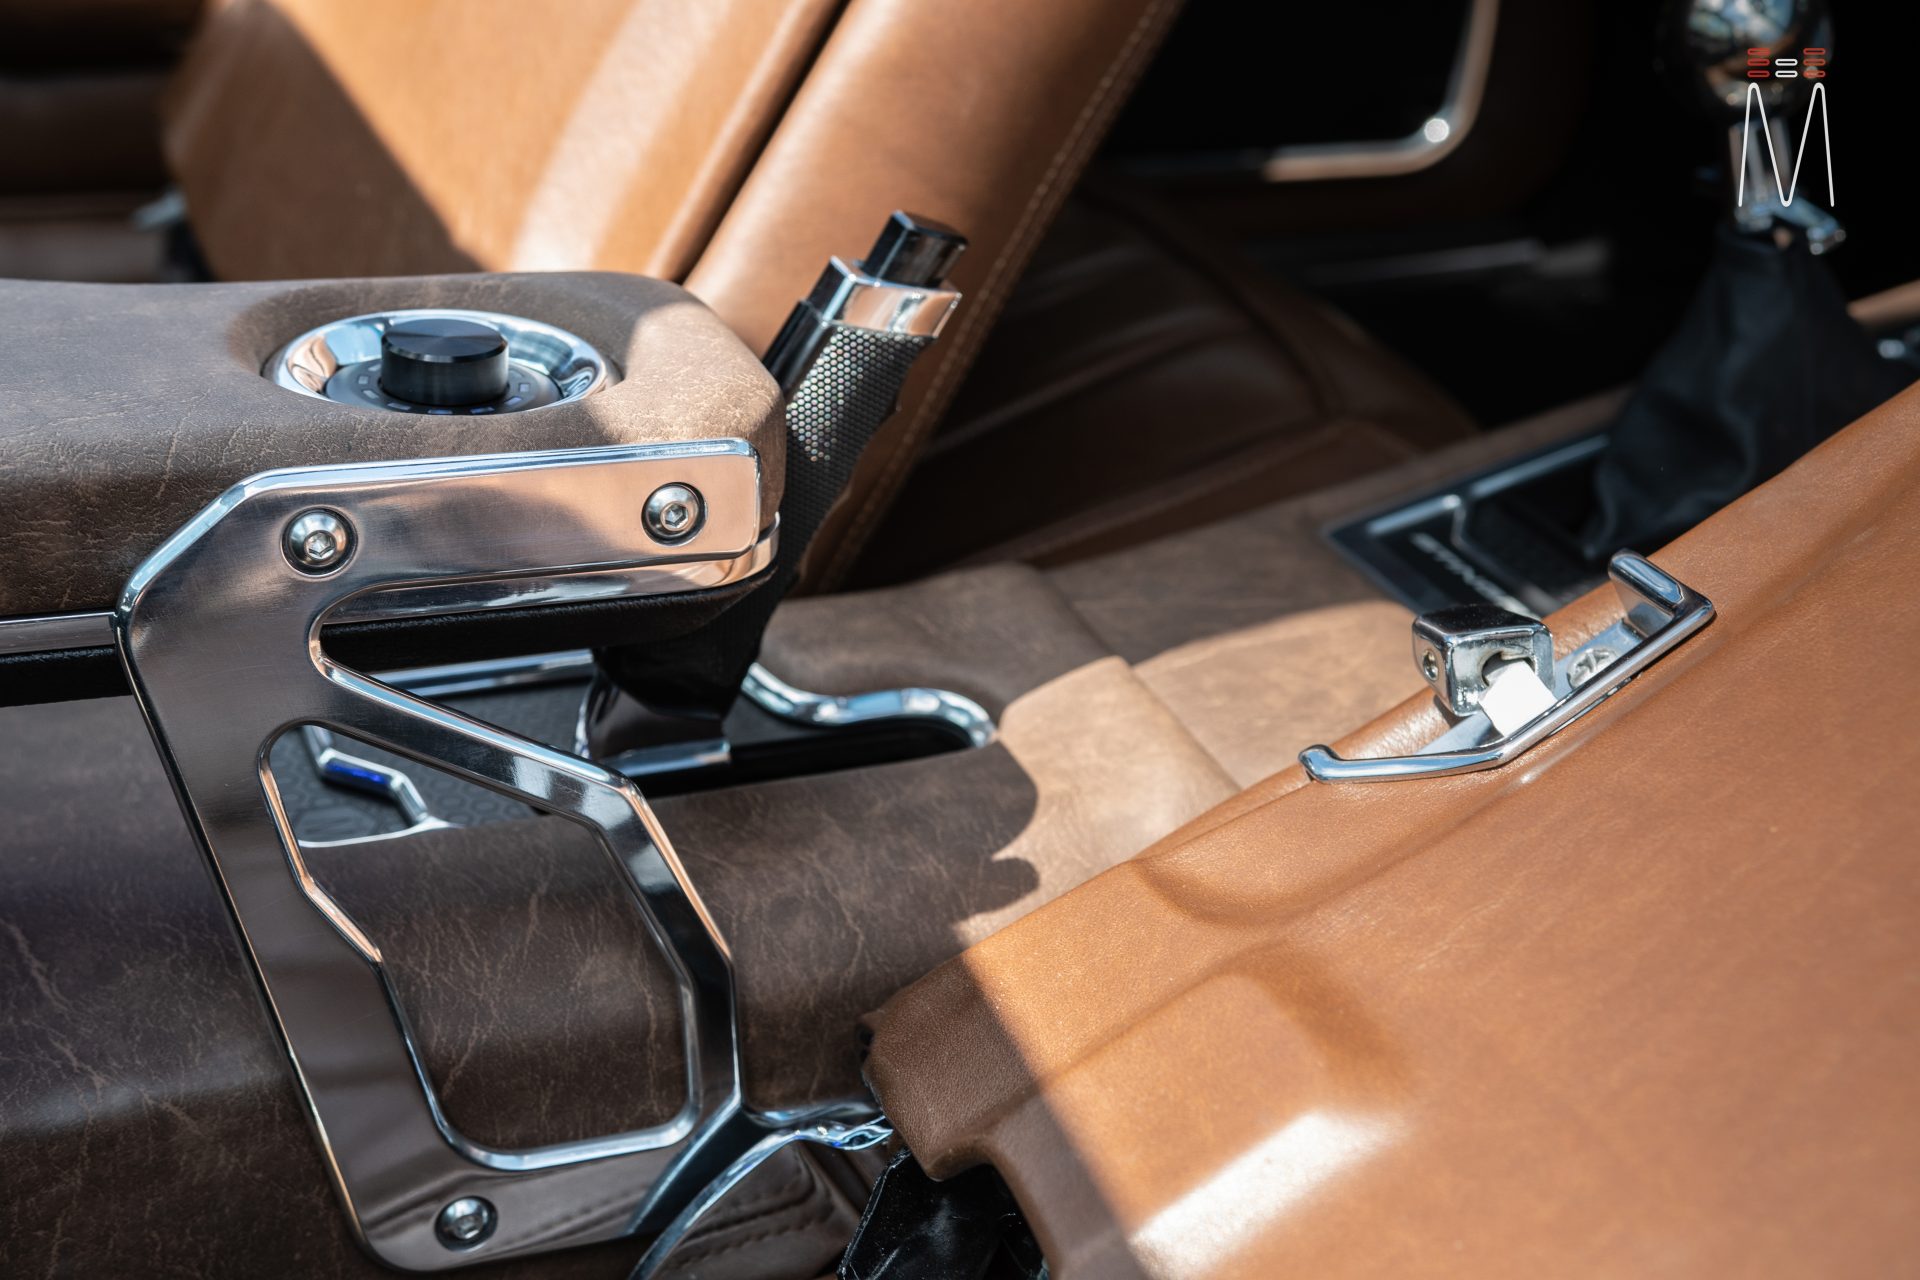
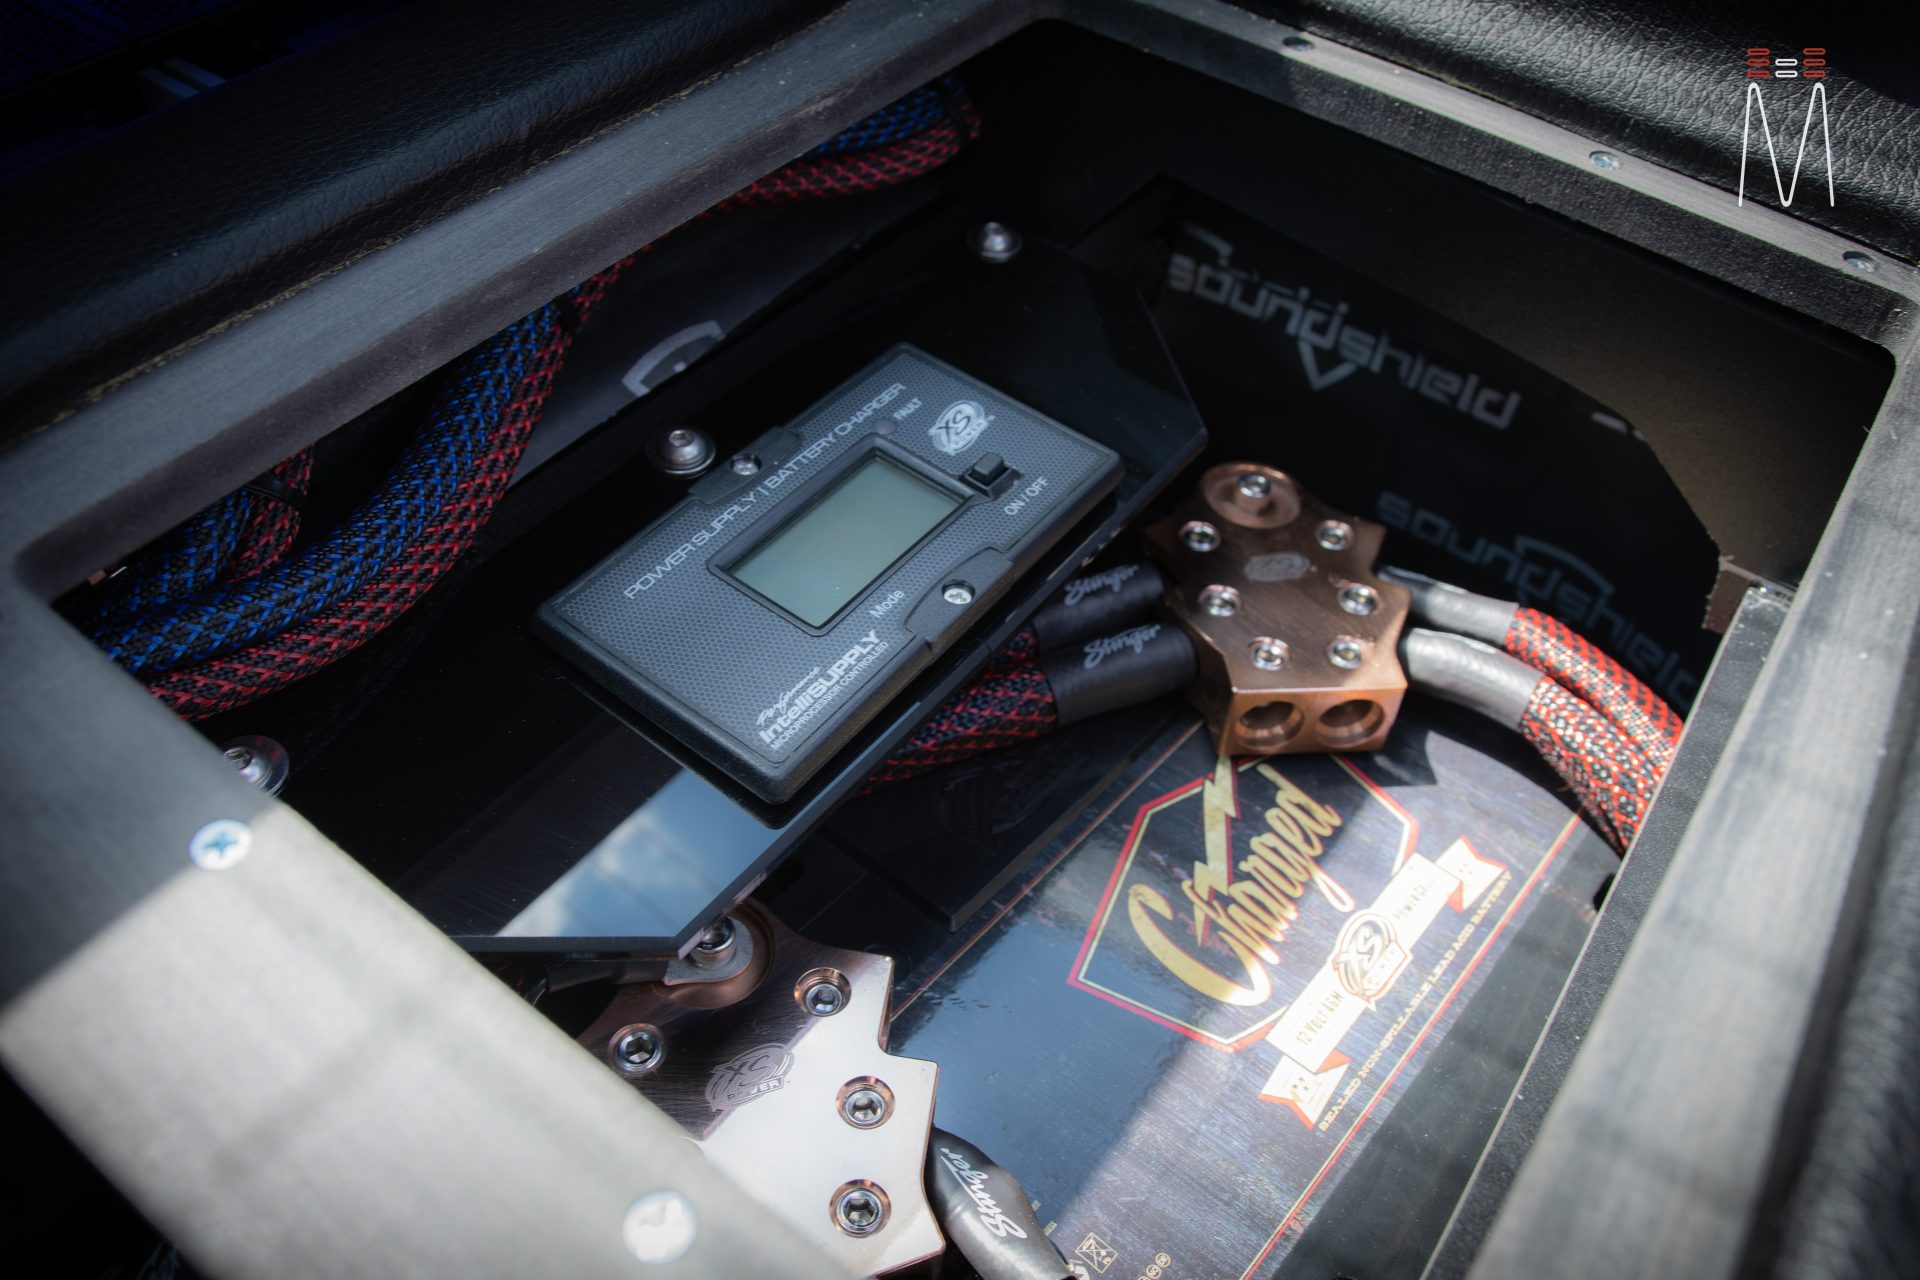
The battery was replaced with a Vintage XS Power AGM battery. We installed a power supply / trickle charge right in front of the battery. The power input was relocated to the outside rear of the vehicle so it can easily be plugged in while a cover is on the car when it is not being used. On the opposite side, a mount was made for our Helix DSP Ultra which is the brains behind the audio system. The center features all of our fusing and distribution for the vehicle electronics and amplifiers. A cover was made to trim from the back seats all the way up to the amplifiers. Each component has a removable insert that resides above it. That way you can easily access any of the components behind the seats. I had the idea from the start of the project to do a console / arm rest that would go from the subwoofer enclosure to the user. So we created a removable console that trims into the fixed arm rest which floats above the lower console (the console with the usb ports and brake). At the end of the arm rest lives a Helix Conductor. This is the main volume, subwoofer volume, and preset selector for the entire audio system. This was made to be right where your hand naturally falls on the arm rest. A piece of aluminum was hand routed and polished to compliment the front air vents for a seamless look. A final piece of aluminum was made to bolt to the upper arm rest and lower console to add solid support.
Dakota Digital gauges were previously installed in the vehicle. The main gauges that were housed in the radio area were moved to the glovebox door. This area before had fitment issues with large gaps. The brain to the gauges and Vintage Air unit were behind the door, so this area was not a functional glove box anyways. So a new panel was fabricated to house the Dakota Digital auxiliary gages. This panel uses (4) 13 lb magnets to attach to the glove box mount. That way you have easy access to the brain and Vintage Air Unit.
The OEM seats will be reupholstered in order to have the entire interior remain the weathered leather look. The new modernized interior, along with a world class audio system, paired with a LS3 engine and vibrate paint certainly makes this 79 C3 Corvette a complete outlier among its peers.